If you reparent the mesh to the rig with ‘Empty Groups’, it will create new vertex groups for any new bones. But it will leave the existing vertex groups alone, so it won’t overwrite them.
You could also go straight into Weight Paint mode. When you select the new bone, the model will turn pink, as there’s no vertex group for it. If you start painting a weight, the vertex group will be created automatically, and you can paint it in as normal.
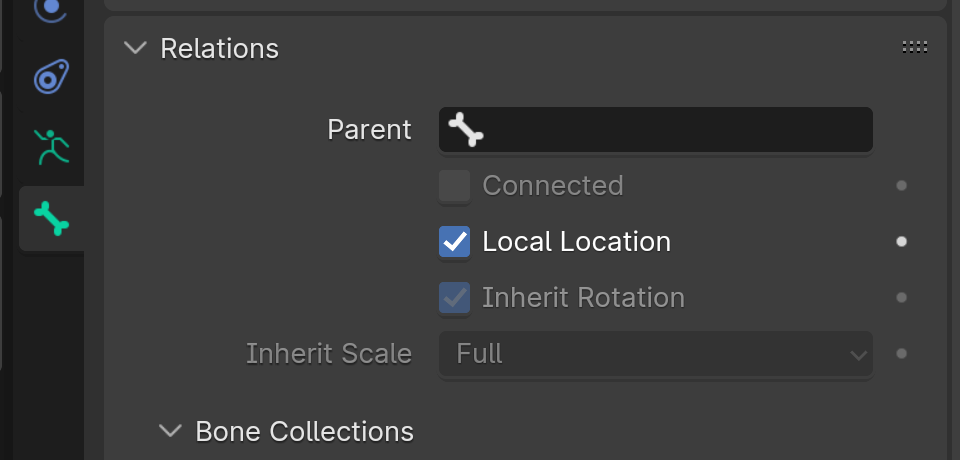
Or you can also just create a vertex group for it manually. As long as the bone is set to Deform, and the vertex group has the same name as the bone, then it will all match up.
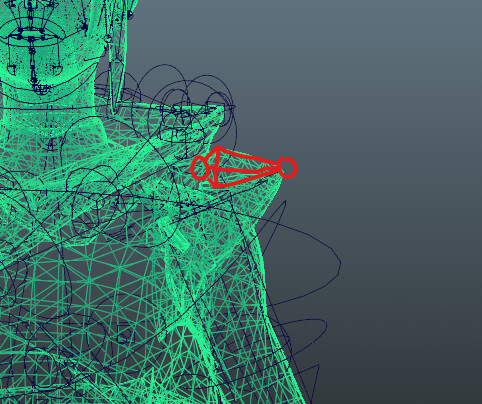
Is it possible to extrude a bone and still keep the original skinning? Where I can just select the extruded bones and add new skin weights? I tried to extrude a new bone but that did not work, either.
Adding a new bone won’t affect exisiting skinning weights. The ‘magic’ link between the bones and the associated weights is all based on having a vertex group with the same name as the bone.
For a Rigify based rig, you will add weights for the ‘DEF’ bones that get created when you generate the rig.
So once you regenerate the rig, you can parent the mesh to it with ‘Empty Groups’. That will create new vertex groups for any new bones, but leave the existing ones as they are.
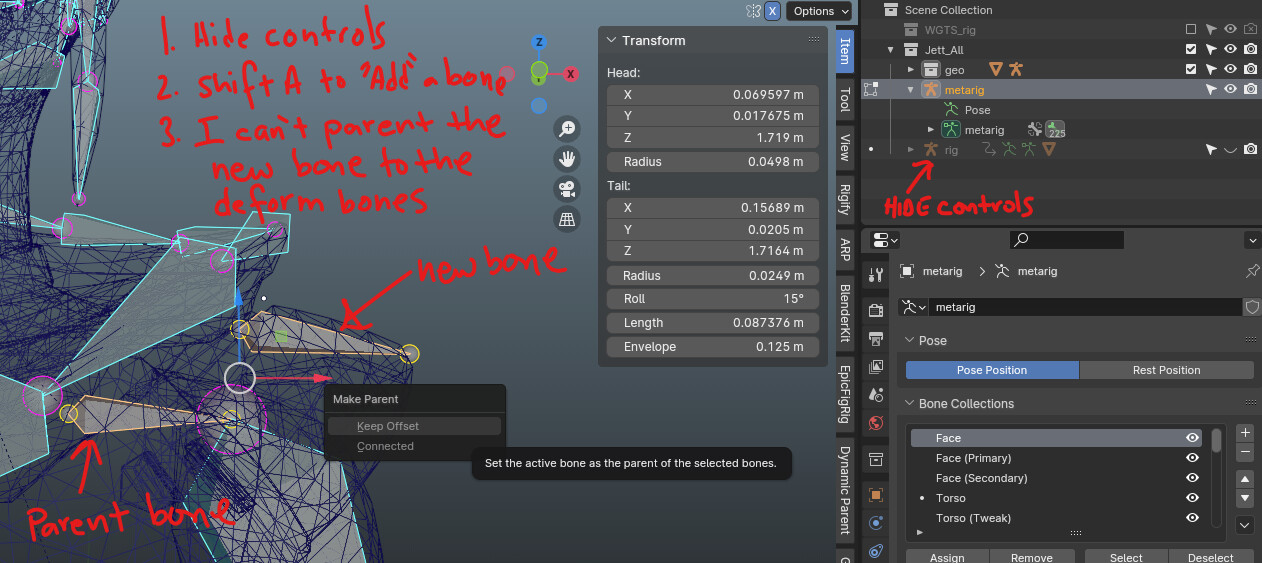
I think you need a primer on rigging in Blender. If you want to hide the controls you can do so by selectively hiding one or several armature layers, but you’ve hidden the entire object here, so you won’t be able to operate on it at all. In order to add a bone to an existing armature, don’t create another armature -select the existing armature, enter edit mode, and hit shift+A.
To be clear, you can create another armature and join it with the other later (ctrl+J) but it’s needlessly convoluted for such a simple situation as adding a single bone to correct deformations.
Finally, the armature you’ve been using is named “metarig”, which is the name given by autorigs to their guide armature, ie the one you use to place joints and generate the actual armature from. It has no purpose beyond generating the actual armature, you should probably ignore it now.
If you want to add new bones, it is best to add them to the metarig, and add the Rigify rig-type to them. That way they will carry forwards onto the final rig when it’s regenerated.
If you’re using Rigify it’s best to go all-in, and do it the Rigify way. Build the structure, and add any special constraints to the metarig, also setting an appropriate rig type for the bones.
Otherwise if/when the rig gets regenerated, any customisations will get lost in the final rig.
Using an auto-rigger gives a lot of functionality for free, but you lose some control over the process.
The alternative, is to build the rig from scratch and set things up exactly how you’d like them to be.
I do agree that getting a good understanding of what’s happening is important. Making changes in a deliberate way comes from knowing how the edits will affect the outcome.
CG Dive has good Rigify tutorials. P2 Design has the newly updated ‘Art of effective rigging’ course to really dig into how rigging works in Blender.
There is no way to keep the original skin if you add a new bone to the Metarig. When you generate a new control rig the skin weights have to be re-done.
If you reparent the mesh with ‘Automatic Weights’ then it will overwrite any painting that you’ve done.
But reparenting with ‘Empty Groups’ will leave the existing vertex groups alone, and only add new ones for the new bones. You will need to paint in values for these new bones though.
When I added the new bones to the Metarig, I had to then hit the “Generate Rig” button so I can have the new bone controls. When the new rig is generated, all the previous weights are deleted. I have to reskin.
There must be something extra that you’re doing.
Are you parenting with the generated rig each time, or could you have parented it with the metarig at some point?
When you paint the weights, have you been picking the DEF bones from the generated rig?
It is definately possible to regenerate and keep the existing weights - I just confirmed it.
The wights are on vertex groups that belong to the mesh, and they get matched up only by the names of the bones. Regenerating the rig doesn’t touch the mesh - until you do another reparenting of it.
Question: Are you parenting with the generated rig each time, or could you have parented it with the metarig at some point?
Answer: I am going back to the metarig and adding the “Basic bone.” Then parenting the new basic bone to the pre-existing metarig. After that, I press the “Generate Rig” button to get the new controls. I move the new controls around, and quickly see the previous skin weights are all gone. So I then start re-skinning.
Question: When you paint the weights, have you been picking the DEF bones from the generated rig?
Answer: Yes, I am skinning to all bones that have the prefix (DEF).
#7 You’ll want to first select the Mesh and then the Rig for parenting. #8b Then back in Object mode, select the Rig, and then the Mesh to start weight-painting. #9 Technically, you’re locking the Vertex Groups. In weight-paint mode alt-clicking a bone or picking a vertex group synchronizes the selection of the other one.
")