Hello im trying to attach rigify to a simple low poly human mesh
i did all that i saw in the tutorials for beginners but still the rig refuse to be attached
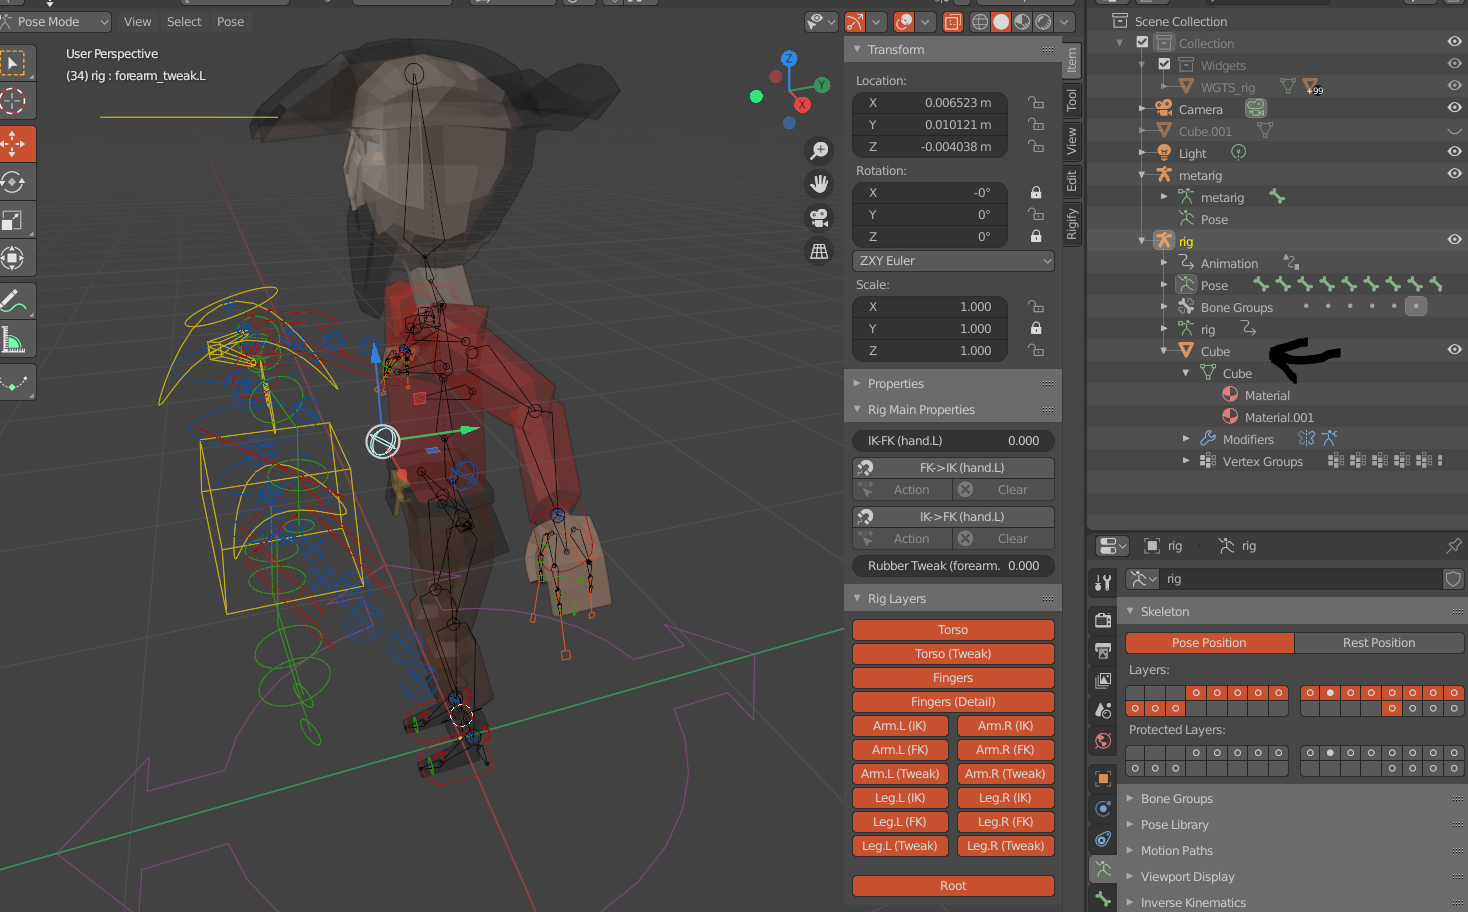
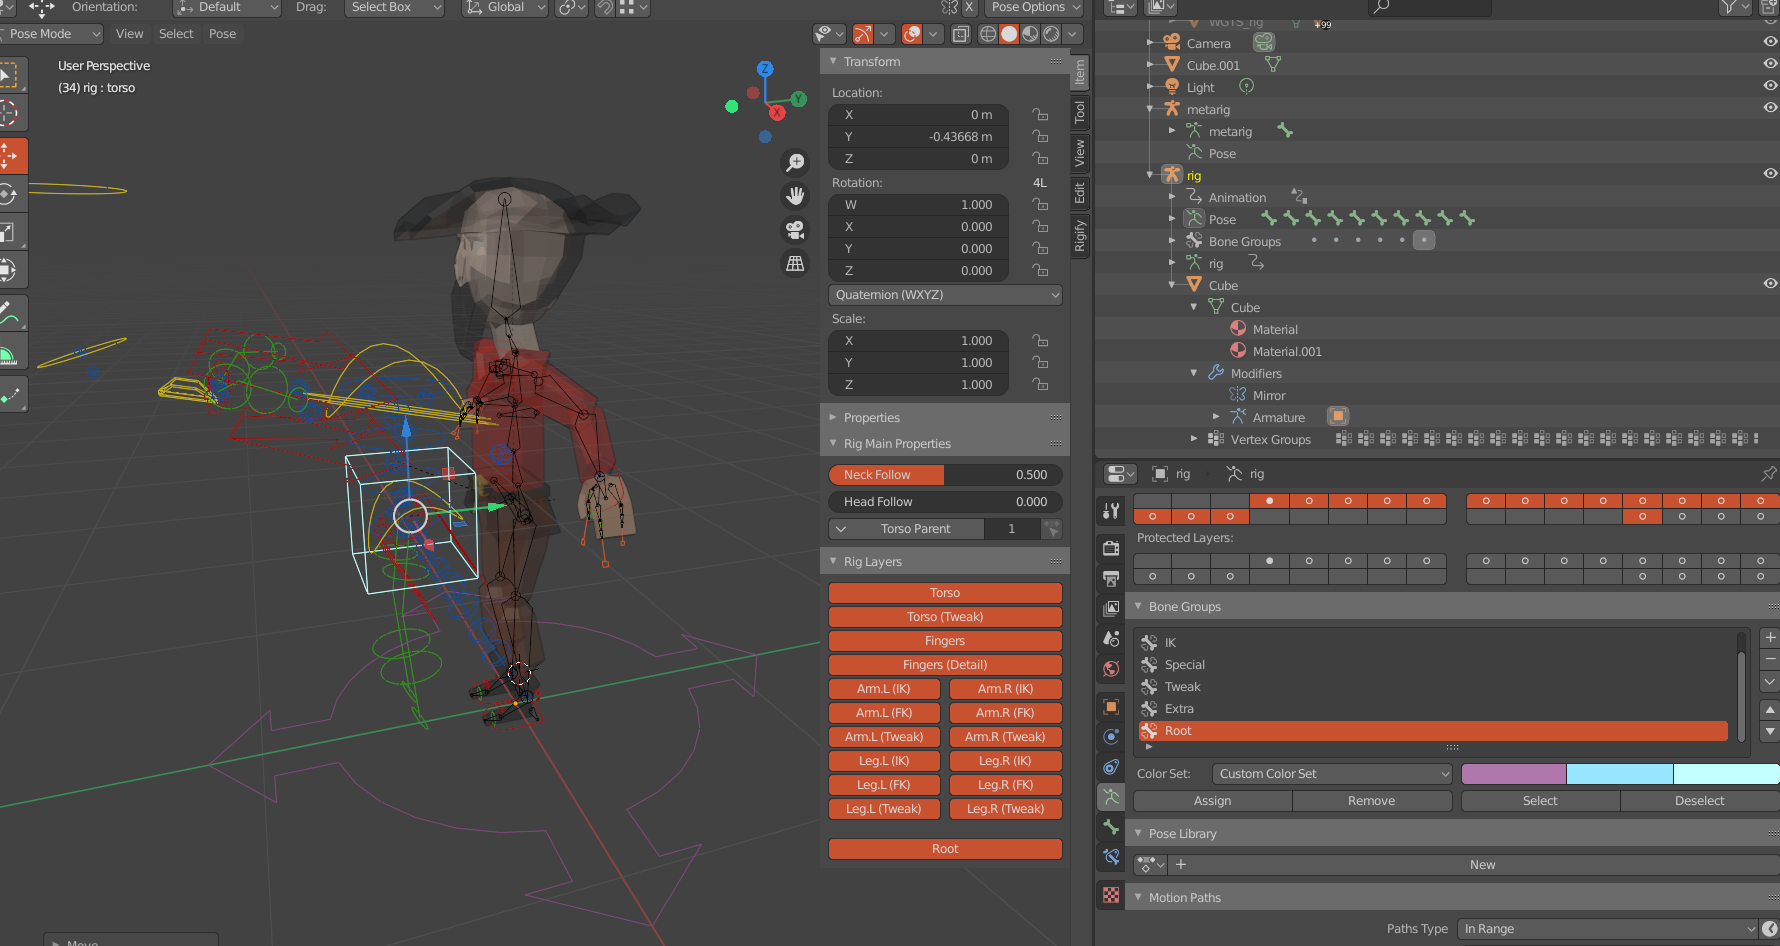
as you can see in the picture the body do not move while i move the bones

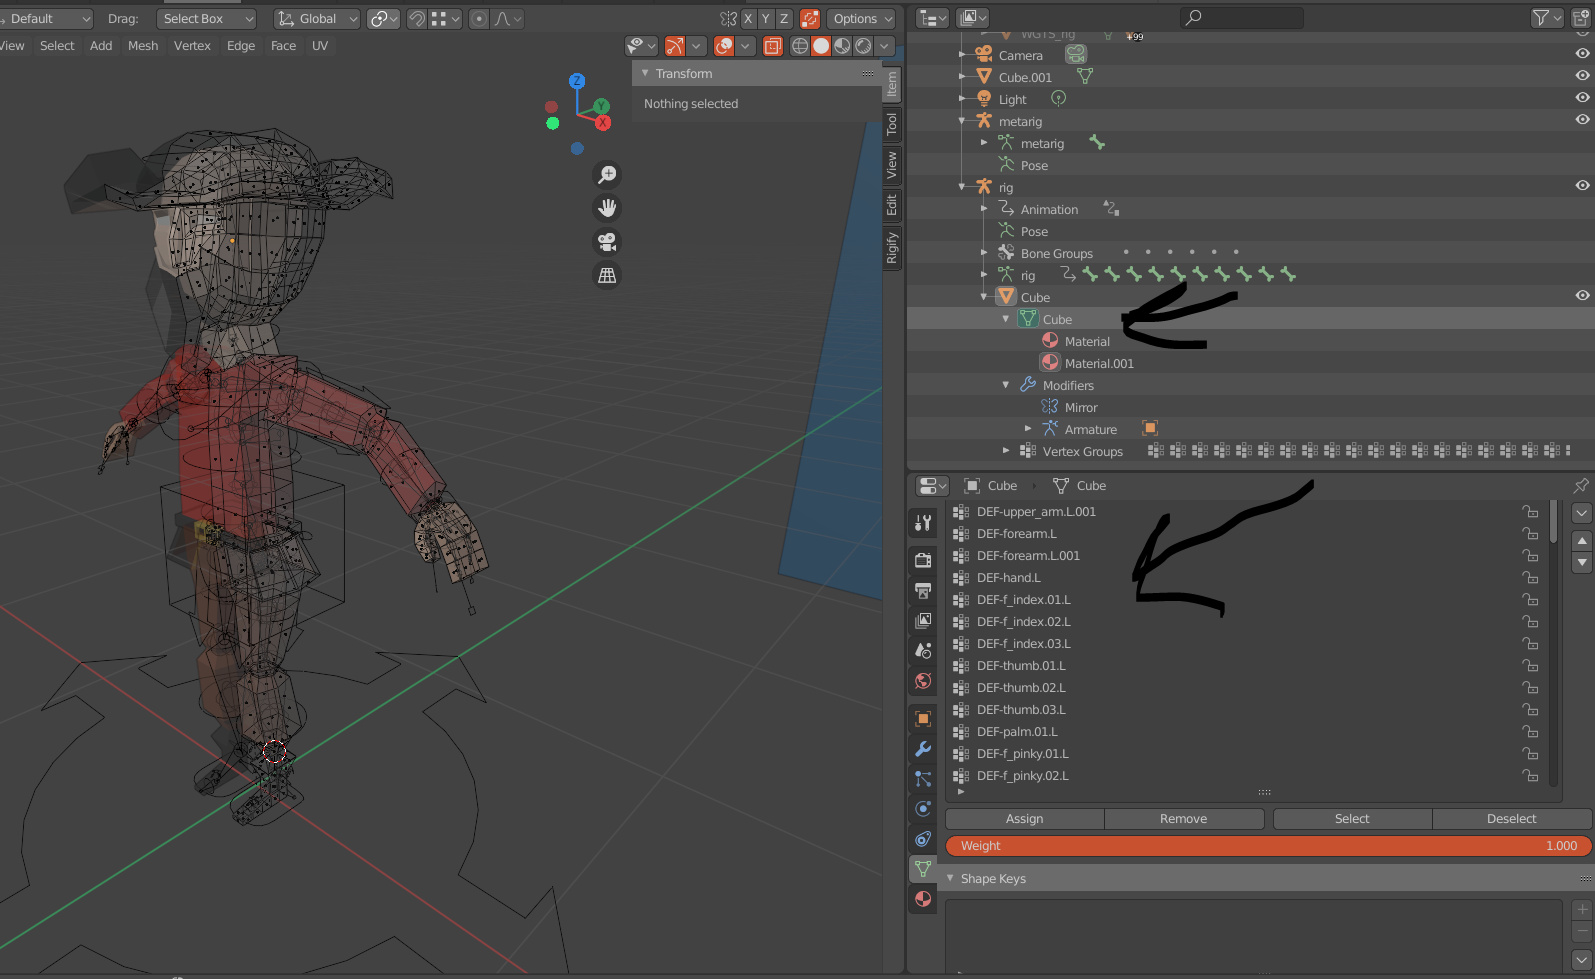
The guy is “cube”, I guess? (from your outliner)
If so, you have to parent it to the “rig”, not to the “metarig”.
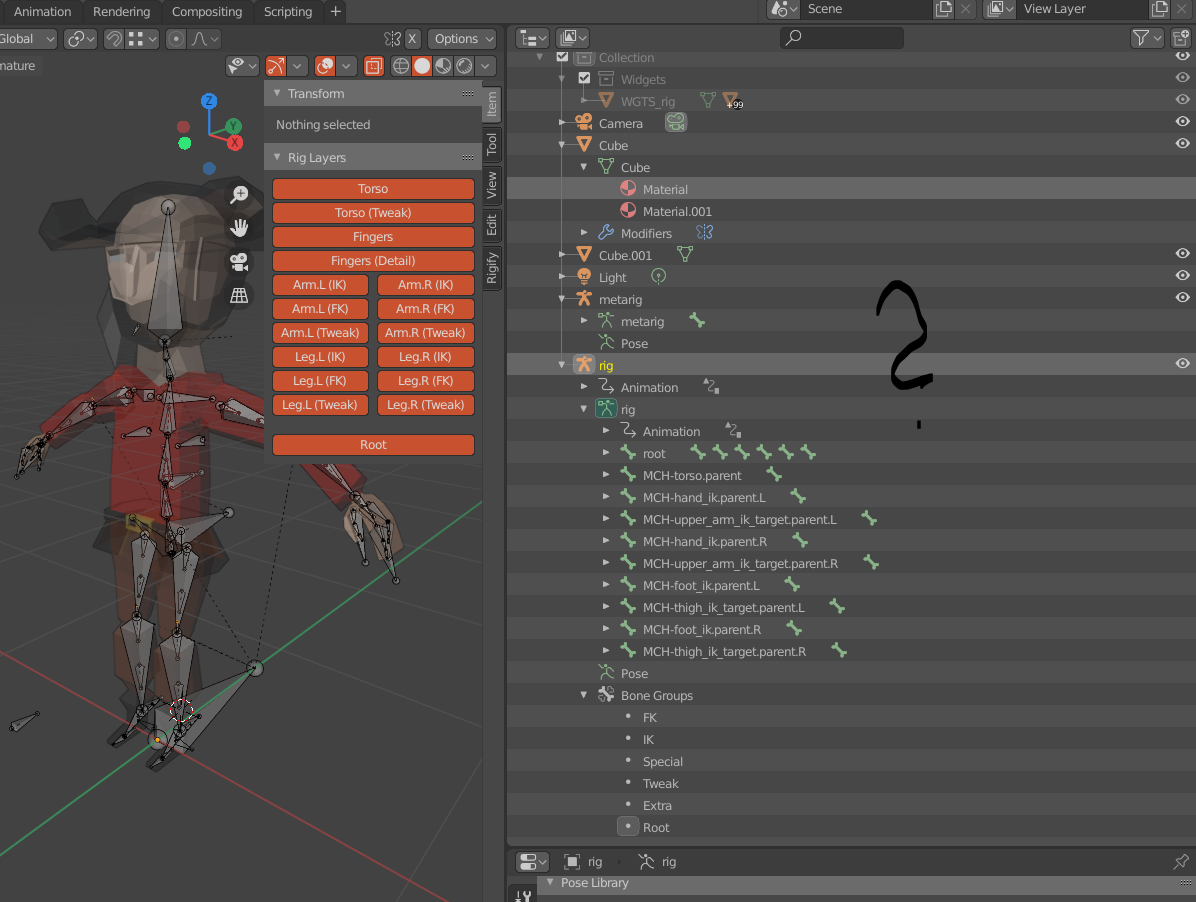
Did you also deleted all old vertex groups (because these are named after the metarig-bones)? You can do that with the down-arrow on right side of vertex group list (it opens a little menu).
And then you need to parent again (to rig) and “with automatic weights” - as you did before too, probably?
Vertex groups are part of the mesh, not the rig. See here:
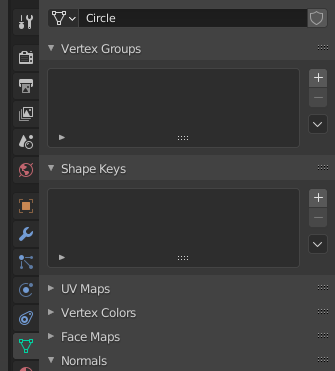
It’s empty now in my example, if you parent the mesh to the rig and pick “with automatic weights” then it will create a vertex group for each bone (which deforms). And this is what makes the mesh follow the rig, when you animate it.
ok found it, delete each one of them and re-assign back the mesh as a child of the rig and it still the same behavior, what I’m missing here ? I’m sure its small check box …
Now I’m running out of ideas, to be honest. Only thing I can spot, is that the object center of the mesh is somewhere in the head, not between the feet (where the rig’s center is, they should be in same place). But this is not the reason for the mesh not following.
I’m sorry… maybe try another tutorial and start it once more from beginning? Just make sure to delete all vertex groups from the pirate, to have a clean slate.
It can be hard to troubleshoot based on description alone.
If you share your model someone may take a look at figure it out. I probably will 
You can upload to for example
https://pasteall.org/blend/
When you try to parent your character with automatic weights you get a very common error.
“Bone Heat Weighting: failed…”
This is very common when the geometry is not very clean and often using Merge by distance will fix that.
- Edit mode,
- select all vertices
- Mesh menu > Merge > By distance.
In the chase of this model that fixes the problem. Hurray!
It would be even better if you could inspect your model even more carefully and find where these overlapping vertices are.
But anyway, after merge by distance, parent with automatic weights again and it should work. You may need to paint some weights manually after that.
did it didn’t work , anyway i uploaded the blend file …
don’t know maybe i will try model from scratch …
You did Merge by distance and then parent with Automatic Weights and that didn’t work?
That’s very strange because it worked for me and if it’s the same blend file it should work exactly the same. When you do Merge by distance do you get a message at the bottom of blender, something like “Removed XXX vertices”?
Thanks for the help
finally found the solution … so confusing …
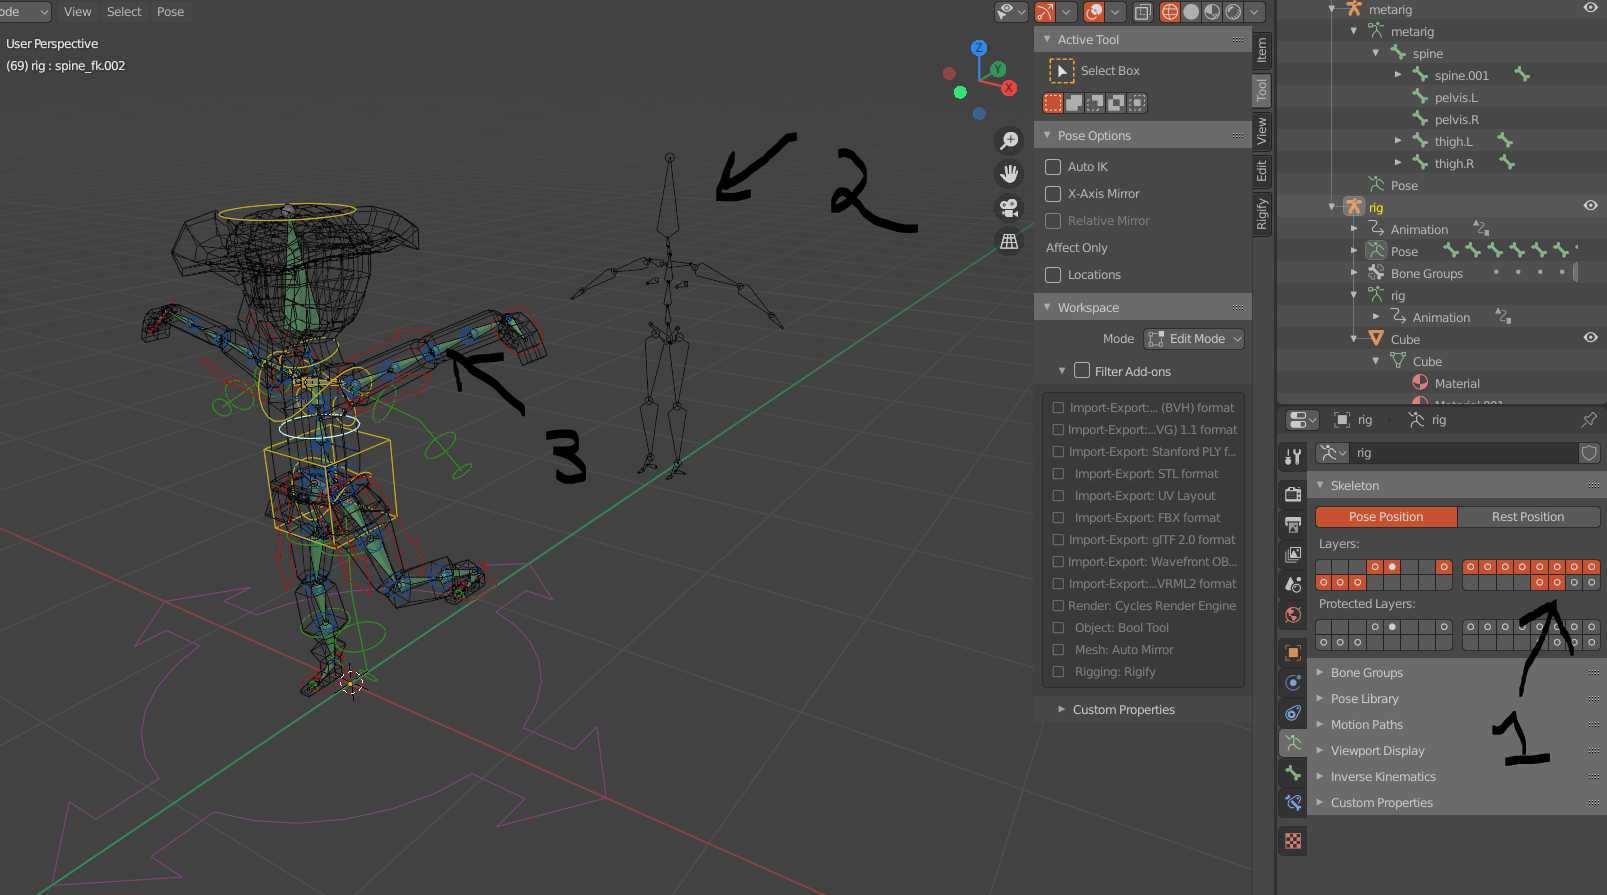
- show the actual bones with shift-click on the layer
- move back the metering … move it not hiding
- to the mesh to bones parenting
Yeah, worked for me too. The solution that the OP posted confuses me. I don’t understand how showing the Deformation layers and moving the metarig have anything to do with the parenting. But if problem is solved, then all is good 