Rigify Rig wont move most of standard human mesh

(Blender LTS 2.93.7)
I’ve been at this for almost a week solid. I have a human mesh, and I’m trying to use Rigify with it. I followed several different tutorials, but none seem to be helping. I’ve re-rigged this thing about 16 times now, and when I generate the rig, parent the meshes and then go to pose it, it’s only moving the eyes, eyebrows, tongue, and feet. (I’ve successfully rigged other characters, just not this one)

First time I did it, it worked (except for the teeth?), but I didn’t like the way the shoulder was moving in IK (bent in the arm, instead at the shoulder)… I had saved the file, prior to generating the rig, so I went back to that copy, adjusted the metarig slightly, generated the Rig tried again, parented the body to the Generated Rig, and got even less parts to work.

I tried again, joining the parts first, since I saw a post suggesting it might be an issue. Applied all scales, just in case, but nothing seems to fix the situation.

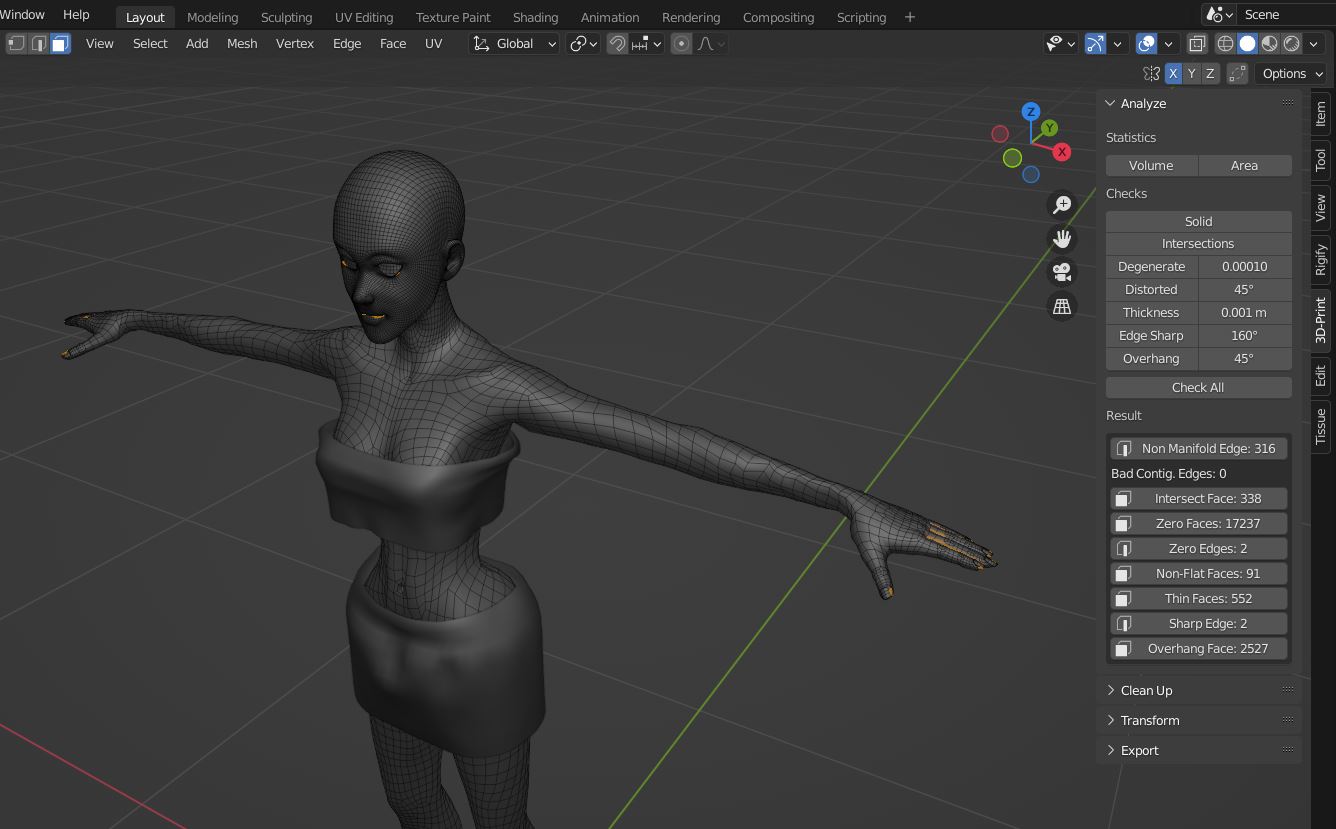
(enclosed blend file has most of the meshes removed, and only includes PARTS of the joined character and positioned metarig, prior to generating the Rigify Rig, or parenting. I can’t even get it to work at this level, with 21k faces.)

Can anyone tell me what I’m doing wrong, and what I can do to get it right? I’m stuck, and nothing I do seems to improve the situation, and I can’t see what else to try.
SB-BASIC-RIGIFY-Amelia.blend (4.8 MB)

Weight painting seemed like a partial success, at least it got things to move a bit when I moved the hip controller, but I’d painted almost everything Red, so it wanted to hold it’s shape, and any part of it I hadn’t painted, stretched, and wanted to hold it’s original position in the starting T-pose, instead of moving with the control rig.

Looks like you have a compatibility problem with the mega rig. What version of blender are you using? What version of the metarig are you using? Make sure you use the metarig with the version you have for blender. They don’t like each other.

Blender LTS 2.93.7

I really appreciate that you answered, but I used the version of Rigify that this version of Blender came with. It’s a clean install; the computer never had Blender or Rigify on it before.

Did you suggest this after trying the Blend file I included?

It’s driving me nuts… I have another blend file doing the same thing; everything moves except for a Jacket and the character’s teeth… I can’t get them to move with the control rig at all. I’ve applied all transforms, etc (not to the metarig) before generating the rig, or parenting, but it made no difference.

Everything that worked without appying transforms, still works (including a tongue which also had a location transform on it)… everything also had a 90-degree rotation transform on it.

I kind of didn’t want to go to Blender 3, because it means rebuying updated versions for some of my other add-ons, and apparently different sets of tutorial videos, plus, I don’t want to re-update during the middle of my project, but if that’s what it takes to fix this issue, I’ll do it.

It’s the infamous Heat Weighting: Failed to find solution for one or more bones error.

If you look closely at the status bar after you tried to use Parent To > With Automatic Weights you will see the message. This means the automatic weight painting process is aborted and only parts of the rig may work at all.

The reason is that your mesh has intersections, mostly at the fingers (they are very close together), fingernails, lower eyelids, and the upper and lower lips. You can check it with the 3D-Print Toolbox add-on that ships with Blender.

One solution is to remove the intersections. Another simple solution is to scale the mesh and the generated rig armature up, for example by 10. Then apply the scale to the rig (Ctrl+A > Scale) and leave the model as it is. Now do the With Automatic Weights binding, and finally scale down the rig by 0.1 so it has normal size again.

Your metarig still needs a few tweaks but it works.

The last three finger bones of each finger should be aligned in a perfectly straight line so the fingers can bend properly (for example SY0 to align along the global Y-axis then rotate if needed). They can be bent (up/down) but should not be crooked (to left/right). At the moment one of the fingers bends into the wrong direction :fearful:

2 Likes

You’re a lifesaver! Gonna try this tomorrow, thanks very much!

1 Like

65k polygons in the original file, I just did the Scale-up workaround, and it worked great on this, plus 2 other characters I was wrestling with.

I’m going to go get familiar with that 3D-Print toolbox you mentioned, apparently, it’s going to be very useful. Thanks also for taking the time to throw some clothes on Amelia… didn’t seem right having her out there like that, but I really didn’t know what was causing the issue, and clothing is still an unknown entity for me.

You saved me… I still have a lot to learn, but I really thought this was going to be the end of the line. Can’t tell you how many tutorials I went through looking for answers. Thanks so much!

1 Like

You’re most welcome! I’m glad it solved your problem :slight_smile:

I had a closer look at her fingers. Her ring finger is easy to fix. The last bone points a little bit upwards and this makes Rigify think the finger should bend backward. Make it point downwards like the other fingers and it will bend correctly.

About Amelia’s eyes, I wonder how they look like. She has very big eyes and I’ve tried to “eyeball” her but it didn’t fit the eye socket. :crazy_face:

For Rigify that ships with Blender 2.9 (and older versions) you need to use the MCH-eye.L and MCH-eye.R bones. Use the Parent To Bone operation in Pose mode to bind the eyeball to the corresponding bone. For the teeth, there are also MCH(?) bones that can be used. But you need to assign the weights manually. Or assign them to the head bone (Spine.006) and the jaw bone.

Rigify in Blender 3.0 got an update and it has now finally DEF bones for the eyes and teeth.

The eyelids might need some manual weight painting. If you set up two keyframes (frame 1 = eyes open, frame 20 = eyes closed) you can weight paint this fairly easily.

And yes, clothes are another challenge to get right. For tight clothes, you can transfer the weights from the body with a Data Transfer modifier. But there can still be clipping issues and I still have to learn and test myself how to fix this.

One of my characters gave Amelia some cloth and she was kind enough to support me in testing the pose library. I hope you don’t mind.

1 Like

Wow, I appreciate the effort and time on this! It’s great feedback. I’m actually using Faceit, to use an Iphone face mocap, so I ended-up deleting the Rigify face bones (including the hidden one). I’m going to retarget body mocap onto the Rigify rig, and Face mocap onto the Faceit shape keys.

The eyes… yeah, what a nightmare… lol It matches the 2d character art, which is purposely cartoonish, but yeah, what a mess. Faceit did a good job at closing the eye… (eventually). It’s not my model, it was just passed along to me for dual-rigging, but I almost sent it back, due to the eyes… I had to rotate the eye rig towards the nose to get it to animate right(ish).

Rigify did a great job on the clothing and stuff when I put her at 10x as per your quick fix idea. Had a bit of an issue though, since the rig was then resized to 0.1 scale… so when I tried to Bind Faceit to the Rigify DEF-Spine.006 bone, it… well… here’s a pretty funny before and after pic.

I swear I’m going to get PTSD when I’m one mystery button push from something like this!
BOOM! headshot!

I tried several different bones, but with the same results. I’m going to try it again, but at the full 10x scale, and then shrink it afterwards to see if that works. Not sure if the mocaps are going to mess that all up regardless. I tried the 3d Print Add-On, but I’m really not a modeller… I can likely fake it to some degree, but she had trouble with fingers, fingernails, her mouth, and her eyes, and that’s just on the body mesh… there were countless issues on parts of her dress, buttons, etc too, but that 10x modifier took care of every bit of it.

Anyway, I appreciate all of your assistance, and I’m happy to see you got some use out of her, those are some very nice clothes.

1 Like