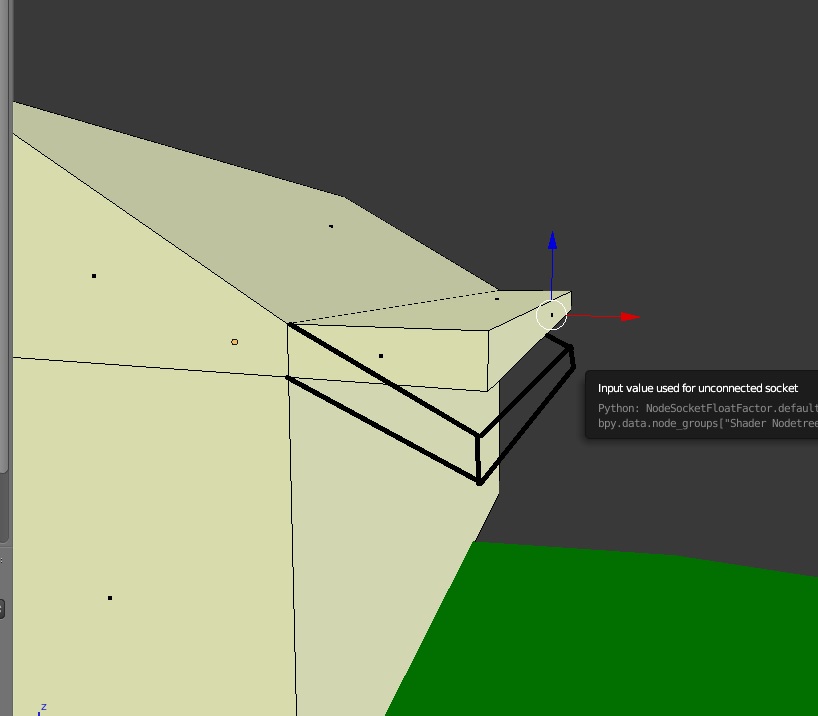
I want to extrude this face so that it is basically a continuation of the roof (to be like the black line I drawn), however I can’t figure out how to do it. I selected the upper edge and looked at active element, at individual origins,etc, but they all don’t do anything to the move widget thing.
I know that I can just move face down and eyeball it and make it look like it is the same angle as the roof, but I am trying to learn the program, so I don’t want shortcuts.
One way might be this:
• selects the upper sloped face, then set ‘Normal’ as transformation orientation and make a new custom orientation in the N panel;
• in the viewport header choose this new custom orientation as ‘Transformation orientation’ and extrude the lateral face along the appropriate axis.
Yep, that solved it. If there are also other ways that are easier, I’d be glad to hear them. Back in Sketchup you had a automatic snap option for this, you just hovered over the sloped line and it would automatically draw out a parallel or whatever it’s called line, in pink color, sadly this isn’t present here.
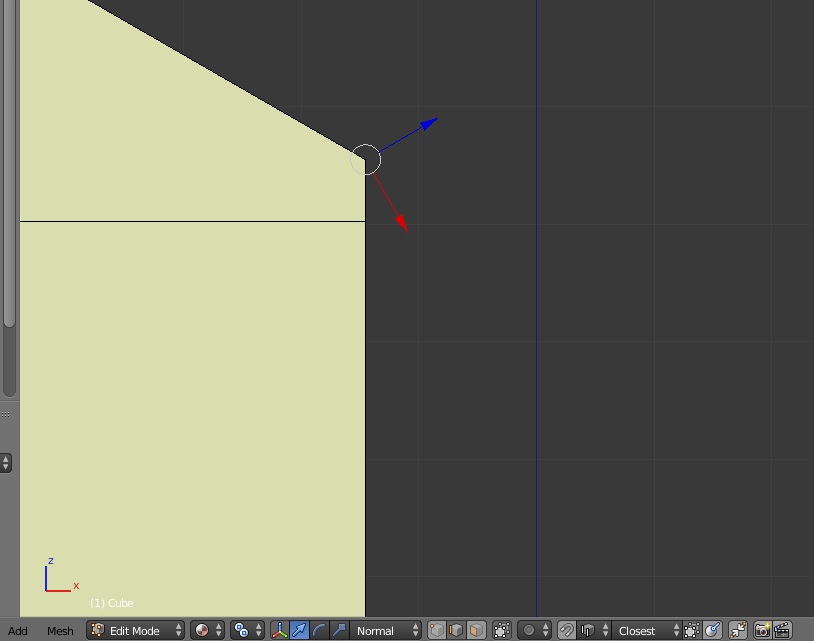
You could also select the top face, then Shift+NumPad 7 or 1 or 3 to align camera view around the face. From there you can change transformation mode to ‘view’, Z or turn on select obscured and B to select the face which is side on to camera view.
You should be able to extrude in line with the face.