I have just started weight painting and I’m having an issue in 2.57a that rotating a bone a little deforms the mesh a lot. Is this an error I made or is this blender?
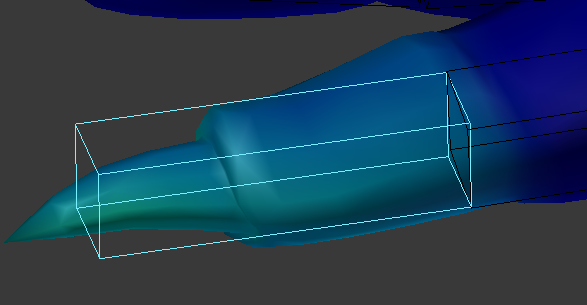
The first image is undeformed and the second is rotated just a little.

This is the third post along these lines today – must be an epidemic 
Check the modifiers stack & you’ll probably see two Armature modifiers, both targeted for the same rig. Remove one & things should work OK.
Thank you for being so quick. That did fix it.
I feel so ashamed for not checking the forum first, something that should be second nature for everyone. >.> right after I posted I saw another post like this one and thought “the one time I don’t check, there’s the answer staring at me in the face.”
[QUOTE=chipmasque;1852534]This is the third post along these lines today – must be an epidemic
Haha, yes. I was one of these 3. I’ll never make the mistake again at least. Thanks again for the help chipmasque.
Yep.
My tip is: Rather than use the armature parenting again to automatically assign bone weight use weight paint mode. Select all or any of your bones in pose mode, select your object and then go to weight paint mode. The assign bone heat is in the Weight Menu. It will assign only for the bones in your selection.
Good tip on “selective bone heat,” batFINGER. Just to round things out and make it clear that a full-out re-parenting isn’t required when editing portions of either armature or mesh:
You can just add a Vertex Group (VG) to your mesh’s list (Object Data>Vertex Groups) – VG name should match a new bone’s name – then start weight painting areas of the mesh with that VG selected. Be careful with this however because the painting can “spill” into unwanted areas kind of easily. You can use masking to help limit this.
Or, you can select a group of vertices in Edit Mode and assign a weight to them manually in the Object Data VG listing. This puts one weight on all selected verts, so some painting is usually in order to blend the new weights in with the old. Or if you like manually editing vertex weights (snore ) you can add weight zero to the entire new VG, then edit the values for each vert in the Properties panel (N-KEY) of a 3D Window when in Edit Mode.
These methods don’t disturb existing vertex weights except for auto-normalization if that option’s selected, or ultimately, internal normalization during rendering, like all other vertex weights. They also illustrate that there’s more than one way to skin a mesh, feline or otherwise. 