I’ve looked at several tutorials about the mirror modifier, and still can’t seem to understand the rules for how it works. For example, if you take a simple object, move it to one side of the axis you want to mirror, the mirror modifier doesn’t seem to work. If you cut it, and then move it, it does work. Moving Vertices does work, Scaling doesn’t work. So it seem the mirror is rather fussy about what type of object it will work on, and the object has to have been manipulated in some specific way before it will work. Is there a set of “rules” about what works and what doesn’t?
The mirror axis is the position of the object origin or the location of some other selected object.
Note that if you move an object in object mode the origin moves as well, if you move vertices in edit mode the position of the vertices change but the actual object origin does not
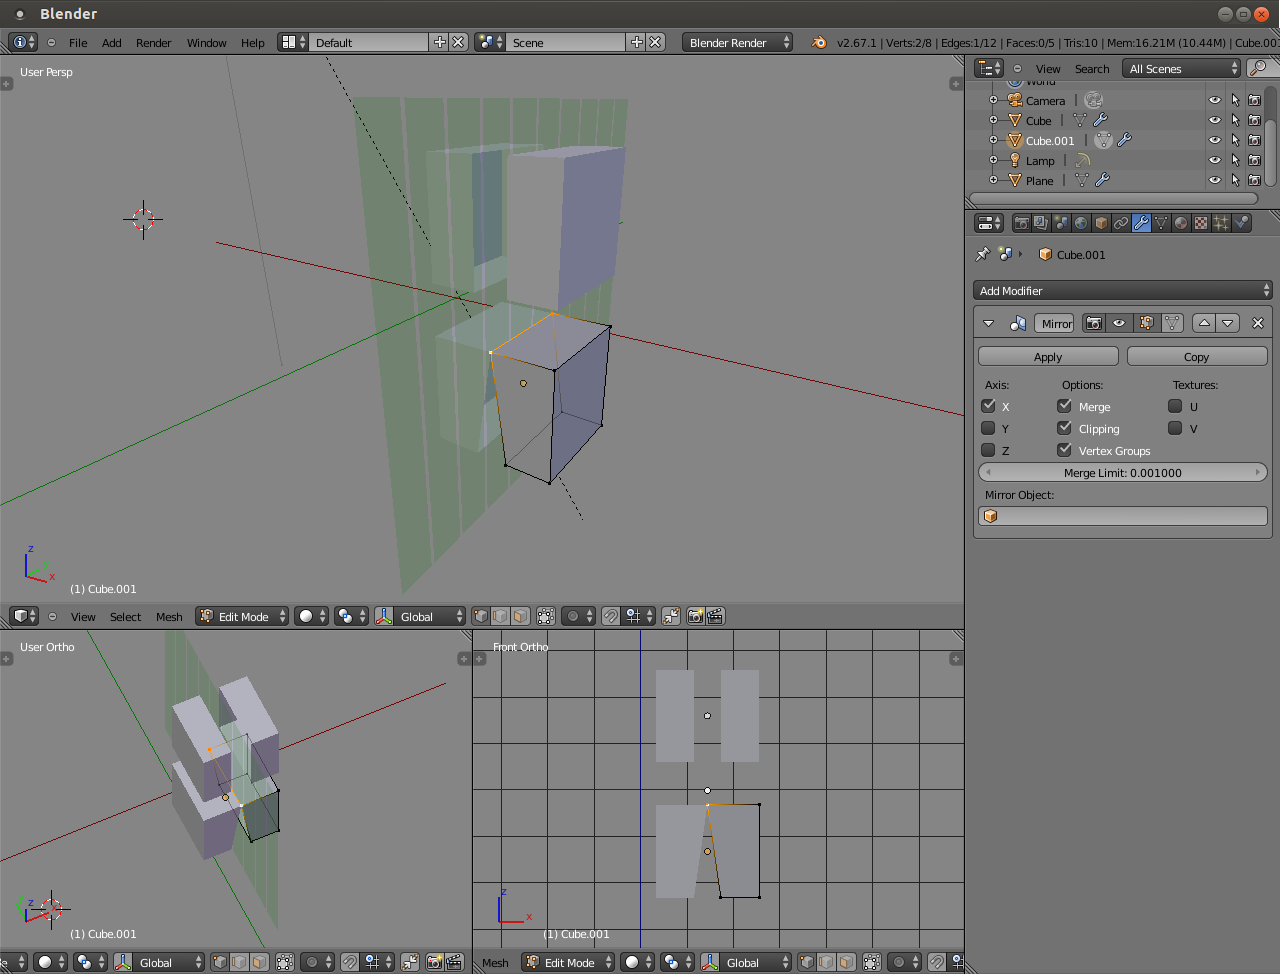
The mirror axis is set to X and that means it uses the X coordinate of the object origin as a mirror “plane” that is shown in green color.
I’ve also enabled clipping option and that means the modifier will clip everything on that plane. Or in other words, you can’t move vertices away from that plane once they’re moved on there.
It all comes down to the difference between object and edit mode. In object mode you manipulate objects, groups, hierarchies etc. but in edit mode you manipulate the structure of one object.
When you scale your object in object mode and pivot point is set to median, your median point is the object origin. You are manipulating your object, or rather changing the presentation of your whole object. The edges in edit mode are still the same length as they were before scaling so if you want to transfer the changes in scale to those, you need to apply it with ctrl+a -> scale (alt+s is clear scale in object mode).
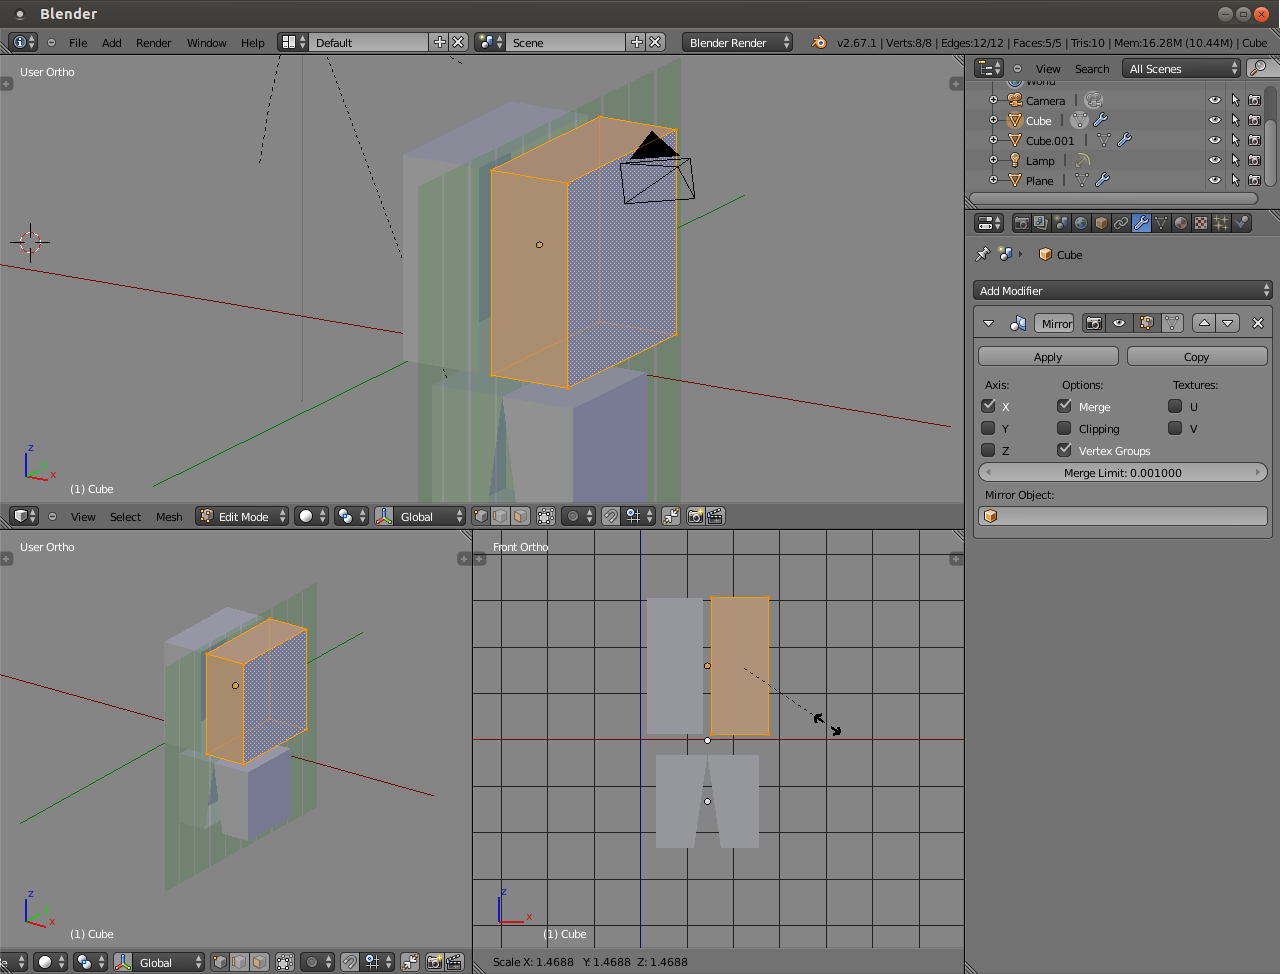
When you scale in edit mode and your pivot point is still set to median, you are editing the mesh (in this example) and now your median point is the center of your selected vertices. You can see that in the screenshot, scaling line points to the center.
Shift+S -> cursor to selected in object mode, change the pivot point to 3d cursor (period key) and with that you can scale the same way both in object and edit mode because the pivot is the same.
If you need to move your object around (in object mode, not in edit mode) but don’t want to stick the object center somewhere inconvenient to get the mirror effect you wanted, you can designate another object’s center to be used for the mirror. That’s the little Object box on the Mirror modifier. This will avoid problems with applying rotation directly to the object itself.
Kululu did not come back to say THANKS or to inform us if above suggestions helped. On his behalf, i am saying a big THANKS to Richard Marklew for wonderful suggestion and links he provided, and JA12 who helped me a lot with screen shots. I’ve learned something from your suggestions. Keep in touch:yes: