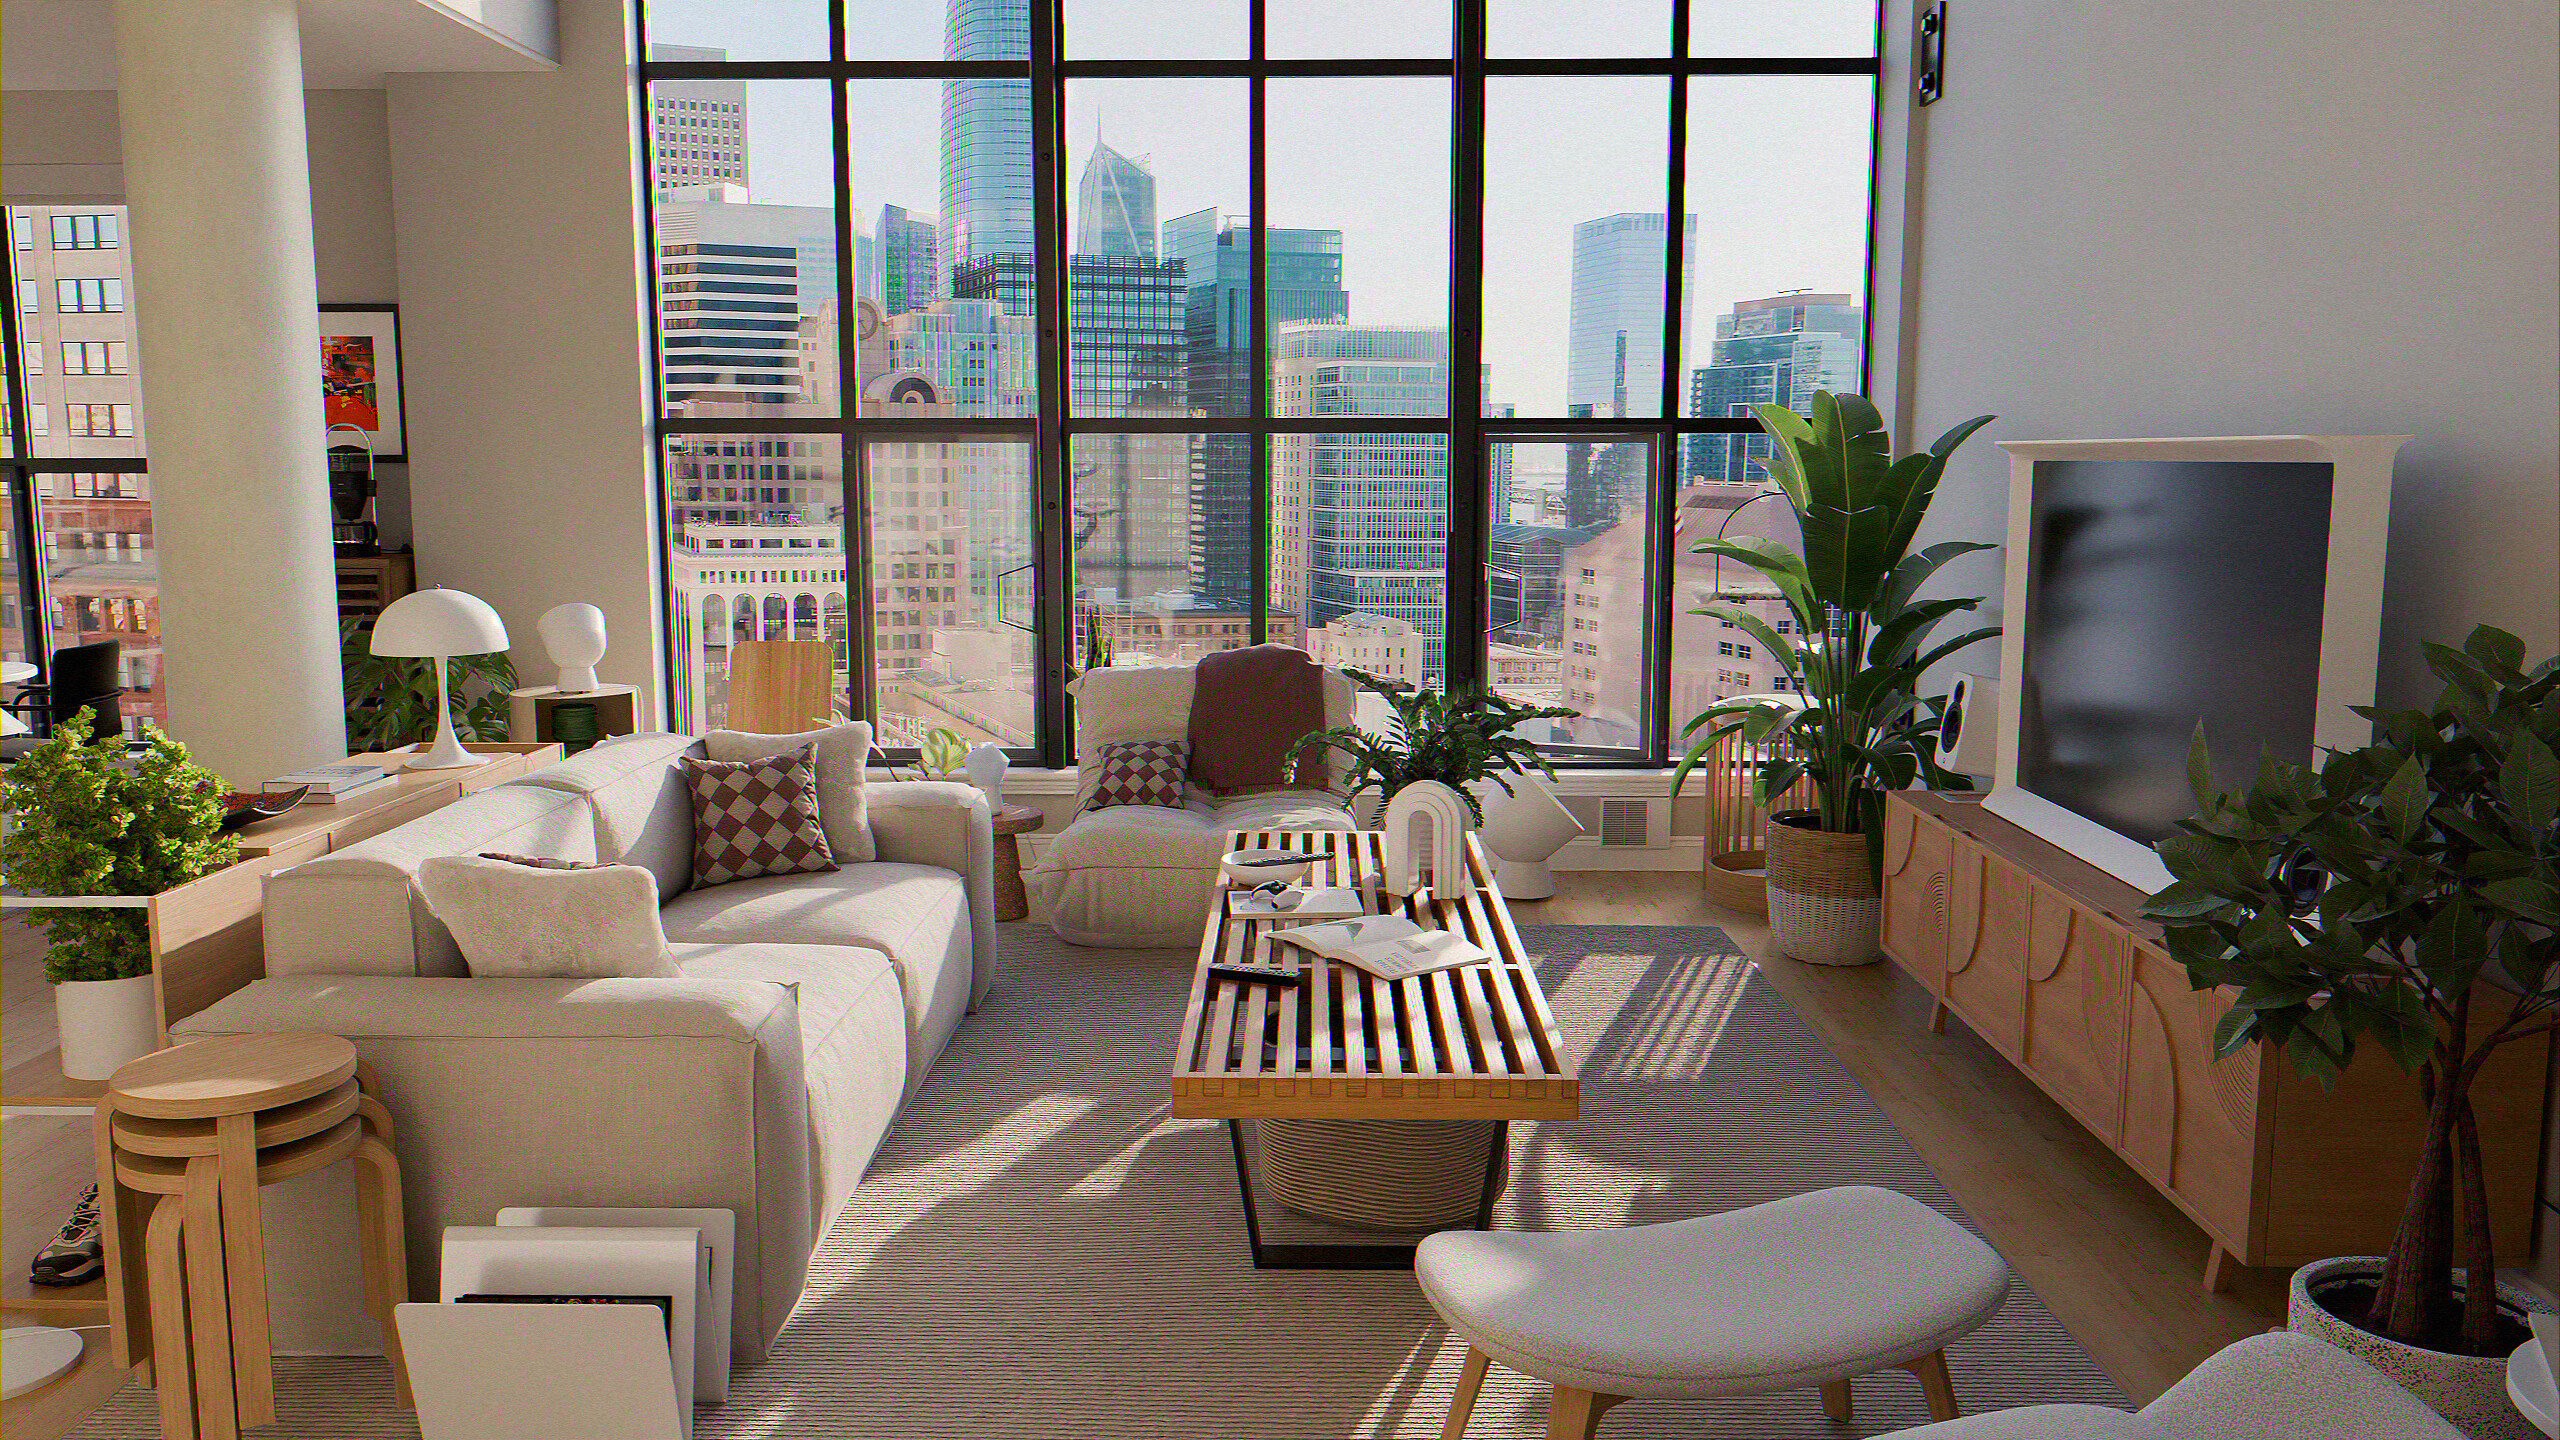
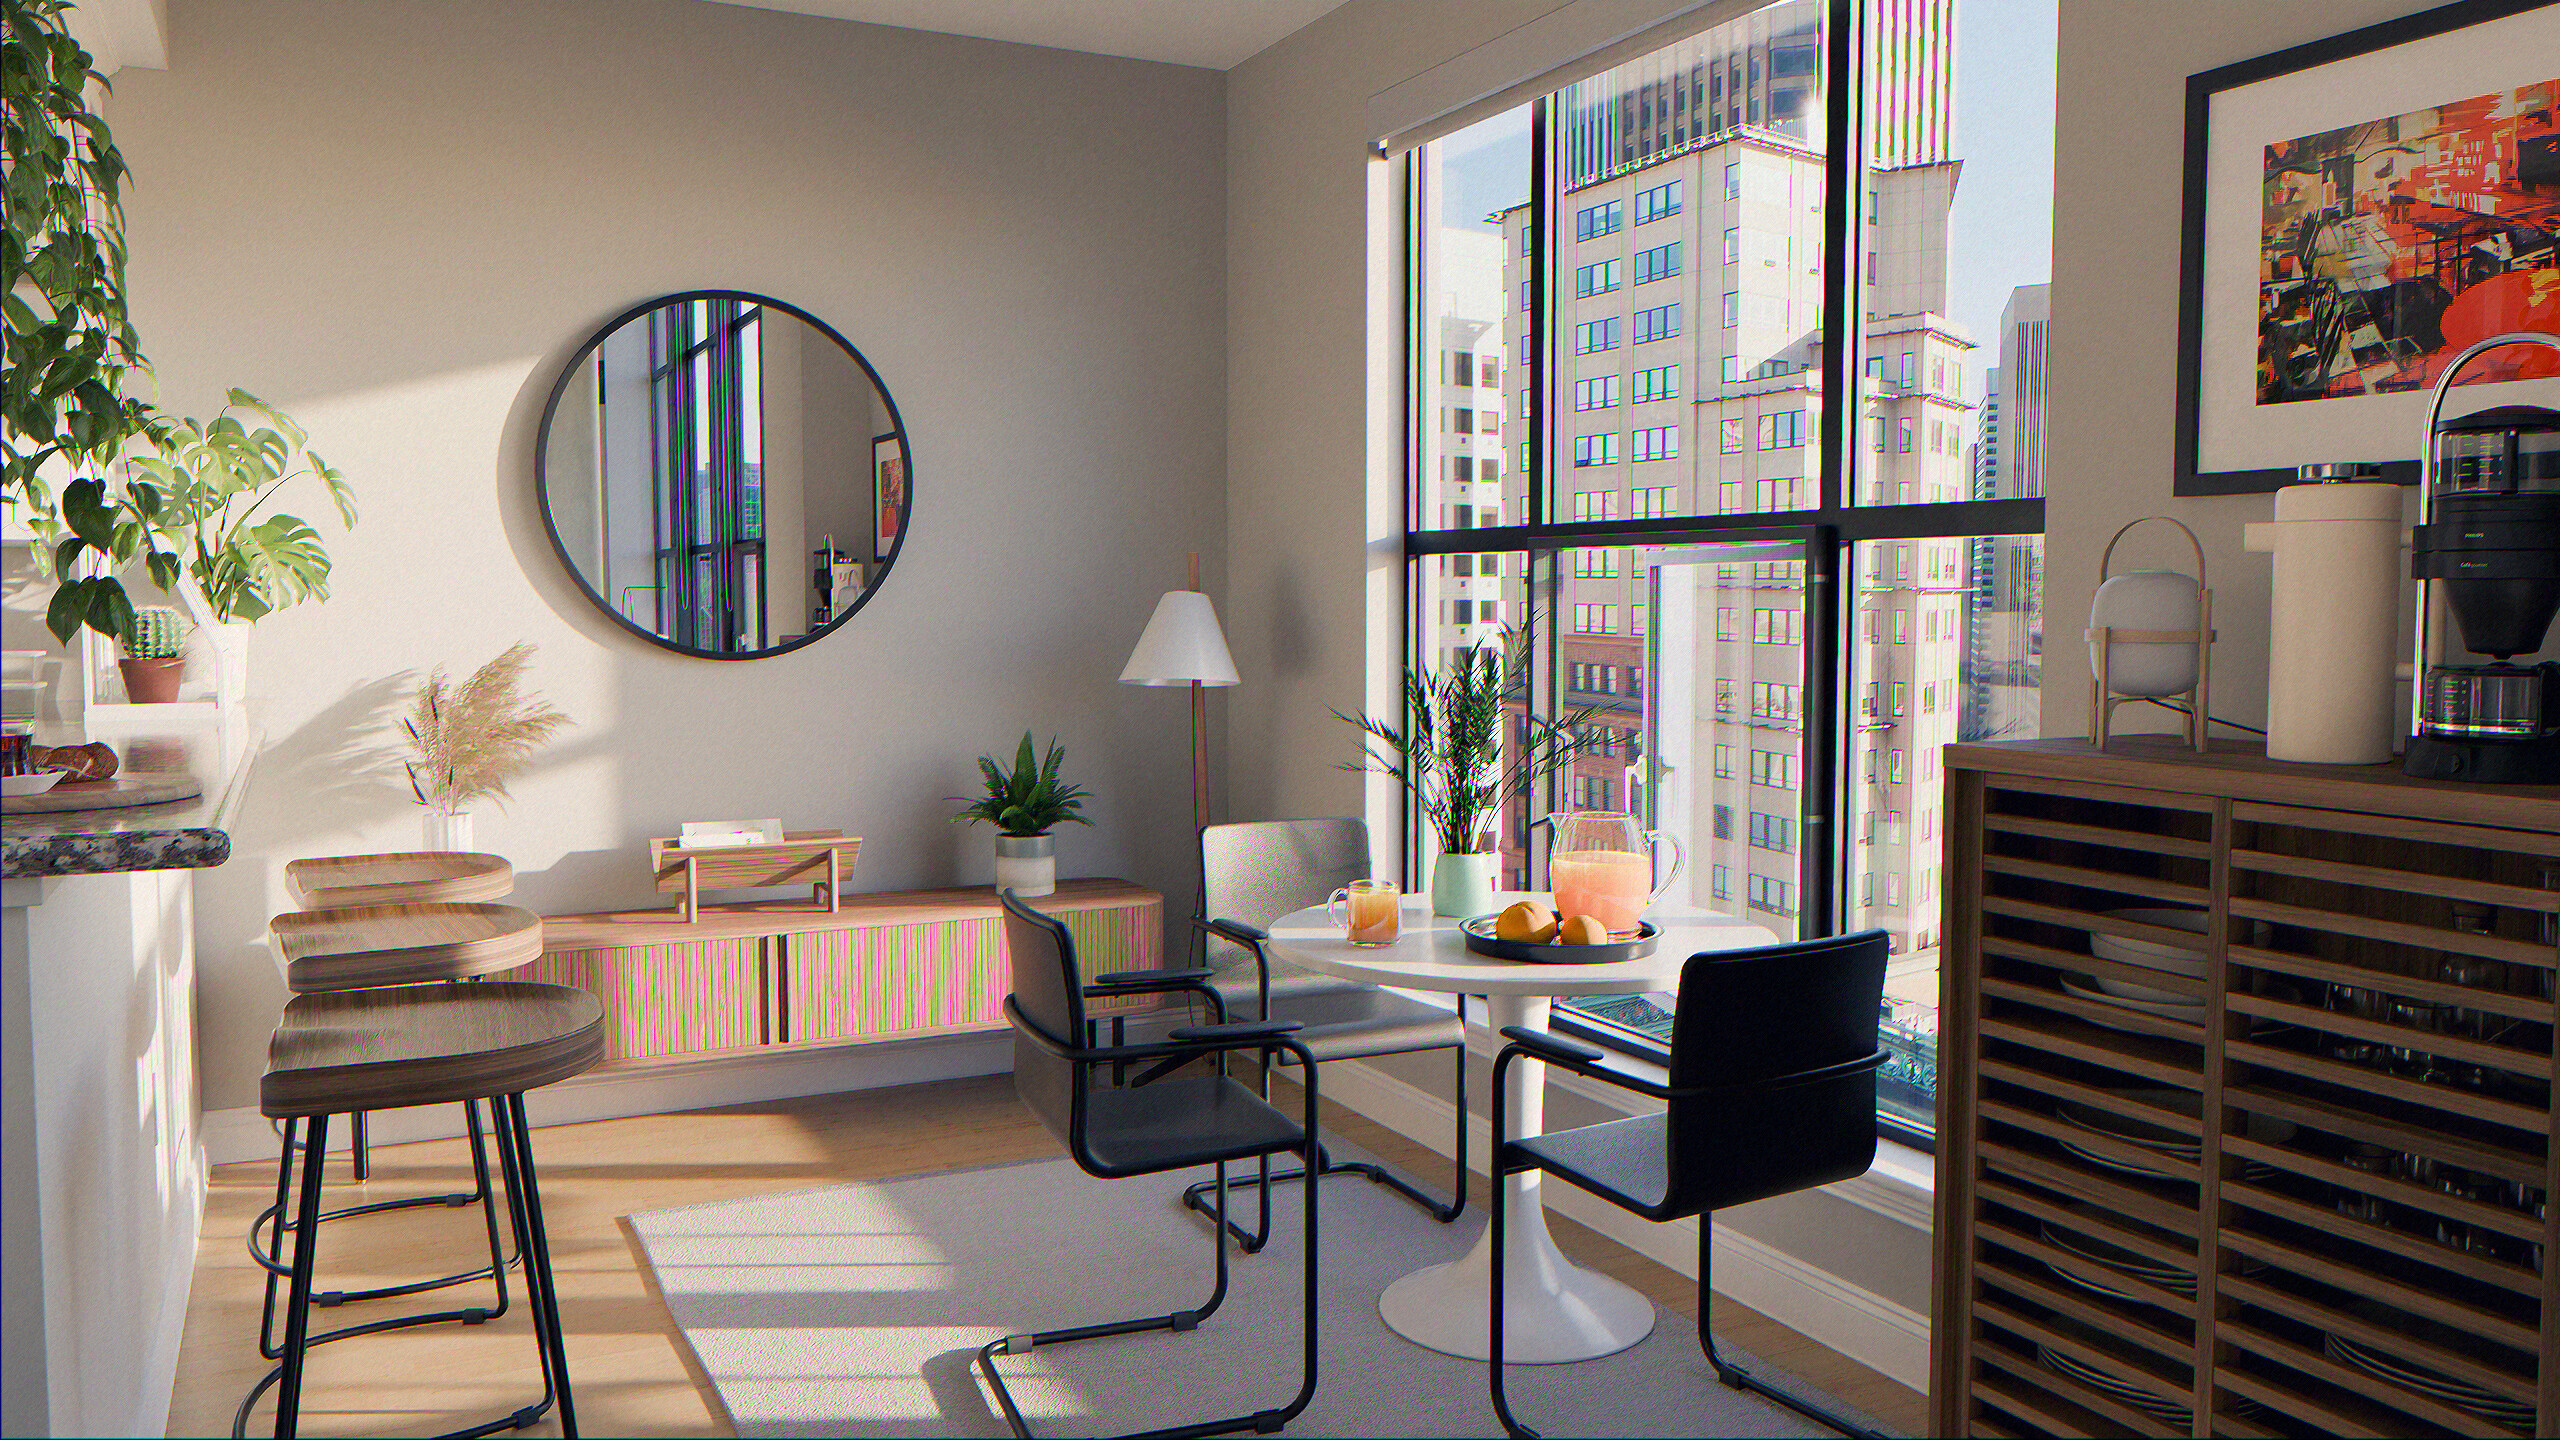
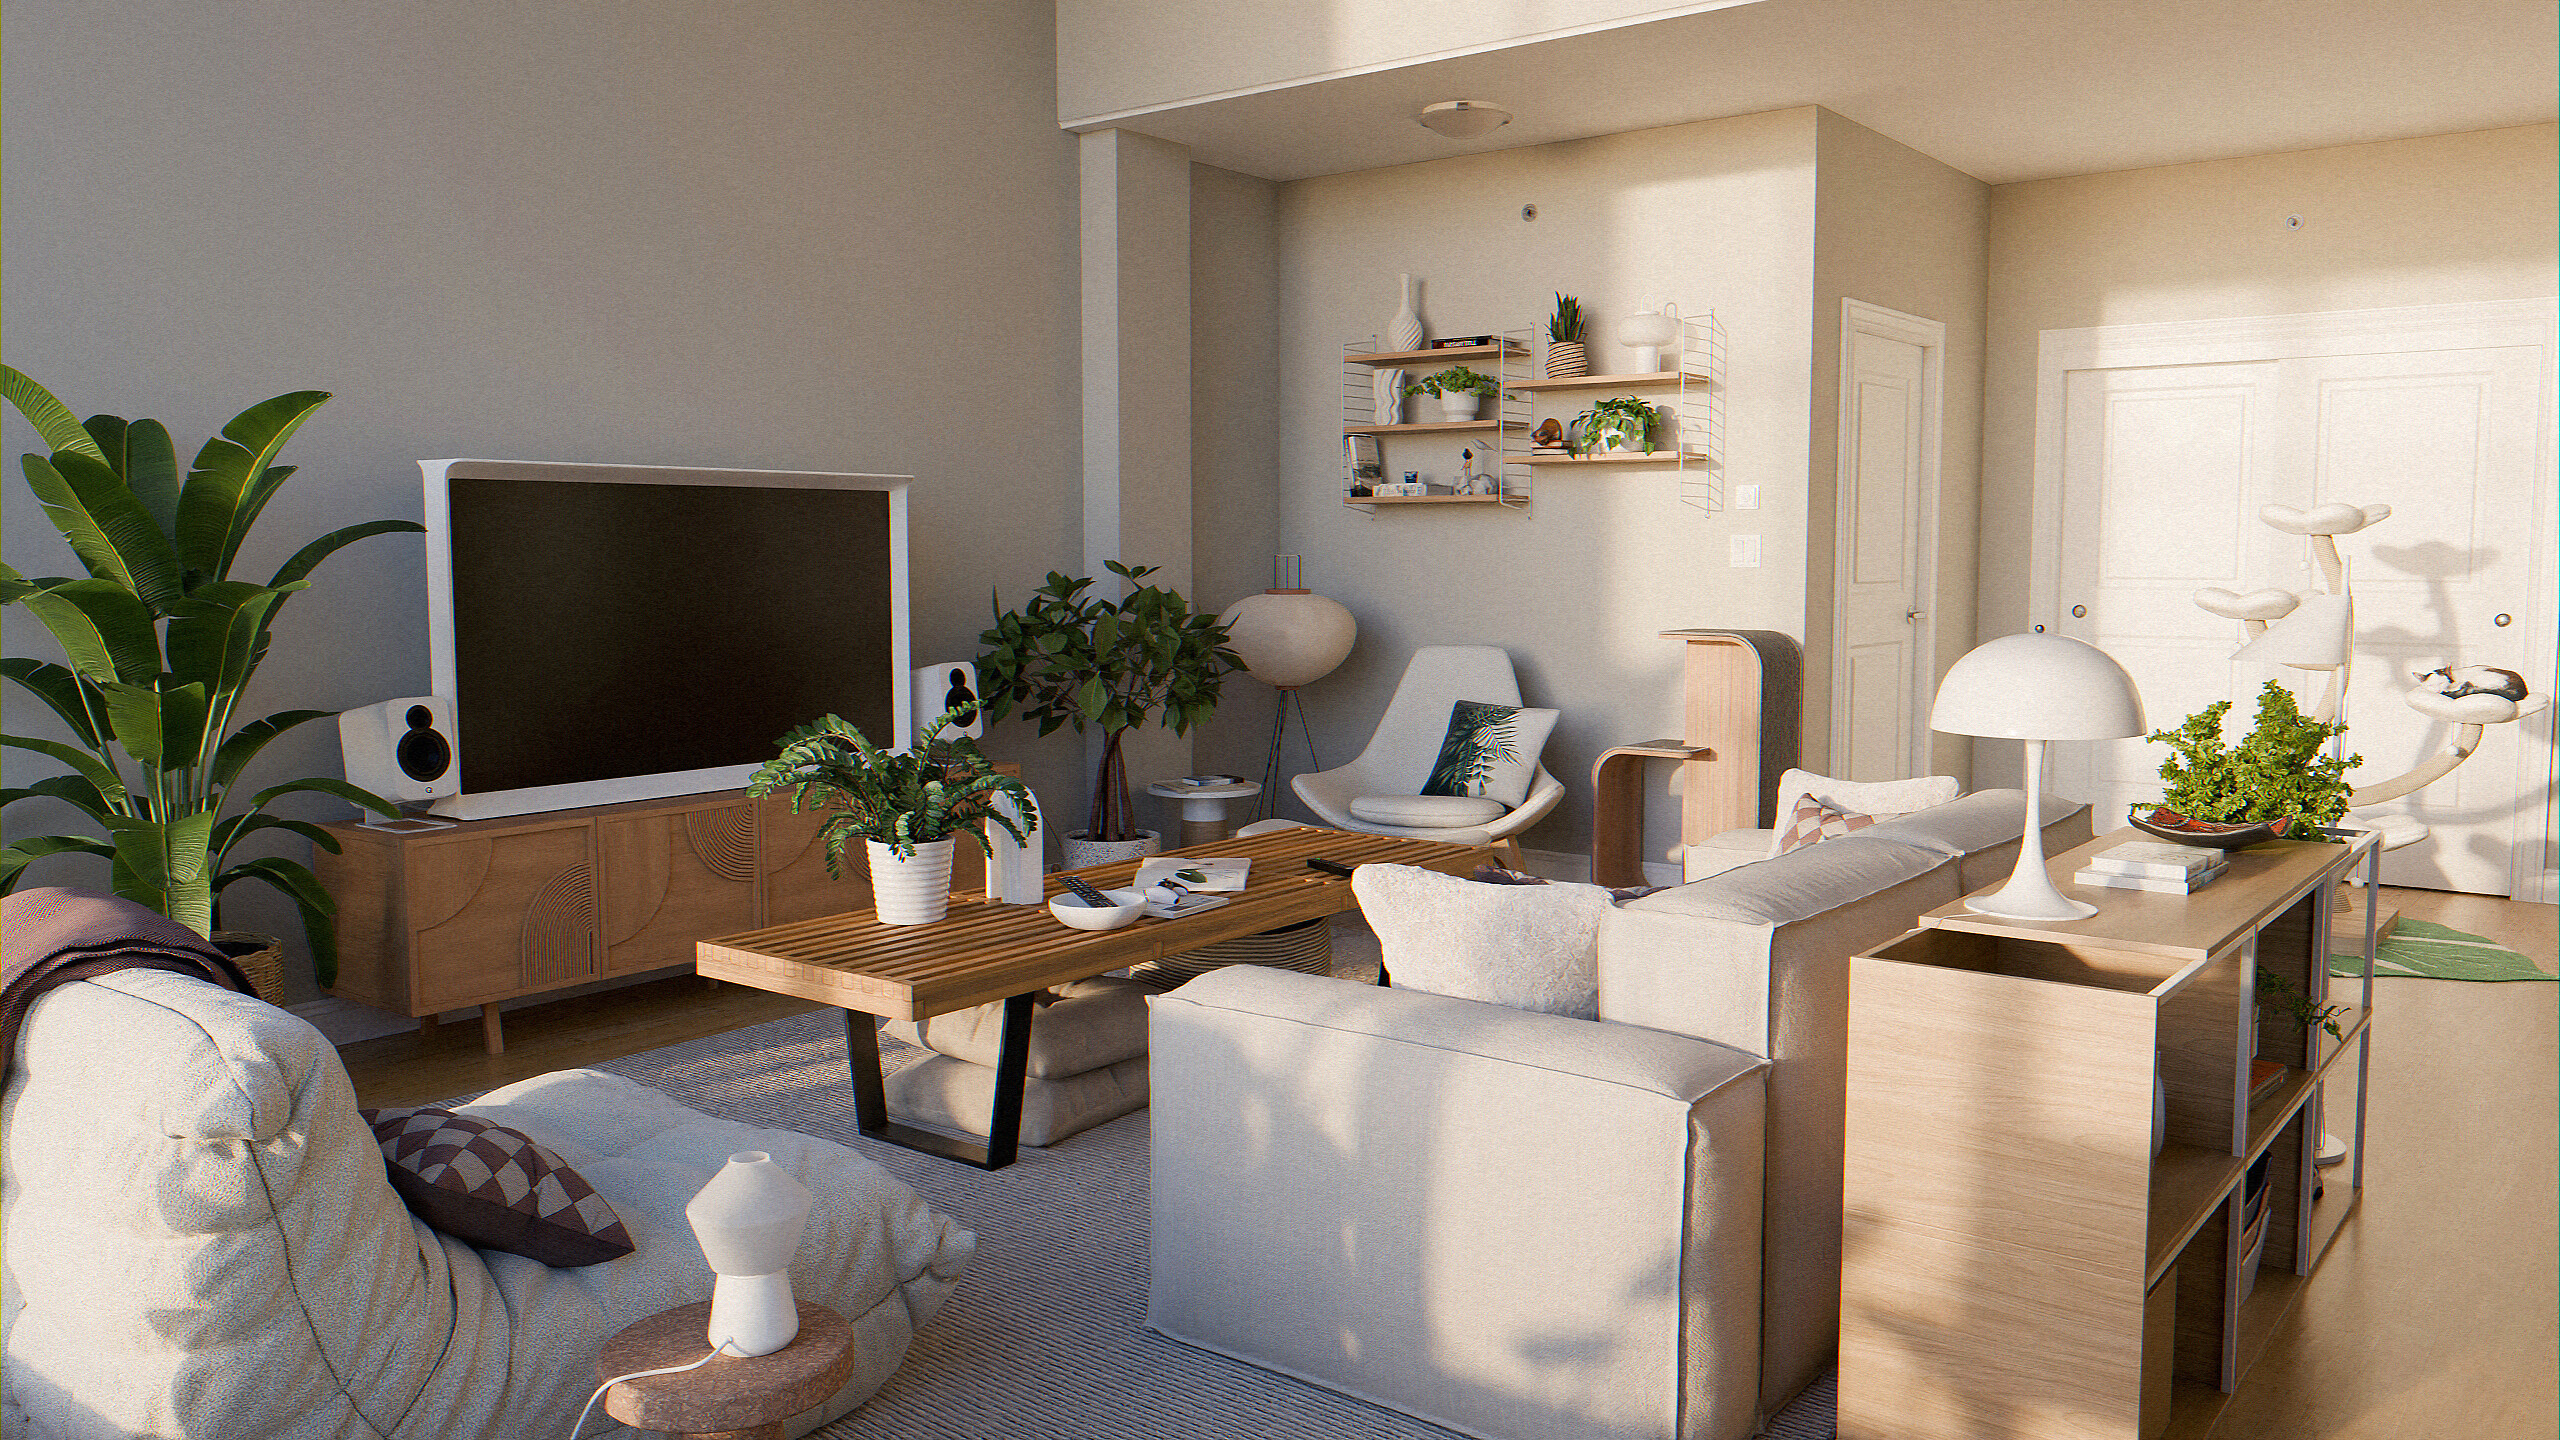
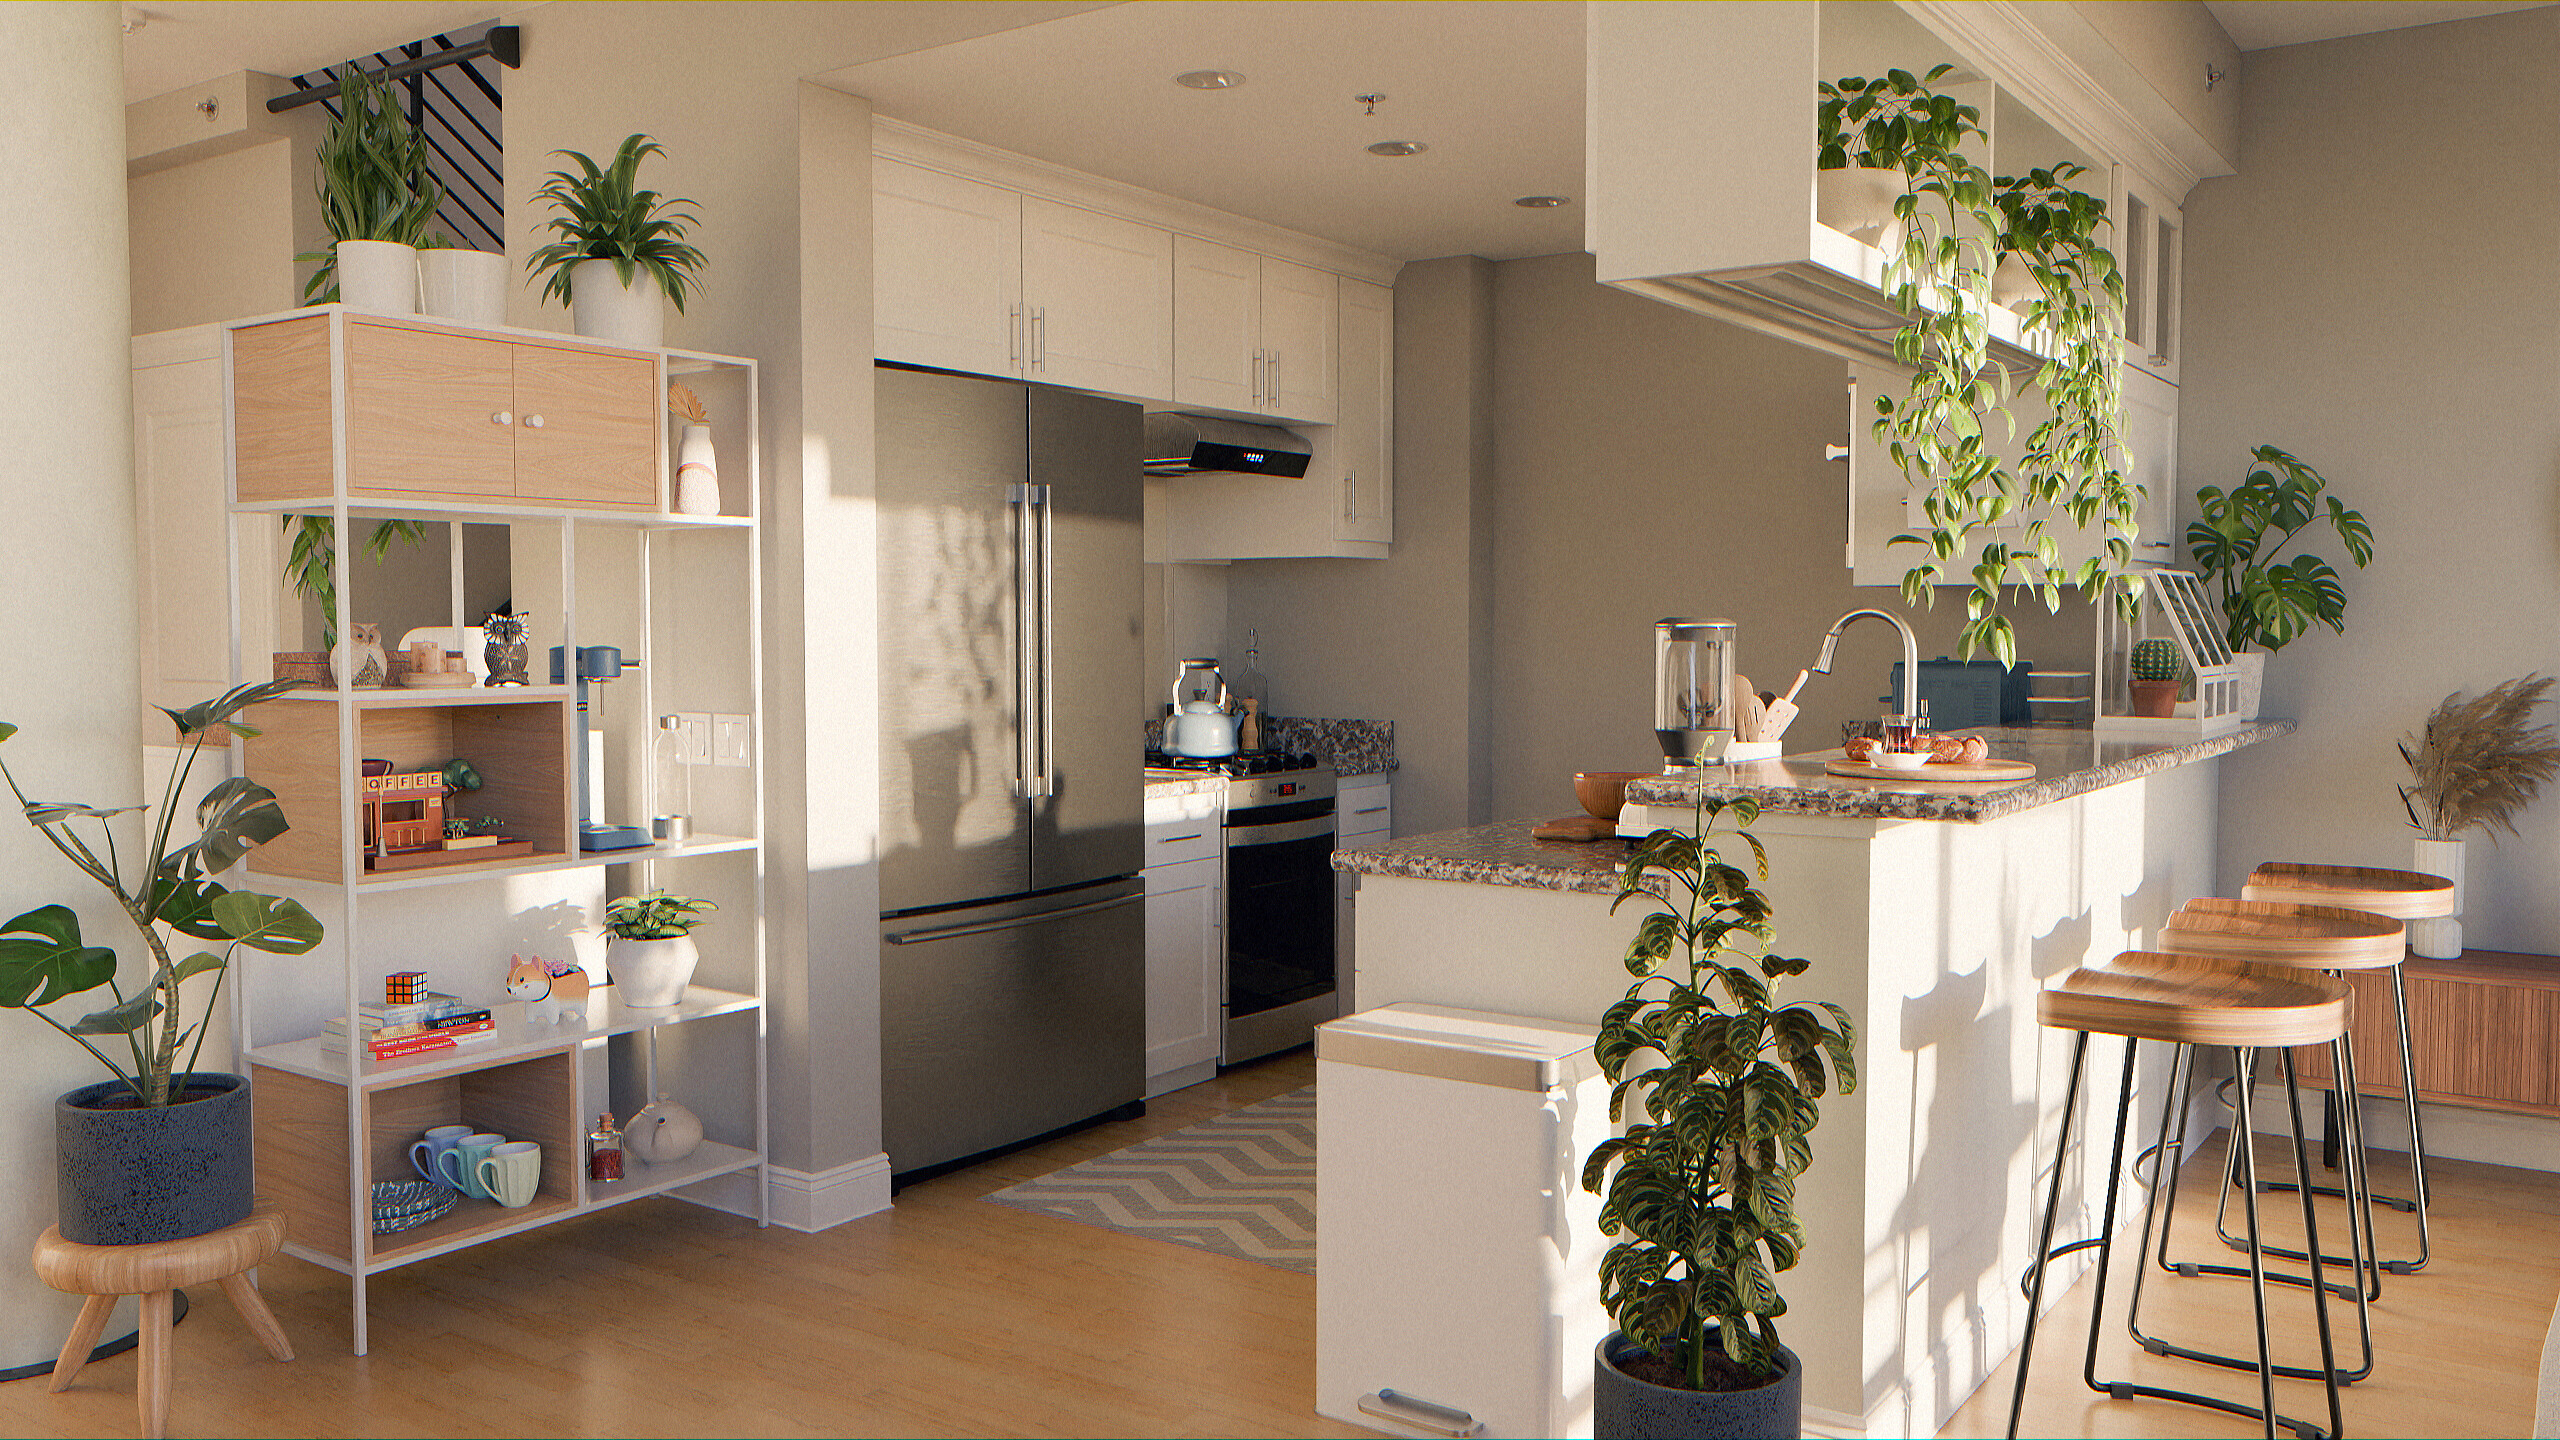
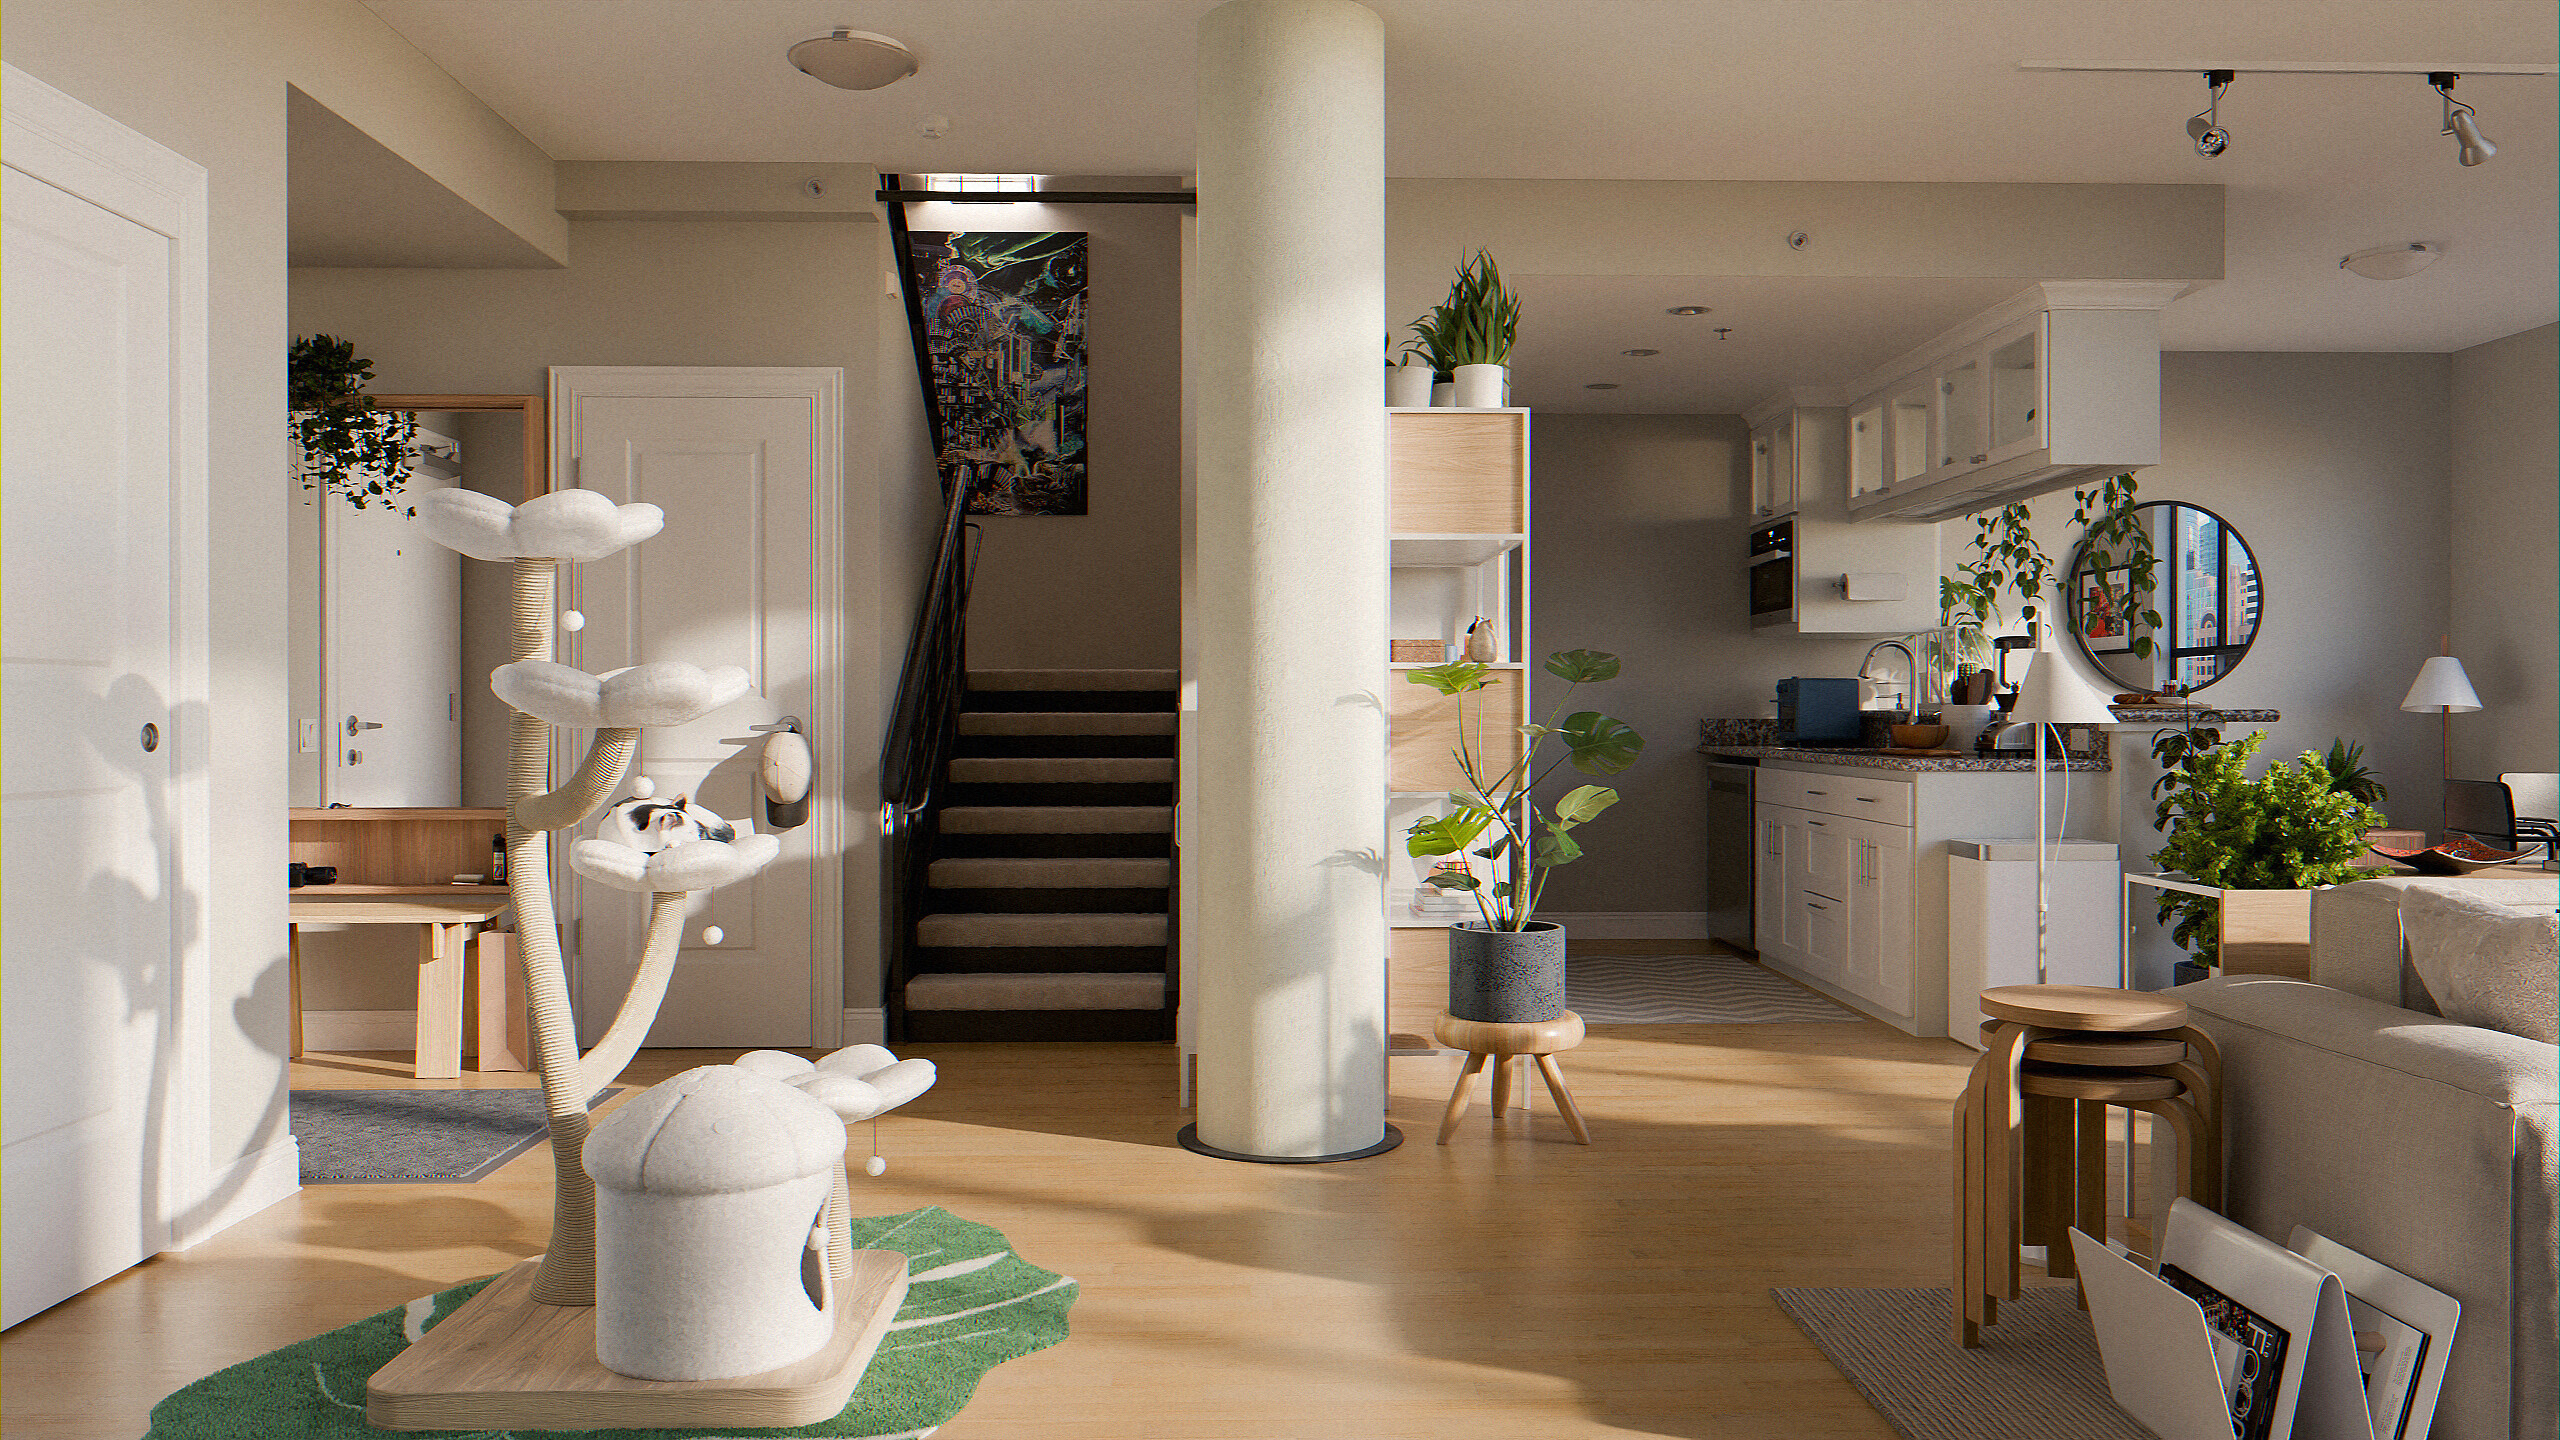
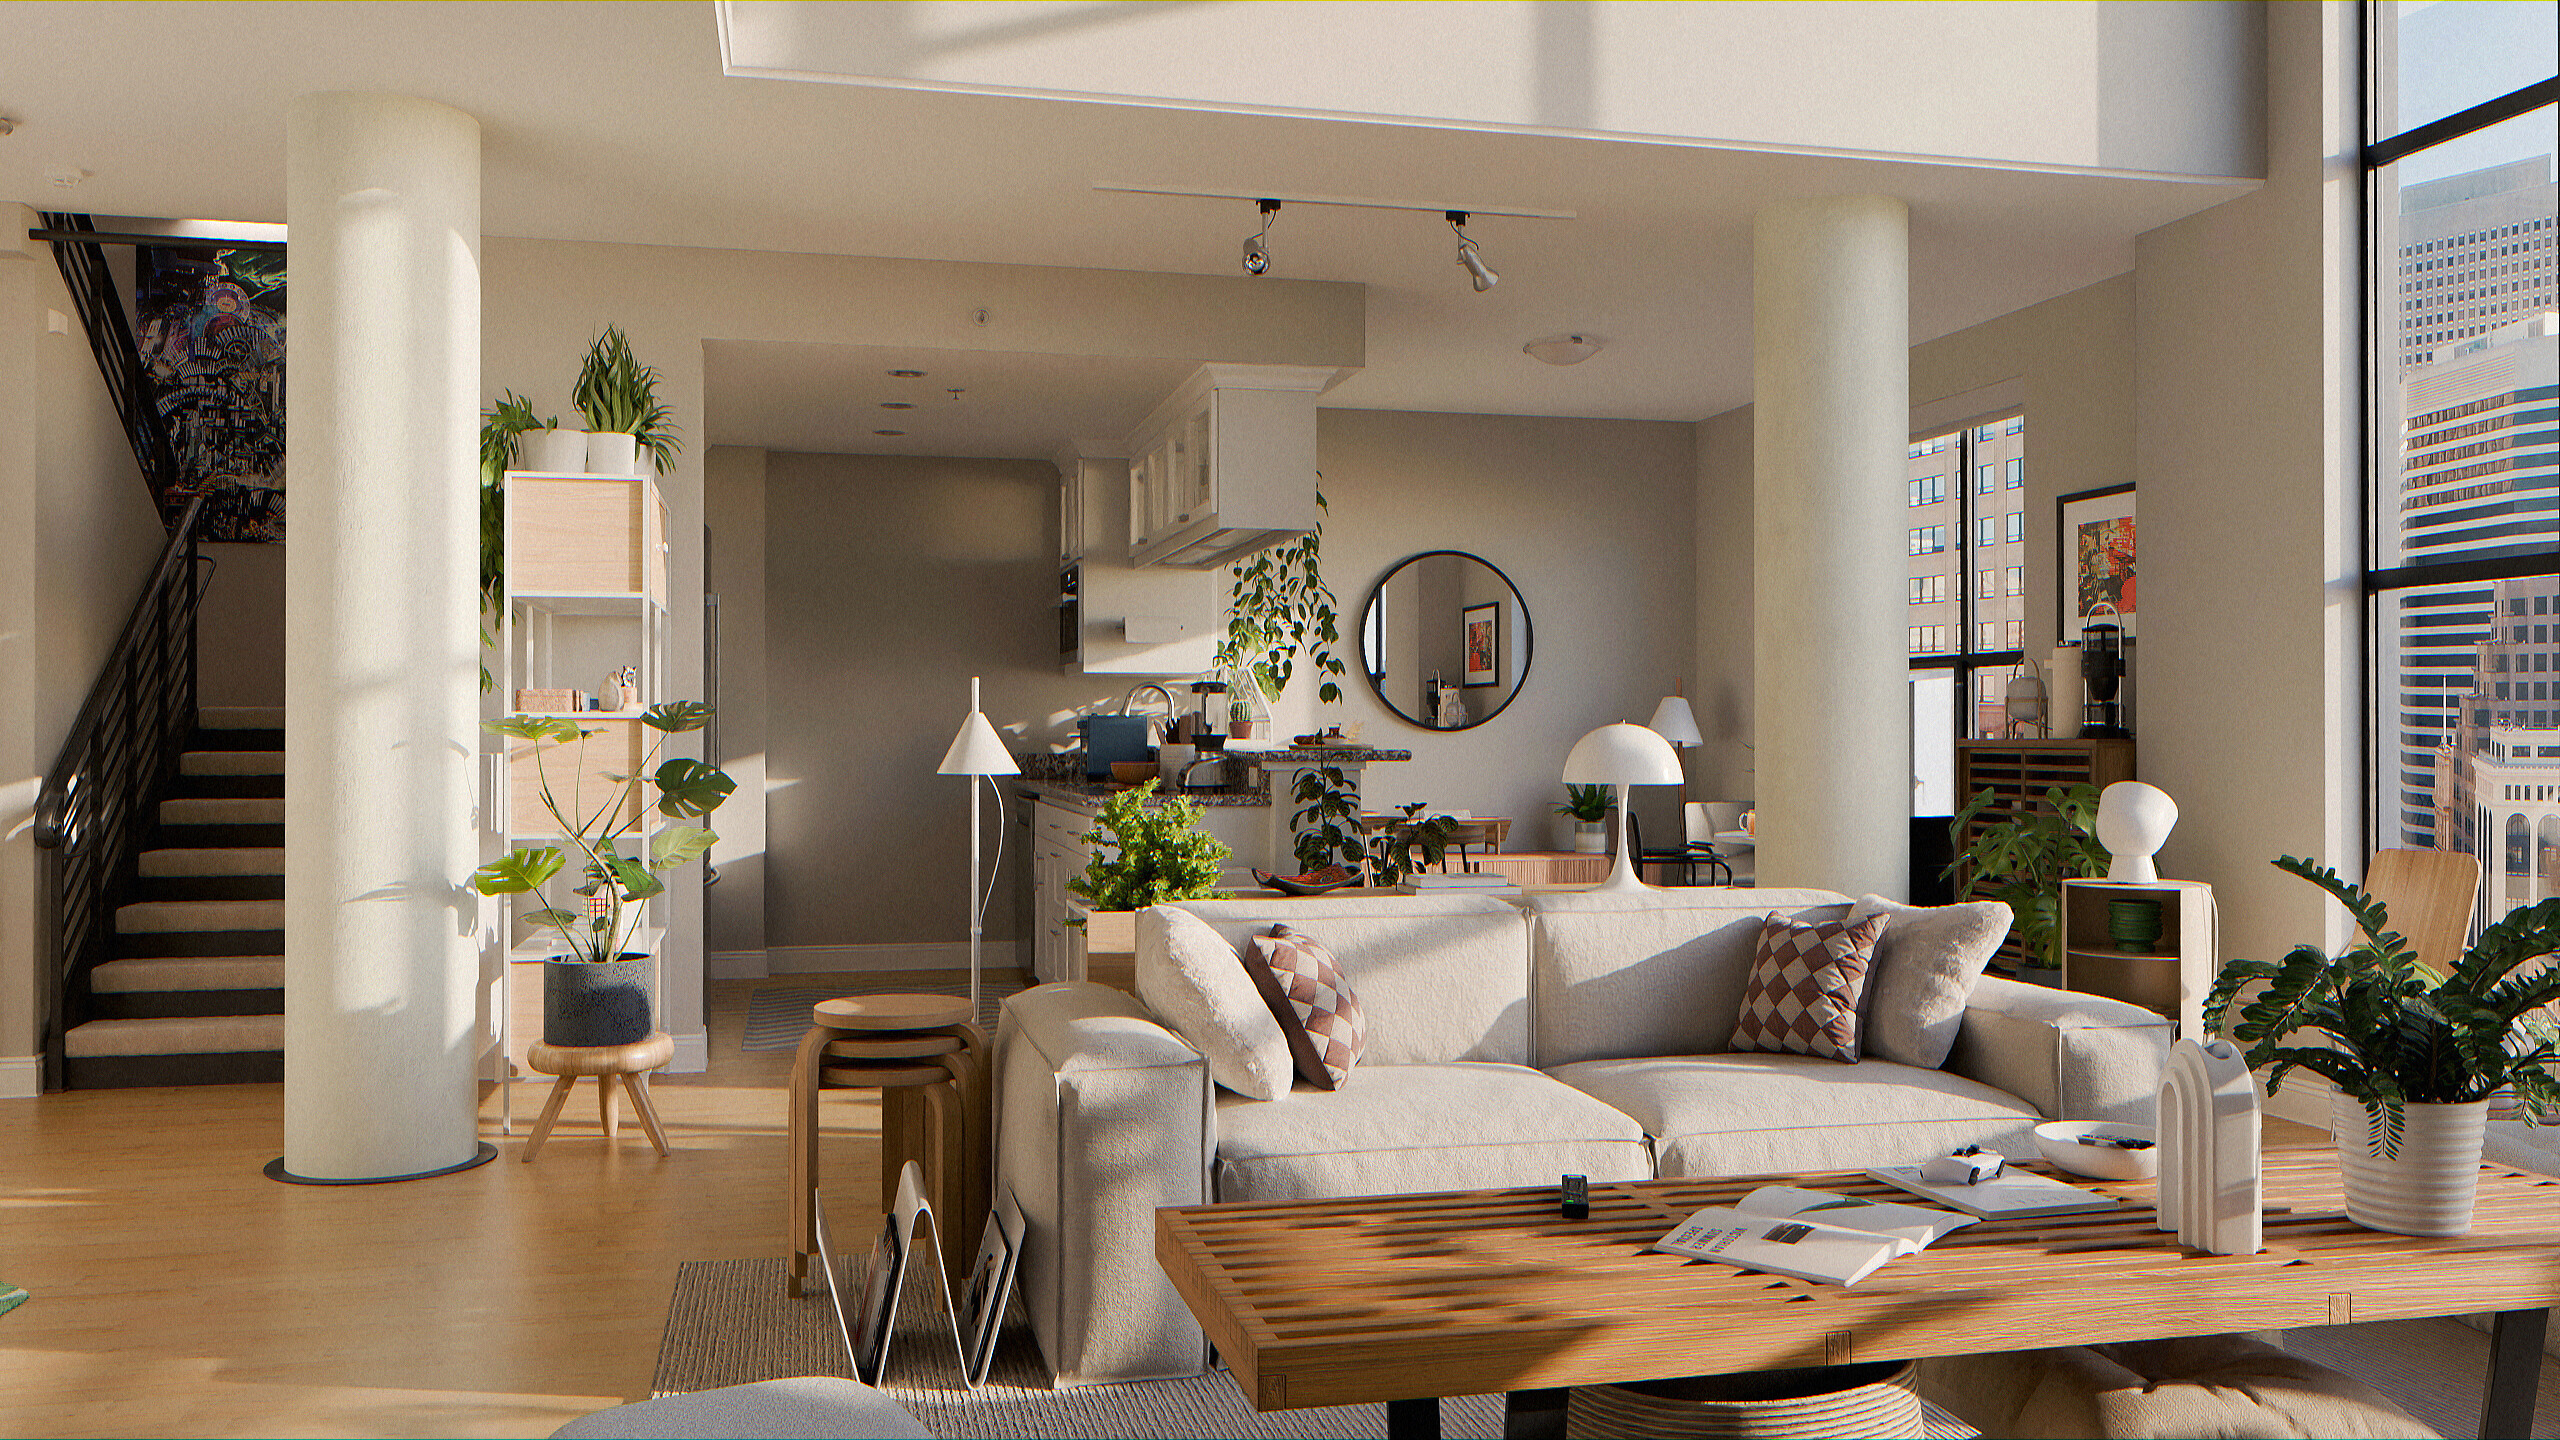
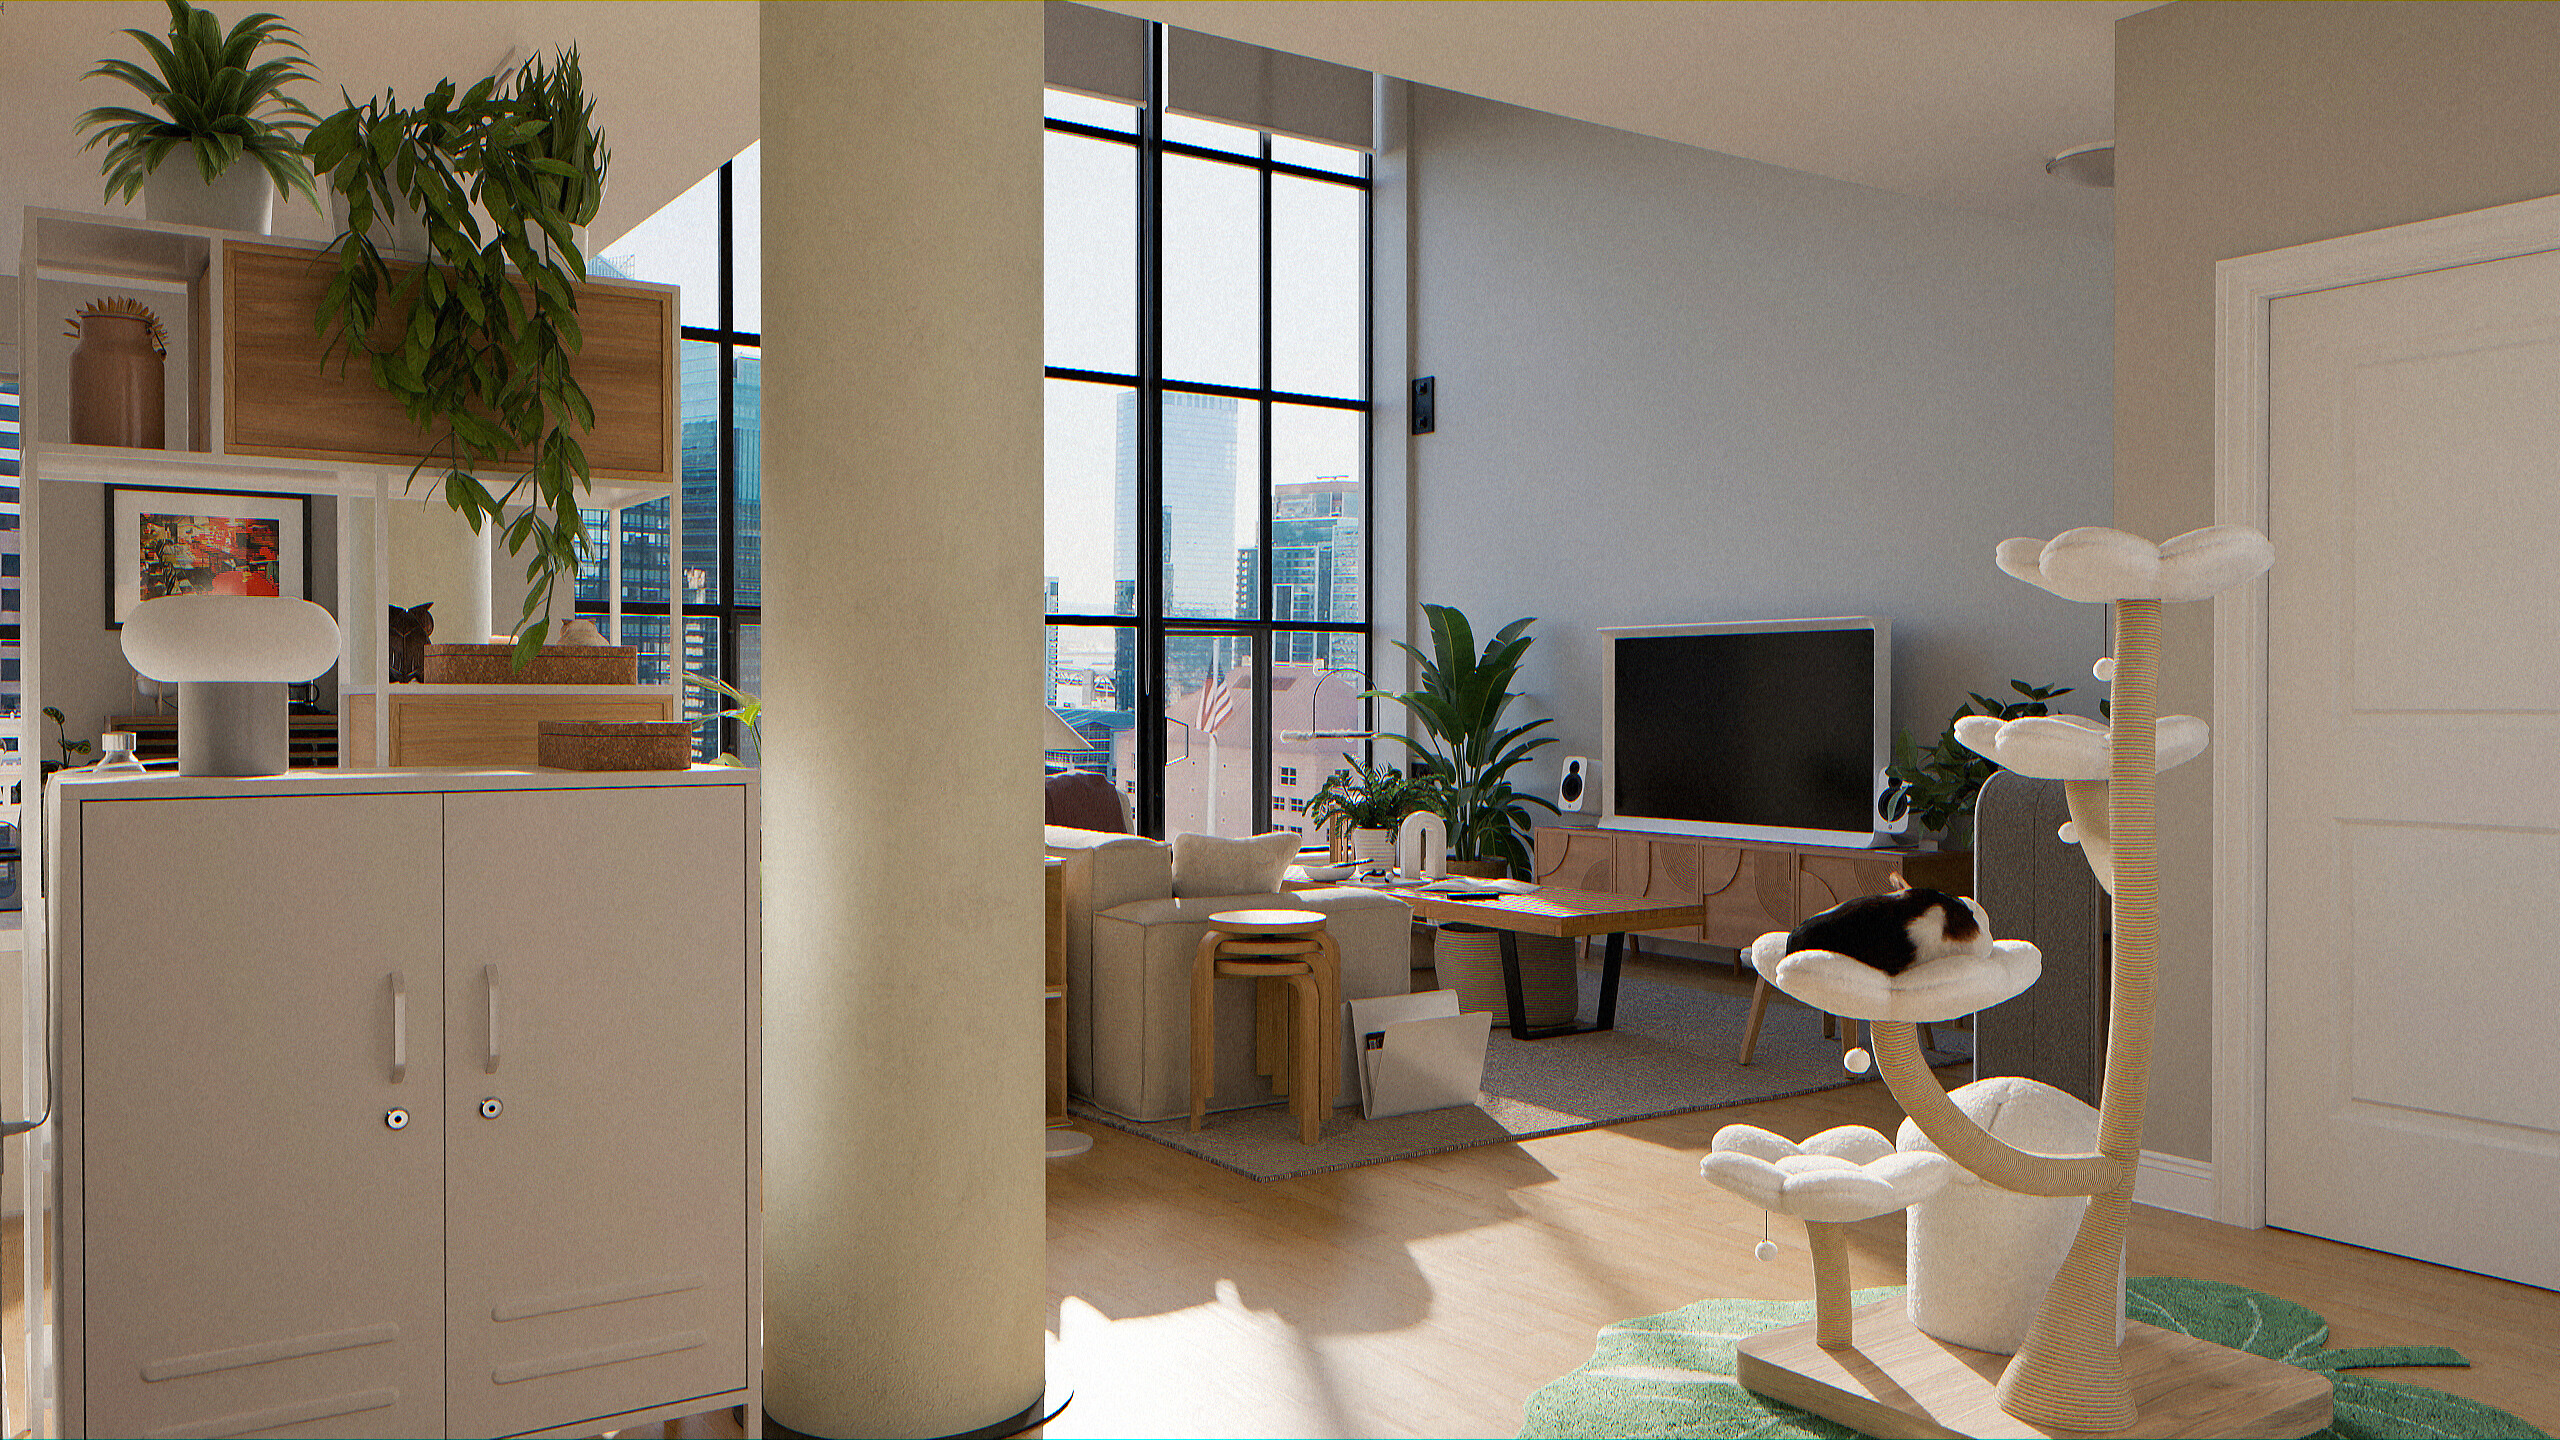
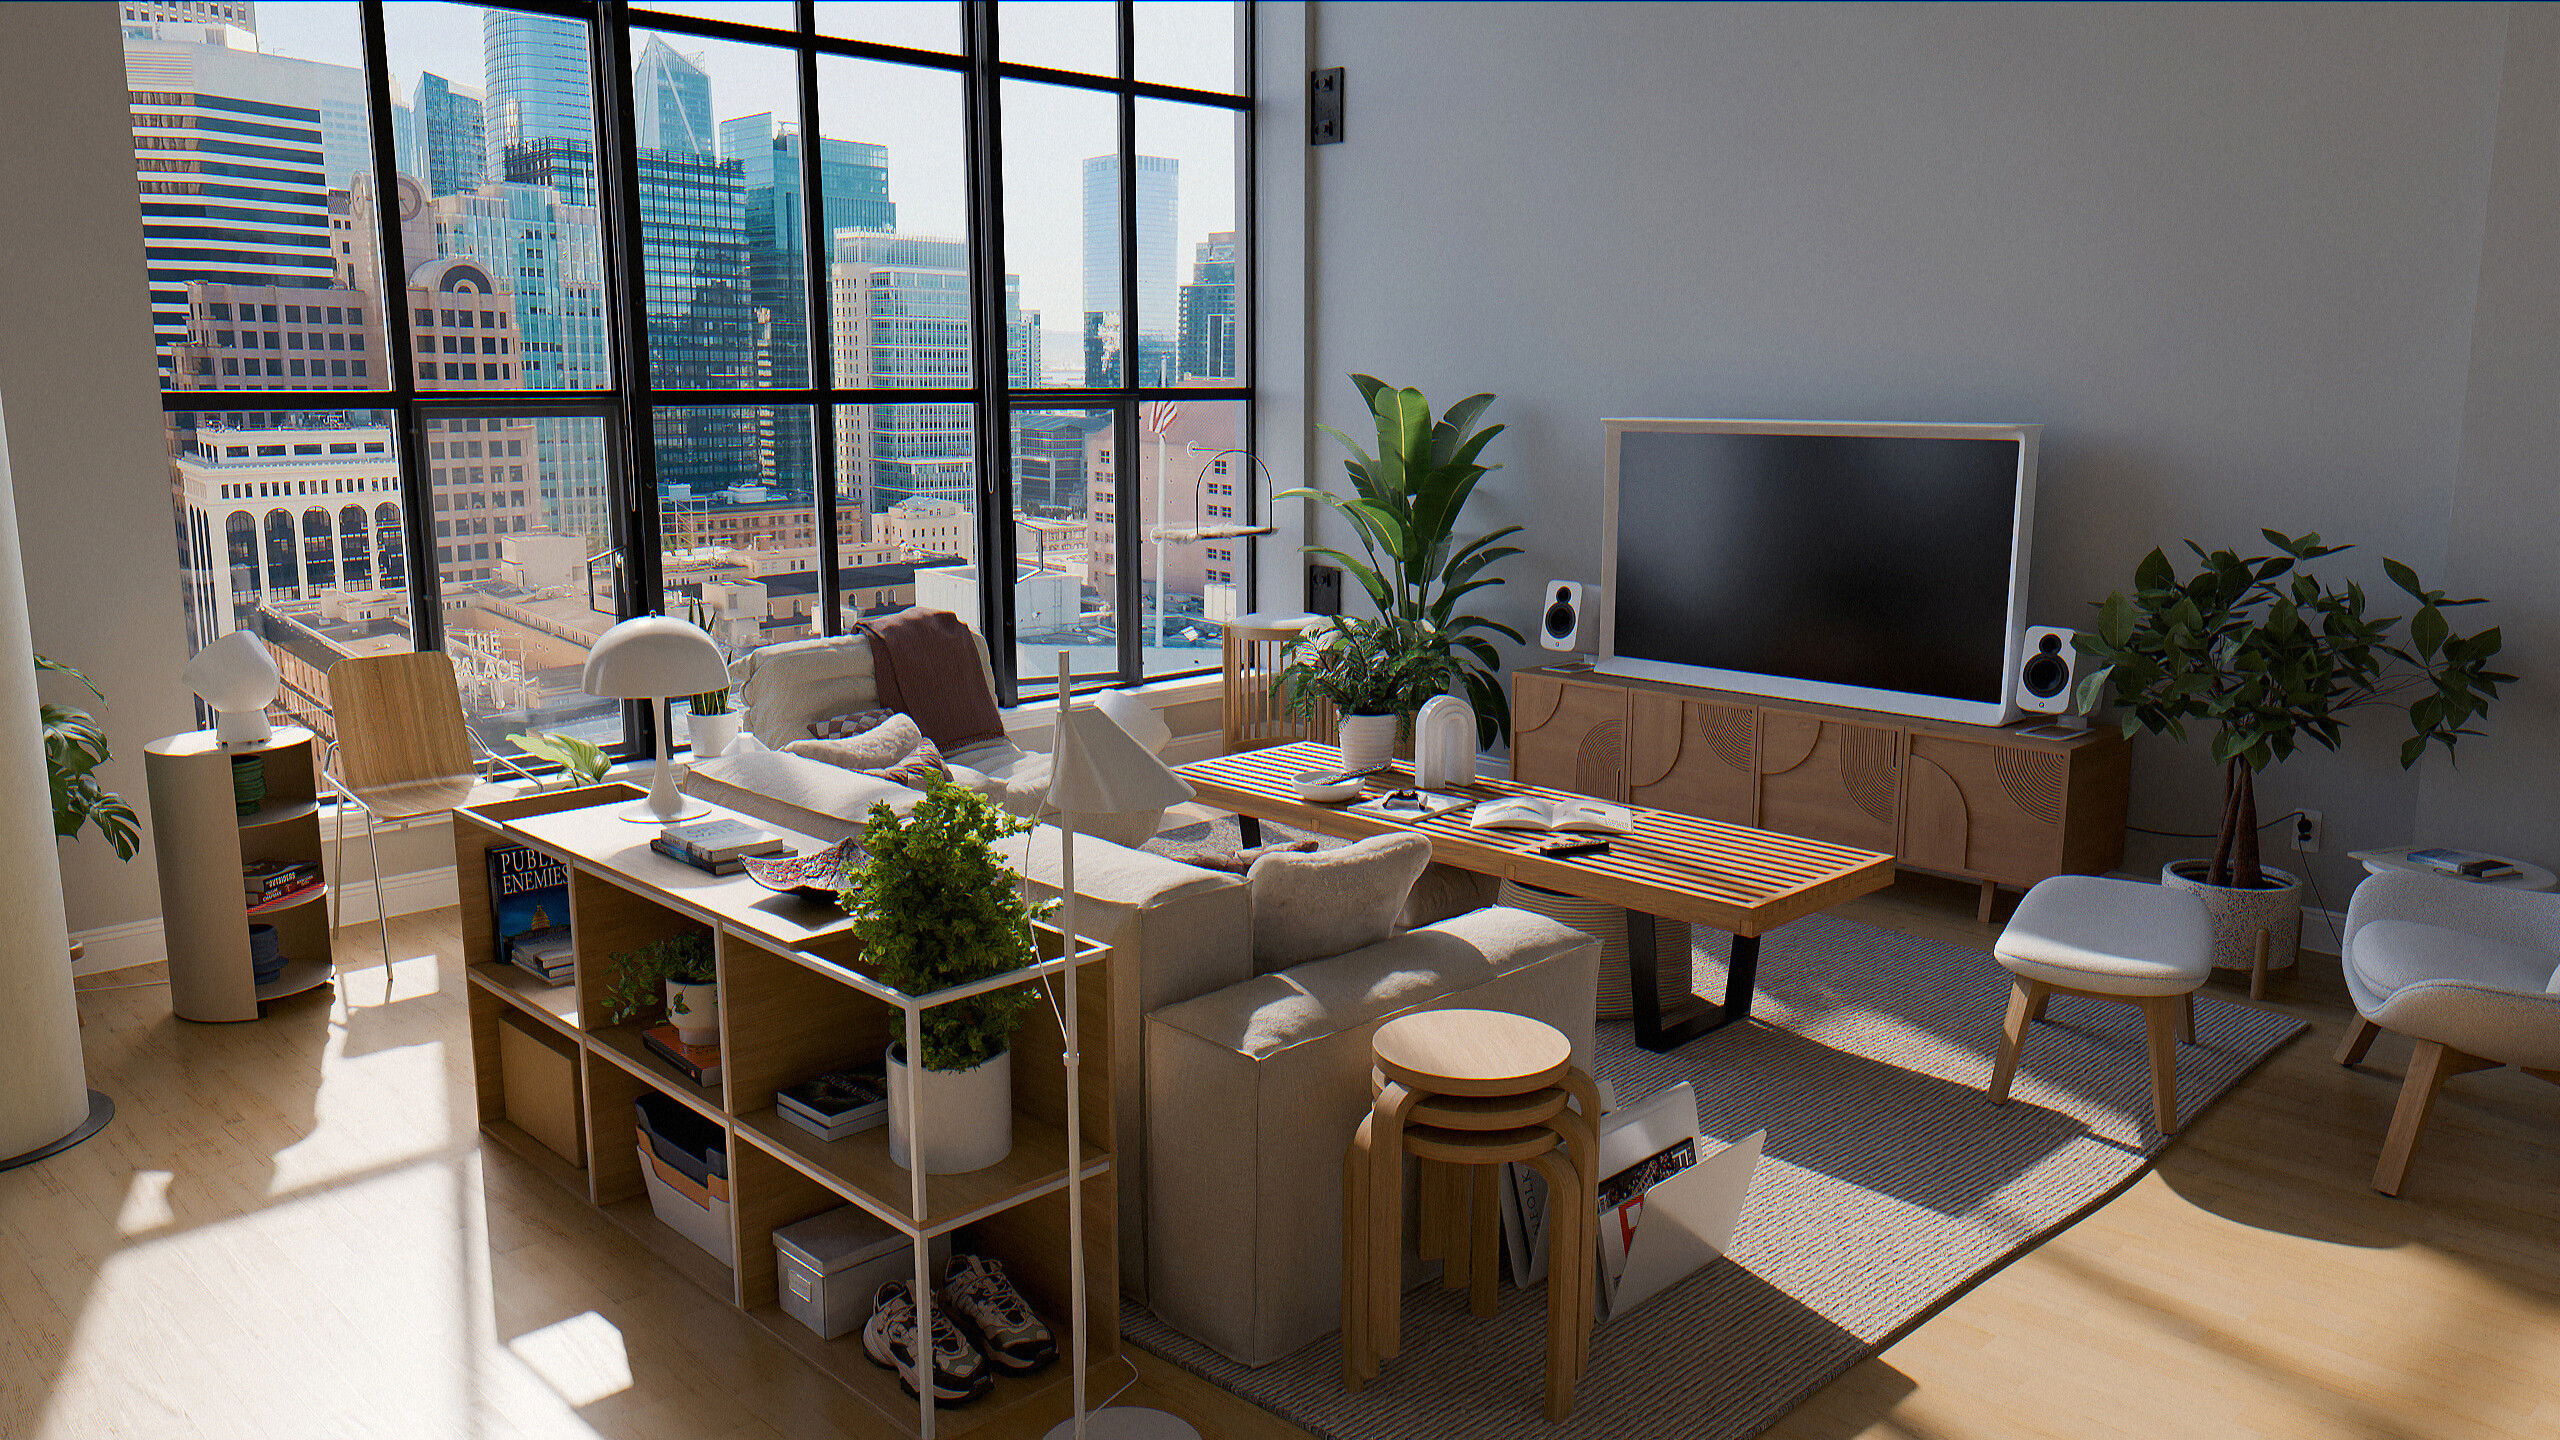
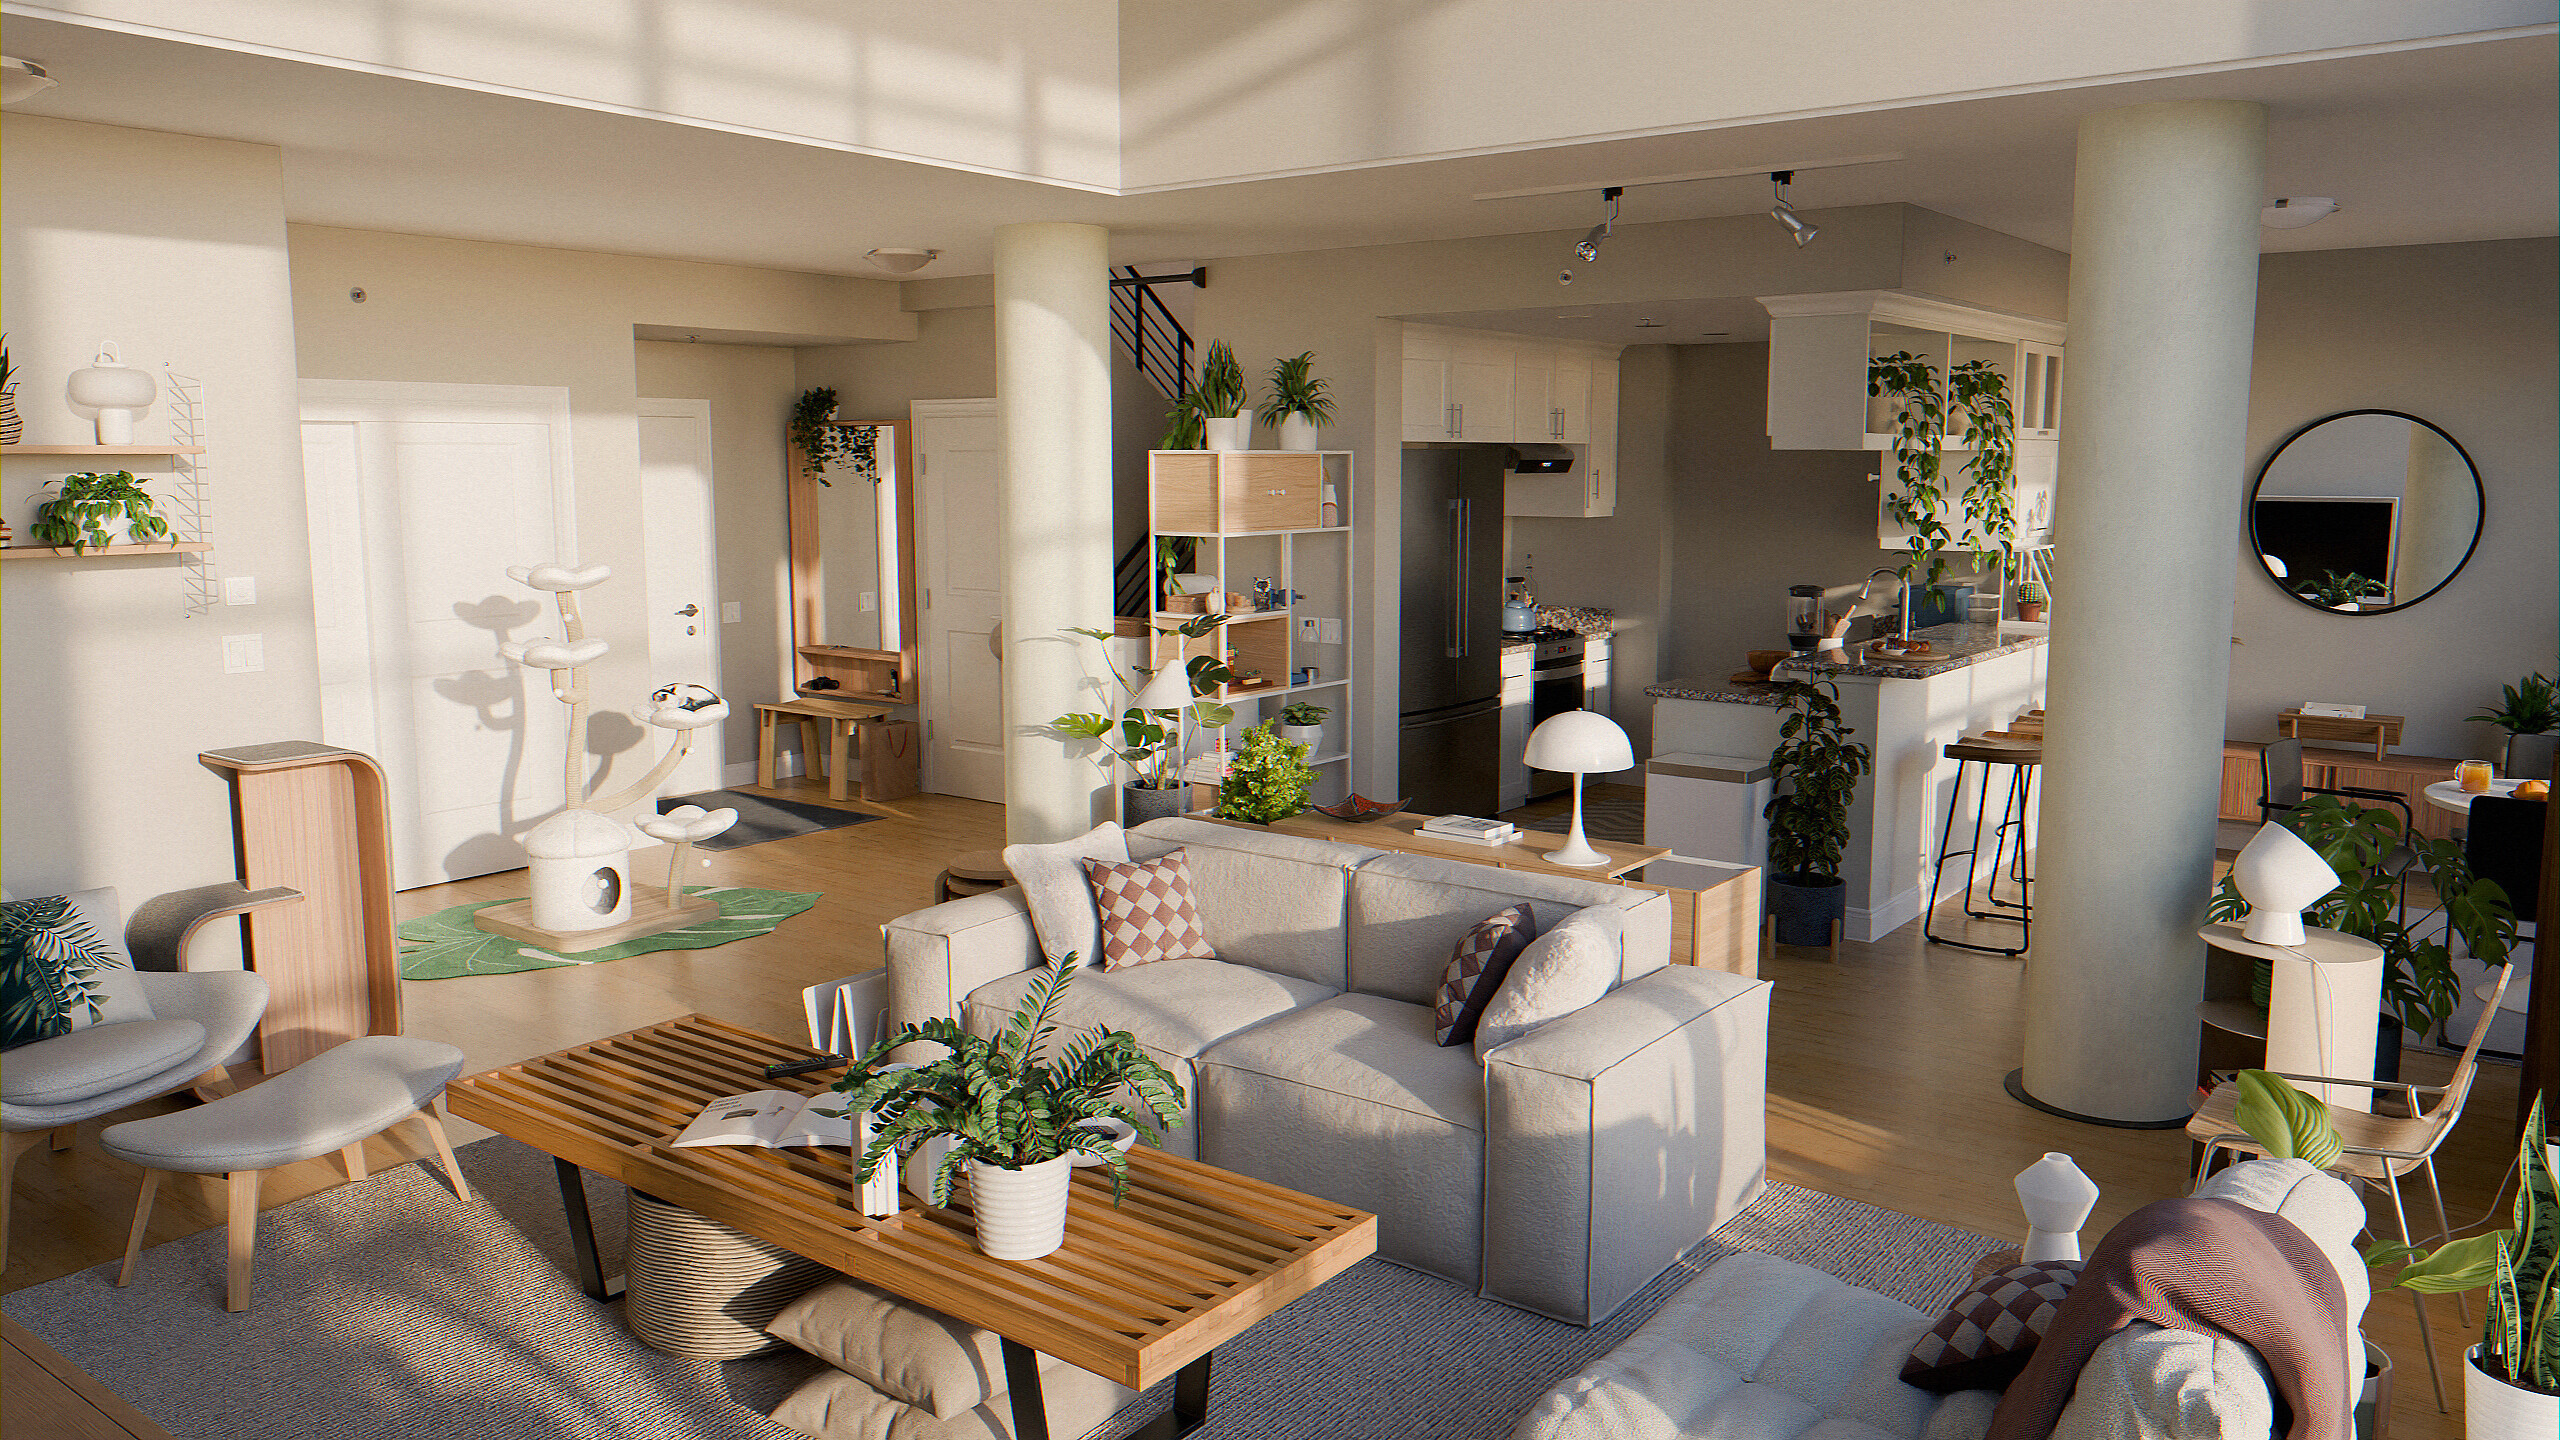
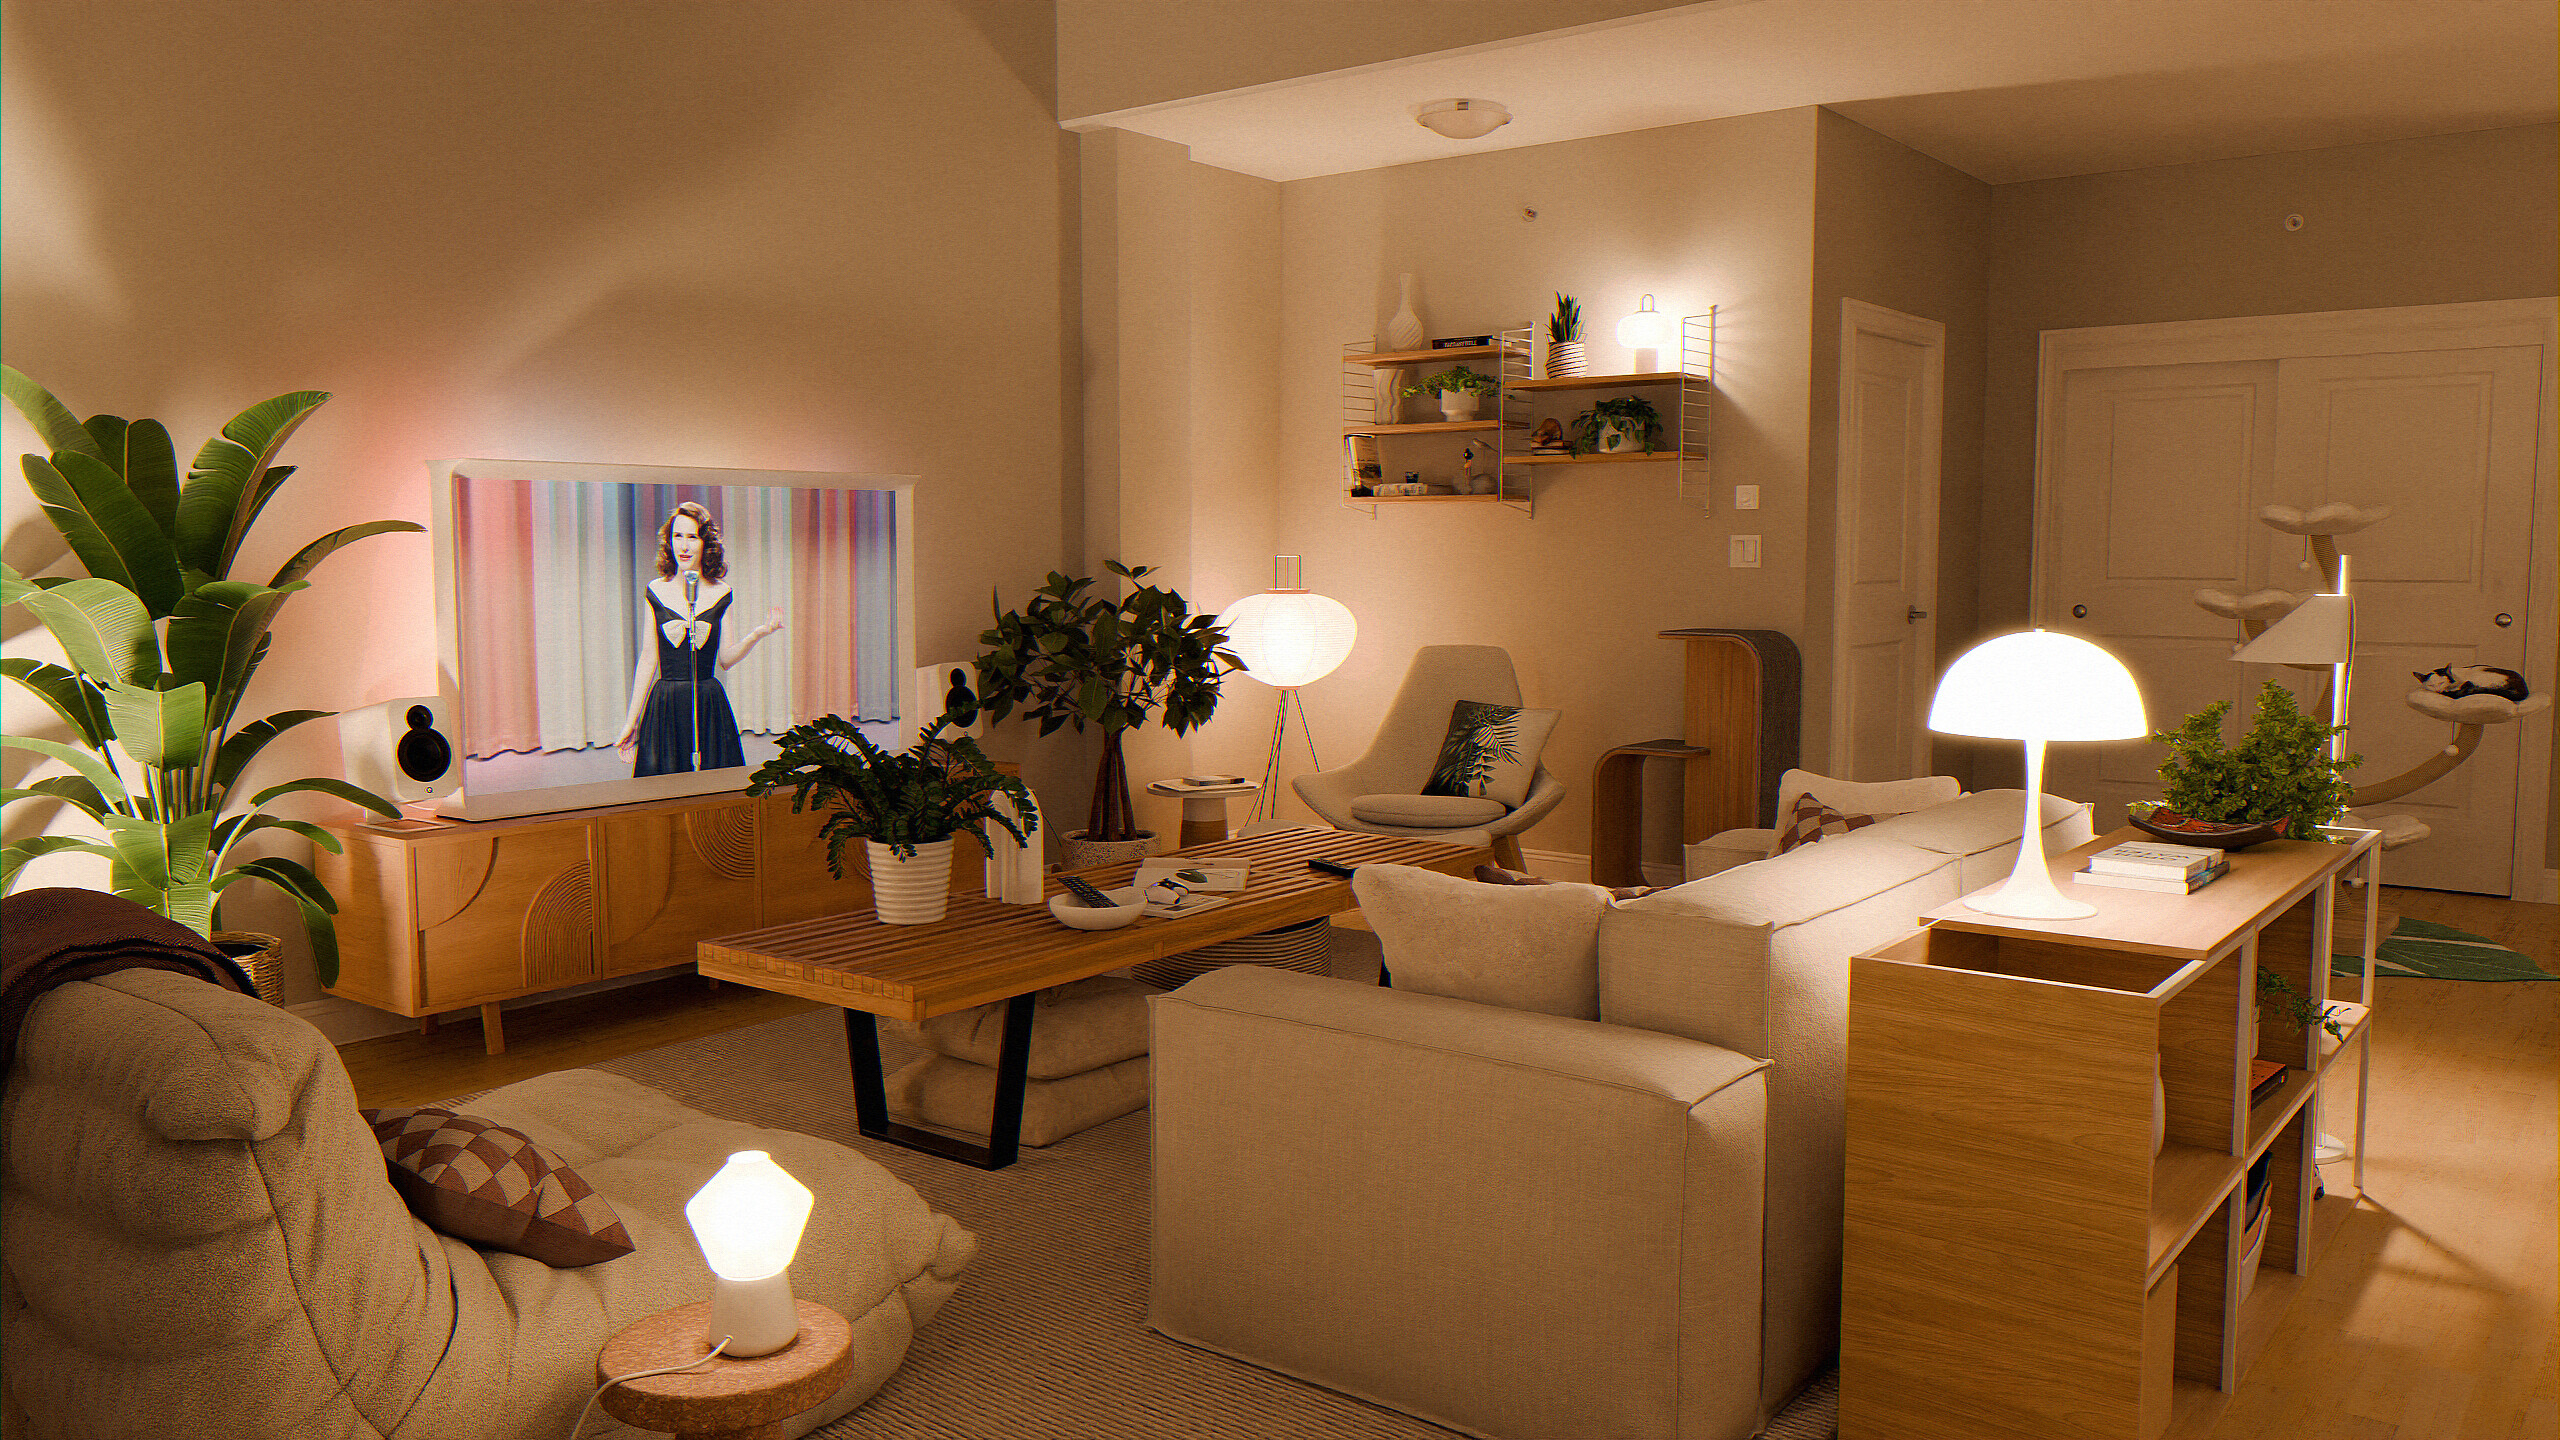
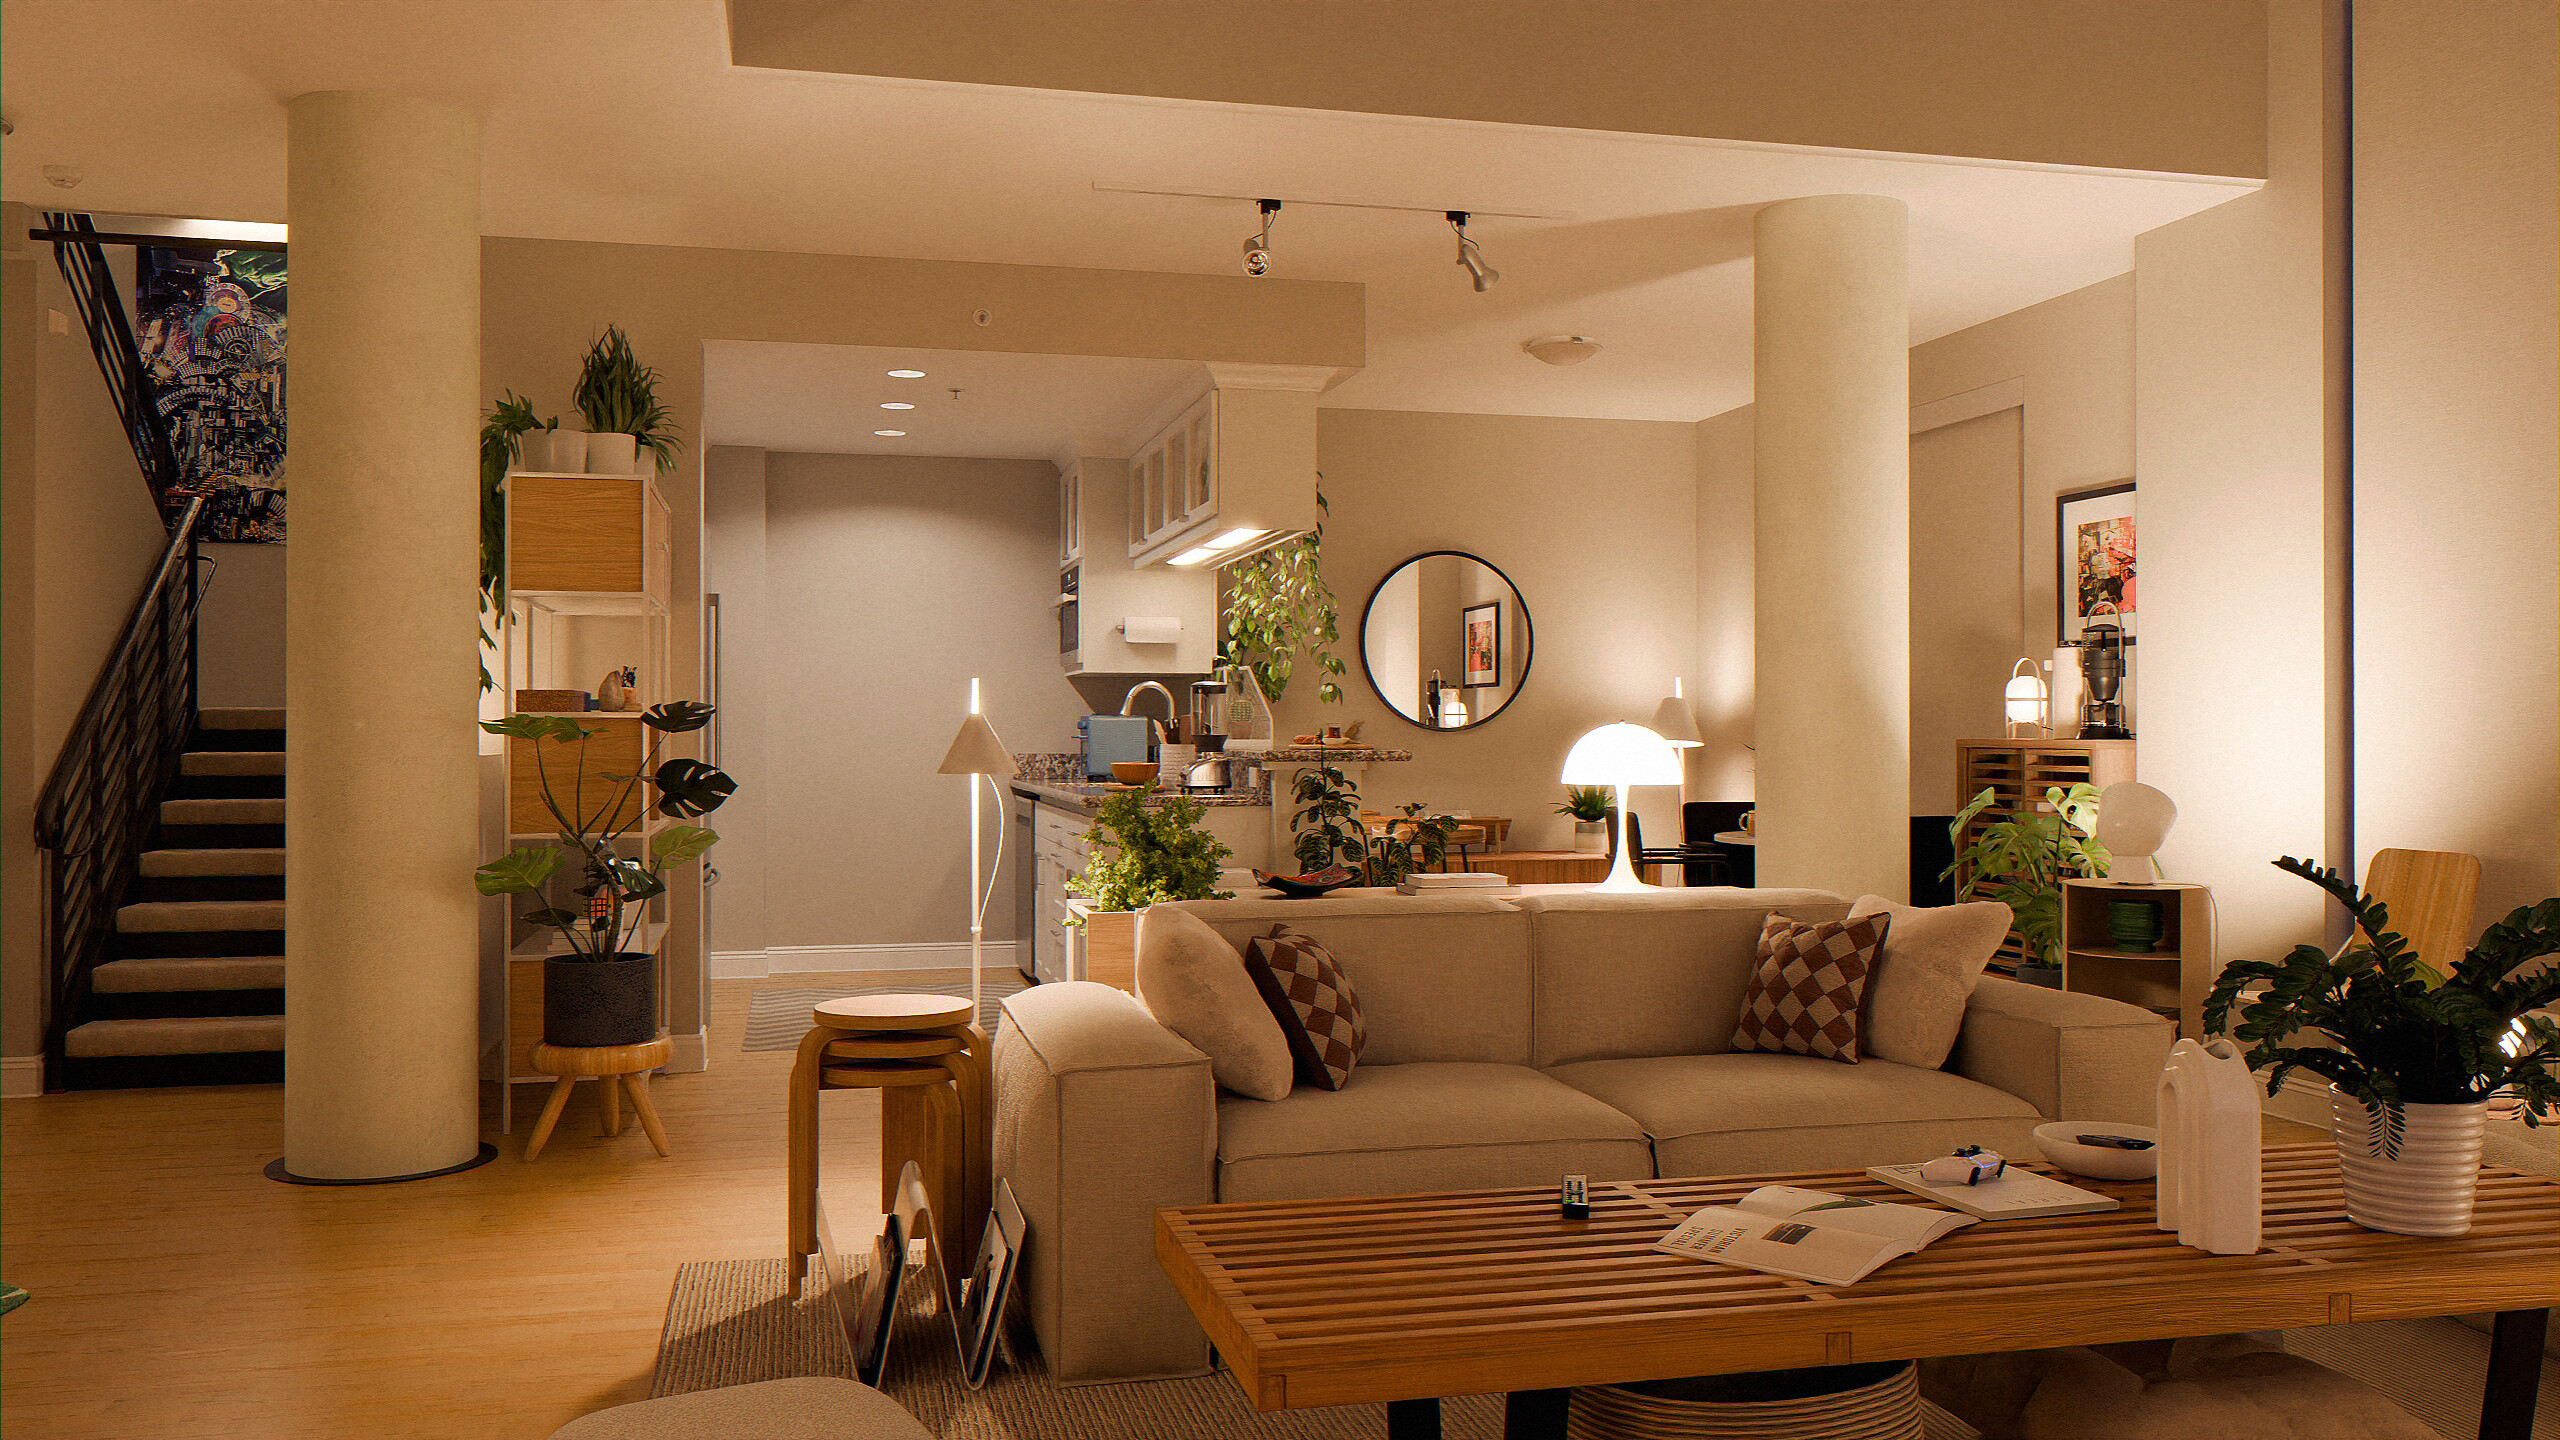
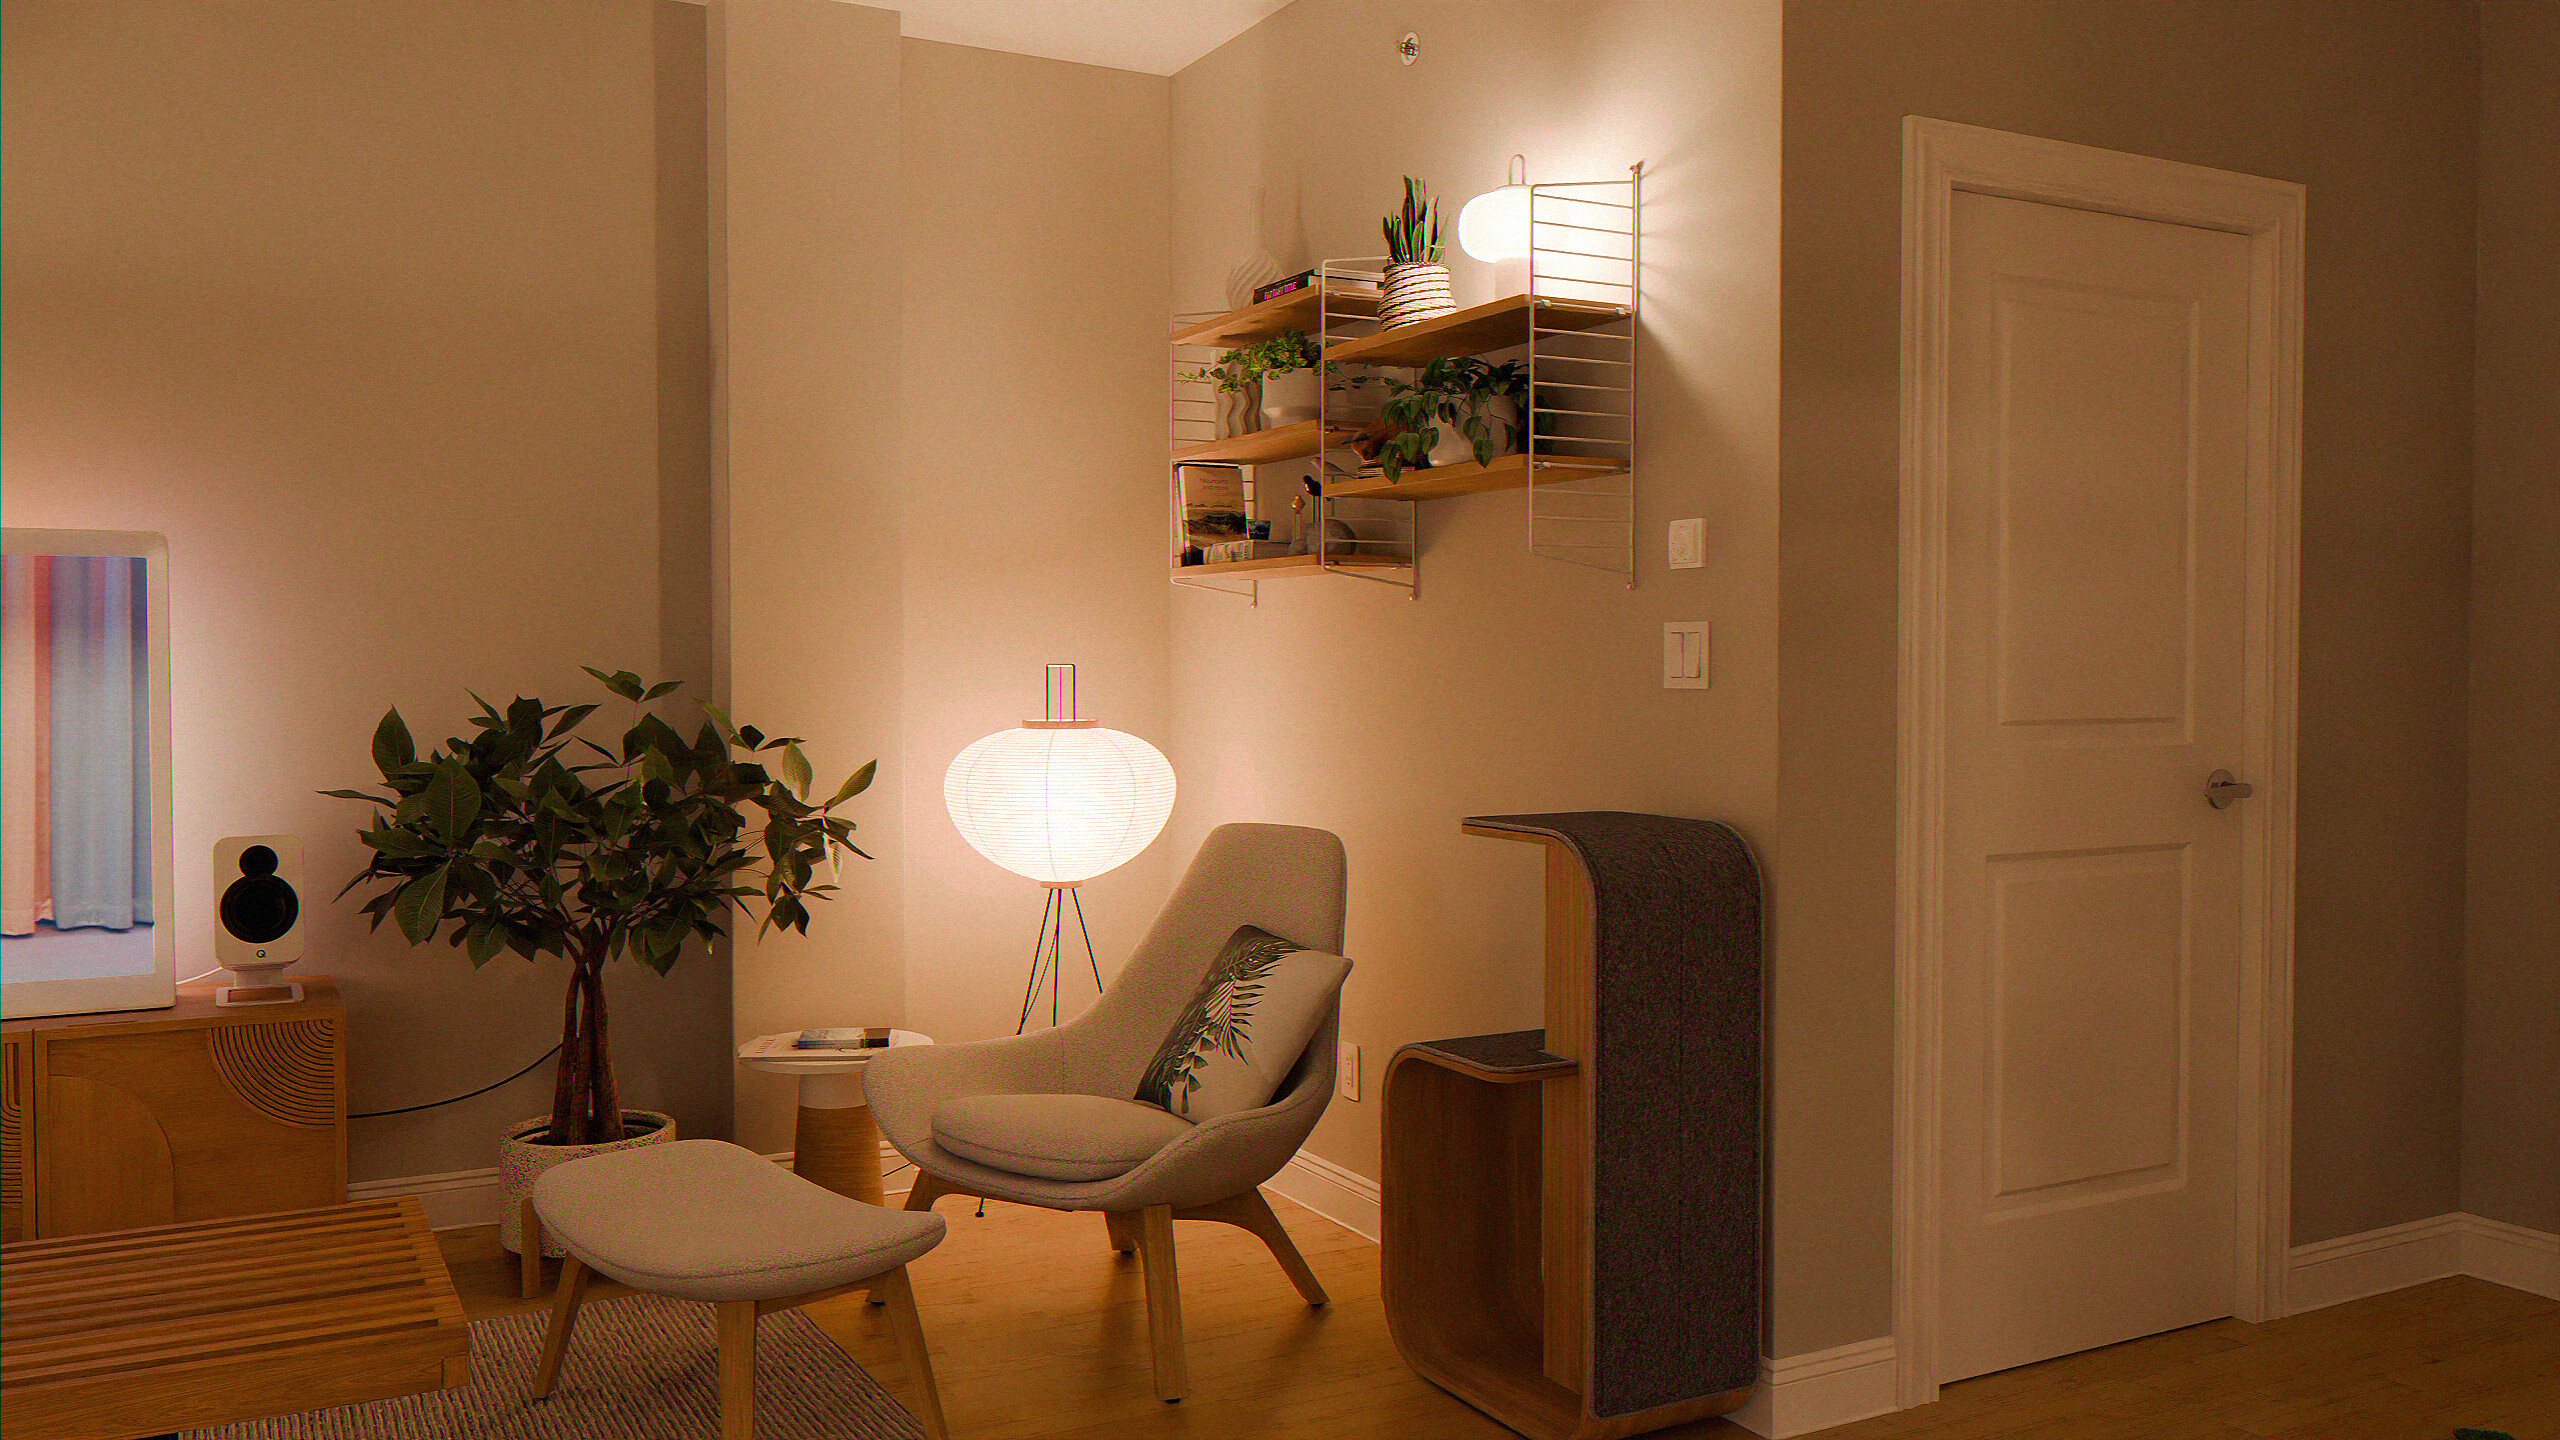
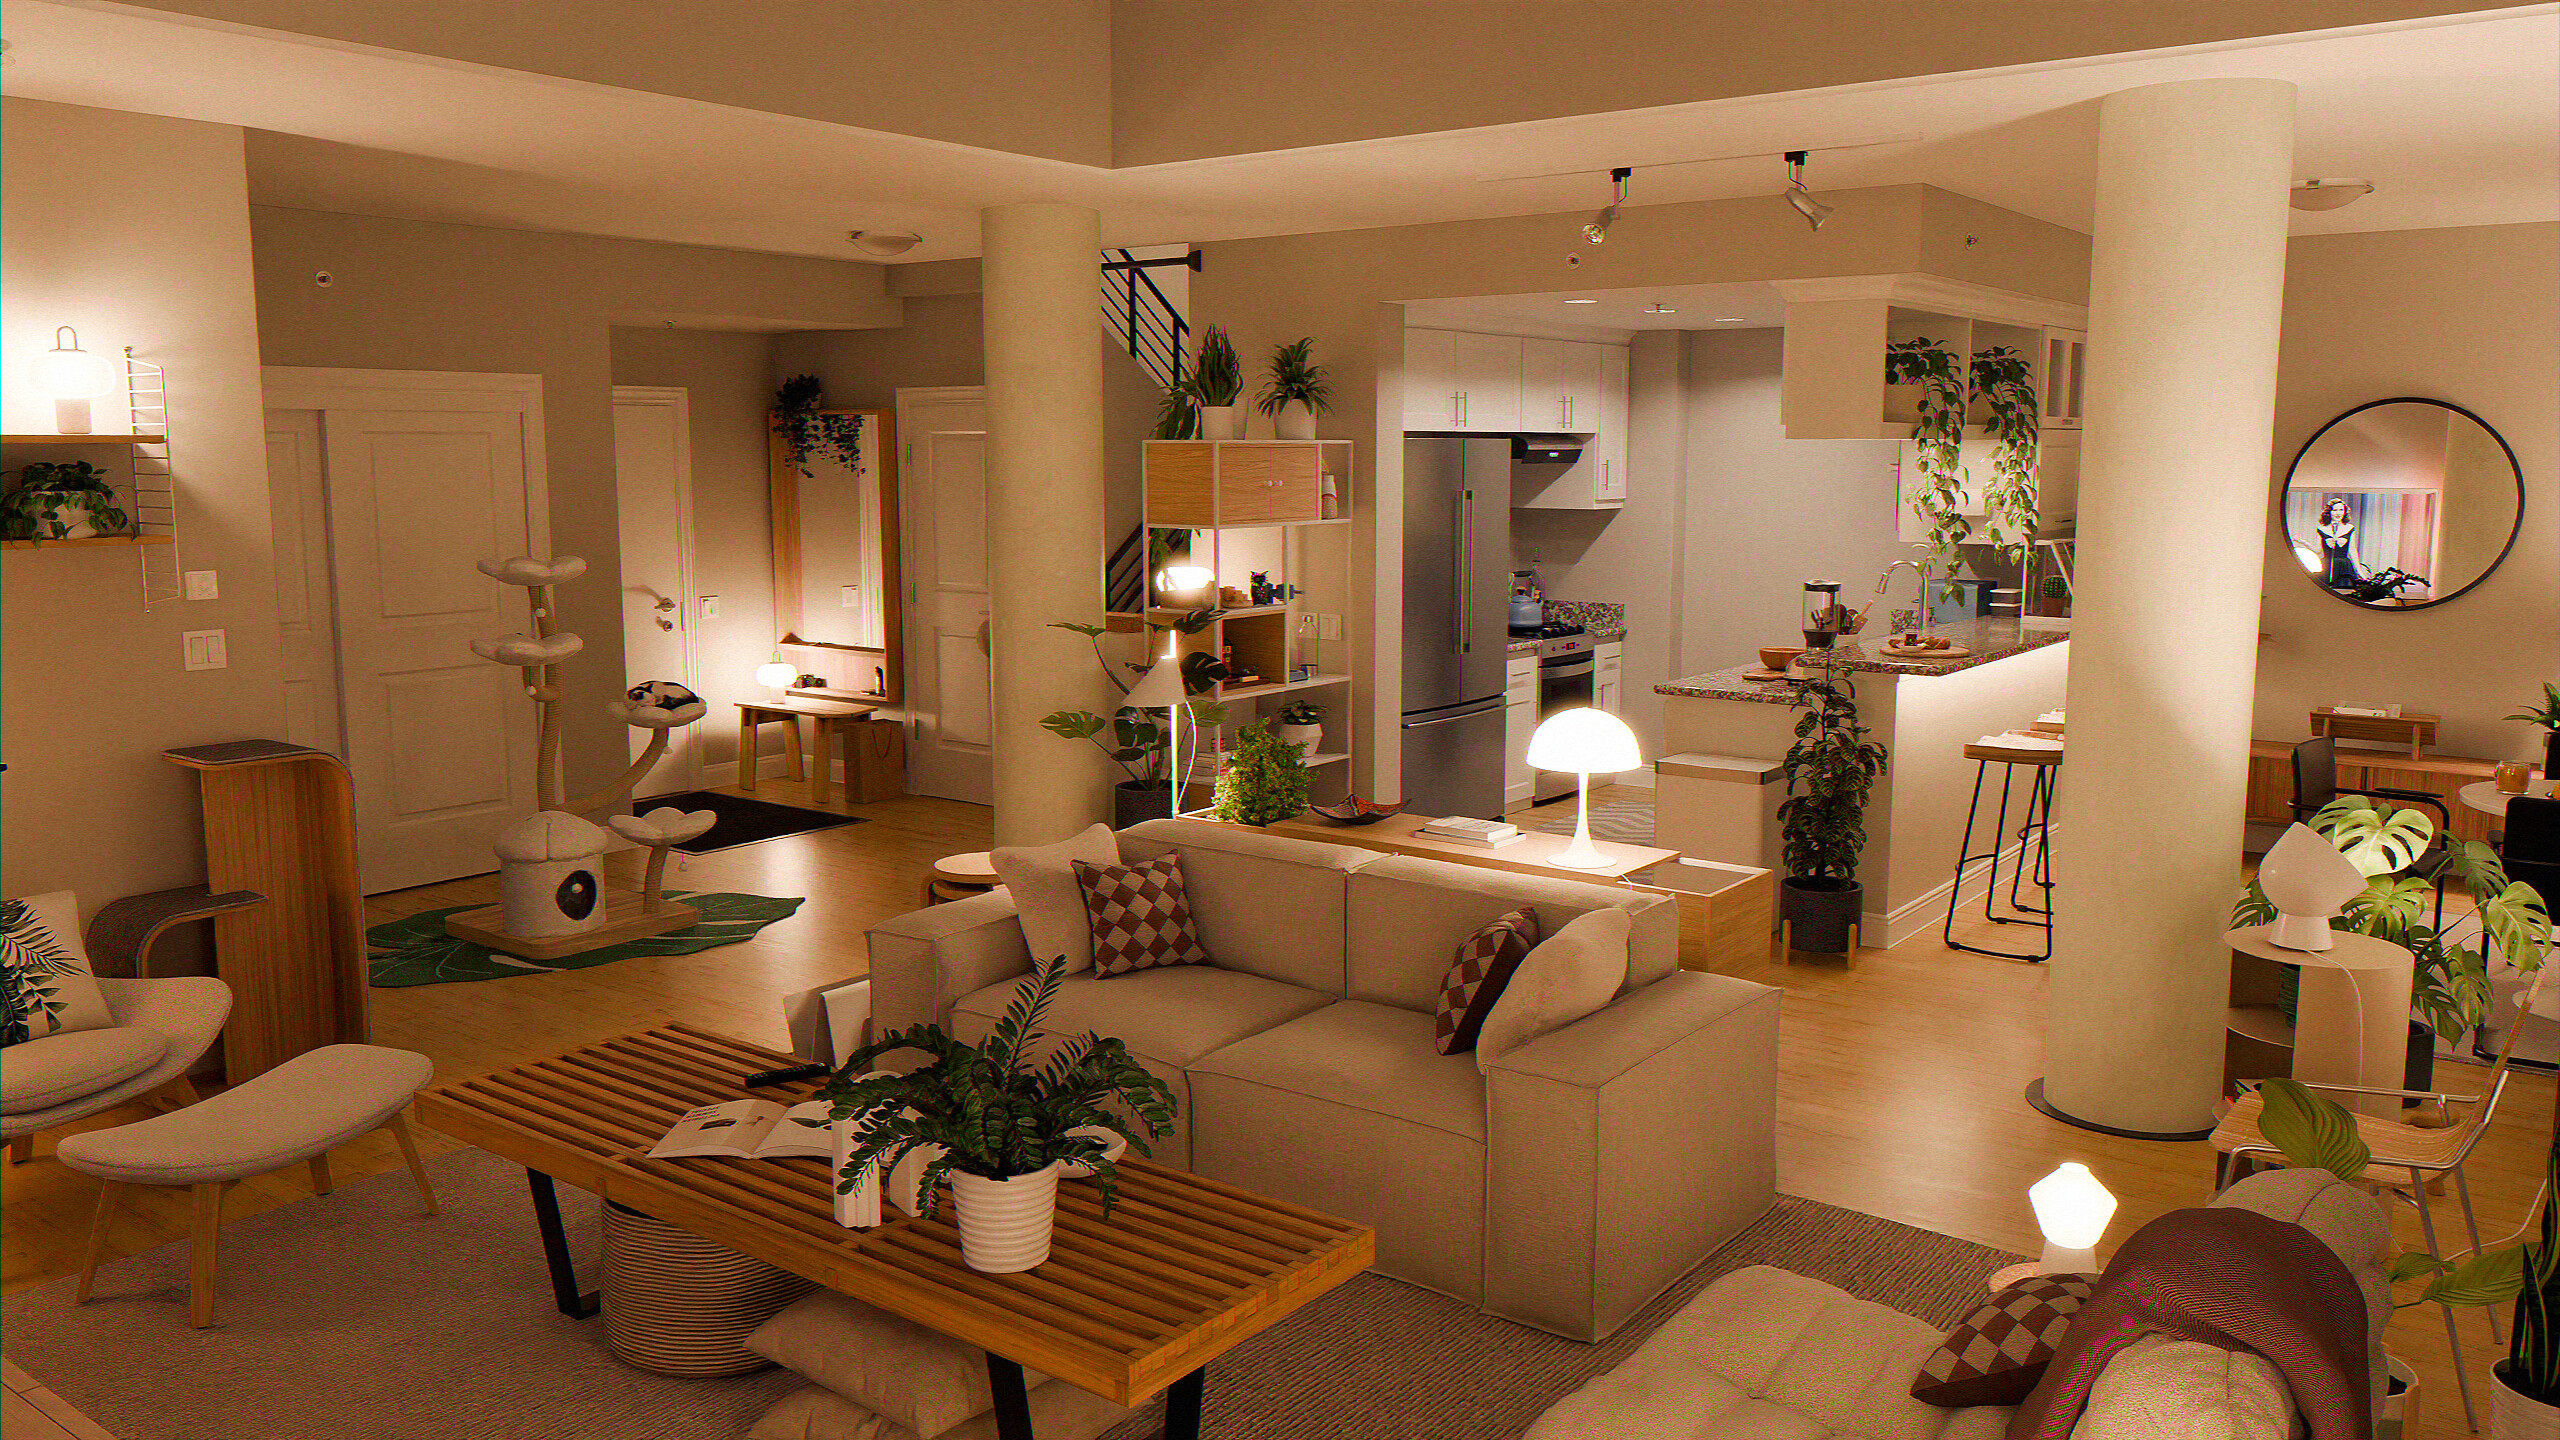
Personal project for portfolio. Visualization of Eric Wang’s apartment - a blogger from San Francisco who has conveniently made a lot of videos of his apartment. But he is a bit unlucky with the view from the window. ![]()
")
Personal project for portfolio. Visualization of Eric Wang’s apartment - a blogger from San Francisco who has conveniently made a lot of videos of his apartment. But he is a bit unlucky with the view from the window. ![]()
Seems you worked plenty on this project… Well done!
Thanks! Yes, it took me about 2 months, but I also was doing other stuff simultaneously.
Really very nice stuff! Well done!
I featured you on BlenderNation, have a great weekend!
Thanks a lot, Bart!
A multifactorial Wow. And suspended thoughts, moderately existential.
Beautiful set, to speak simply.
this is too pleasing to the eye, very cool ![]()
I normally don’t particularly love arch renders, as some can look so sterile. This feels warm, and like a real space of someone’s home. Nicely done.
Thank you! Yeah, archviz renders are usually sterile, that’s what clients want. I don’t like such look either.
Yea, you just won archviz. Great materials. Could benefit from a little denoising, or perhaps the noise is intentional and added in post ? anyway, real nice.
Thank you! Yes, noise is intentional and added in photoshop. Completely denoised renders looked a bit boring in my opinion.
I see, I figured so. Yes, it does add something. What’s the renderer ? Cycles ?
Very nice work!
May I give a few suggestions for a more professional result?
This is a constructive critique, everything else looks awesome.
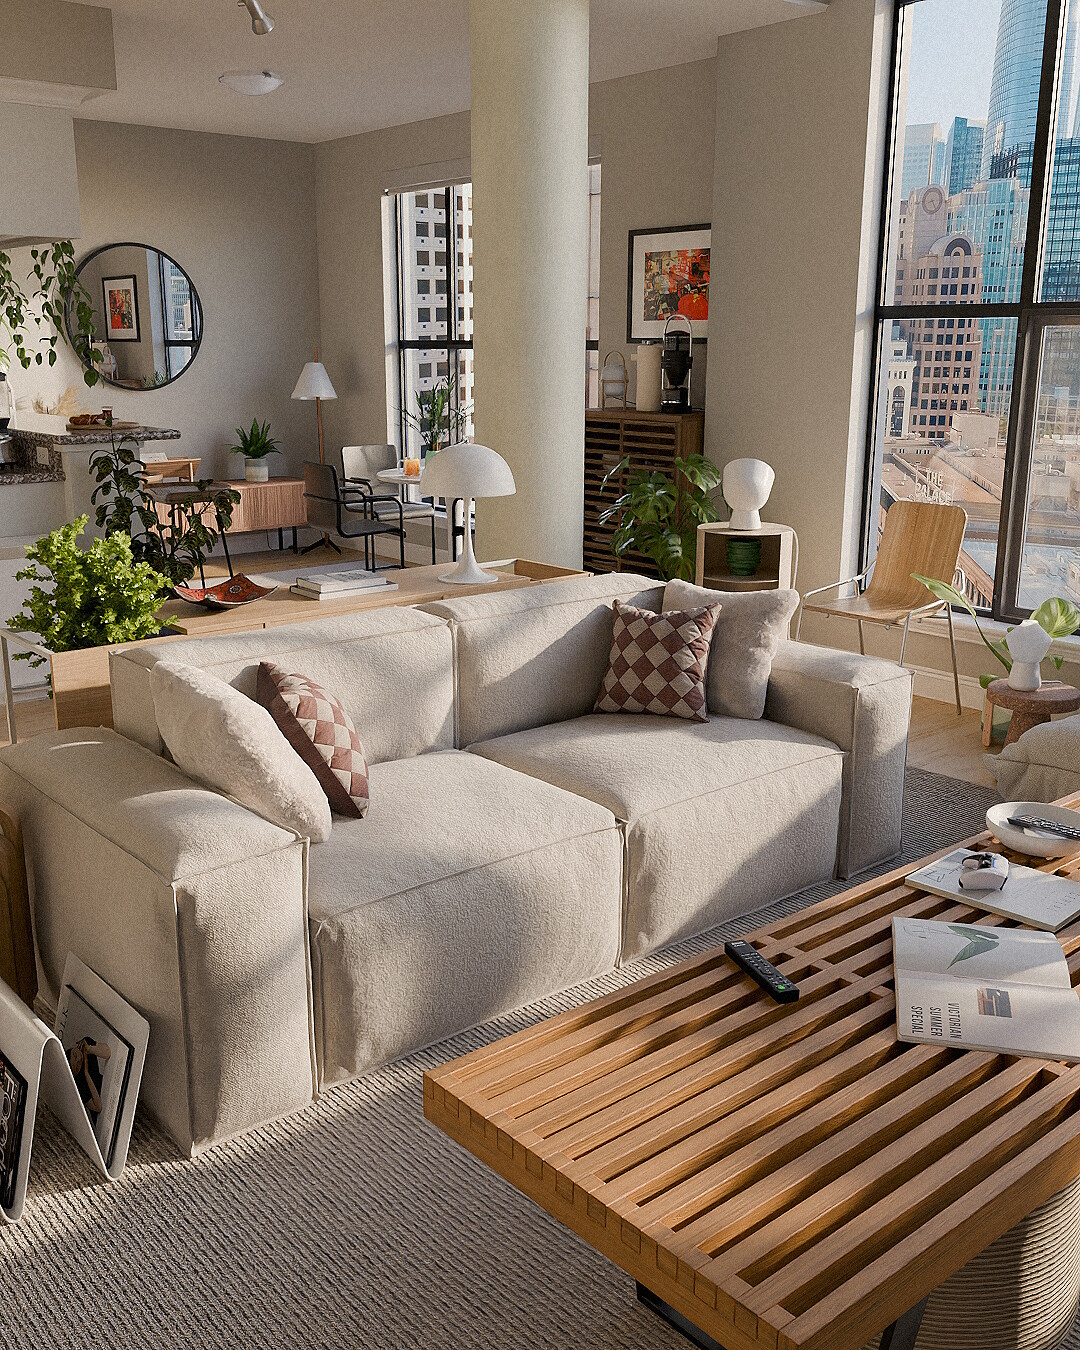
btw, cool trick on the mirror ![]()
Yes, Cycles.
Thank you for the feedback! I appreciate it.
I think I even considered most of the factors you mentioned, but still decided to experiment a little. I don’t make scenes and videos like this very often and haven’t learned all the rules yet.
I’ve tried a lot of different renders, with different lighting and color schemes. Final variant is what I liked the most. Every other option lacked something in my opinion.
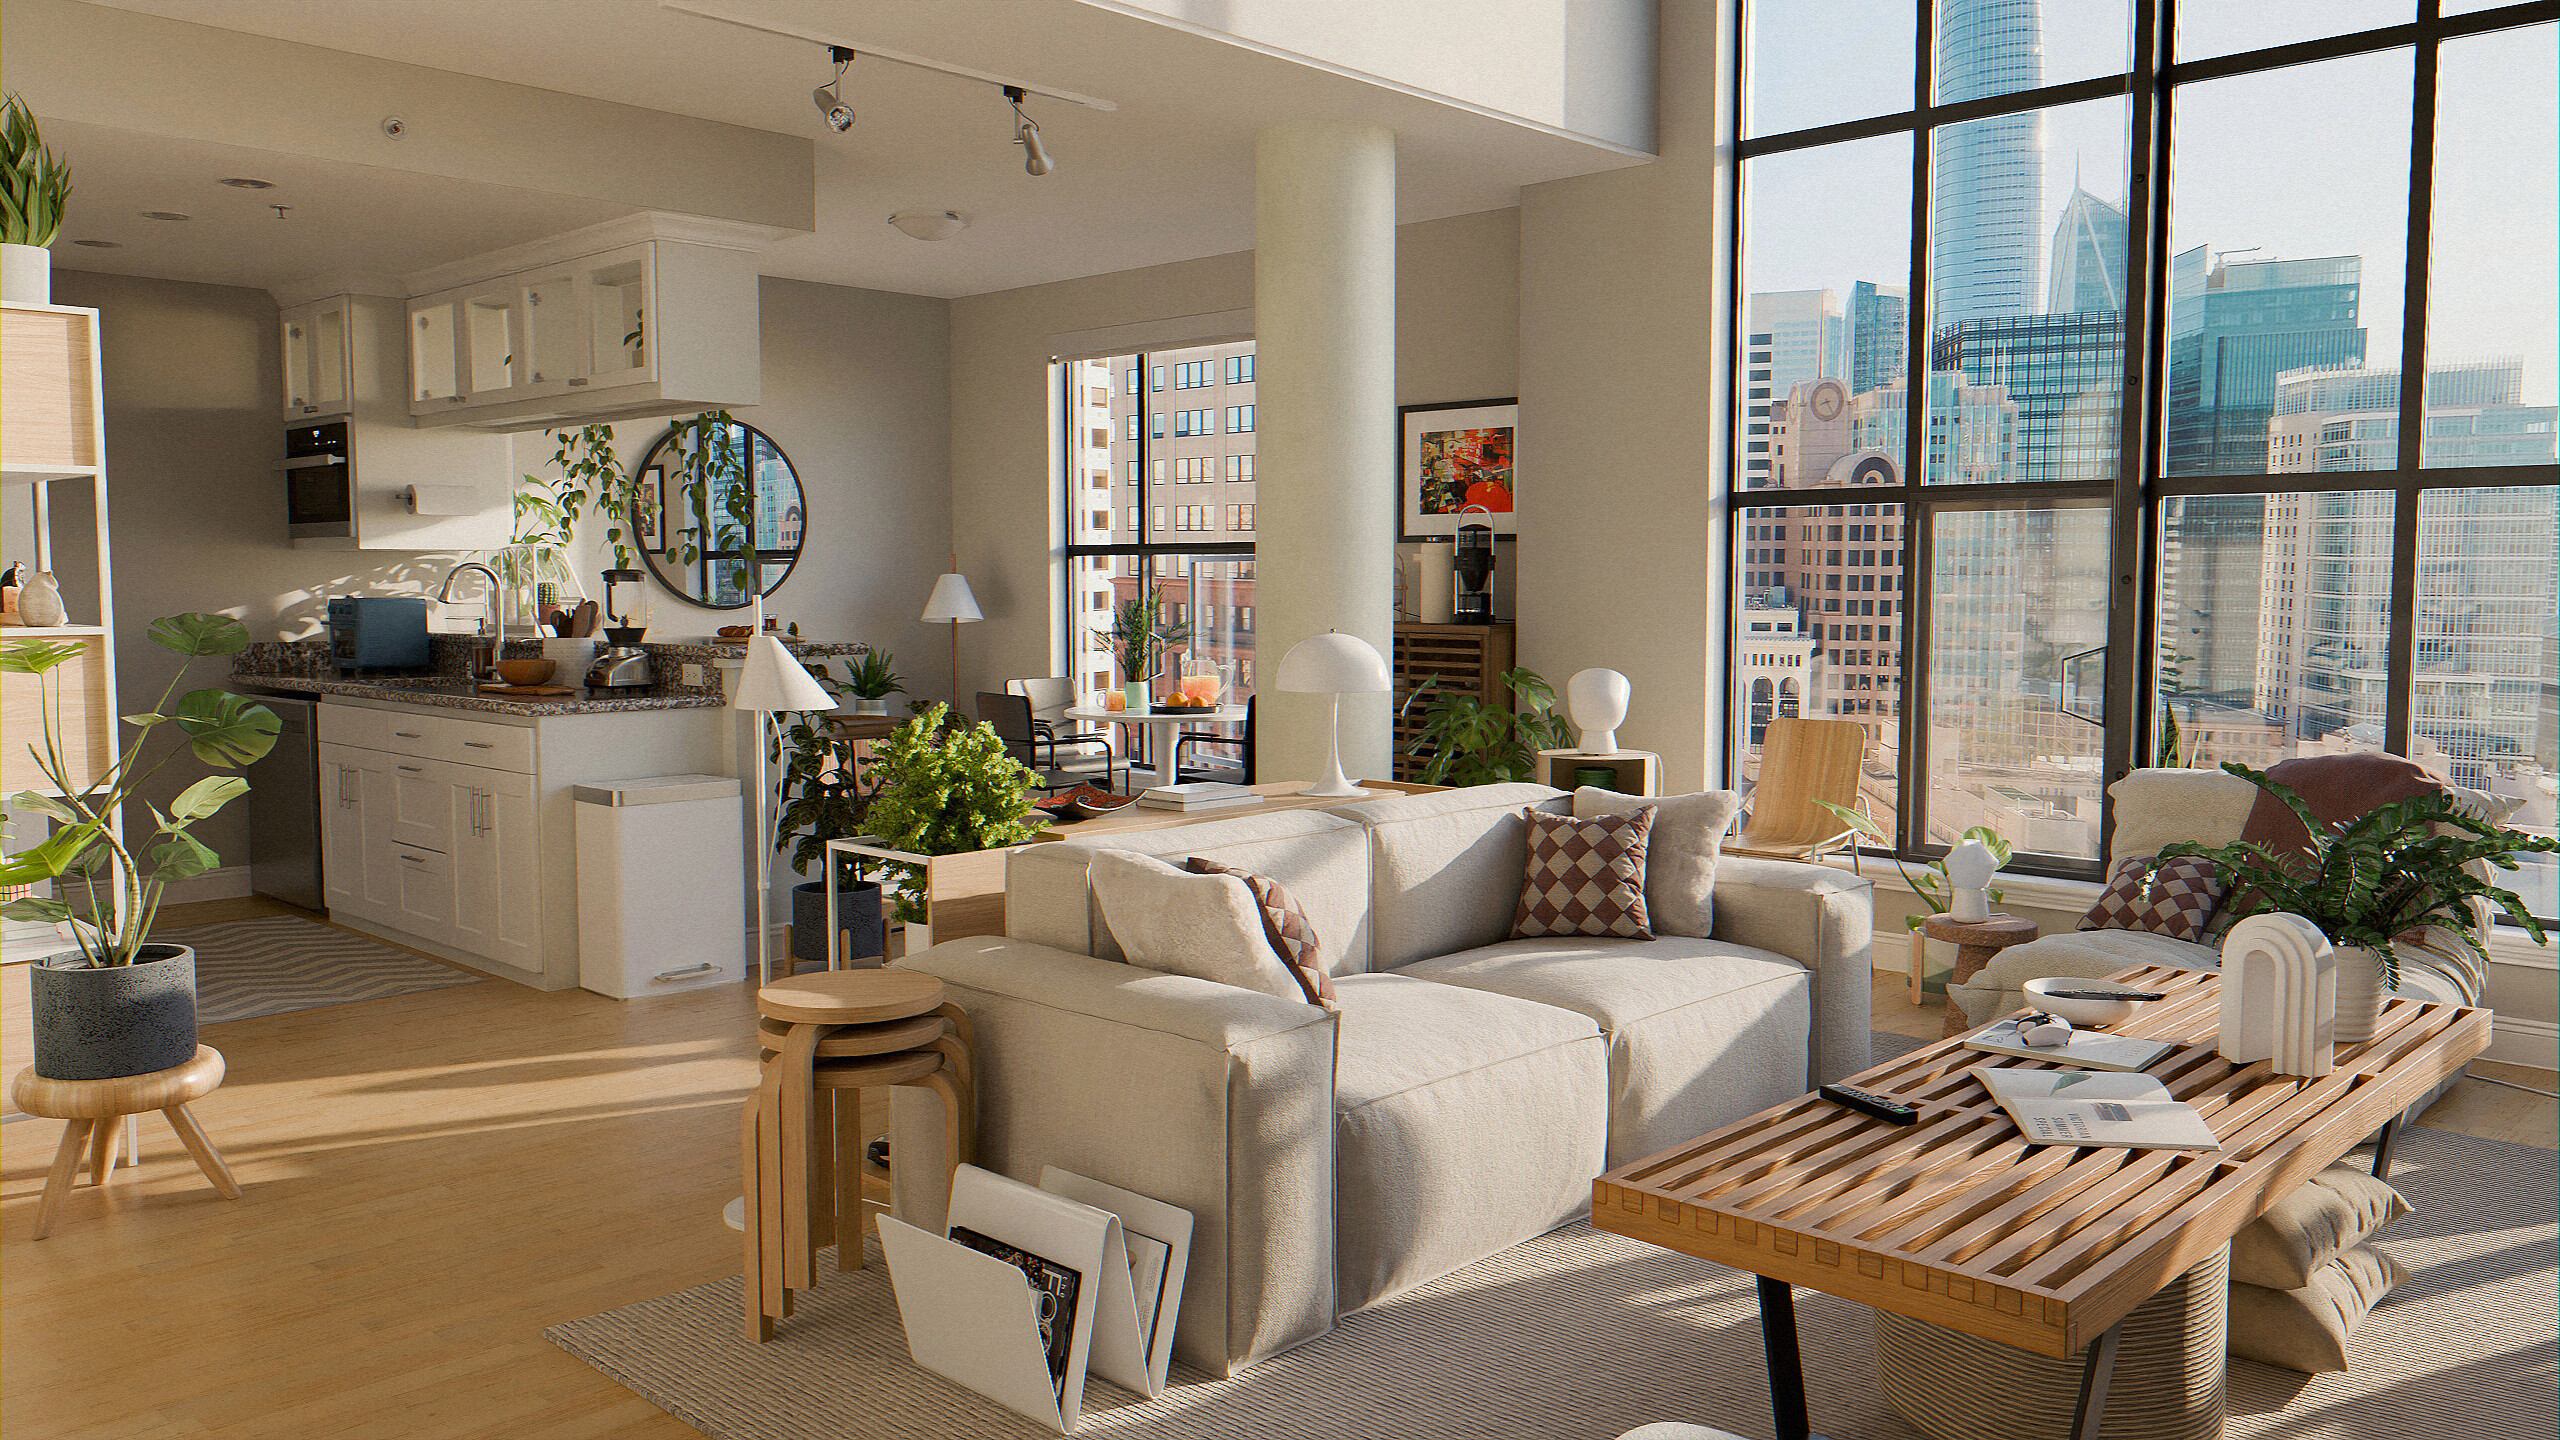
Great work! I have done a little archviz animation here and there, very challenging and memory taxing! I love a lot of things of your animation, I like how the parallax effect on the image on the exterior makes it almost feel like the buildings are 3D, nice lighting tricks, the mirror effect was pretty nice! i was not expecting that haha how did you pull that off? did you flip the camera as soon as you got too close to make it feel like a continuous shot? very nice! The only critique that comes to mind is the speed of the camera on some large shots, it feels a little rushed, Though if this is a practice project I could understand rushing it a little since scenes like this take years to render even with less than 5 min frame time. Also I notice you have big windows which helps with lighting and noise but still, I usually find it a difficult thing to get rid of, so very nice work on that too, I don´t see noticeable noise variations on frames due to denoise, how many samples did you use if If you can share? Again, Great work!
Jc.
Thank you!
I flipped the camera before the mirror on the X axis, so in this moment the whole room is actually flipped, and after the camera “enters” the mirror I flipped it again and rotated 180 degrees. (But it was a bit more complicated in the reality).
I agree that some shots are rushed, but it took me many attempts to do each segment of the video, so in some cases I just “gave up” because it took A LOT OF TIME to edit the whole animation. I spent something like 30-40 hours just on rendering the final variant.
For the animation I used on average 200 samples + OID. I also used AI interpolation to double the framerate of the video - it helped to reduce some artifacts. And I made some tweaks, like sharpness and color correction, in DaVinci Resolve.
Of course, feel free to experiment for your projects. I only made suggestions from a professional point of view, since I do those kins of animations for a job, and those “rules” are quite common and usually expected from clients.
Regarding rendertimes (what are your pc specs?) I rely on a workflow that gives me good results and flicker free animations without sacrificing much.
In a nut shell it involves rendering three sets of renders (full render, diffDir+diffInd, diffCol) deflicker the diffuse video with Avisynth/Vapoursynth, and combining them all into blender VSE.
One day I should post a tutorial of the whole process on BA.