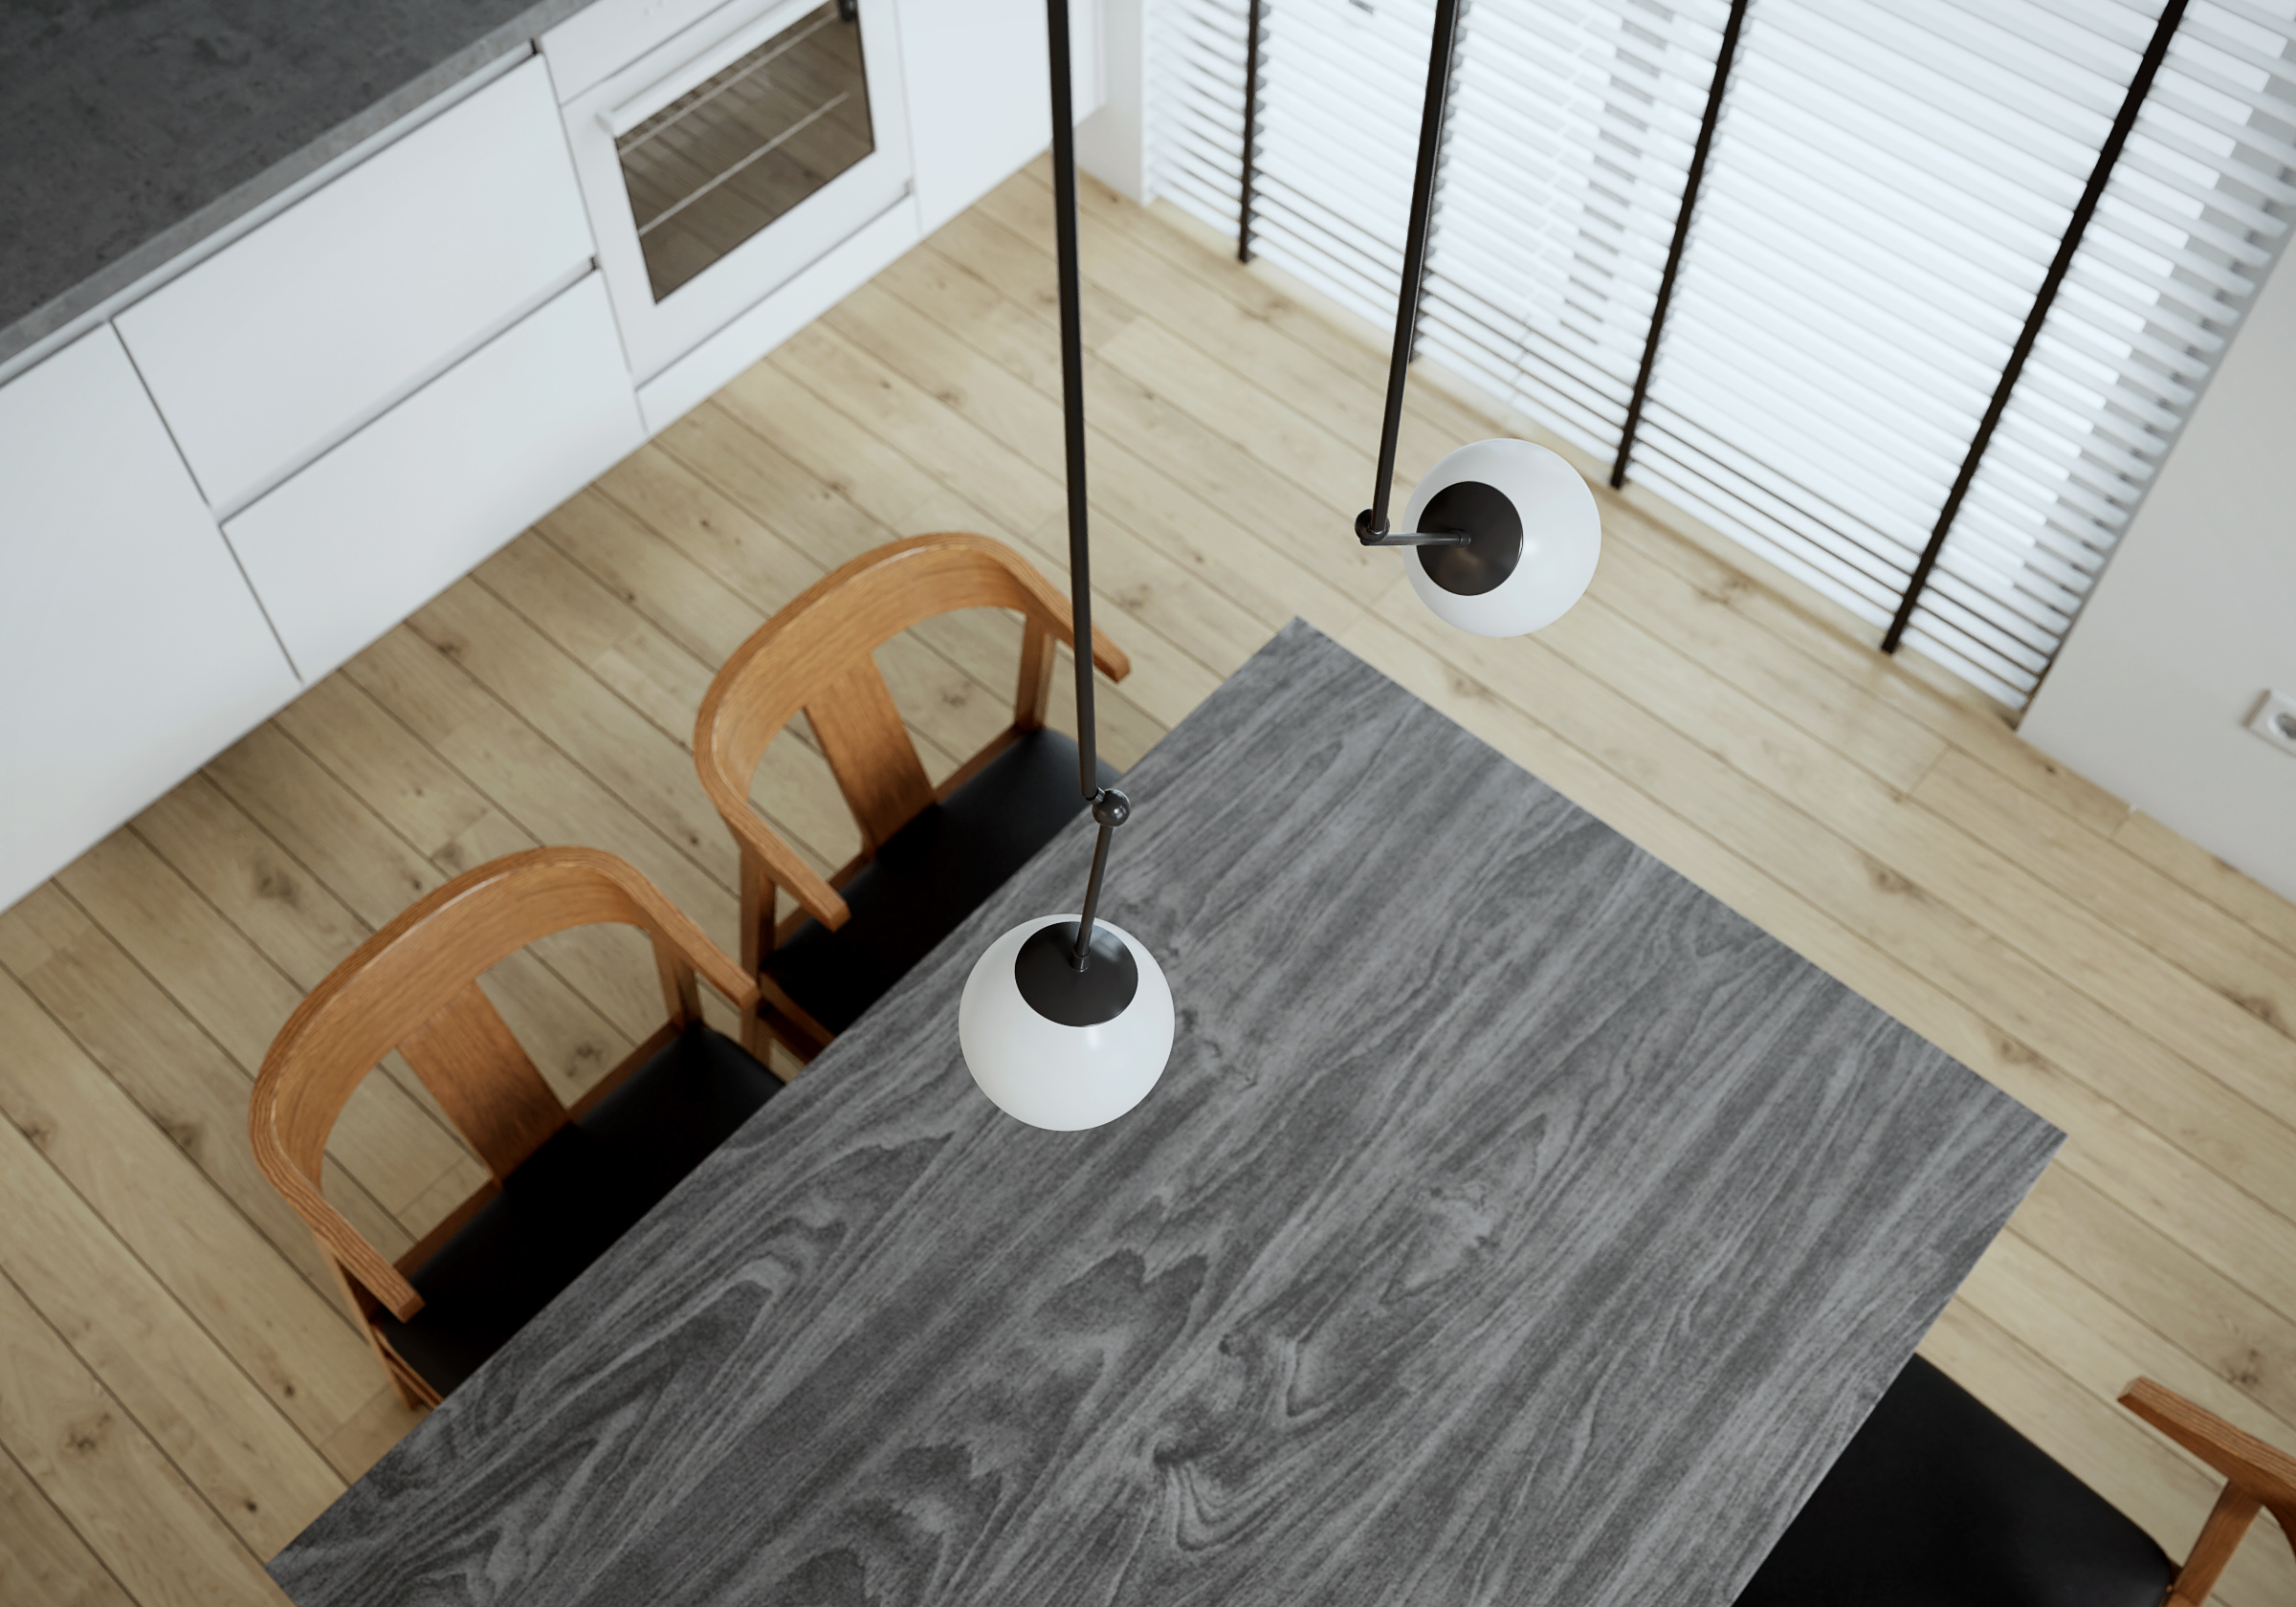
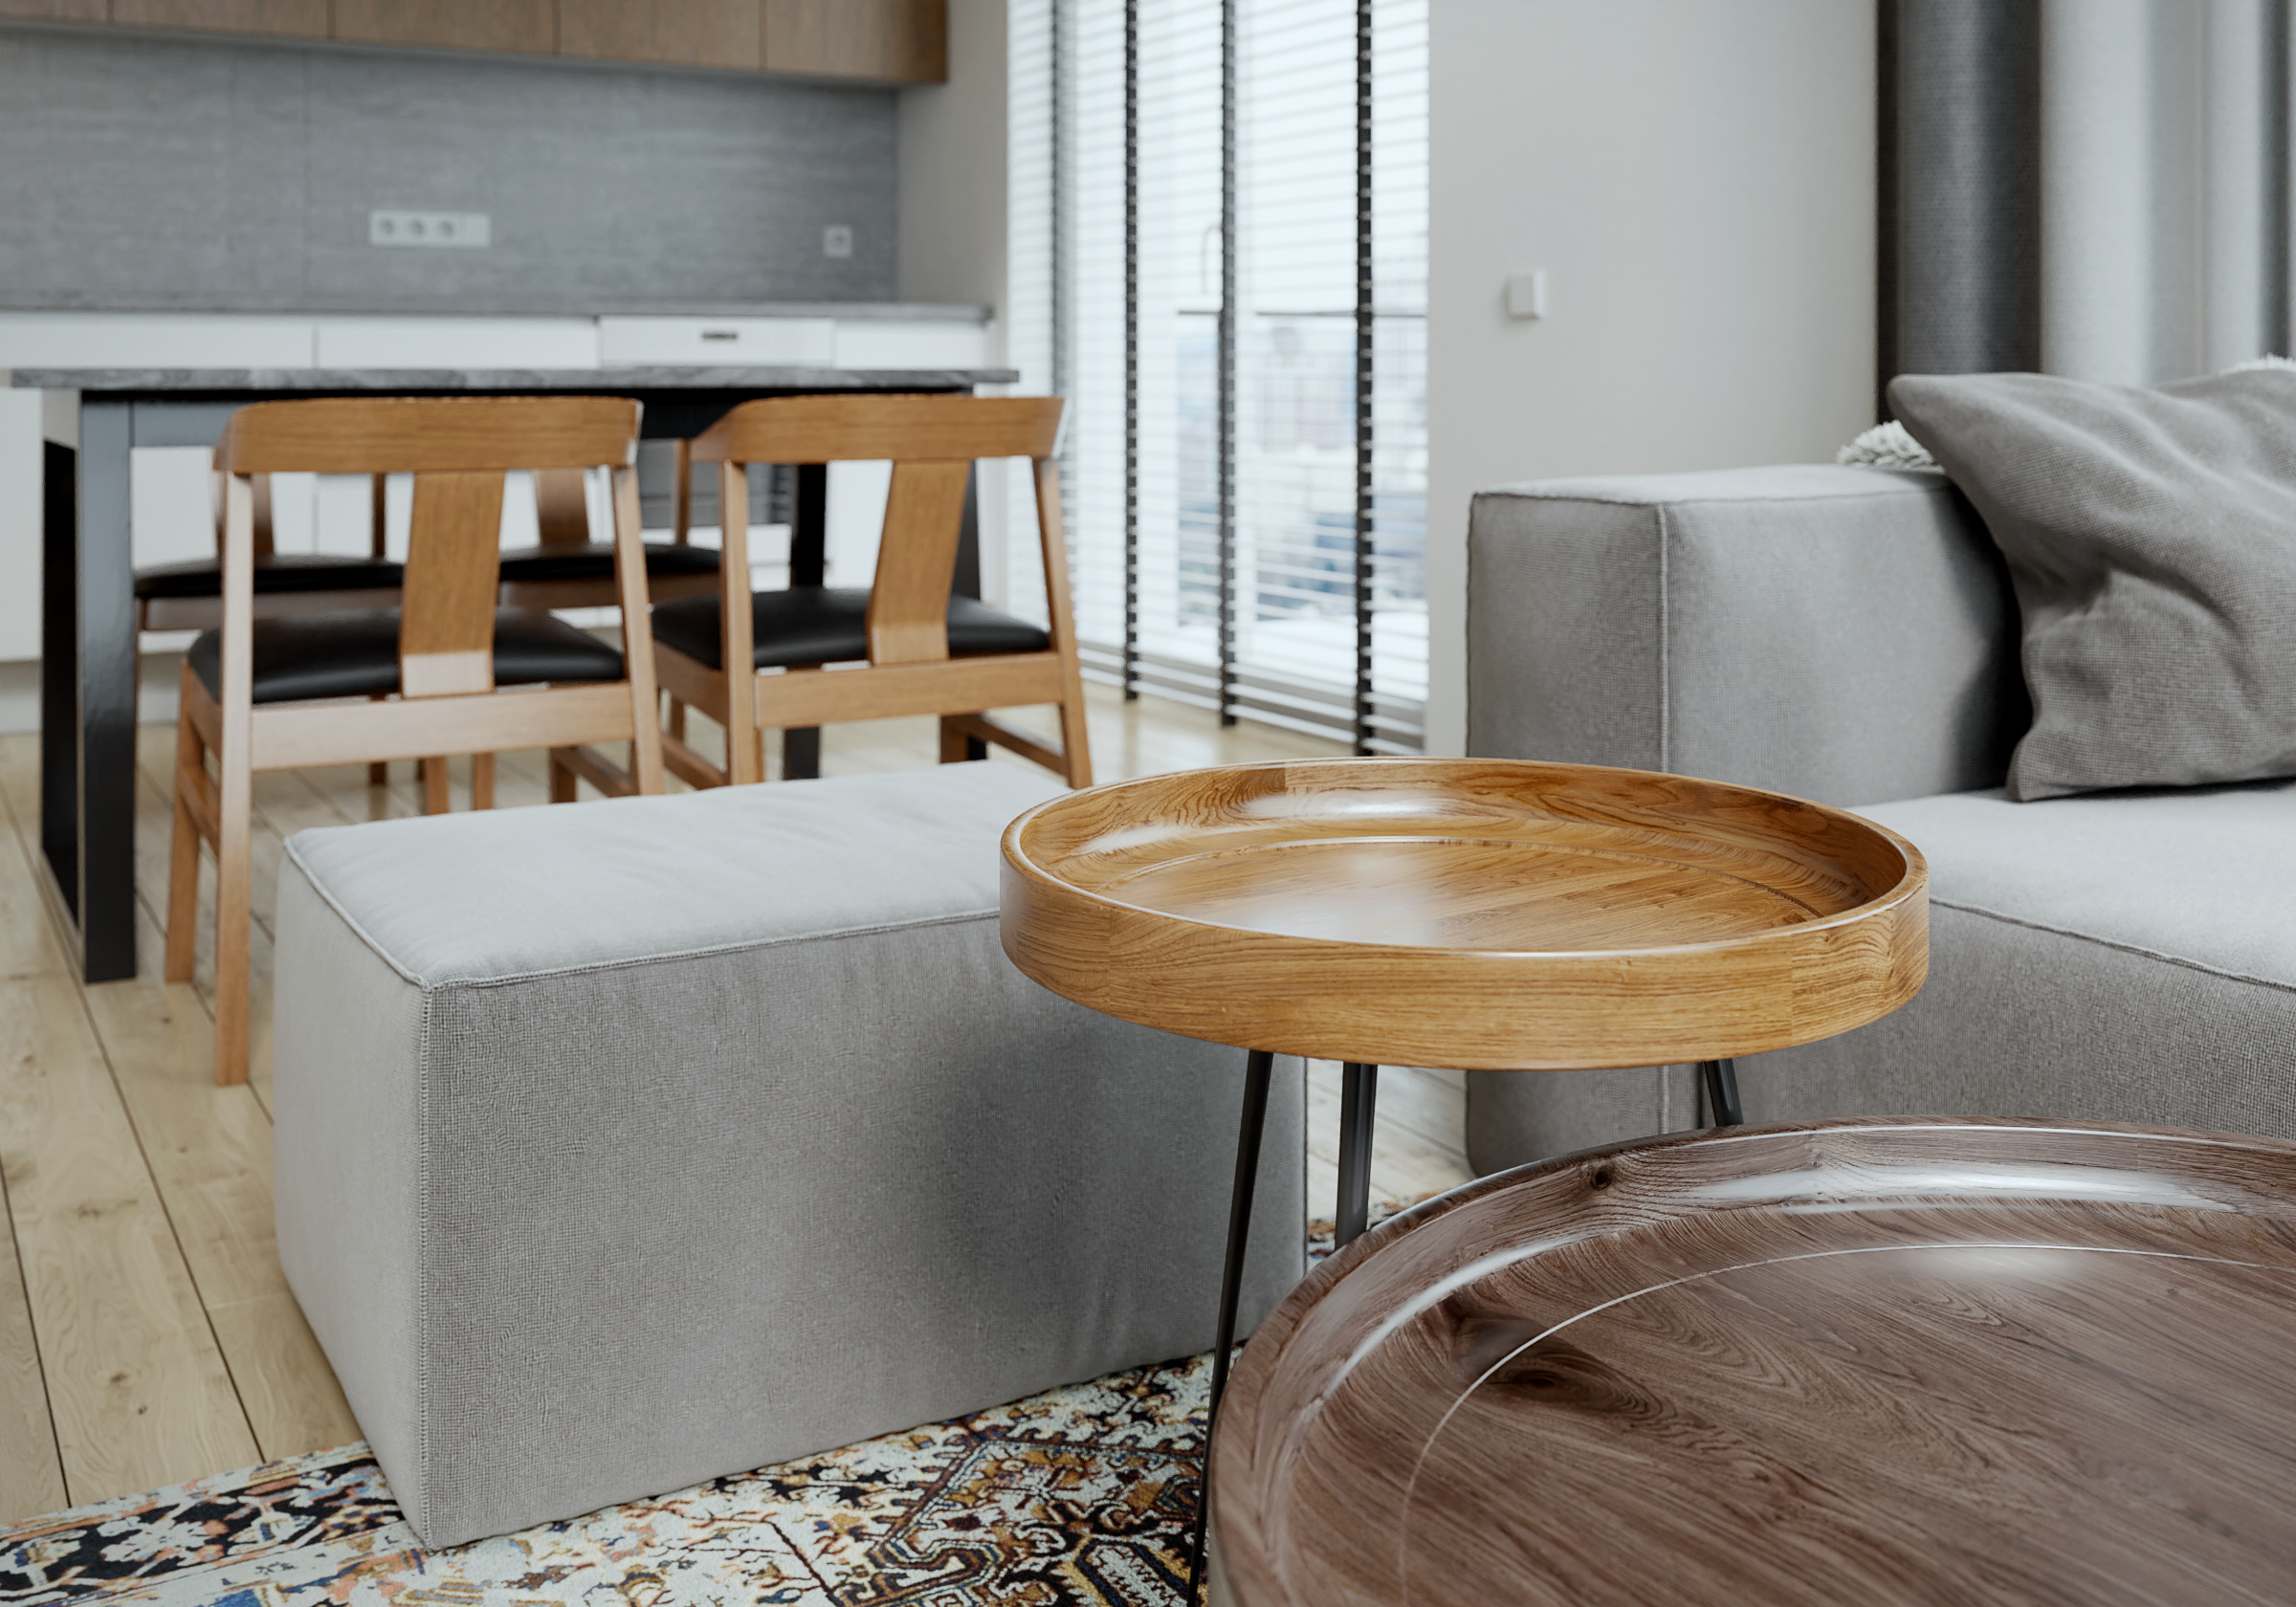
Another personal project based on interior design in Vilnius by Indre Dorofeyte. Trying to make the scene as realistic as I could. Everything was modelled in Blender from scratch with the help of addons on windows and floor. Rendered using Cycles with 1500 samples. Render time is about 25-45 minutes each with RTX 2070 super (Optix mode). Post-processed with Blender compositor and Affinity Photo.


72 Likes
Really beautiful work!
One minor comment, if I may - the interior is so well textured that the building we see though the large window feels slightly off since it’s not textured to the same level
Thanks. I’m trying to copy the outside building like in the reference photo but apparently, It’s become little bland in the render. The fun fact is the outside building has stucco material on it while the wall inside the room doesn’t have any texture at all.
1 Like
Very nice work! Flawless! You really managed to produce a well-balanced and realistic interior.
Congrats!
Thank you very much. Glad you like it.

Great renders! Well done!
1 Like
Scandinavian really hate bold colours dont they 
hahaha no looks awesome
1 Like
Awesome render! The lighting is really on top, looks super realistic. The only minor critik for me would be the materials in the kitchen and the wood materials in general. They look a tiny bit to perfect and flaweless.
You said you build everything from scratch. Could you share some more details on the sofa and the smaller sofa block? I’m trying to model something similiar in the moment and struggling a little bit.
Cheers
1 Like
well, this is a masterpiece. Compliments!
1 Like
Beautiful light! How did you achieve it?
1 Like
This is beautiful work! Looks amazing.
1 Like
Thanks. About the materials, for this type of shot, I think the glossiness variation is quite realistic enough. For the sofa, this is what I do:
- I started with a cube, scale it in edit mode to match the size.
- Add subsurf modifier and then adjust the base shape, and then UV unwrap the mesh.
- Add multires modifier level 3 and then start sculpting the details with texture brush (I got it from poliigon).
- To make the stitch, just select the edge to be the piping, duplicate and separate, convert to curves, and then give some thickness to it.
- When I got the result I like, I added decimate modifier to reduce the poly count.
That’s about it.
1 Like
Thank you!
For the day scene, the lights consist of overcast HDRI and sun lamp with blackbody set to 6000. For the evening scene, it’s evening HDRI and combination of point lamp and area lamp with blackbody set to 3800-4500.
1 Like
Thank you very much Bart!
Thanks for explaining, really well done.
1 Like
Yes sure, it depends on what you want to have as a result. ![]() I would prefer more imperfections for a realistic look, but that’s personal taste in the end.
I would prefer more imperfections for a realistic look, but that’s personal taste in the end.
Thanks for the infos! I didn’t use texture brushes so far, I will try that out for sure.
1 Like
It looks really good, feels natural, congrats  One thing i would add would be some props in the ktichen, some decorations (but in limited count).
I was wondering why are you using Optix instead of CUDA. In my case CUDA (CPU + GPU) is faster than Optix (GPU, on RTX 2070 Super). Is it faster with Optix in your project than with CUDA?
Can you say something about post production in Blender compositor and in Affinity? Are you using built-in look in Blender, like Medium or High contrast or are yu adding LUT in Affinity Photo?
Thanks. In this project, I just want to copy the reference photo as it is.
In my case, the Optix is faster (almost twice as fast). My CPU is not really strong (Ryzen 5 2600), so maybe that’s the case.
In the compositor, I just use it to add some bloom/glare to be mixed later in Affinity Photo. Also, I use the cryptomatte just in case I want to tweak certain material in the post. The post-production was mainly done in Affinity Photo, which involves some basic adjustment like white balance, curves, levels, and LUTs. I don’t use built-in look in Blender because I usually save my image as multilayer EXR and (unfortunately) any changes in the color management tab doesn’t apply to the EXR file.
Hope that helps.
1 Like
I featured you on BlenderNation, have a great weekend ![]()
1 Like