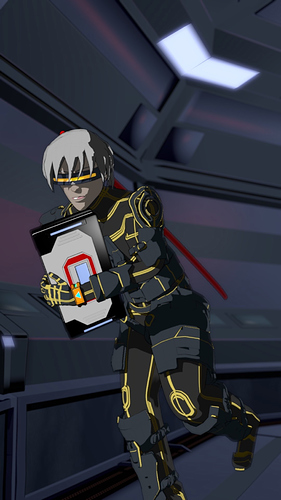
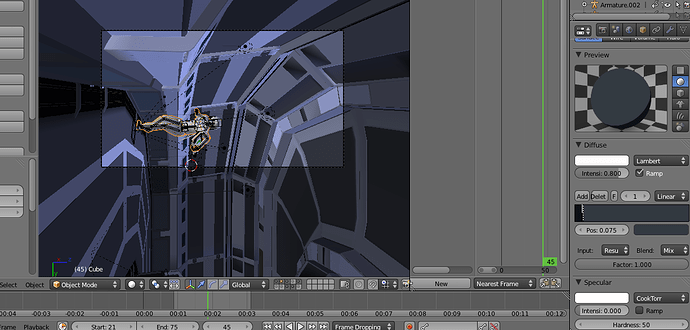
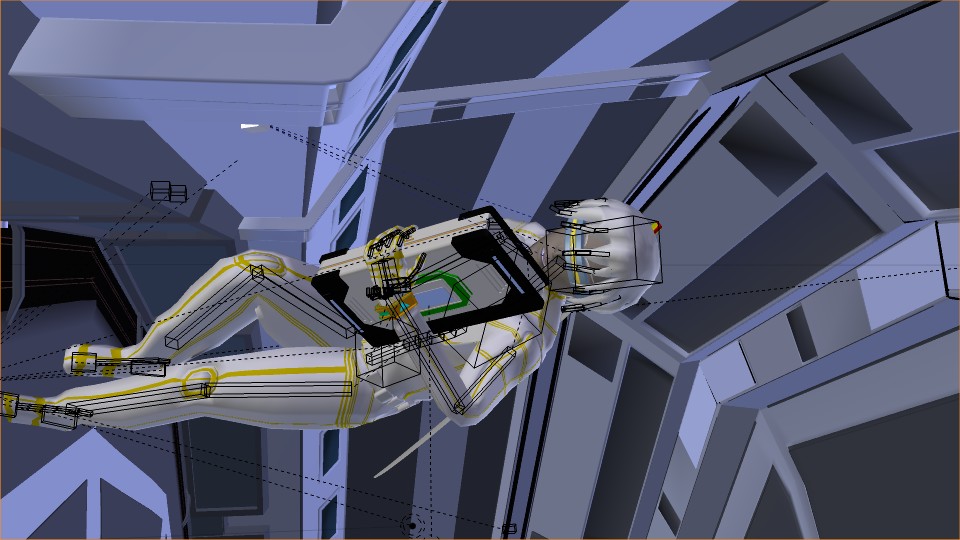
Photo of a sci fi hero for a film I’m making. He is cel shaded because the look of the film is going to be anime style but it was all made in blender. Let me know what you think.
more more more more more more more more more!!! LOL
Looks great so far. No critiques, keep it up!
You say sci-fi warrior, I see a guy carrying what appears to be a ledger. Maybe accounting is more “x-treme!” in the future. 
Nice, is there a way to take the shadows and change the color so that it is more saturated/less grey. Notice how the shadows in anime such as this image are super saturated. http://www.fanpop.com/spots/anime/images/24376918/title/anime-pics-2011-photo
The Skin is 14% saturated while the shadows are 40% saturated, and dark shadows are 47%. In your first render the skin is 14% and the shadow is 16%. If you can create a seperate shadow pass, you might be able to use the compositor to make it a HSV mask, you might even be able to put a subtle blur on the edges too. Your skin is much darker than the sample image.
bright-middle-dark
sample = 100% - 96% - 79%
top image = 65% - 32 %

If you look at appleseed, it looks like they used a AO layer to add depth, they also allowed themselves to have soft shadows. You might be opposed to it, but setting AO to multiply in a seperate render layer, might allow you to composite it into the original image for added depth, and you might be able to use it for the dark shadows.
The light at the top of the picture looks dark, as if it is not contributing to the scene.
I hope this helps.
I love the style of the modeling and the shading! Make another image and it might make it to my desktop background! 
Do you mean i shud the colors completely saturated then desaturate them in compositing instead of adding grey? also I tried using a shadow pass and an AO pass, it looked good but the rendering will take too long in the long run.
I mean that you should no apply any color in the render, and just use the render passes to create masks for you to color each section of the image in. You actually don’t need a shadow pass. All you need is a diffuse pass, and an materialIDPass, a color IDpass might be nice, and an AO Multiply pass would add a lot to the image… I did a sample to make sure It could be done. I will post later, right now I have to step away.
I am just a Noob but I really like your style, I am hoping to do a black and white animation myself thou I am afraid that I will have to do it by hand if I don’t get better at blender fast enough. I respect the huge amount of work you have done to get this far. Keep up the good work!
I think what you’ve done is great as well. This will help you achieve a cell shaded look that does not have muddy shadows. I took the colors from http://www.fanpop.com/spots/anime/images/24376918/title/anime-pics-2011-photo. Of Course you can put more care into your shader creation, but this is a concept.
If you add the Freestyle lines, it should look cell shaded. As you can see from the render layer, I took the black and white image, and used the layer passes as a selection mask so that I could make each material have a base color, shadow color, highlight/glow color, and a AO deep shadow color. If you think it feels too dimensional, you can turn down the Ambient Occlussion and it will look flatter. The advantage of this technique is that you can make the shadows any color you want to, so you are not limited to physically plausible grey shadows, which tend to make a lot of blender cel style renders look muddy. The Ambient Occlusion adds a lot to the image, so If you can’t afford to render an Ambient Occlusion pass, you should consider baking your ambient occlusion as textures, so you only have to do it once per scene in Multiply Mode.
Although it’s only a monkey, it took only 4 seconds to render and composite, and that’s with real time AO. So if you bake the AO it would be faster.
Can you share the expanded node setup?
I’ll just give you the blend file, then you can see what I am doing. If you combine the Glow, Color/ShadowNode and AO node into one group node, exposing the color picker and the material index matte, then you could create one node for each material, and select the colors in the compositor, then you only have to worry about the lighting in the render, and it won’t be as cluttered.
I certainly appreciate that!!
Thank you so Much, this will save hours in figuring it out 
I’m sorry i havent replied to this sooner. Thanks agagillion for this, this will definitely help the look of the show look much more believeable not to mention exclude the over use of color ramps. thanks so much
you’re welcome.
Hi
niverik2k: can you please reupload the blend ?
Thank You
This show has already launched since I posted the photos. Check out the character in action here:


