Ok I’m curious.
Since I cannot yet do this I have to live vicariously and look at the work you guys are doing and its frankly amazing.
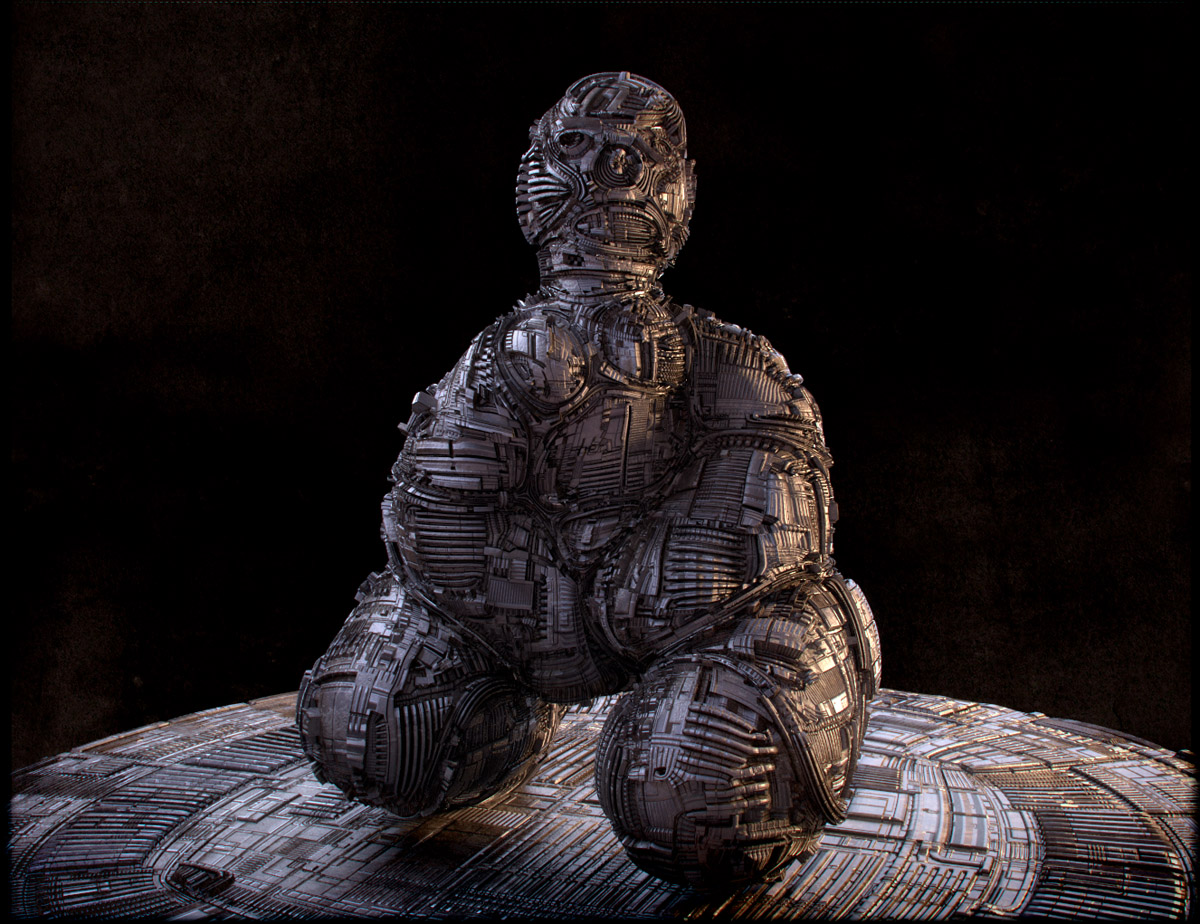
However I have noticed that its mostly angular sharp edged stuff, often applied to a sharp edged curve, but still sharp and angular.
Can this be used to make long sweeping curves and things of that nature?
Another thing I am curious about is is this actual geometry, meaning does all this detail show up in the wireframe or just the render?
Anyhow this is an amazing thread, thank you for giving me a reason to force my self to learn this stuff.
However I have noticed that its mostly angular sharp edged stuff, often applied to a sharp edged curve, but still sharp and angular.
Can this be used to make long sweeping curves and things of that nature?
Another thing I am curious about is is this actual geometry, meaning does all this detail show up in the wireframe or just the render?
It depends on the topology, loops etc.
It also depends on the baked pattern.
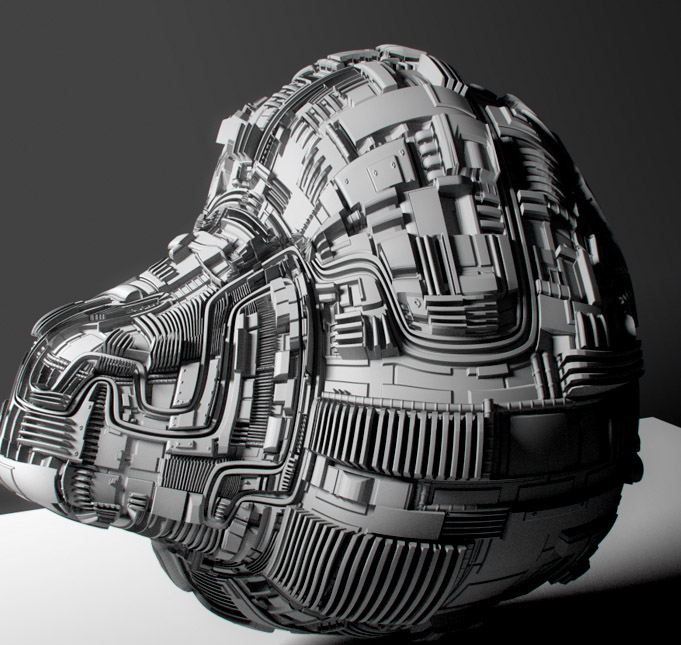
Geometry is real, if you apply the modifiers it will show up in the wireframe. But you don’t want to. (except of exporting into zbrush, a god knows why). But it is real geometry alright, so, you can bake it on the low poly base with a few clicks. You just have to add a second UV set for baking there. (yes, you can have multiple sets of UVs in blender)
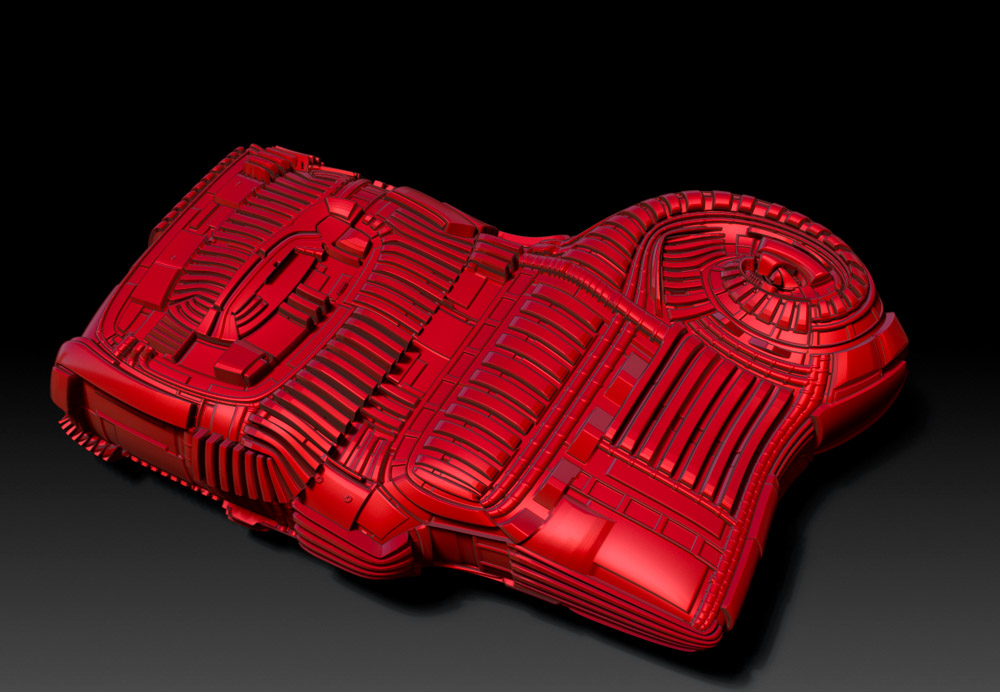
And, here, imported into zbrush. I couldn’t resist to deform it a bit LOL, though it’s easier into blender.
We should not forget that it is a multires mesh already, so no need to bake anything. Though it’s very easy to bake another UV map.
ZBrush can reconstruct subdivisions (!) so topology and UVs are here alright. (third image)
ZBrush can not beat blender on this. ZB lacks of a full functional, advanced UV editor.
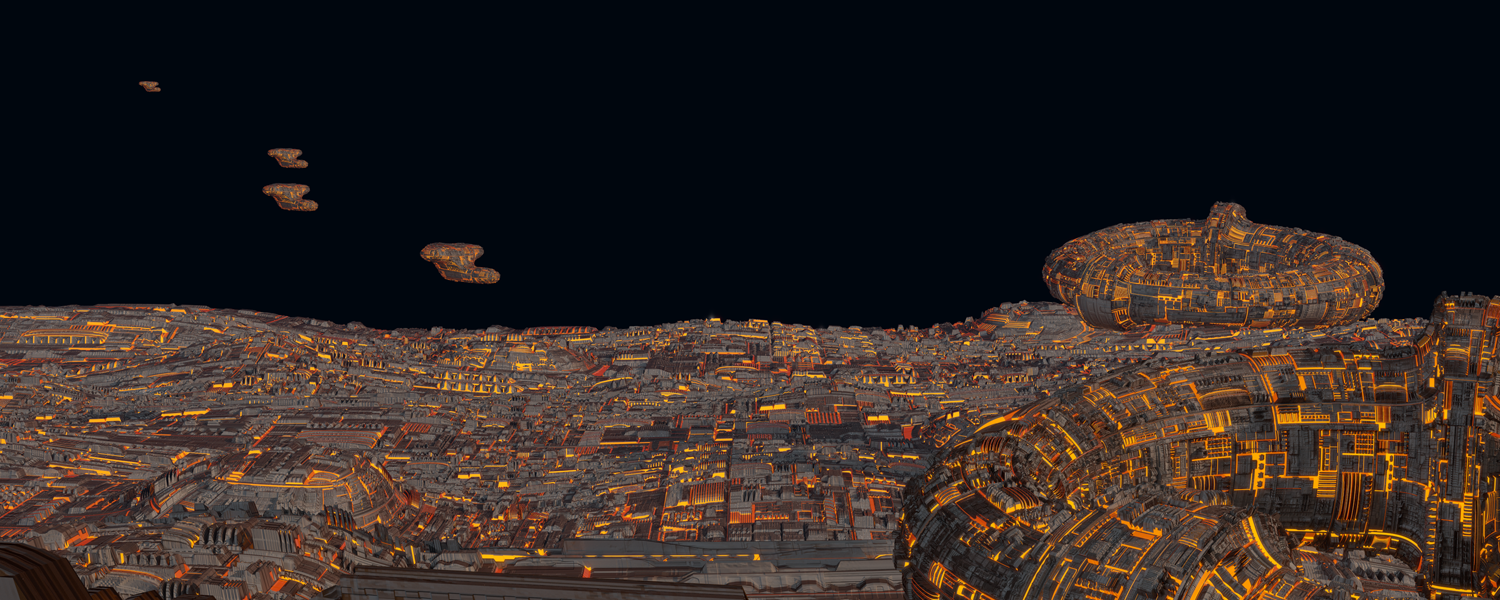
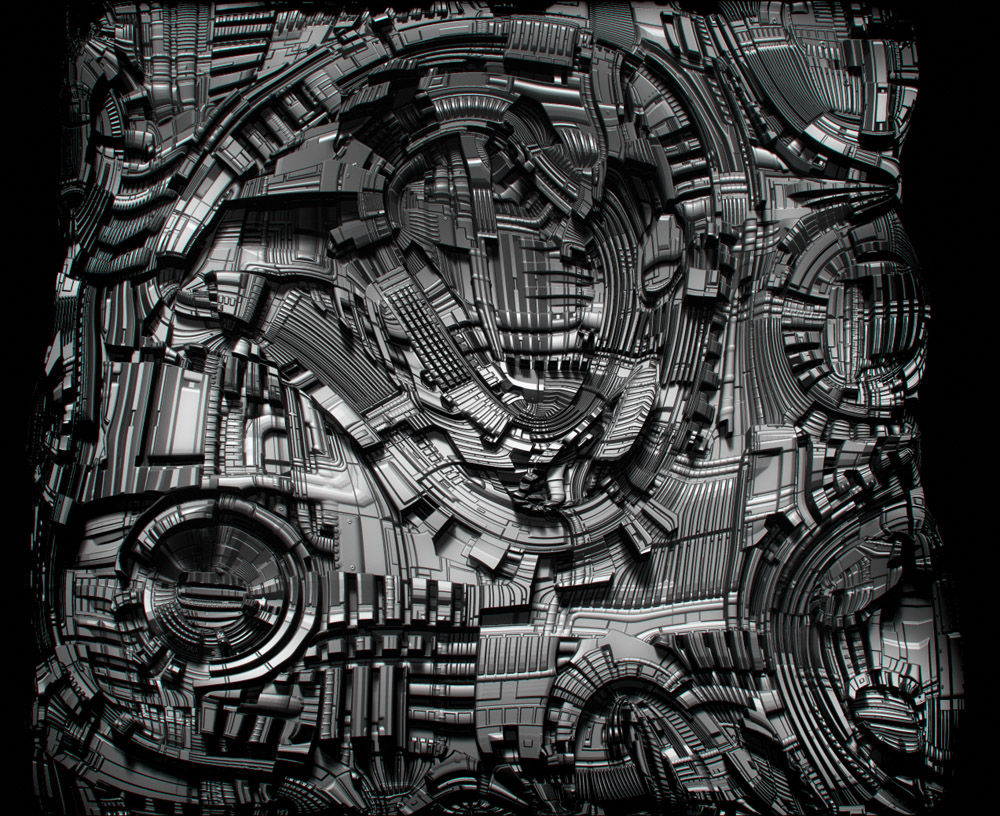
I finally had a chance to try out this technique. In this scene I added a new texture slot and re-used the displace texture for Emission. I set the contrast to 5.0 for the emission version of the image to black out most of the grey stuff. This is left only the “high” points of the image to drive emission. The taller it is, the more it glows. I also added the same displace to the Normal slot and set it to -1.
We have a competitor, it’s zbrush.
This is a zbrush import to blender cycles.
Almost the same technic. Under UV zbrush panel, select groupsUVs. Very similar to follow active quads. Of course, more random results, as zbrush hasn’t a full functional UV editor. But, after importing a few tweaks under UV blender editor were enough.
Zbrush has some great tools to create interesting loops. It’s a ~20k mesh.
This is the best choice.
It was just a challenge for me to organize a similar workaround in Zbrush. Lot of friends there, they’re afraid to even touch blender. I don’t blame them. But… they are wrong. LOL
In this UV particular case. We have one of the best UV editors around!!!
yes. LOL
Hey, I didn’t mean you, Mealea. You are among the bravest users around.
You have to come closer to some sketchup users and see what I mean. he he
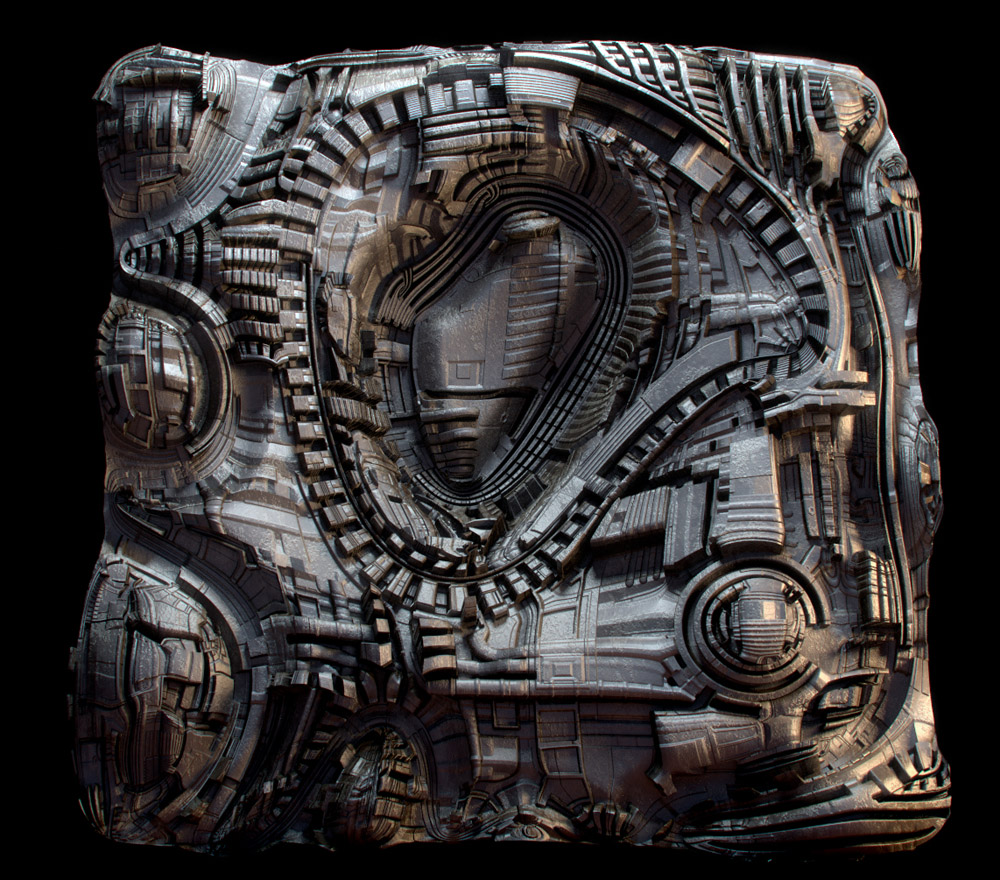
Something quite ridiculous (indeed, what it supposed to be?) and quite different. Funny, it’s based on the same displacement panel as the previous one.
Just started a box modeling, a base, to export in zbrush and see what can I do with some loop tools there. Then I said, what the f***, let’s do some nice loops in blender and that’s it. (follow active quad on loops etc etc)
Can anyone suggest which version of Blender from http://www.graphicall.org/ I need?
I am on a laptop with Windows 7, 8gb of ram, an ATI mobility Radeon HD 4250 card and a godawful amount of disk space and “Blender 2.65.5 Cycles + OSL” crashes constantly, Michalis recommended this page to me but I think he’s on a mac…
Anyhow Its got a lot of the things I’m missing to do this UV stuff I think but I don’t know which version I am supposed to be using.
I am on Win7 and on a samsung laptop. I am using the 2.65 foundation build, I haven’t migrated to the 2.65a yet because all the builds I have gotten give me problems when navigating with the mmb and using the views from the numpad. I have tested the buidbot version, and have had luck with it so far. http://builder.blender.org/download/