@BaRe
Nice tests!
You can always bake (and share if you like) your own panels.
More organic… How much more? I mean:
If too organic, like Giger’s work, then sculpting is your best chance. You may construct displacement panels but these can be used as alpha displacement brushes. If you try (please do) to use them like in this method, they start behave like geometrical panels. It’s the UV mapping that forces them to look like it.
Well, let’s be reasonable. I started this thread as an alternative to other hard surf methods. Difficult to sculpt like this in sculpt mode (rather impossible, even in zbrush).
However, playing with geometrical patterns and UV tricks, creates some interesting semi-organic forms.
I’m waiting for your ideas on this game.
heres a video i made (in 30 min) using the dynotopo for environment animation…more to come
@vante, I think it would look more physically correct if you invert the displacement strength…still interesting idea.
I commented earlier about making a cool spaceship, any tips on making a good metallic material, and if necessary, should I make a texture with a normal map and everything?
I commented earlier about making a cool spaceship, any tips on making a good metallic material, and if necessary, should I make a texture with a normal map and everything?
The basic principles of this method:
- use horizontal and vertical geometry only, when constructing the displacement panel. Avoid any curves or cyclic forms.*
- Curves will come from the topology of the base mesh. Make loops. Tip: use the inset [I] tool. Add seams around these loops, it comes very handy when playing with the UV editor, as you can [L] and select the whole island when hovering (faces select mode)
Spend as much time as you can in the UV and edit windows. This is the basic tool for painting-sculpting your model.
This sculpting method has two options.
My suggestion,
-
You can have a very very simple box modeling. Select a few faces and add a loop (inset). Avoid modeling details as hell. Details will come from displacement. On very thin edges - details, displacement will mess everything. To avoid it, enter Weightpainting, make a set and enter it’s name on the displacement modifier. So, use a rather strong displ value but diminish this value on thin parts by Wpainting.
The whole modeling is done via displacements. Add the same dislp map as bump too, to have crisper effects.
(you may add some cavity-dirt effect via a vertexpainting set - attributes cycles node) -
You can go for more detailed box modeling though. Add details, resulting to a ~1000-3000 faces base.
In this case, normal maps become very handy. As you will add fake crisp details on an already sculpted mesh. N_maps are superior to bumps. (try and see what I mean). BTW NorMaps are rendered better under Cycles than BI (IMO).
And, as this isn’t a real displacement, you can use panels-N_map patterns with curved elements.
Once again, clever loops/UV islands will produce more organic and interesting effects.
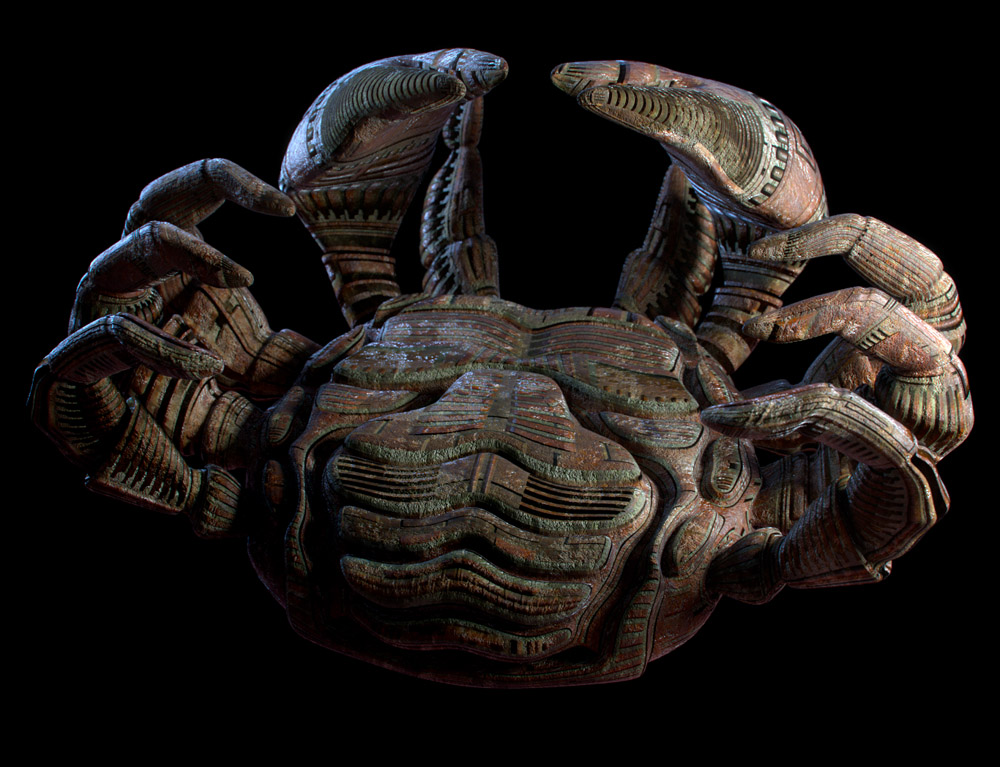
(I forgot to mention that normal maps can be supported by a AO map. You can also bake it. I tried it on the buglike spaceship. It adds a nice cavity-dirt effect)
The 1 method produces very detailed but also very heavy meshes. A 500k - 1M quads should be expected.
(example, the most of the renders on this thread)
The 2 method produces equally detailed effects on a less than 100k subdivded mesh. A 3k-10k mesh looks almost the same. Fine to use it as asset on VG engine. I use to subdivide x3 though (cycles termination issues- ugly artifacts on smooth shading)
(example, #541, buglike spaceship)
Conclusions.
A heavy displaced mesh for near to camera elements. A low poly but more sculpted model with Normalmaps support for the rest.
A metal shader? I suppose, a mix of diffuse and glossy BSDFs. Diffuse can be supported by a rusty texture (box-mapping, or using a second regular UV set / probably enter texture painting). But, make it dark for more metal-like effects.
Now, I’m having fun.
An example of using normal map and an AO map. A ~5000 faces base, subdivided (avoiding termination cycles issues, I wonder if Brecht has a solution in mind)
That sir is some good work!

Hi Michalis -
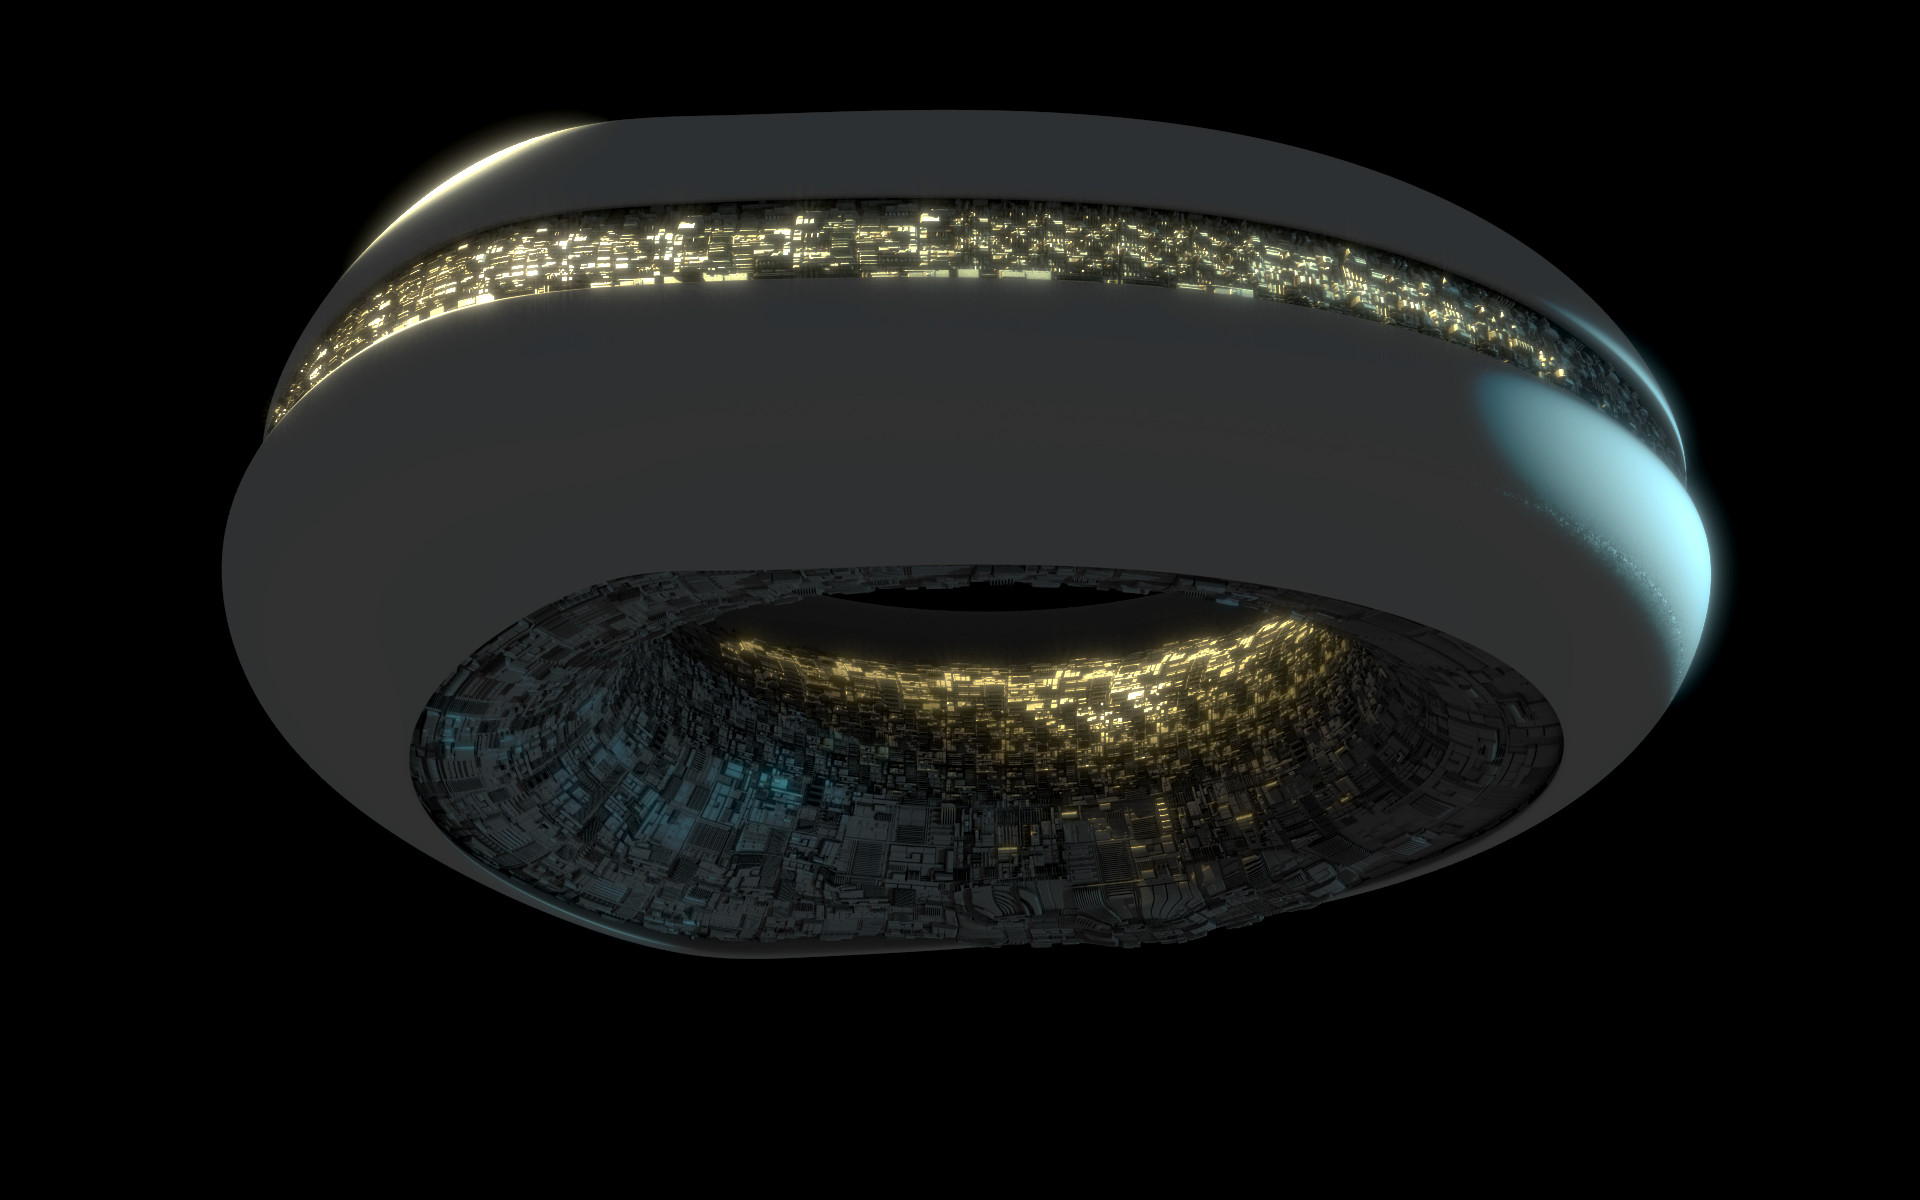
I found your tut and loved it. Here is my first go at it. All done in cycles except the smoke coming out the portal which was done in gimp (300 samples - 51 objects).
Thanks again
Darin
Very impressive image Darin!
You can add a second bump only node for hi frequency details effect.
Just add a textures coordinates node too. Make it 2x. You may even use the same displ map. (non-color space!)
Thanks Britain.
how did you do mist in cycles? i thought the depth pass was still left horrible artifacts?
nice work Darin.
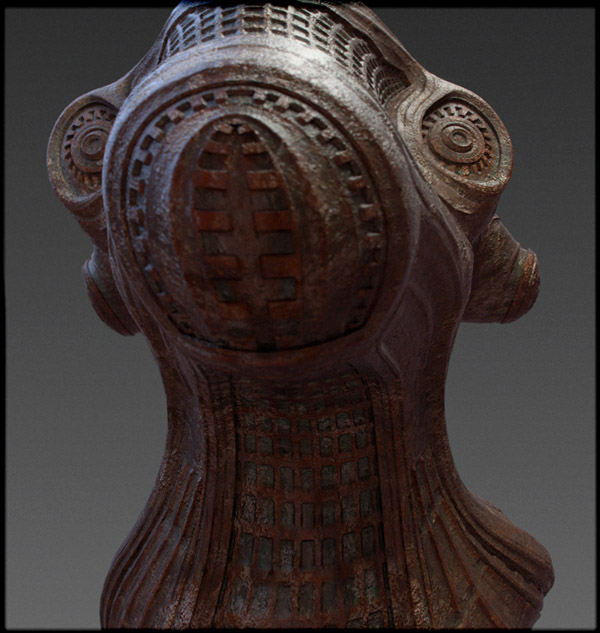
and fantastic crustacean michalis,the cavity areas look like moss.
I have been following this thread for a while now, the technique is really great., thanks!
A little test i have done using this…
@justinbarret heres where its going…inverted as suggested…i could probably do some uv paint correcting as well…i will work out how to get as much detail as darin does…but in an animation…that doesnt kill my machine…https://vimeo.com/58495602
Thanks Michalis -
I will add a second bump for more detail.
Thanks again
Darin
ng-material -
Thanks - it’s about a 10 min render. My next step is to animate.
As far as the fog/mist in cycles - It’s done last with compositing nodes. Take your Z pass off your render layer - send it to a map value node play with the offset and size…attach a viewer node to this (black is no fog/mist - white is). Then connect it to the factor socket in a add node. The scene connects to the first image socket in the add node and the second image socket is the color of the fog/mist.
I hope this helps
Darin (Andrew Price uses this technique in a couple of his tuts)
@Darin
I was just testing, I wonder if this can be useful for animations or vg game engines. The use of a normal map instead of displacements. You have to add a little more modeling of course. But It might be a nice base for more modeling. A few pipes, a box with some lights etc.
It is a very low poly though and renders very fast. When using normal maps only, I add an AO map too. It helps a lot. I posted a normal map already,try it.
No, no, not James again… LOL

@BaRe
Just checking your material node set up.
You are connecting normal map node to displacement output. This is completely wrong. Andrew Price did it first but he tried to correct this big mistake. It happens to the best families, sometimes. LOL
Normal maps are connected to the normal socket of a BSDF only. And they have to be non-color space. Else, only misunderstandings follow.
Sorry ng -
Pretty basic stuff. I am just a weekend worrior who spends to much time with blender. This is the first Pic I have ever posted, I still consider myself a noob after 6 years. Saw your sketchbook cool stuff.
Well Michalis off to animate using nor and ao maps …
I was very wrong on using Normalmaps.
A combination of a displ exr map, used as bumps only, plus the use of a baked AO map. (from the same constructed panel of course)
Here, at 14k faces only. See my point?
(the AO map is used to control hardness of glossy and diffuse BSDF too. A tutorial is coming soon.)
Rendered at HD in 2 mins. (cycles)
The 14k mesh
And the rendered results.
Please click for hi def.

