Great Thread Michalis -
wow that looks fantastic! i really need to learn all that! the whole thread has developed so greatly, the technique is wonderful… thanks for sharing the new infos, michalis. … i always gave up the technique when i ran into problems with the “follow quad” thing. it works for me if i do it on cube-like meshes where i just extruded a few faces, but when i want apply it on low poly meshes representing a face with nice edgeloops around eyes and mouth etc (mesh with all quads) i get a mess when i use follow quads… but, seeing all these great results really inspires me to try again.
Thanks doris.
Regarding “active quad”:
Select one quad.
UV it. Now it’s a big quad in the UV editor. Resize it.
Select a boundary of quads. (the first quad still remains highlighted, indicading that this is the active, right?)
Ask for UV/follow active. You have a boundary of quads, all as quads in the UV editor, as they followed the active one.
If seams are around, follow active stops on these seams.
So, you may divide your mesh using seams,
-select all (face mode)
-ask blender to “reset” UVs,
-on the UV editor [ctrl+P] to pack them.
-Now hover over a boundary click on one quad, hit [L]. This selects the boundary surrounded by seams.
-Ask to “follow active quad”.
You have a boundary, a UV island, that is automatically aligned to the geometrical pattern.
Great tool for UVing a shirt with a geometrical (tartan) patterned texture.
It works with quads only, if there is a tri among them it will stay alone. (after first subdivision-subsurf, only quads remain and it works)
This method is not the appropriate for UVing a portrait. In such case, just assign your seams and ask for a typical UV. You don’t want to follow geometrical patterns there. Not good. Except of start sculpting aliens or such nonsenses LOL.
thank you michalis,i see i miss some points… yes i wanted do something for me unusual, not alien, but i had an idea to try the techinzique with a face mesh… i will try again, now i see better how i should have done it in the first place. thanks!
This is probably a dumb question but where is the Bake panel?
It’s active for the internal renderer but not Cycles. Yet this claims it’s supported in Cycles.
What am I missing?
A test to show you how accurate displacement cycles maps are. Half a UVsphere on a plane (subsurf+displacement modifier). Smooth shading doesn’t count on cycles zdepth (and these are wonderful news), so subdivide before baking.
Hey, we’re talking about high quality maps!!!

A simple quality test.
How many Poly here?
Displacement is turned off. Basic instance mesh ~8k. Bumps and AO map only.
Very nice solution for distant objects or for game assets.
Please click on the image.
@Charblaze
On this heretic thread, we learned some possible ways to UV unwrap, to sculpt, to displace.
This is the only case that we can use cycles for baking, as well.
So, it’s another heretic trick. CyclesBaking. You won’ find it anywhere else. Even Brecht doesn’t know it.
Testing this all out and liking the results so far! Maybe I’ll post some tests later on 
I’m interested in knowing how you came up with this in the first place michalis heheh, it’s very quite ingenious!
i’ve been trying to get this to render in cycles…i have been able to create the ao and displacement in cycles…i cant seem to get the displacement to render with cycles…so i used the ao and disp “bakes” in BI and it allowed me to lower the sub divisions and strength of the displace and still get nice results…i also used the color (contrast/brightness) of the texture to sharpen things up…the individual rgb channels also shape the displacement…I’m gonna keep following this thread for more secrets of blender revealed…
I created a displacement map with cycles noise texture.
I used node setup as in post #605 above.
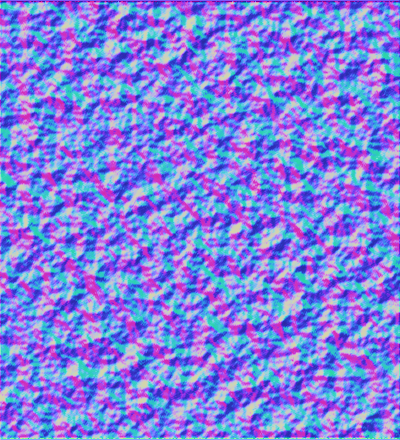
Displacement map was made into a normal map with Paint.net.

@david57
I suggest you to heavily subdivide (subsurf-simple) a square plane. Then, add displacement modifier / noise.
If you’re happy with results (subd~500k faces or more) you’re ready to directly bake a Normapmap.
Just use the new matcap viewport preview (OGL) and choose the normal-map like matcap. Render the viewport as OGL (the camera icon in viewport window). You have a perfect n-map.
What you will do with it, I’m not sure. You are confused IMO.
@vante.
Nice, so you were able to render-displace with BI but not with cycles?
What’s the difference? I mean, add a subsurf+displace modifier like in BI.
Additionally, add a the same texture as bumps in cycles.
(if you’re trying the experimental displace mode in cycles, this works with procedural textures only. It discards UVs so far, so it won’t work. Devs are working on this, right now)
BTW You may use a weightpainting set (add it on displacement modifier panel) to control where you don’t like real displacement happening. On thin areas for instance)
Hey Michalis,
That looks awesome! Dropped it as a wallpaper ![]()
Congrats on pushing the technique so far.
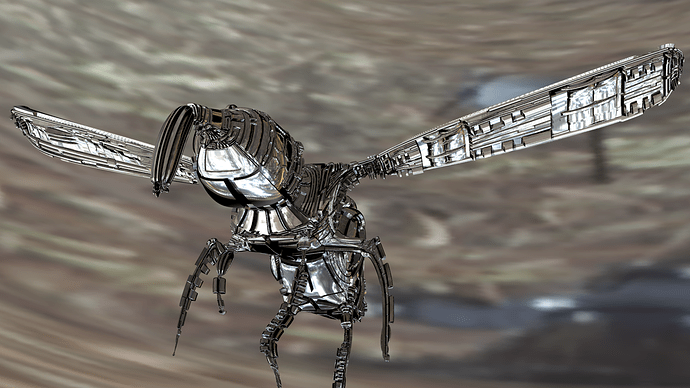
learning the technique,this is meant as exercise , my first really controlled result. i used michalis exr.file (thanks for that!) and also baked ao with cycles to use it in the shader…
michalis i actually baked an ao from your first exr file, by using it first to create a displaced plane from it. now i had the same model like you had to create the ao, lol… or rather similar, as probably my polygon count was atad less. it looked great though… thanks for sharing, i will try the new file too!!
My second attempt using everything i could understand from here (material nodes, displacement and lighting) Hope you like it 
Attachments
the new displacement and ao works great, michalis  i tweaked my uv, and my shader a little to get this
Very Nice!
Very nice result, Doris!!


