I was curious to see if one can animate the texture easily. Worked pretty well!
I didn’t bake the texture, but rendered it as an image sequence in cycles (using the z depth node --> emit as override material). I then did everything normally, but color-ramped the material to change to emit shader by using the same texture. This could open doors to quite cool things if done in a bigger scale! Imagine big spaceship opening a million vents at the same time or stuff like that!
Hi guys, I have just joined the group.
First post.
Awesome work from everyone. Inspirational.
I moved over to Blender last year and have been going through tutorials between freelance jobs. Blendguru posted a link to this recent bust michalis did. The technique for the angled marks on the skin is ideal for something I am working on, so I have spent the past 24 hours reading through most of this thread. Yet to try it out.
I want to achieve a similar effect for a space ship game asset. The idea being that the ship is ancient but unused for centuries. Does not have a typical industrial look, but made of rough metal and stone, covered in carvings.
As it is a game asset I gather I would create depth map, add displacement to the model, adjust UVs to suit, weight paint for subtlety then bake a normal map to re-apply the effect in the game engine. Would that sum it up correctly and any advice on using it for this purpose?
Thanks for getting back to me. I will experiment with both methods. I want to get an effect similar to what you did on the shoulders and chest of that bust you did. Rather than an extruded high-tech engineered look, I want a deep set carved look. So there would be minimal height displacement and more depth to the grooves. I am not sure a bump map will illustrate that well. However I have to give it a try with an AO map too.
I am also skilled with Photoshop and I want to compare the technique done with a Blender generated displacement map to one done in Photoshop.
I have noticed a few renders with textures that must be generated procedurally as they vary according to the displacement map. This one (the copper crab above) has almost the exact oxidized copper effect I would like to do. I have seen a couple of other images with a similar copper or stone texture too, but cannot find a link anywhere to how this is achieved. Can you explain, link to a tutorial or provide a blend file with the texture for me to have a look?
I also see a few using emission maps linked to the displacement map, so once I grasp the concept I will be rendering the following:
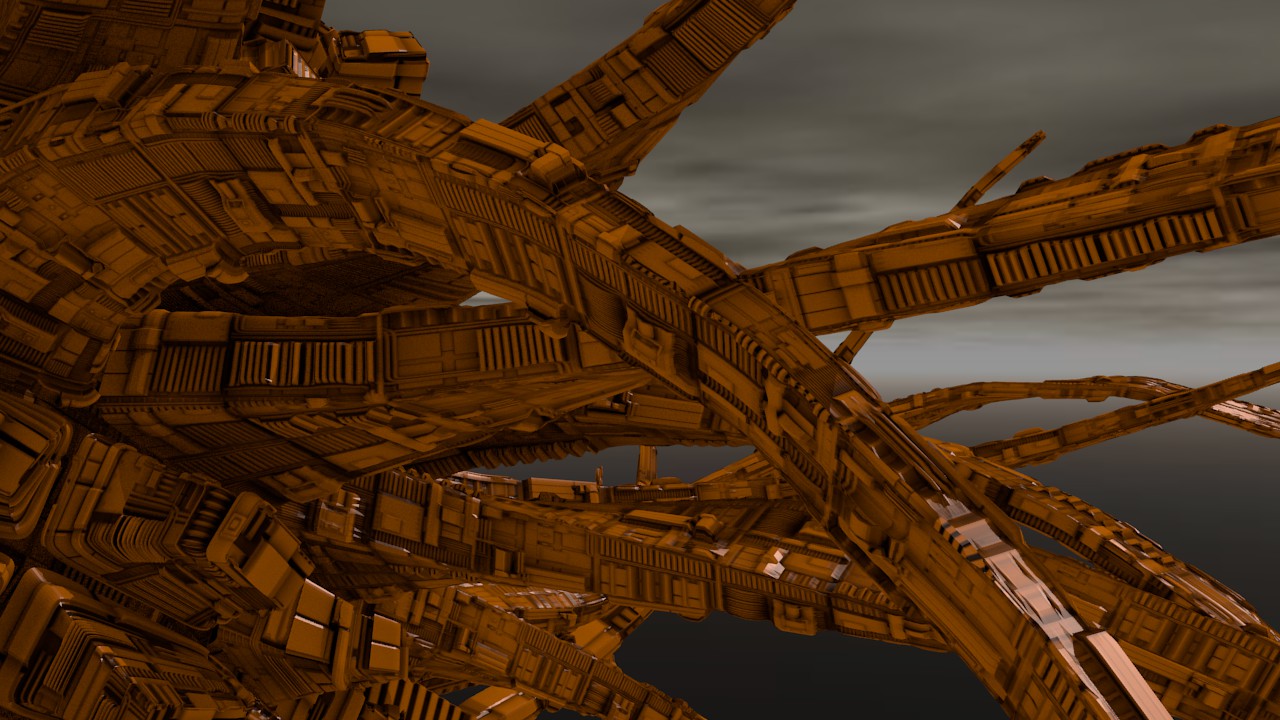
Ship surface covered in carvings, deep wide recessed channels and slightly raised blocks
Oxidized copper texture with green in recessed areas
Light emission coming from the deepest channels revealing power source
Inspiration coming from a combination of Stargate, Atlantis:The Lost Empire and Tron.
Obviously I will have to experiment a bit but I would like to post as I go along and see if I am achieving the results I need.
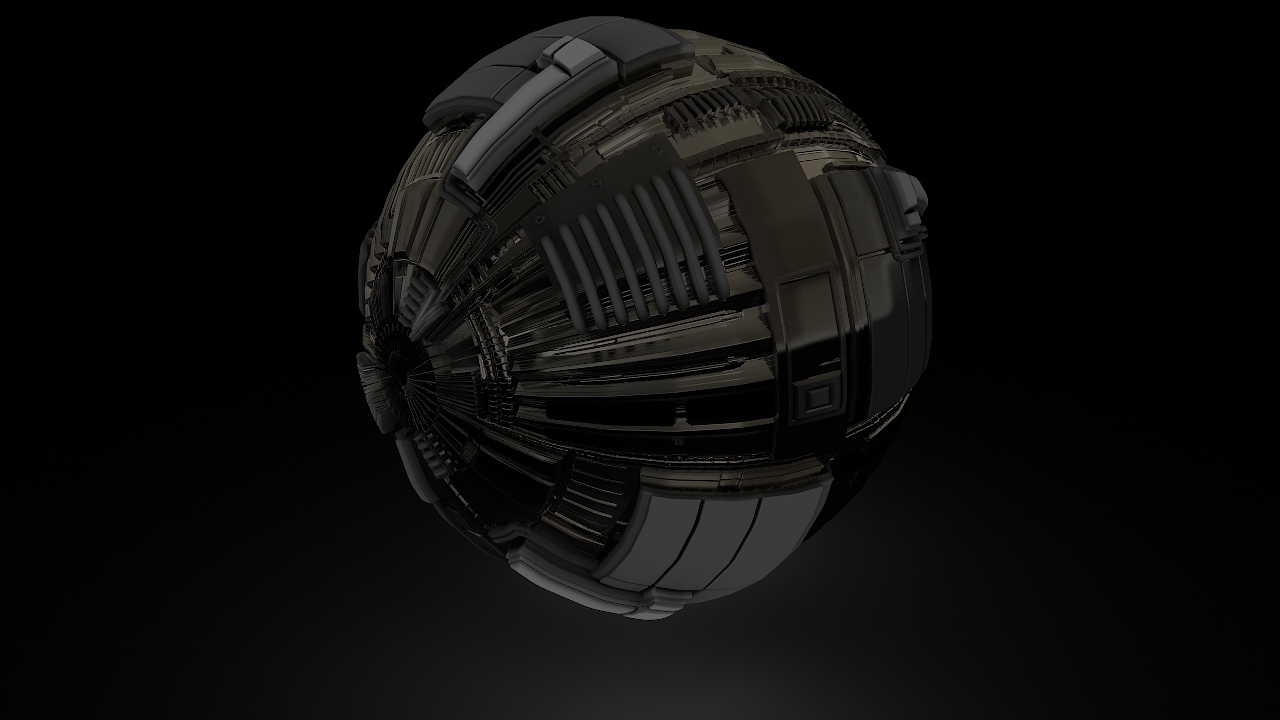
Thanks, here is a Blender Internal render of a dark contrast sphere. I took Michalis displacement map and inverted it in Photoshop so I could use the negative to control where the reflection portion appeared. A highly blurred Equatorial sky map provides the reflective coloring with the companion AO map taking care of the matte surfaces.
Thanks, here is a Blender Internal render of a dark contrast sphere. I took Michalis displacement map and inverted it in Photoshop so I could use the negative to control where the reflection portion appeared. A highly blurred Equatorial sky map provides the reflective coloring with the companion AO map taking care of the matte surfaces.
Good ones.
You don’t have to invert a map. Just use negative values.
For cycles glossy, add a second mix shader, plug the map as factor, connect on the second socket (inverts the whole thing). Or, alternatively, add an invert / color node.
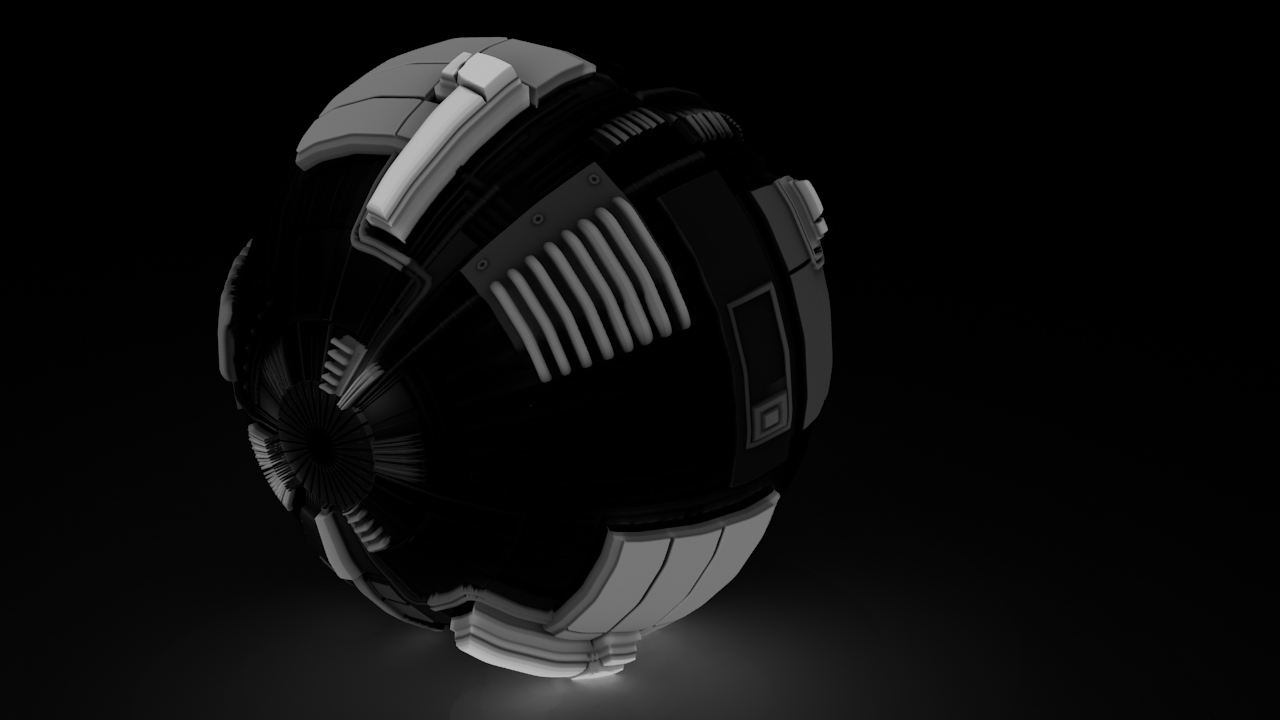
You know I thought the same thing, but it was just not working for me. I tried -1.0 for Reflection Mirror strength. I also tried Negative checkbox for the texture itself. It only started looking right when I inverted the map in Photoshop and use positive numbers. I also played around with mis-representing the color space. Blender Internal detects the displace map as sRGB. I set it to Linear and then made some hard adjustments on the Contrast (NOTE: Only for the material, not the modifier displace) That is what realy brought out the darkness on the second image, above. You have to make sure to make the image ‘unique’ before you make such changes, however or such tweaks will affect the displace.
My previous posts were rather long and my question may have been missed.
How do you create the oxidized copper shader from the displacement map?
As seen on michalis’ crab.
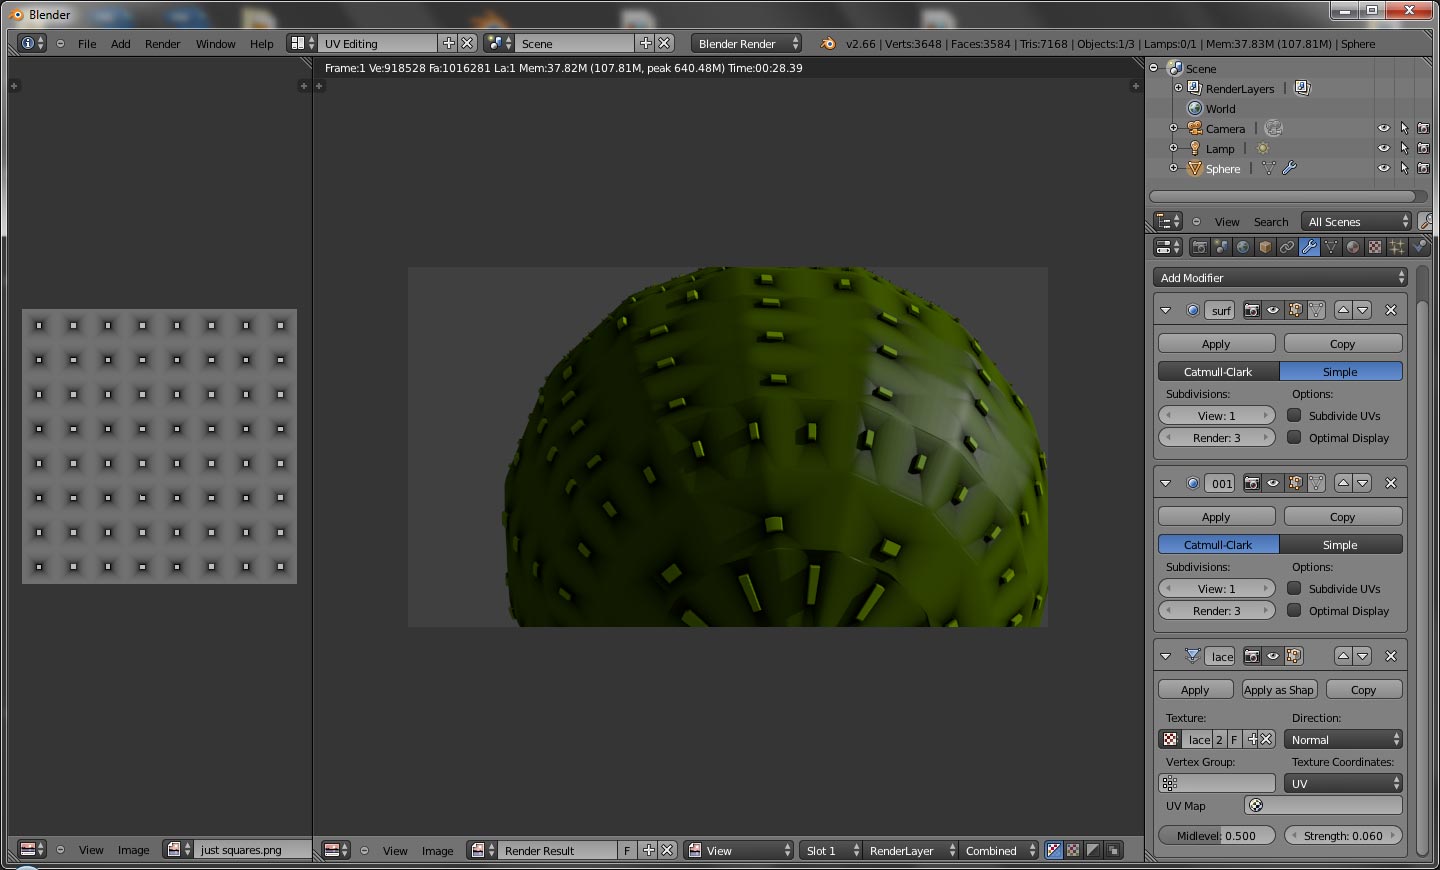
How do I know how much to subdivide a surface that I’m displacing? Should I try to line up the blocks of my panel graphic with the faces of in the UV editor? I made a graphic blender using the grid so everything is evenly placed. I’m new to Blender and to UV mapping but I get the gyst of it, just seems like I’m missing something. Also how do I bake the displacements to make it part of the mesh.
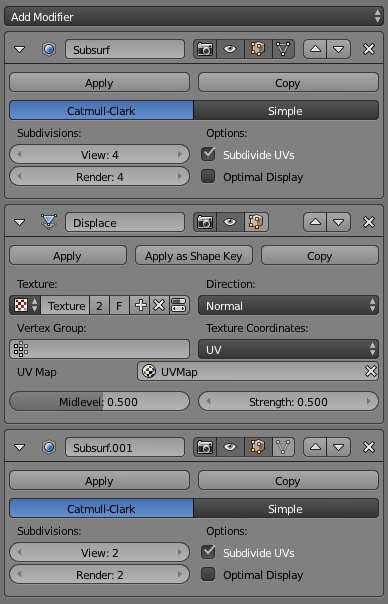
There is no reason to put a Sub-division after the Displace, unless you want that smoothed out look. For a cleaner displace you want to set the first Sub-Division to Simple, then the second to Catmull. For crisper displace results, you might want to try this modifier stacking order.
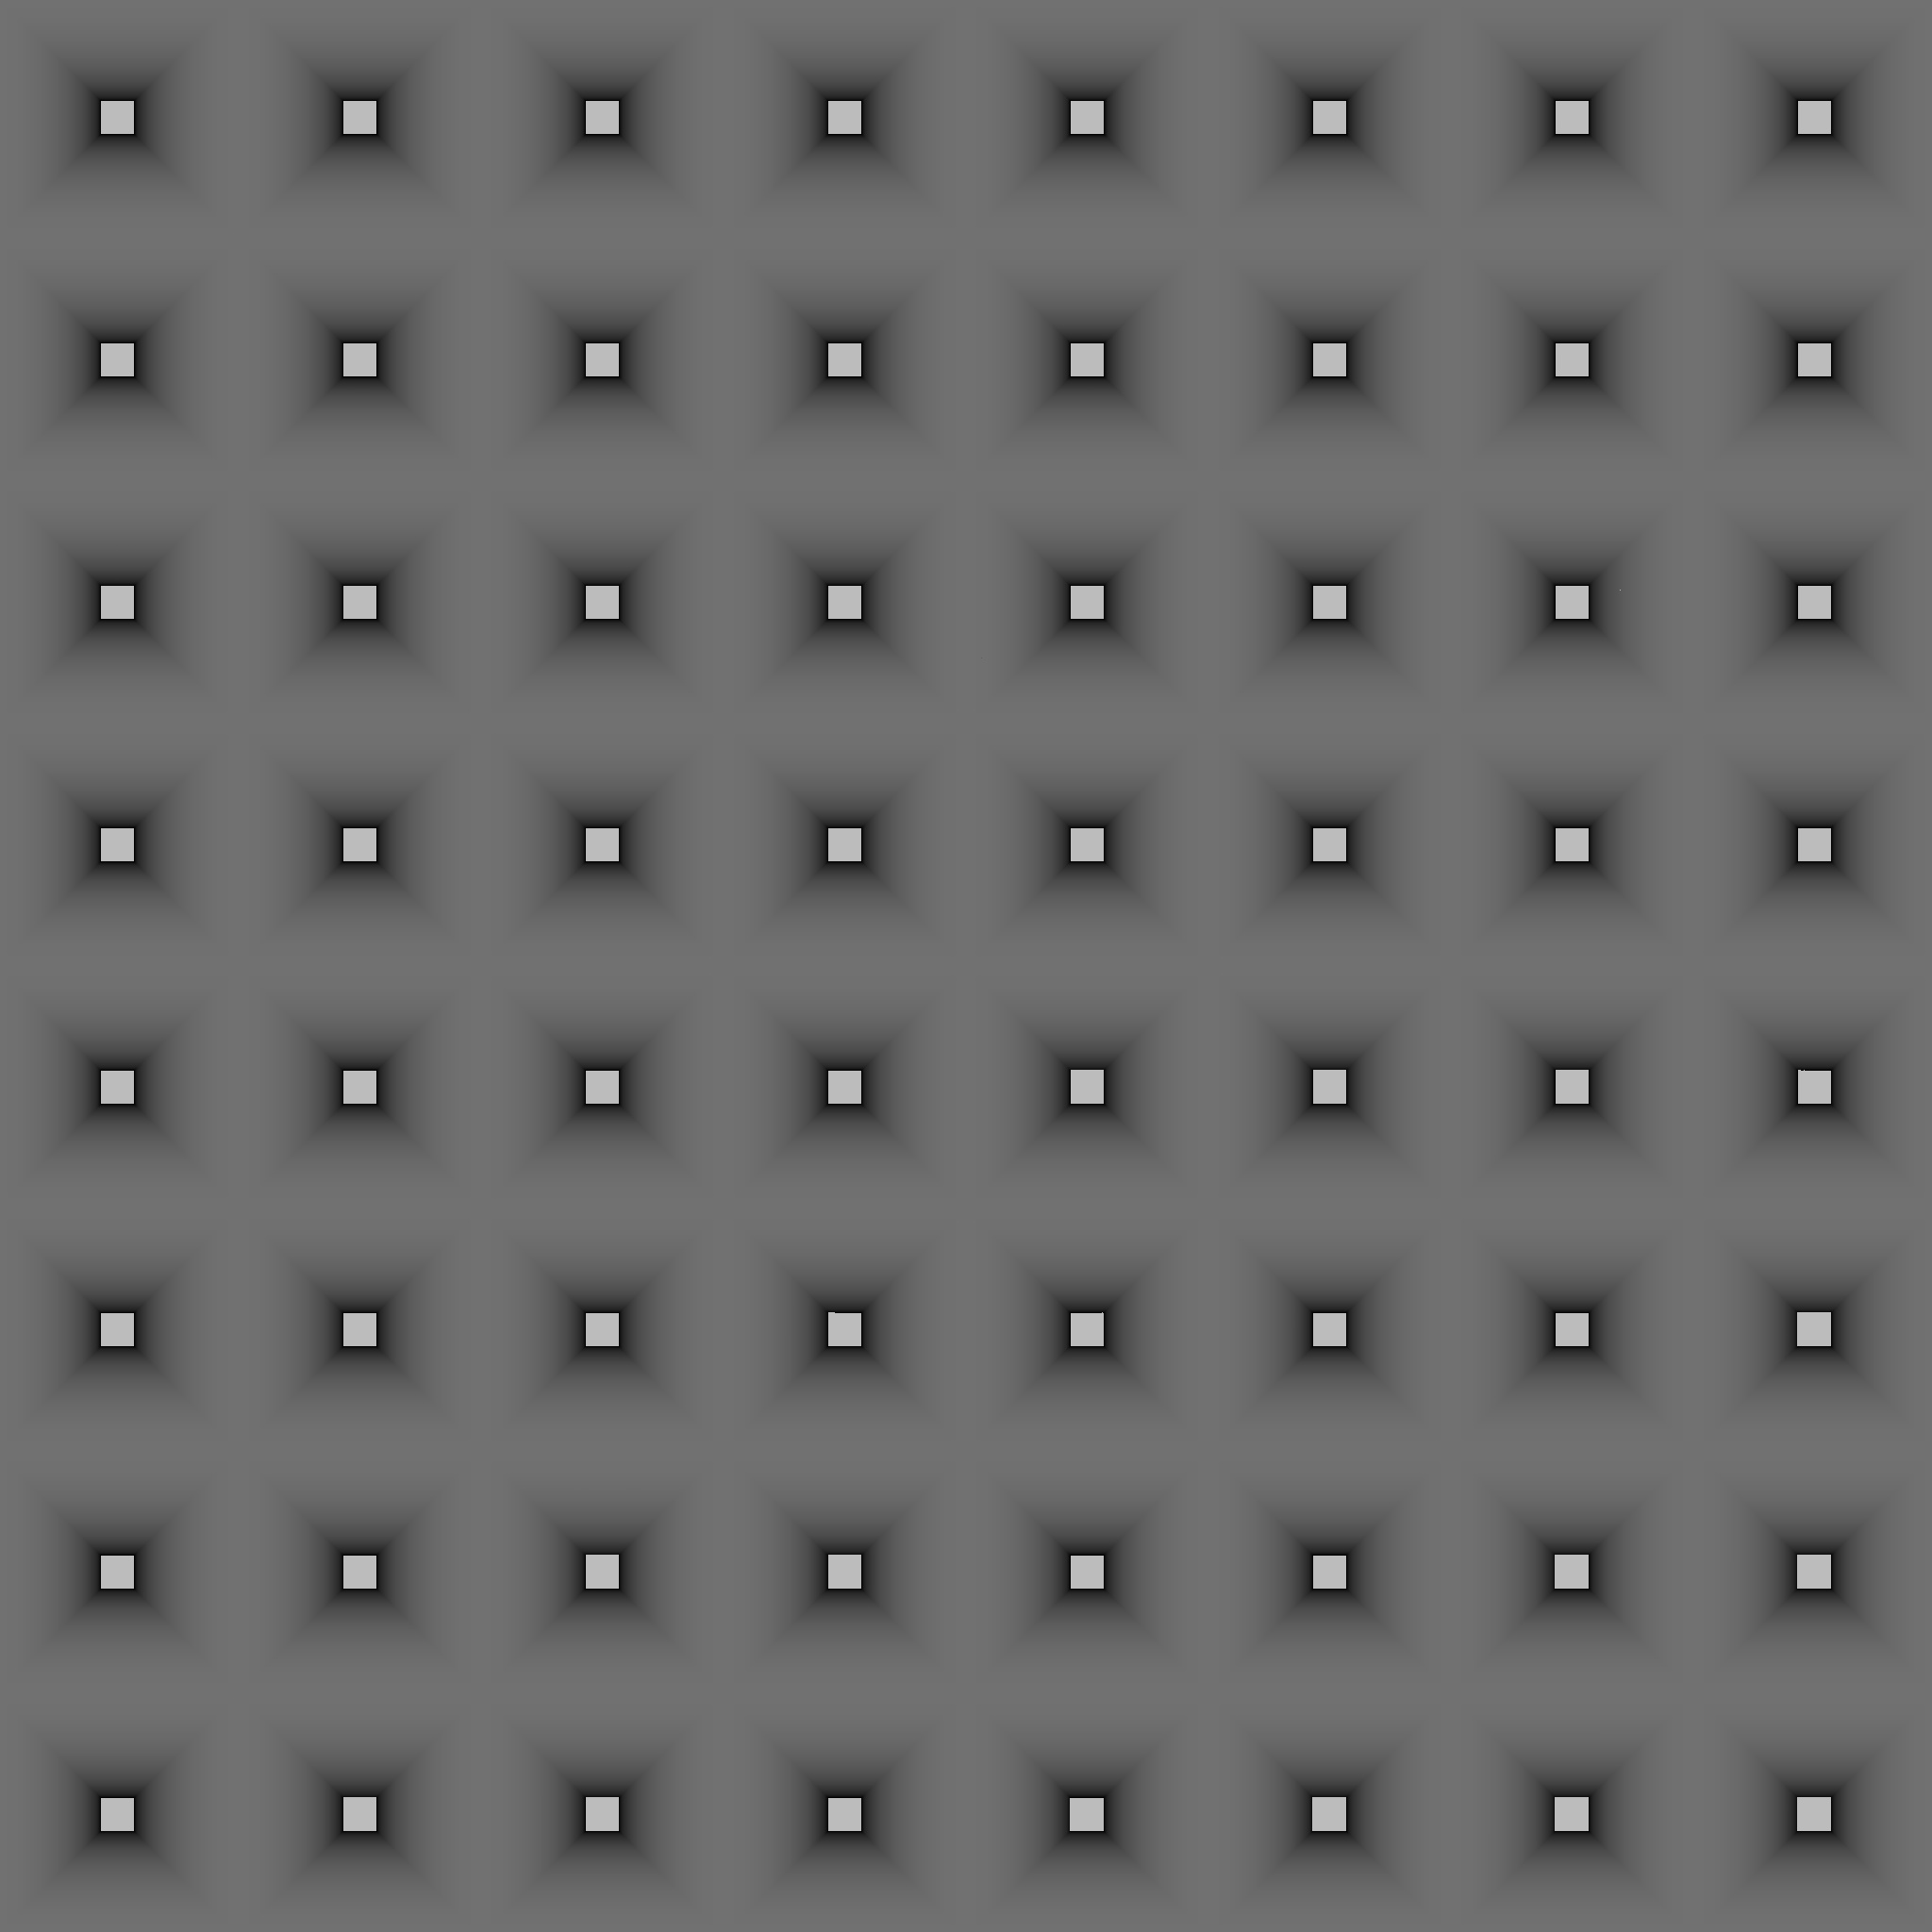
For this simple kind of dispalce map there is not a need to make it 2048x2048. Because it is a repeating pattern all you need is one little square. This can save memory when GPU rendering.
yea good tips. However I notice yall are using the Displace modifier, I’ve been using displace function in bottom of the texture dialog, is there any disadvantage to doing it this way?