Hi everyone, i recently downloaded 3.0 version and feel enthusiastic about working with that. As the subject of this topic mentions, i have a question about how to select bones directly from weight paint mode. It used to be CTRL + click apparently (am following an old tutorial) but it’s not working anymore and i wasn’t able to find anywhere if this shortcut somehow changed or has been removed (i doubt it as it’s really handy) or it’s kind of bugged in version 3.0. Anyone can help me?
Thanks in advance 

I can’t find out how that ctrl click works, it may have something to do with Edit > lock object modes, but you can always select the vertex groups under the object data properties panel.
Infact that CTRL+ click doesn’t work at all. And yes, you can always select the vertex groups, the only reason of the question on this topic was because that’s supposed to be a very handy shortcut within the workflow.
Also, i forgot to mention that the “lock object mode” in the Edit Menu, had been unchecked already.
Cant test is currently so might be wrong.
You can have the bone in front option as a quick favourite or always on. That way and with lock object mode disabled, selecting should be easy. For me it works fine, you just need a little part of the bone visible to select.
Excuse me, am talking about selecting bones, while being in Weight paint mode, so with the brush cursor. How do you actually select bones while in that mode if not with shortcut keys instead of moving from one mode to another? Lock object mode is already disabled,but it still want let me change to a different bone that the one previously already selected.
Okay maybe a video explains it…
You can see that i also struggle at the beginning to have the armature in pose mode and then selecting the object. That did indeed got harder to do but after that little setup it works.
I actually found out the culprit here, by reading this answer in another forum ![]()
It was the bloody “paint mask” option automatically checked that was stopping me from being able to select bones while in weight paint mode. But thanks for your help as well ^^
thats why a screenshot would be helpful. Would have seen it and saved time and effort.
Thank you for your kind observation, will take note for next time. Didn’t mean to waste your time and effort.
1 Like
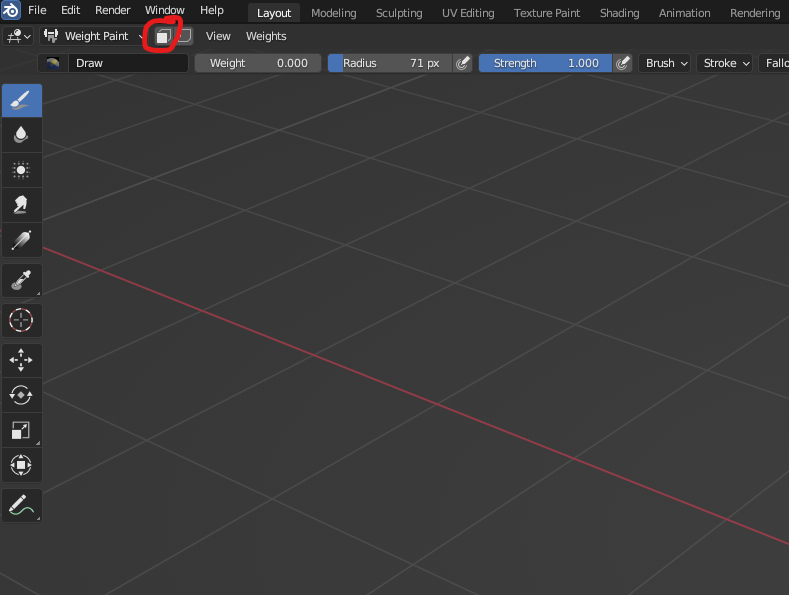
Faced with the same problem, the answer is to disable the face selection button (paint mask) on the right next to the weight paint mode button.
1 Like
This is right. A fairly relevant topic.
Both of these Masking Options (Paint Mask & Vertex Selection) when Enabled, on Weight Paint Mode, renders the Bone Selection through [ Ctrl+LMB-Click ] shortcut impossible — of course, we must be on the Pose/Weight Paint “Mixed” Mode to start with.
The Workflow I use for these Options, is to Assign Shortcut for each of them; [ O ] and [ P ] respectively, which seem to be free commands by default on Weight Paint Mode. It makes easier to Toggle between Enable/Disable of such Options, and making the Bone Selections when needed; it’s not ideal, but it’s certainly a lot more advantageous.
Another interesting “Masking” functionality, is to Hide elements of the Mesh on Edit Mode, prior to go on Weight Paint Mode; this will guarantee that certain elements of the Mesh will be protected from Weight-Painting, however, the Mesh will be Hidden also on Weight Paint Mode. This method can be also combined with the Paint Mask / Vertex Selection Options for more interesting results.
On certain projects, it might be useful even to have specialized Vertex Groups for different parts of the Mesh, just for this kind of Hiding/“Masking” application for Weight Paint Mode.
Just another interesting feature: Mask Modifiers (for Mesh Objects), although they can Hide parts of the Mesh, this funtion doesn’t actually protect the Mesh from Weight Painting; so, it’s application, regarding Weight Painting, is critically different from conventional Hiding Mesh elements on Edit Mode.