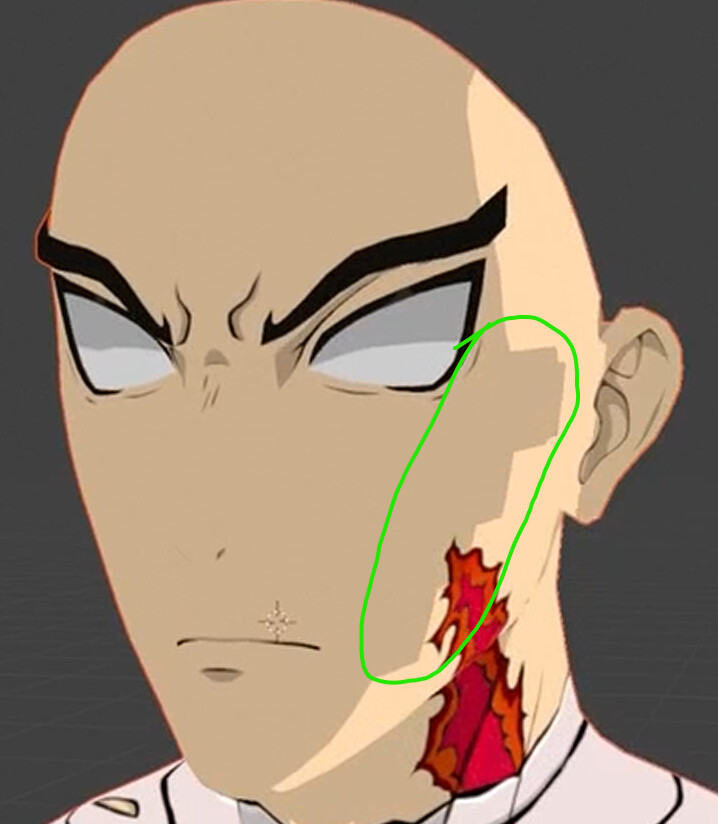
as the title suggests, my shading looks awful when in perspective mode, but in orthographic view it works perfectly.
I have custom normals on my mesh to get that anime cel shading, but as you will see in the video, it doesnt work quite well in perspective mode and i dont really know why.
Shading is supposed to to stay fixed; when you rotate view, at condition, that lighting is also fixed.
By default HDR lighting provided by Material Preview mode is at a fixed position.
You can disable fixed position and make it rotate with view in Viewport Shading popover.
But that would not explain why shadow is on one side of mesh at start of video and on the other one, at the end.
Apparently, there is a Sun animated in your scene. That may be the source of change of lighting.
Apparently, there is a terminator effect related to geometry. Maybe you are using another geometry too low poly to define custom normals. Maybe that is a shadow of an hidden object.
Apparently, there are a lot of objects in your scene.
You don’t give any info about lighting, how you created custom normals or how you created toon shader.
If you want a valid help, start by simplifying the scene. And then, explain what you did.
That way, we could confirm where you made a mistake or we could confirm a bug.
The Sun is animated yes, because its easier for me to see if my shading works correctly by just press Play and watching the animation so i can tweak the normals.
The problem however is this blocky, flickering lighting you see on the face when i switch to perspective view. In the beginning of the video, where i am in orthographic, it works fine.
The lighting is just a sun set to a power of 5W
I tried it in another blend file with just the body mesh and the sun light being in the file and it happened again.
I manipulated the normals on my mesh through the basic normal tools blender offers (copy vector, paste vector, rotate vector)
I am using Eevee
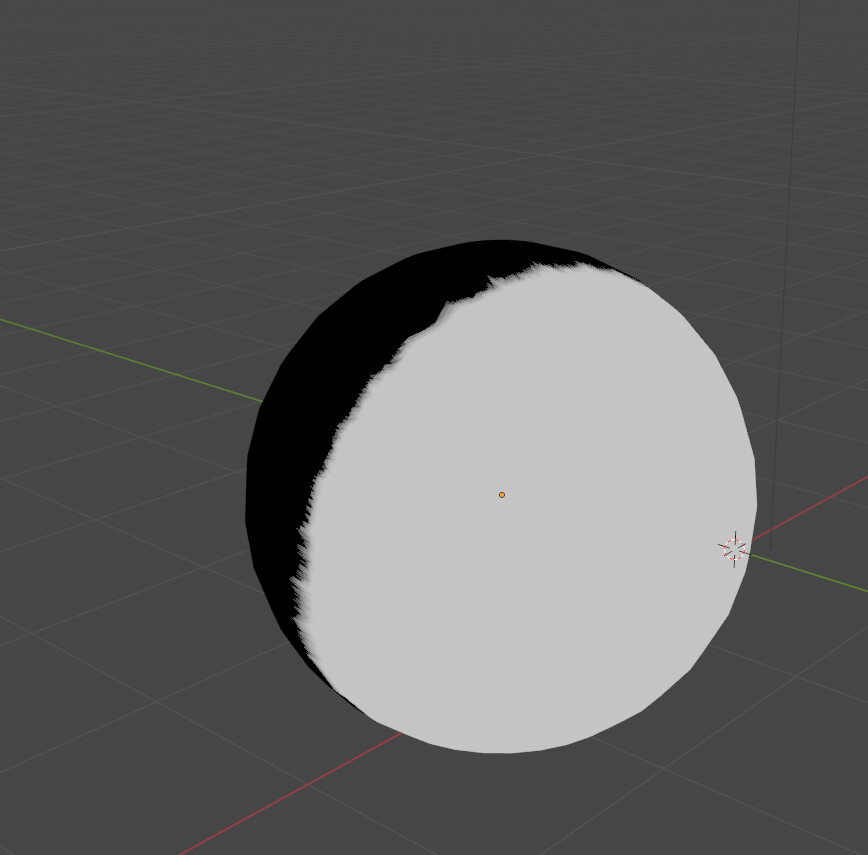
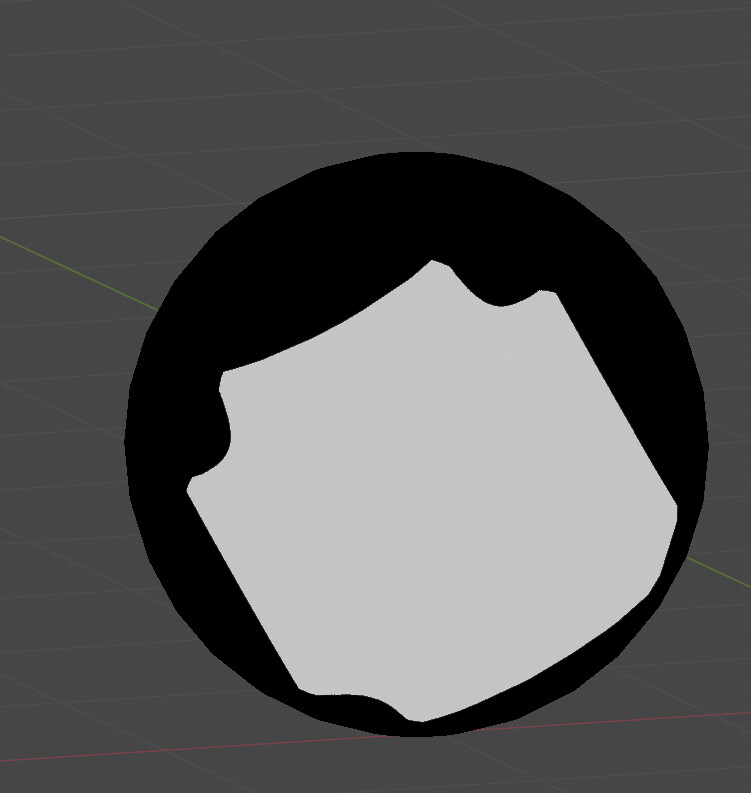
For a test i edited the normals on a sphere and here is the result with the cel shader material i mentioned previously, in perspective view:
So, the issue is probably relative to edited normals.
You should try to look at geometry in Solid mode and display Split Normals overlay to understand where brutal boundary of smoothing is happening.
Issue may also be relative to how Subdivision Surface modifier is taking into account custom normals. You may have to apply subdivision to be able to edit its normals or may have to use a Normal Edit modifier after Subdivision Surface modifier.
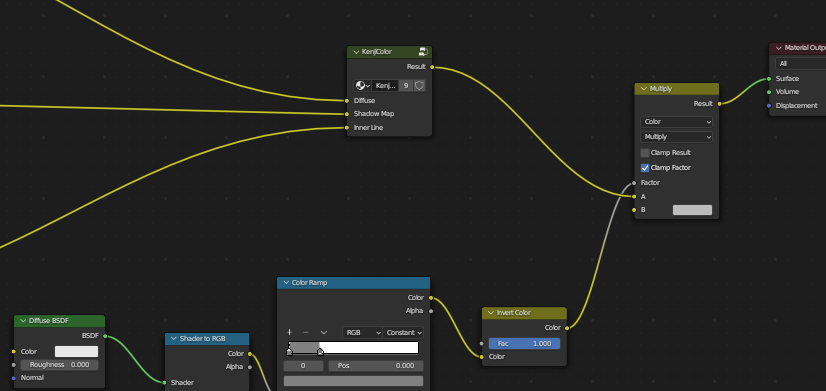
Or that may be relative to what is called Shadow Map in your shader.
We just know that there is something (not in screen capture) connected to socket of a nodegroup (we don’t know its content).