Every shape key at zero means that you are targeting the “Basis” shape.
When you are editing a shapekey, you are editing this specific shape key as if param was 1. (and not 0. like you say)
To sum it up
If you are editing one shapekey in particular, and want to have the same when you switch to object mode, all shapekeys must be at 0. EXCEPT for this specific shapekey your are editing, which should be at 1.
Ok, but I can’t change basis value, and that’s the one that I’d like to have in object mode.
(thank you for your time though, I’ve been fighting with this problem for 2 days with no explanation, I really appreciate the help!)
Yes the basis in the “original” shape, so there is no value. All other are the shapekeys.
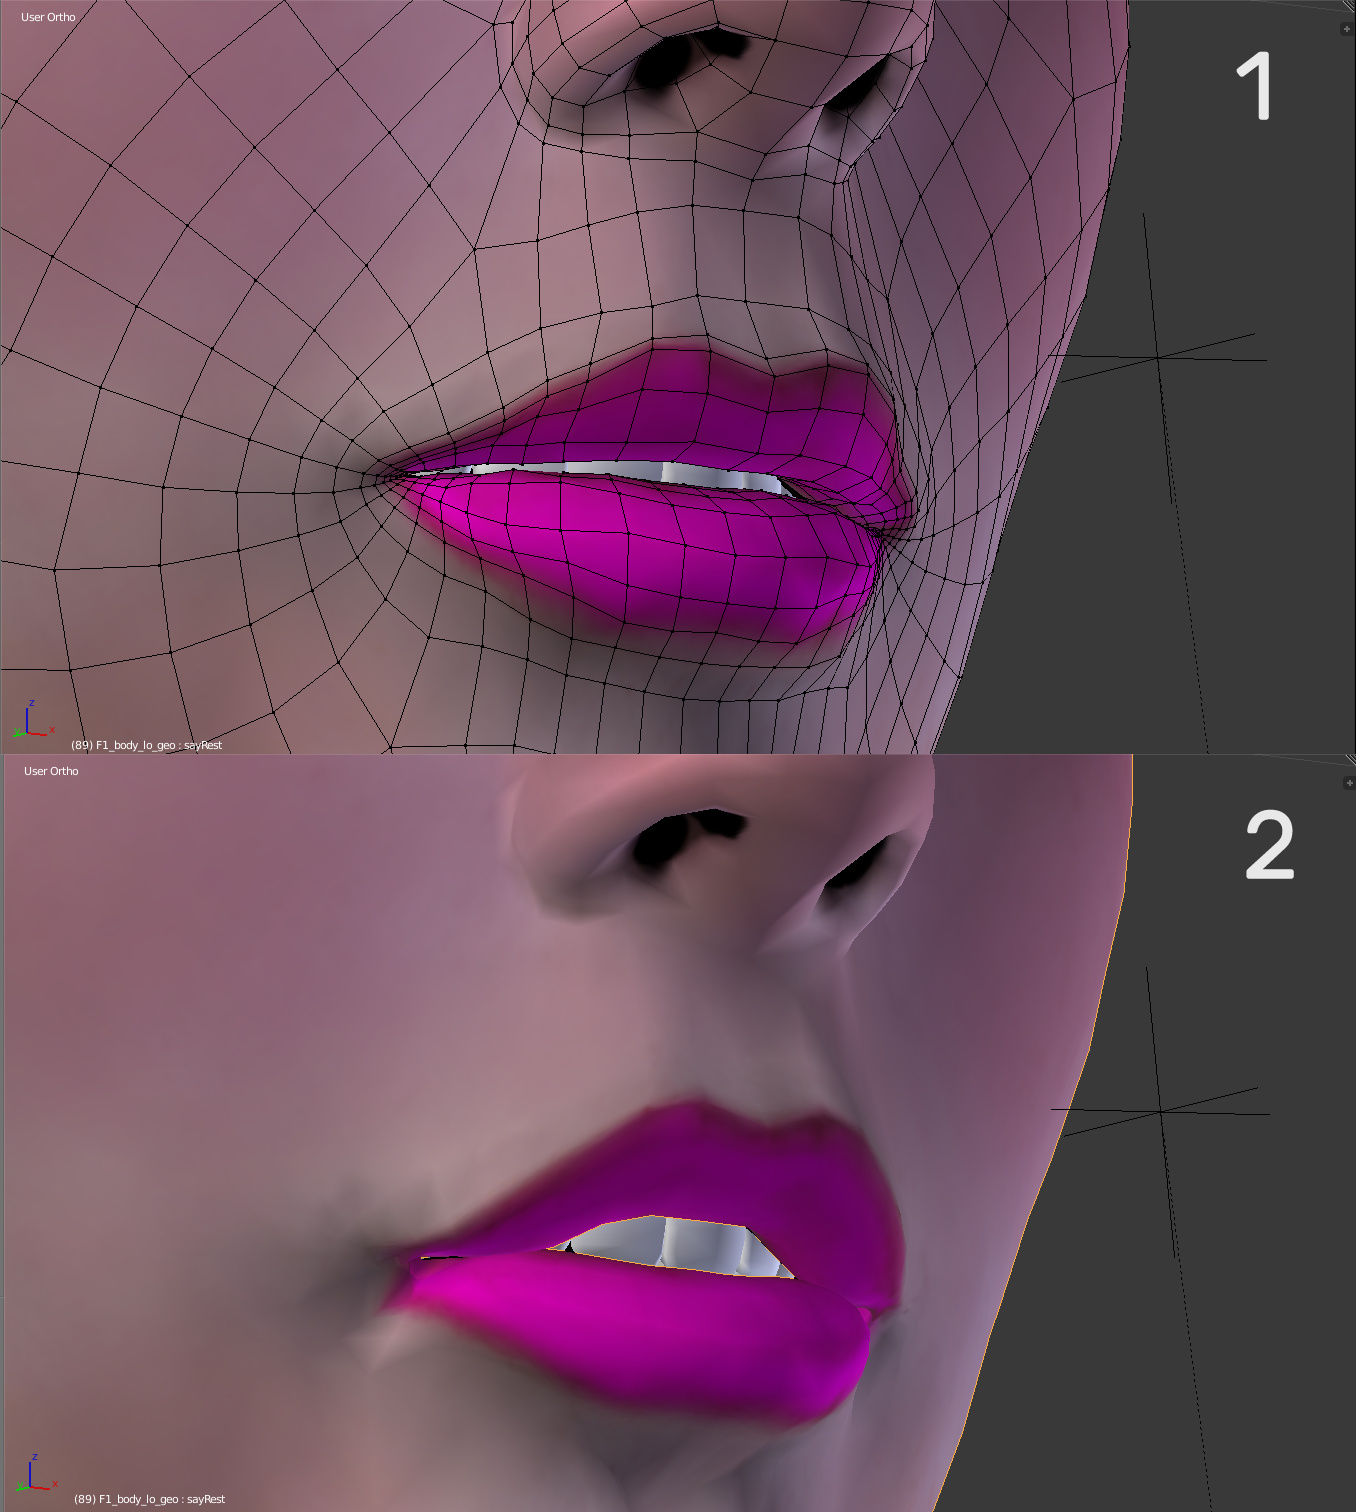
Indeed if you have all shapekeys set to 0., object mode should be like edit mode with basic selected.
In that case sharing a .blend is usefull in order for us to help
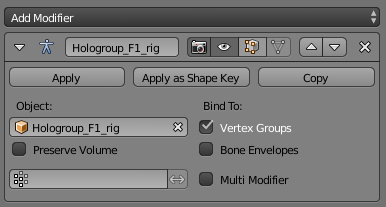
You issue does not come from shapekeys :
You have a rig modifier. It’s applied in object object mode, but in edit mode by default you see the mesh before the modifier compute.
Uncheck A if you want to see object mode without the rig modifier
Or check B (letting A checked) if you want to see the edit mode with applied modifier
See you ++
Tricotou
PS : For sharing, you should use file → external data → automatically pack into .blend file. You will pack all textures in the .blend without having to separalty share them
Wow, it works, you’re a magician, thank you sooo much!
Does it possibly break something else if I uncheck the A? Like rig could work wrong? (the second method does something weird so I’d stick to first one)
Thank you for the tip with packing blend Will remember that.
And yes, I’ve seen it, I don’t understand why it’s flagged
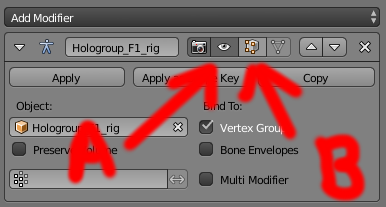
If you uncheck the ‘A’ icon you disable the modifier in the viewport, it’s still enabled for rendering though, because the ‘camera’ icon on the left is checked.
The ‘B’ icon enables the viewing of the modifier in Edit mode, and the most right icon enables the actual geometry, that is vertices, edges, faces, to be in the deformed location in viewport.
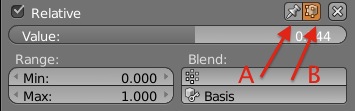
Some clarifications about Shape Keys:
• when in edit mode your editing acts on the selected Shape Key only.
•Icon ‘A’ disables the effect of any SK other than the selected one, and you will see the full effect of the latter even if its value was lowered in the slider.
•Icon ‘B’ lets you see the effect of geometry editing in real time, while if you uncheck it you have to enter object mode to see the effect. (personally, I would keep it always activated).
 ++
++