Queue the Stranger Things music, we’re going retro.
Continuing from this discussion, the addition of the Shader to RGB node got me interested in the effect again. This node is awesome! I think we are going to see all kinds of cool tricks and hacks thanks to this little fella.
This is more of a proof of concept than anything. You can easily generate dithering in post (photo editor, or compositing), but it’s still fun to play around with in real time, and it gives me an excuse to tool around with nodes.
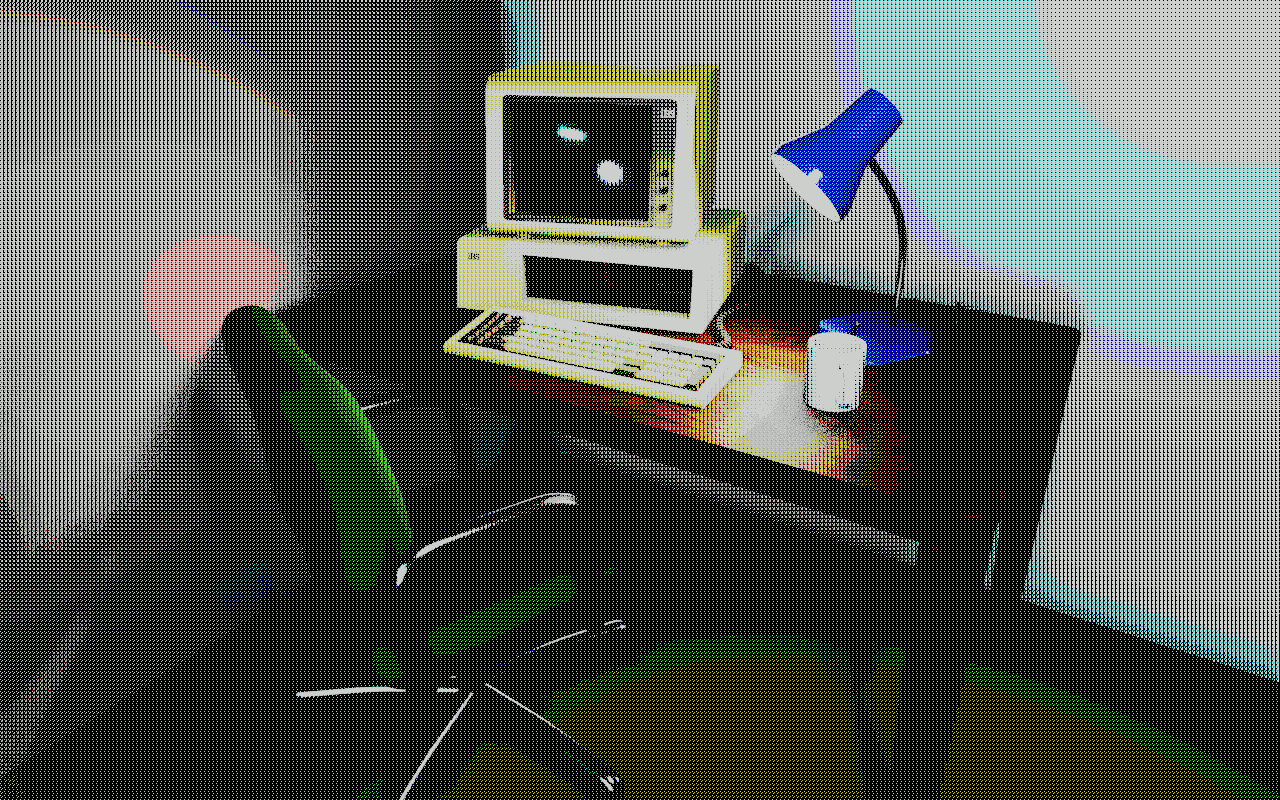
(Expand to properly see the effect)
The first 3 have 16 total colors, the last has 2.


The material does not use a bayer matrix as in the linked discussion. Instead, I wanted to experiment with creating a matrix procedurally with more control. Bayer patterns do look better though, so I may include some later. I’d also like to create a procedural halftone dither, and replace the half baked fringe thing with proper chromatic aberration.
A few notes:
-
The effect is best viewed through a camera locked to the view with the view zoomed 1:1 (View > Navigation > Zoom Camera 1:1). Otherwise you get a sort of moire effect.
-
Place the ditheree node group at the end of the node chain for each material in the scene.
-
The resolution needs to match the camera/render resolution for pixels to be square.
-
The shader does take a bit to compile the first time around. Changes are quick after that.
-
The node group is nested inside of another node group. No, that’s not a mistake. It’s a material linking trick. It allows you to plug the node group into all of your materials and make changes globally from one place.
Ditheree.blend (391.0 KB)
EDIT: I updated the file with the standard Bayer patterns mentioned above.
There are 4 options: 2x2, 3x3, 4x4, and 8x8. The images are packed and take up about 1KB total.
Enjoy! And I’d love to see some images if anyone plays around with this.