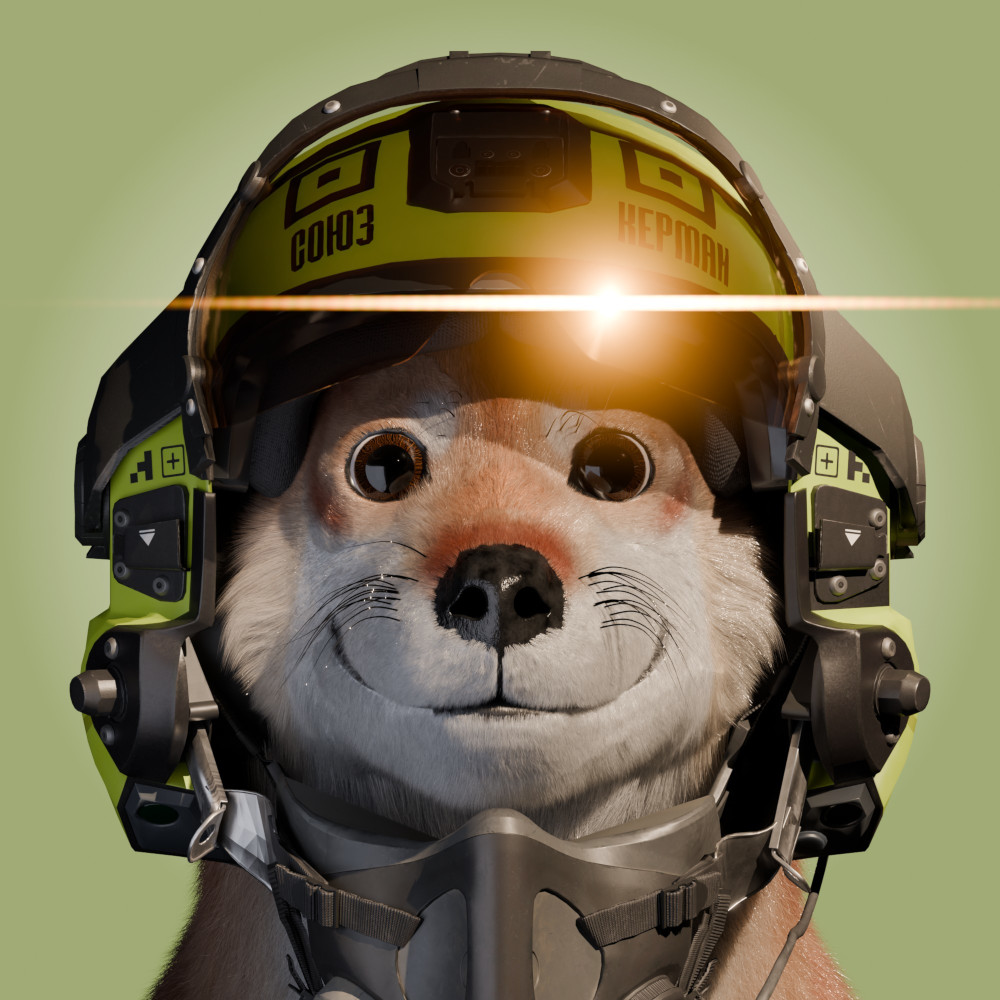
Hello, this week I made an image for my profile picture. This is my first time using the geometry nodes hair system.
Resources used :
- Wolf modelling tutorial by V-Multi tutorials
- Chaosthief’s Blender conference talk about hair systems (very useful to learn the workflow !)
- Chaosthief’s fur material
- Swurst’s procedural eyes
- Ace Combat 8 Helmet pack by Offmodelstudio
- Maratype font by Artyom Galinov (for the decals)
- Ucupaint add-on by ucupumar (layer-based texture painting)
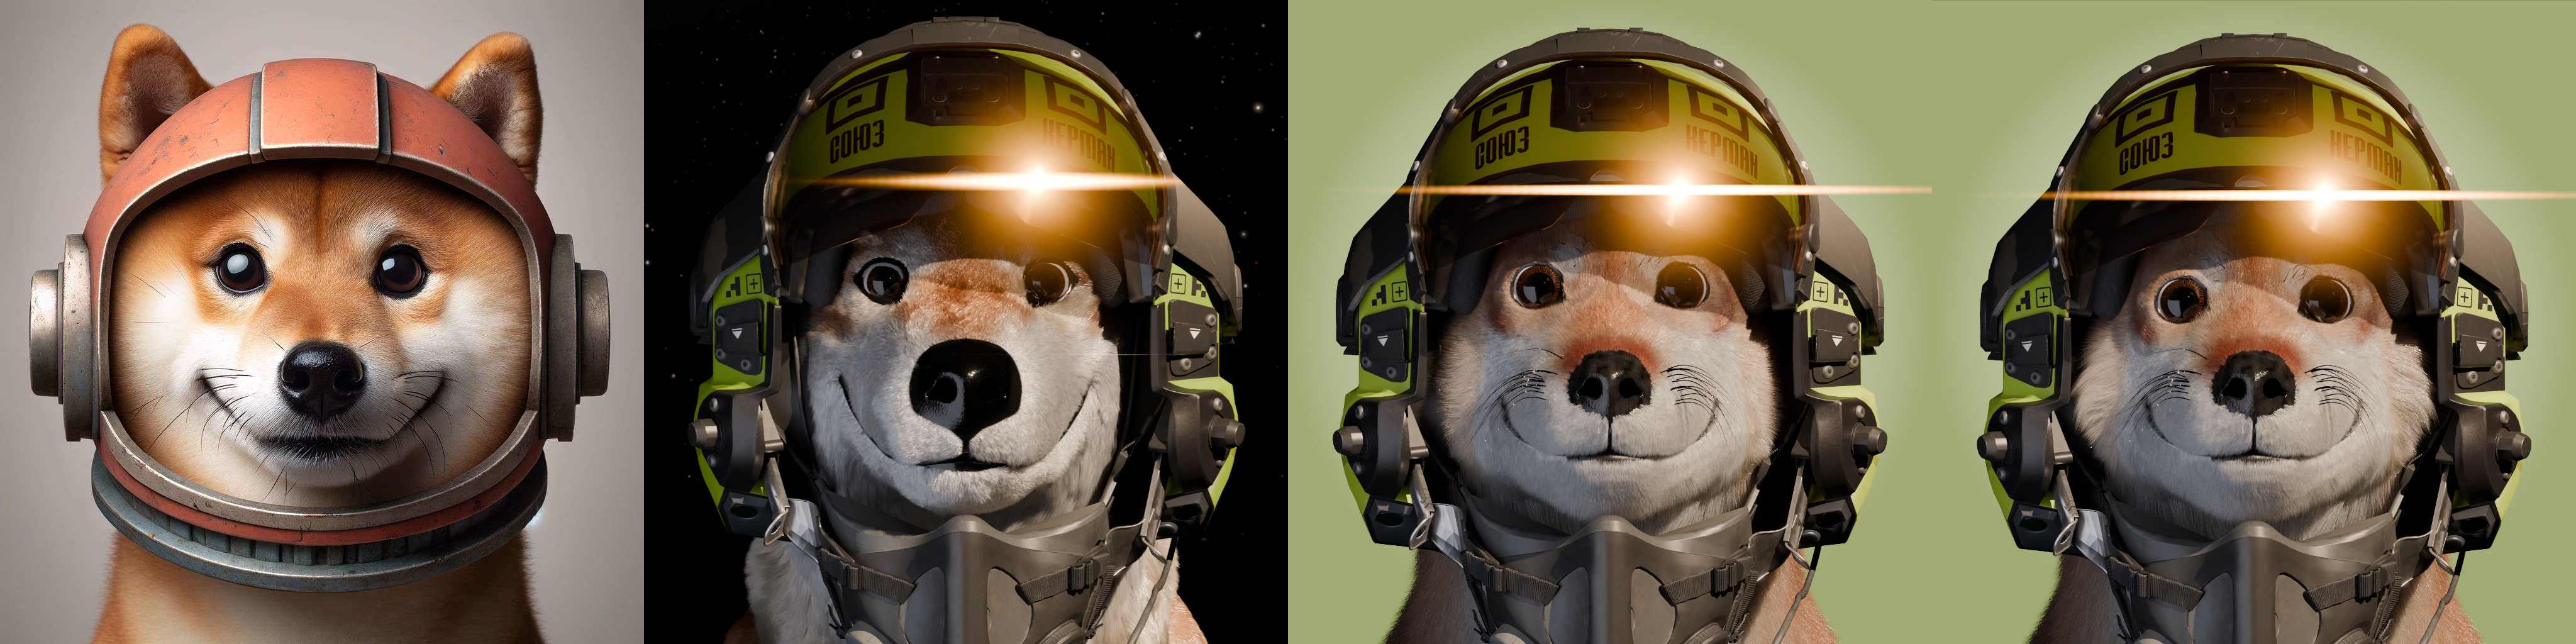
The starting point was a picture I’ve been using for 4 years which was randomly made by one of my friends with AI (when we all thought this technology was a gimmick which would have no impact on the real world, lol). I made a first attempt but was not satisfied with the result which looked a bit creepy, a bit like a doll. For the second attempt I increased the hair roughness to make it look softer, I brought the eyes closer, shortened and scaled down the nose. For the third attempt I simply lowered the eyes a bit and it was much better ! I also added a bit more fluff on the sides because the helmet was hiding it.
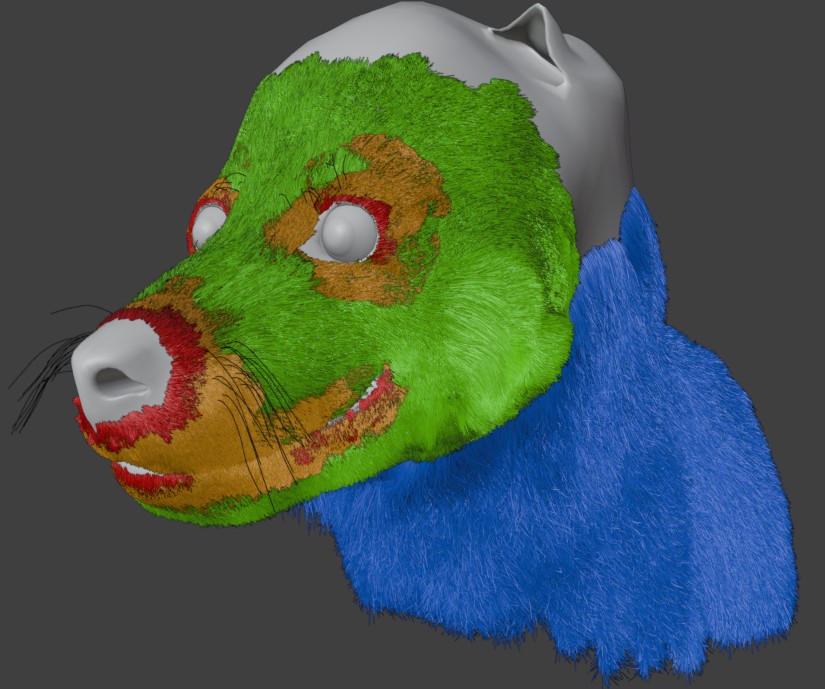
I was scared of hair combing but it ended up being one of the easiest parts. The hardest part was blending the different fur zones to ensure a constant hair density, also making the borders with the hairless zones (around the nose and eyes) was quite difficult.
You can see the different hair zones below (red is short length, blue is longer) :
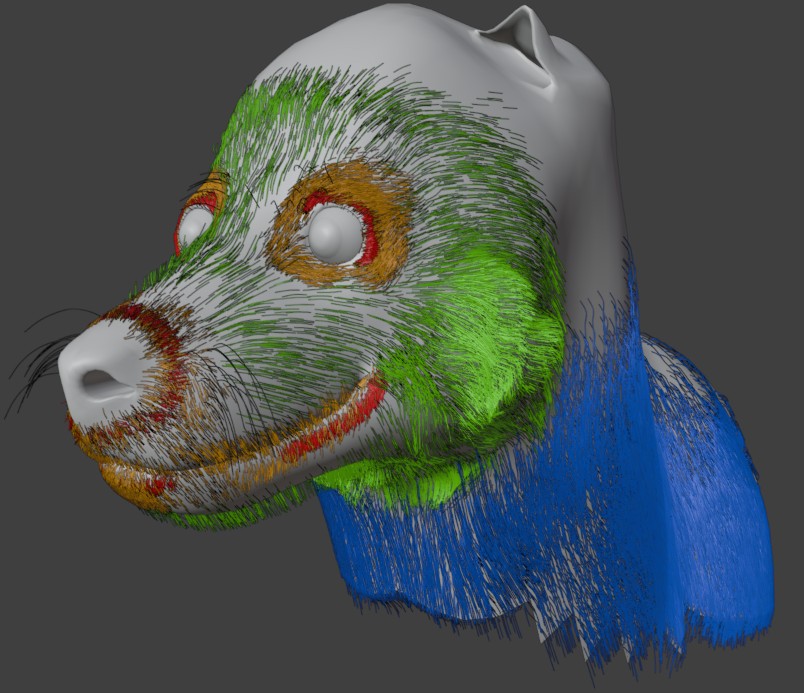
Another difficult part was the modifiers : even using reference pictures, it’s sometimes hard to translate what you see into a stack of modifier with somewhat abstract numerical values. Here is a picture of the guide hair without modifiers :
Texture painting was made easy thanks to the Ucupaint add-on. I made separate textures to mask the nose, the mouth and the eyes, which were used as a mask to disable hair interpolation and also to as a factor with a mix shader node.
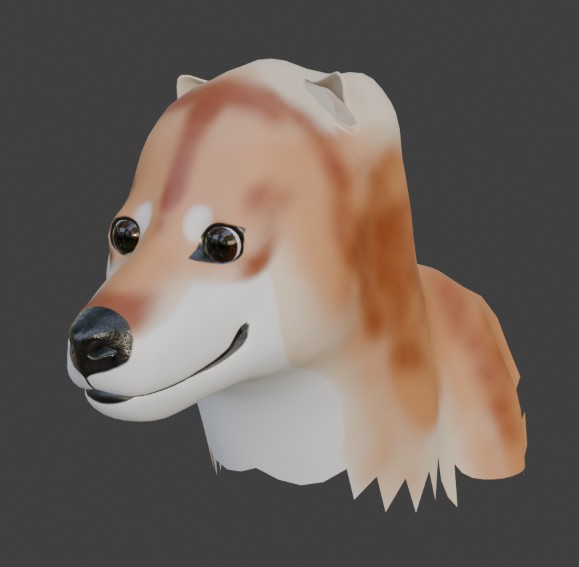
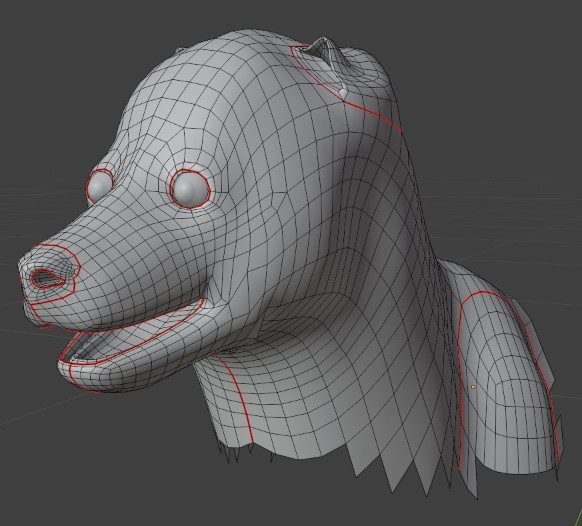
Finally the topology : it’s a bit messy, in the tutorial I used it was much cleaner, but I must have messed up somewhere. I had to squish the ears so that they would not go through the helmet. The mouth is controlled by a simple bone and with manual weight painting. The topology near the edges of the mouth is nasty so it gave me a bit of trouble.
The helmet was originally black, but I made it green and added some decals inspired by the nuMarathon art style. I originally wanted a soviet space helmet, but when I saw the AC8 Helmet Pack, I thought this would be a great opportunity to avoid more modelling work.