So, I’ve been using Blender daily for the past few years and I wanted to introduce this software and its pipeline to other people in my school so I came up with the idea of leading a little workshop.
This artwork is my personal version.
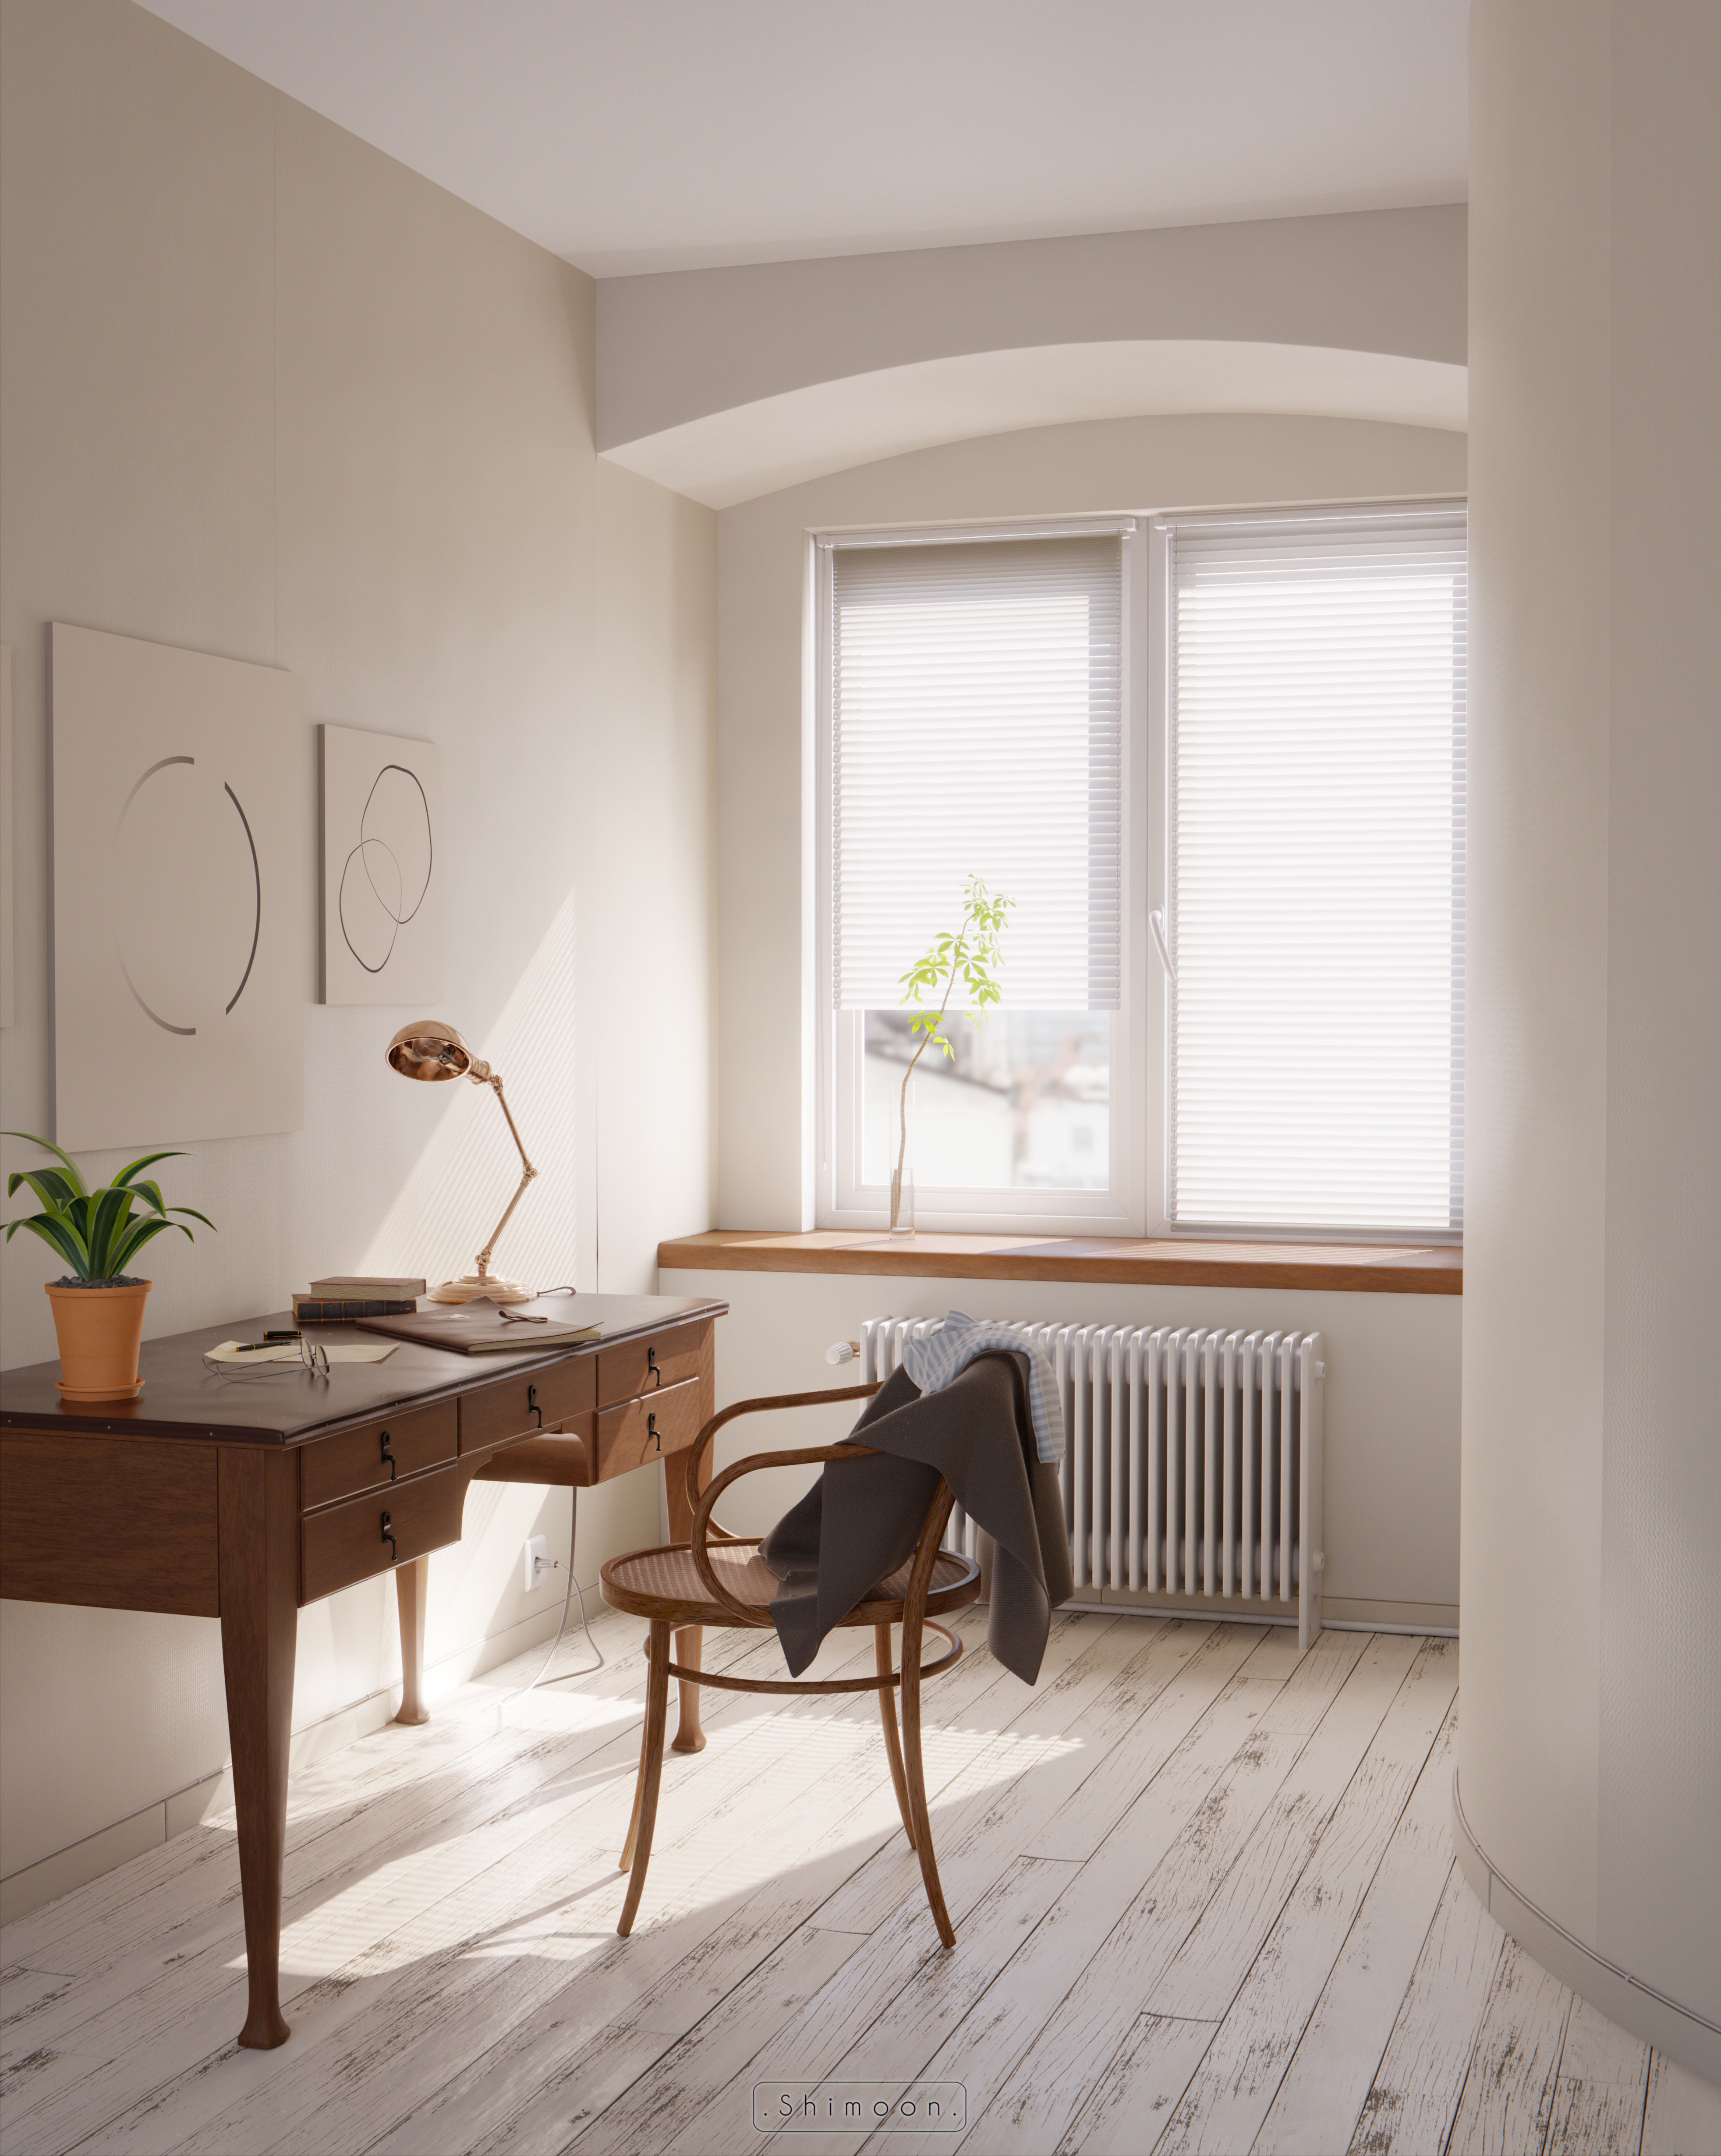
The final render has been made with Cycles and the animated shots with Eevee.
Big thanks to the pedagogic team of Creative Seeds for allowing me to set up this workshop and a very special thanks to Jean-Michel Bihorel for his support and advices throughout this workshop !
Split everything into separate scenes (in the same blend file or several depending of your preferences), then link everything you need into the final one. That way, you can assembly a very large environment while keeping blender very responsive since all youre looking at is only instances.
++ It allow you to keep all your models right in the center of the world with good orientations to work with.
+++ This workflow is nice with anything you can working on since you can split your assets as many times as you want (modules, props, characters, vehicles, etc…).
For the lighting, dont let Cycles drive your steps
It may sound a logical thing but I see a lot of people saying “My renders are noisy because Cycles cant handle certains things blabla…” or “I cant have the lighting that I want, Cycles make things hard blabla…” and so on.
Cycles is only a bunch of algorithms that try the best for doing things but its far from perfect (especially for interior rendering). So, if the thing you try to achieve isnt easy for Cycles in the “true way” (or in brute force should I say) dont be afraid to fake it! This is what Ive done in this scene. Ive clamp all the bounces and the indirect energy pretty low then I hand placed area lamps where le sun was hitting in order to fake the GI.
Boom, noise and render time reduced by half for the exact same result c:
Also try to document yourself on the physic of light and materials nature (colors, how they react to light, roughness, etc…). Number of things that Ive learned in those researchers helped me a lot.
Make good use of the “View Layers” by splitting your scene then reconstruct it in compositing, it can save you quite some render times!
Dont be crazy (well, stay crazy a bit anyway ) and have a clear idea of what you want to create in the first place. There is nothing worse for motivation and inspiration than opening your whatever application then ask yourself : “What the hell am I going to do today…?”.
Always look at references and when you are done with references, keep looking at references.
Observe other people work and try to determine why their renders works or not (composition, color scheme and harmony, details repartition, etc…).
Other than that, there is no secret to achieve something like Ive done.
Try stuffs around, try to understand the tools you are working with and be curious. Once you know what youre doing, you can always push your artworks further! c:
The floor is just a bunch of instances with a bit of random offset on which I applied a displacement modifier for variations (since the modifiers work on the object level and not at the mesh one, you can have multiple instances with different deformations). The material is also all about variation since I have randomized all the UVs position and rotations per object then mixed two textures together to avoid tiling.
Thanks ! I assume you used floor PBR texture right? Saw this effect in some libraries somewhere. By the way would you be willing to share your node set up screenshot ?