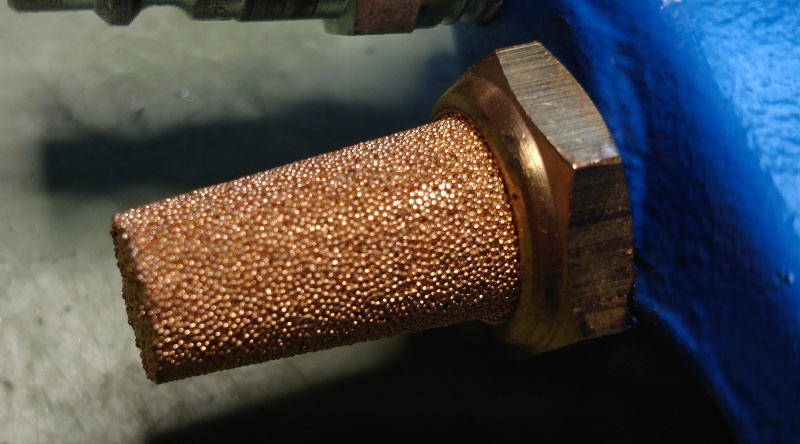
At first I thought I’d use a material that mimics the sintered look. I found this tip on Stackexchange, but no matter how I change the parameters I can’t get it to look like a solid item. It’s more like a fog. And I can’t figure out how to make it shiny either.
Do you have any tip? It doesn’t have to be a material, maybe it can be modeled to look like that?
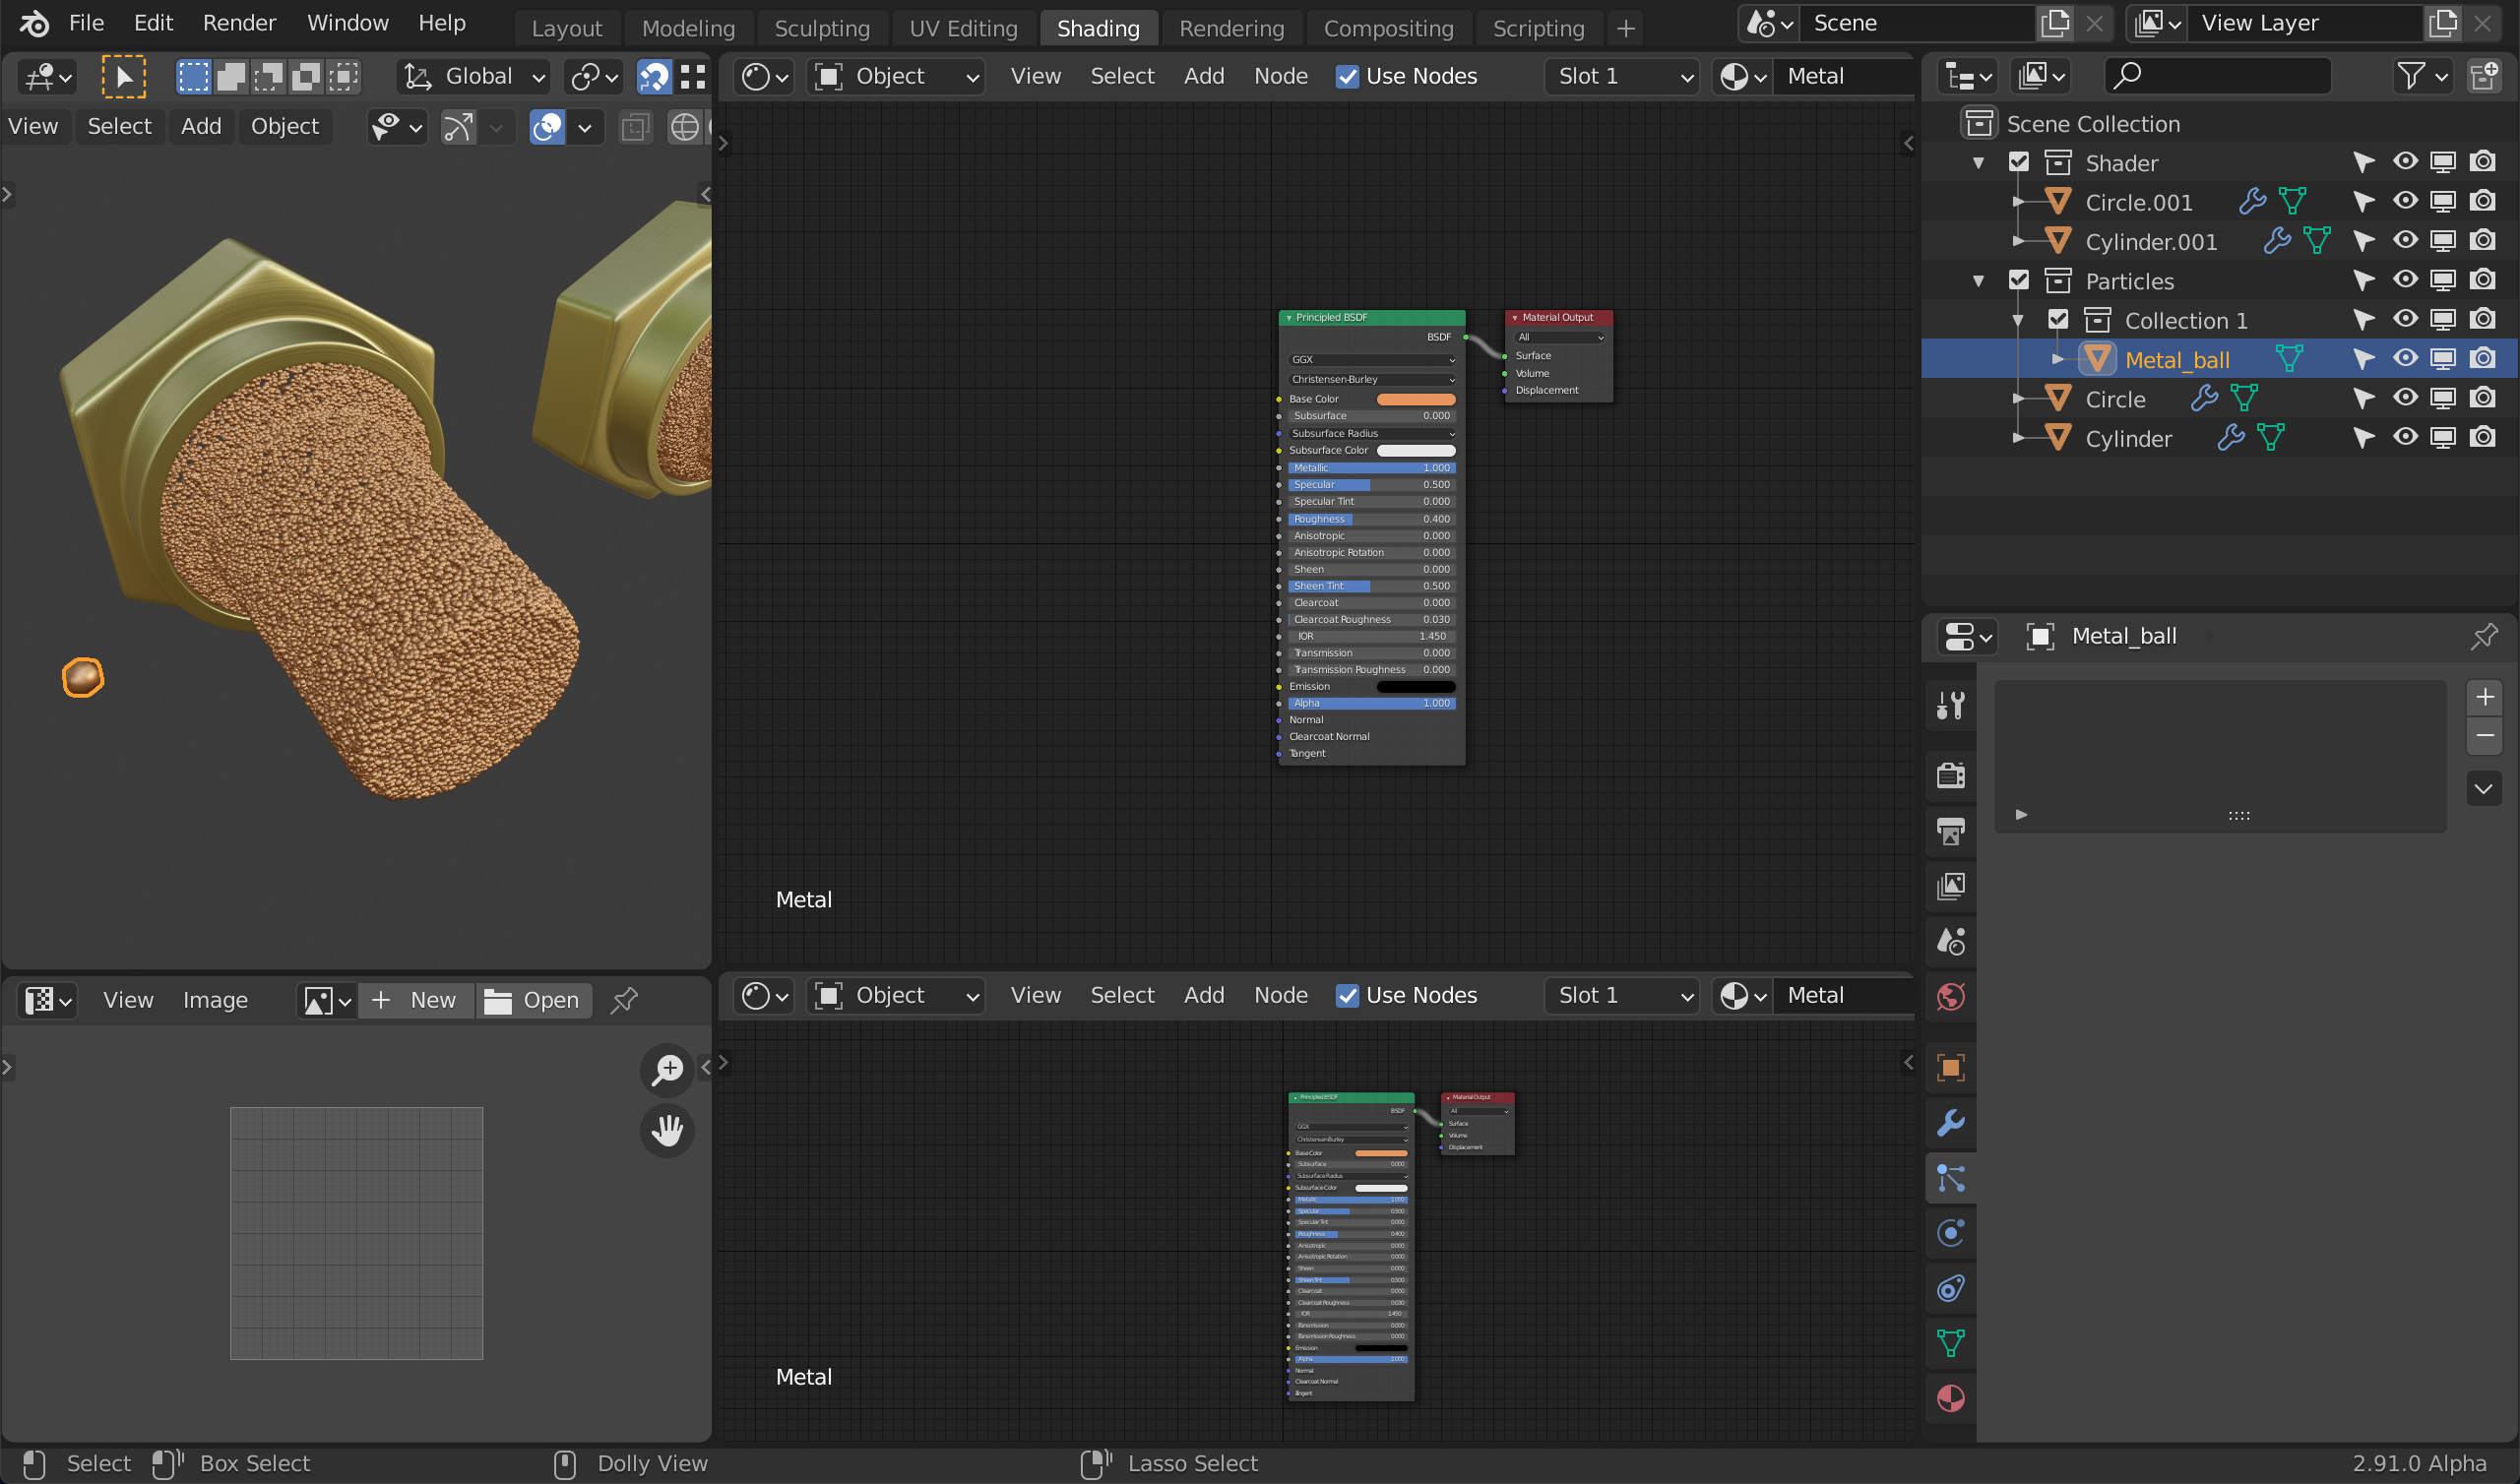
The particles are just a low poly sphere with a basic metal shader that is distributed through the volume of the object. Unfortunately it seems to take quite a huge amount of particles (50000 is quite large for my laptop, at least) to eliminate obvious holes - even though I used a solidify modifier to concentrate the particles on the perimeter of the object.
The shader is based on the voronoi texture and RGB-Curves to create a ‘bubbly’ bump map. To eliminate large gaps between the ‘bubbles’ I had to layer this setup on top of itself quite a few times, which is why put it into a node group. It makes the setup pretty slow as well.
In case you’re using cycles you could also modify this to use the bump map to drive the displacement. it would require quite the dense mesh though.
Thank you for taking the time to look into this! I think I like the node tree better, but they are both really good. I’ll try and see if I can wrap my head around the node setup, but if I can’t I’ll just steal it as it is.
The render time is reasonable on an RTX2070. A few seconds to render the viewport in Cycles.
One thing to note about the shader, as it can make or break the effect is the Distance value of the bump node. I modeled the object to be a couple centimeters, because that seemed to be about the size from the photos.
If your object’s size is very different and you adjust the scale of the texture with a mapping node make sure to adapt the distance value of the bump accordingly.
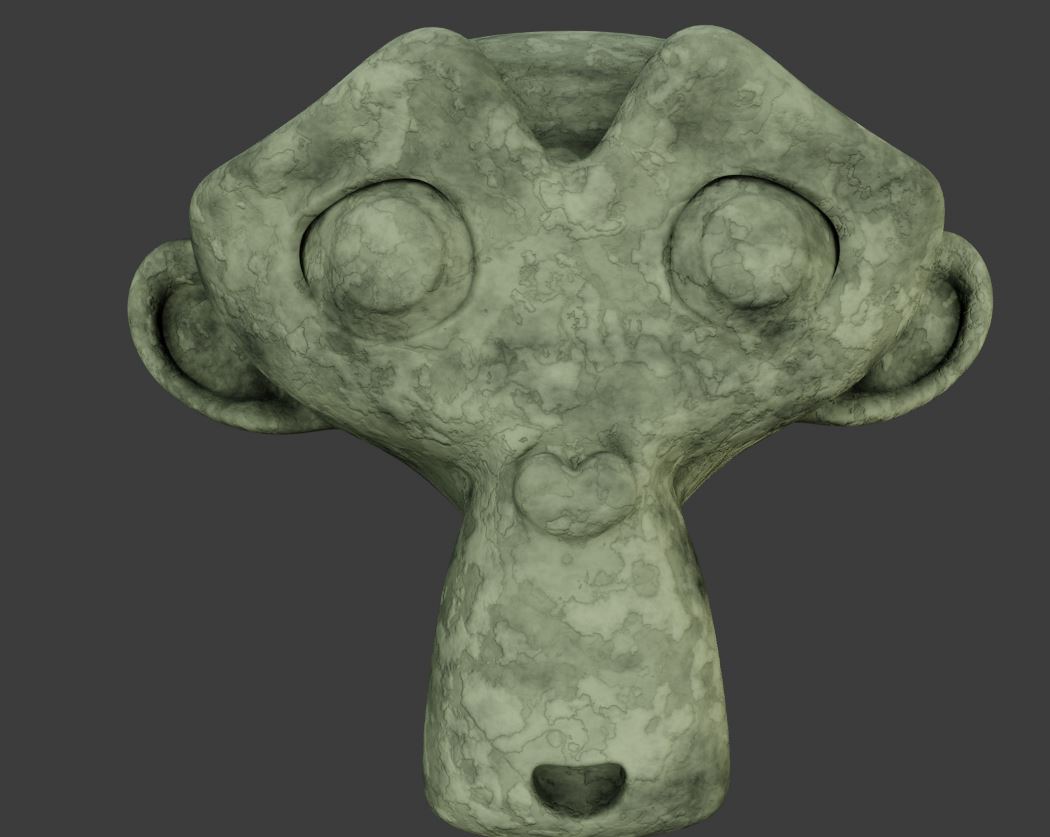
hey i used your shader as a starting point for an ancient gravestone because i was bored. feels useful even though its not really anything to do with metal . heres the blend file ancient gravestone .blend (1009.6 KB)