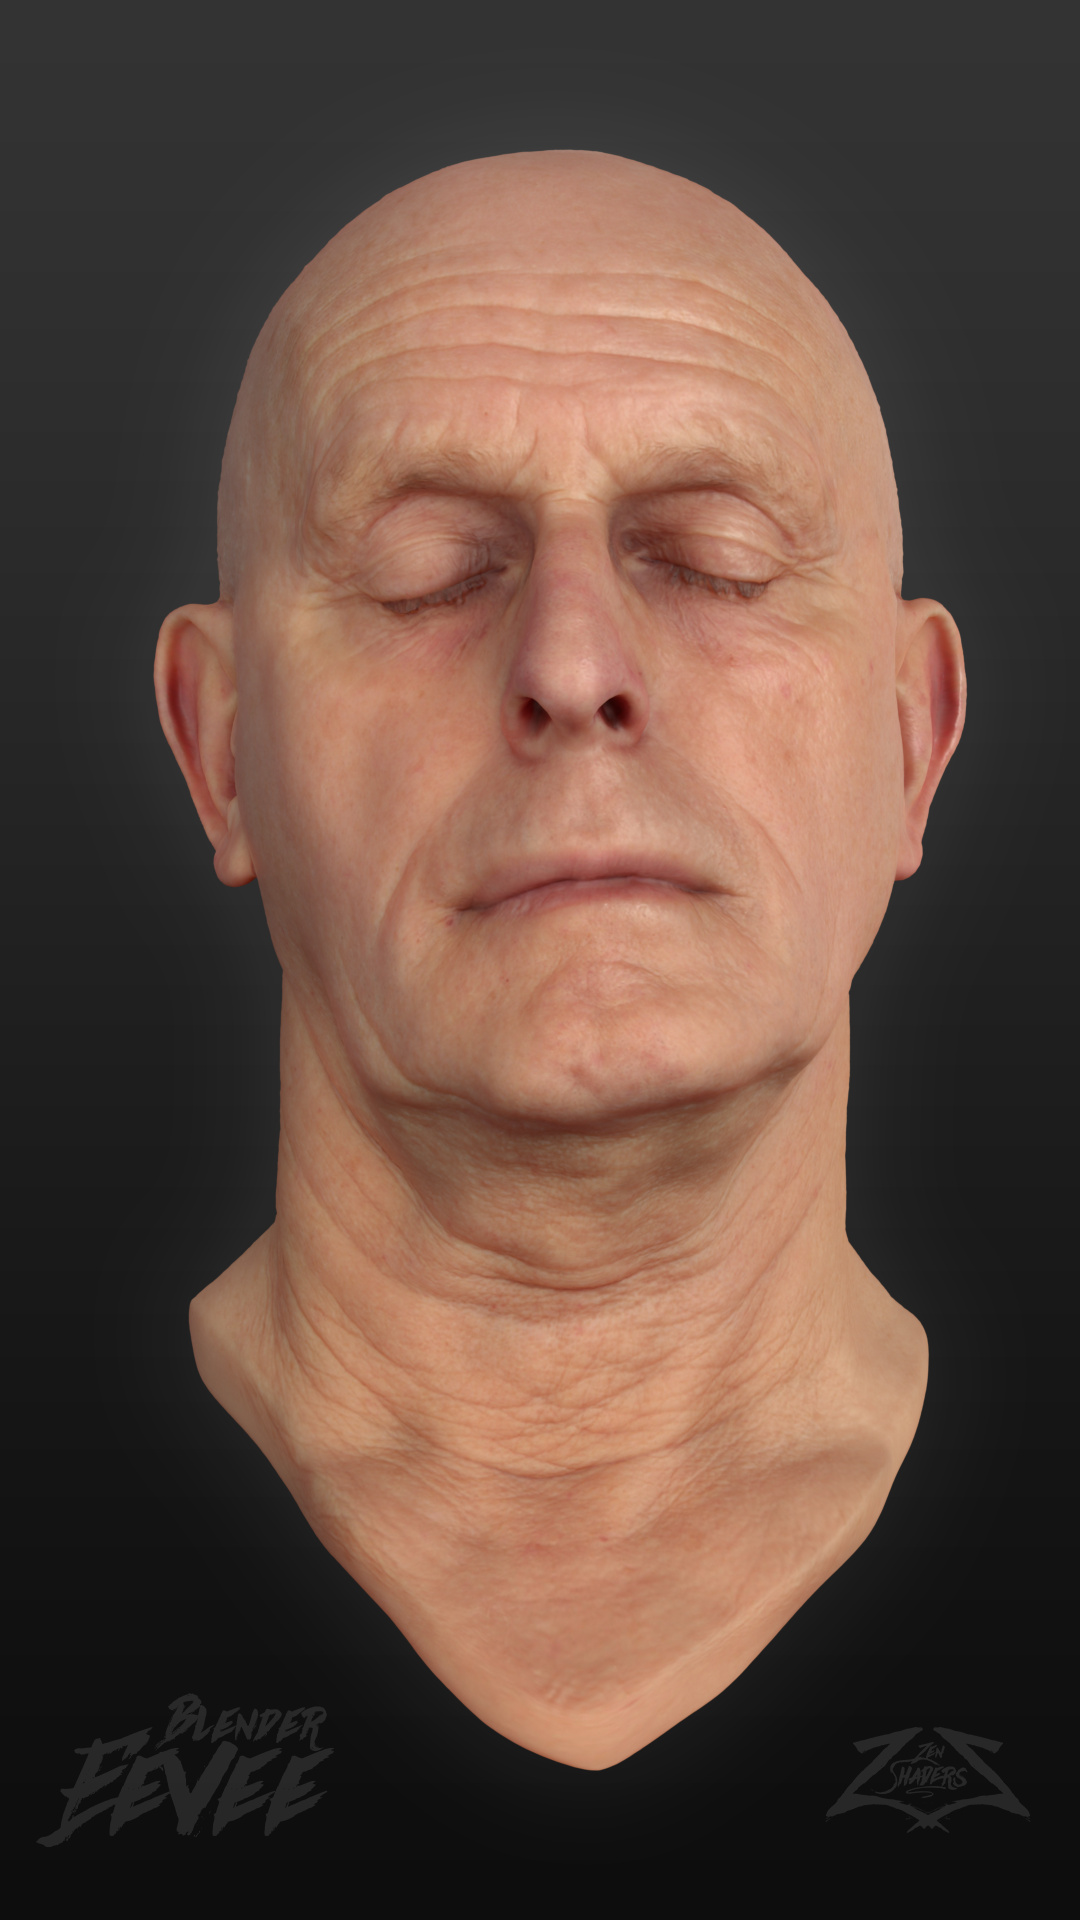
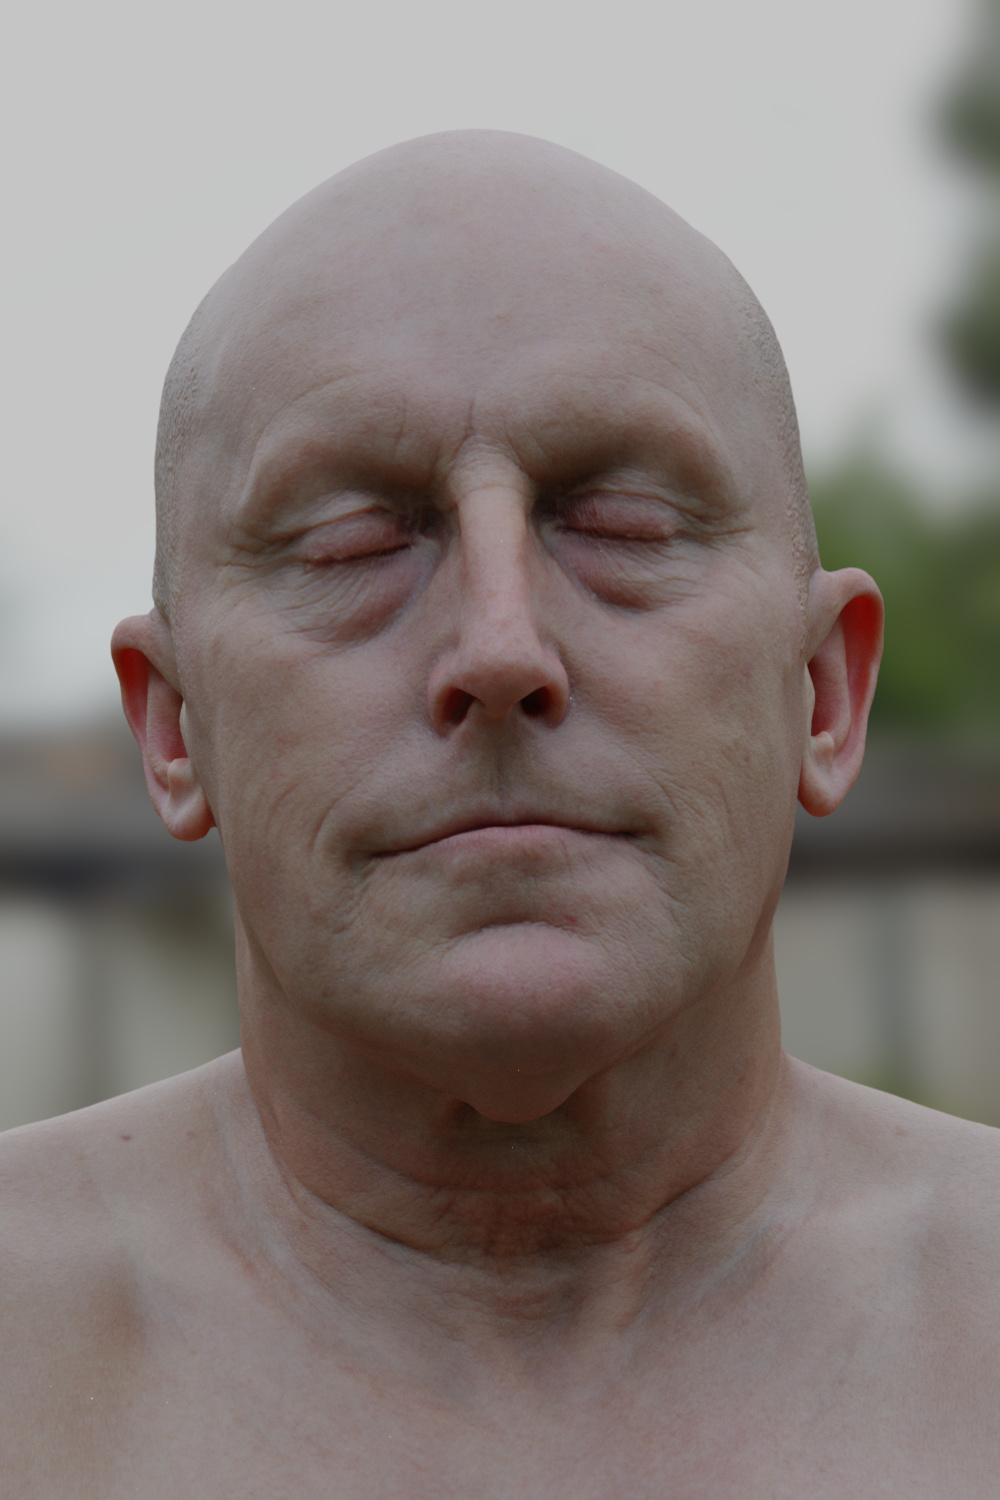
Hi guys, i wanted to share with you my skin shader product. It works with Cycles and there is a simplified version for EEVEE.
By default in Blender with the “new” Princlipled BSDF node and the implemetation of “Random Walk” we can get very good results doing skin shaders, but you lack a little of control over some parameters, so i decide to make a custom skin shader to have more creativity space and get more control over the SSS parameters.
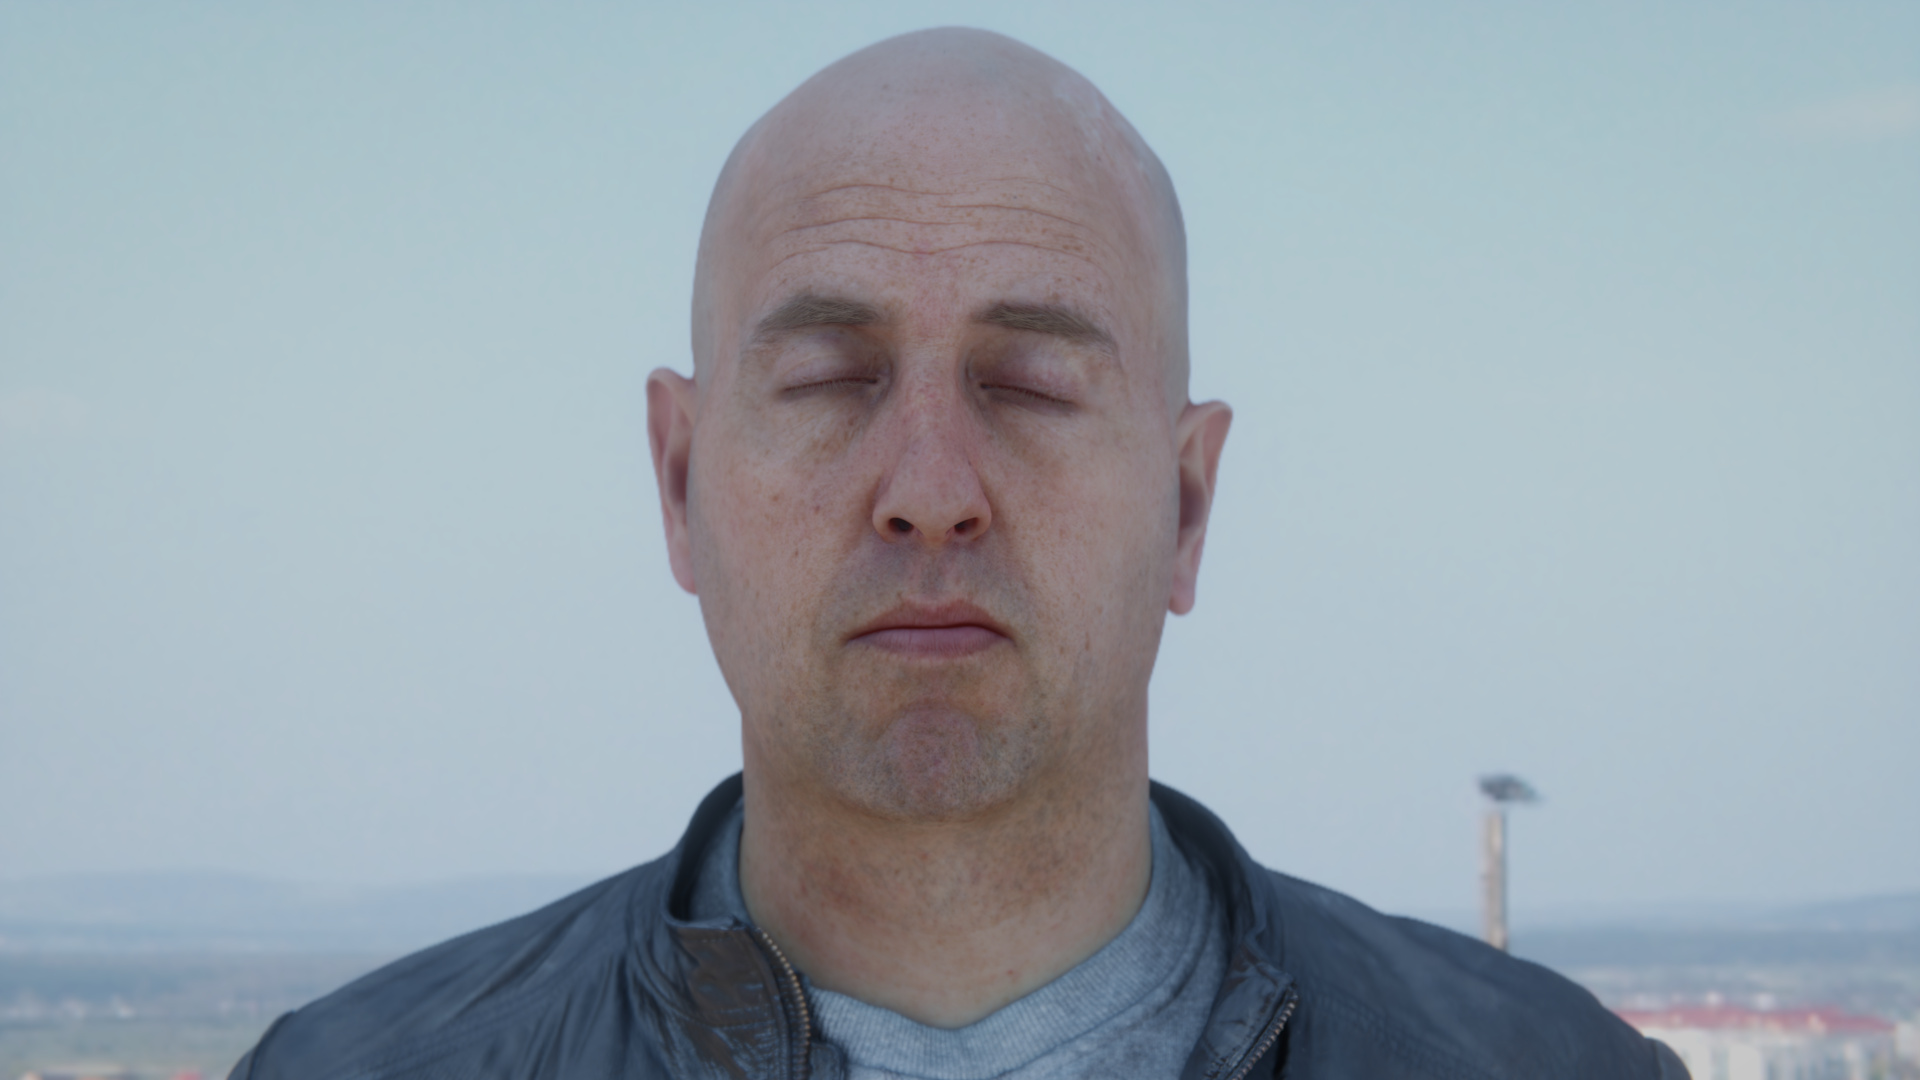
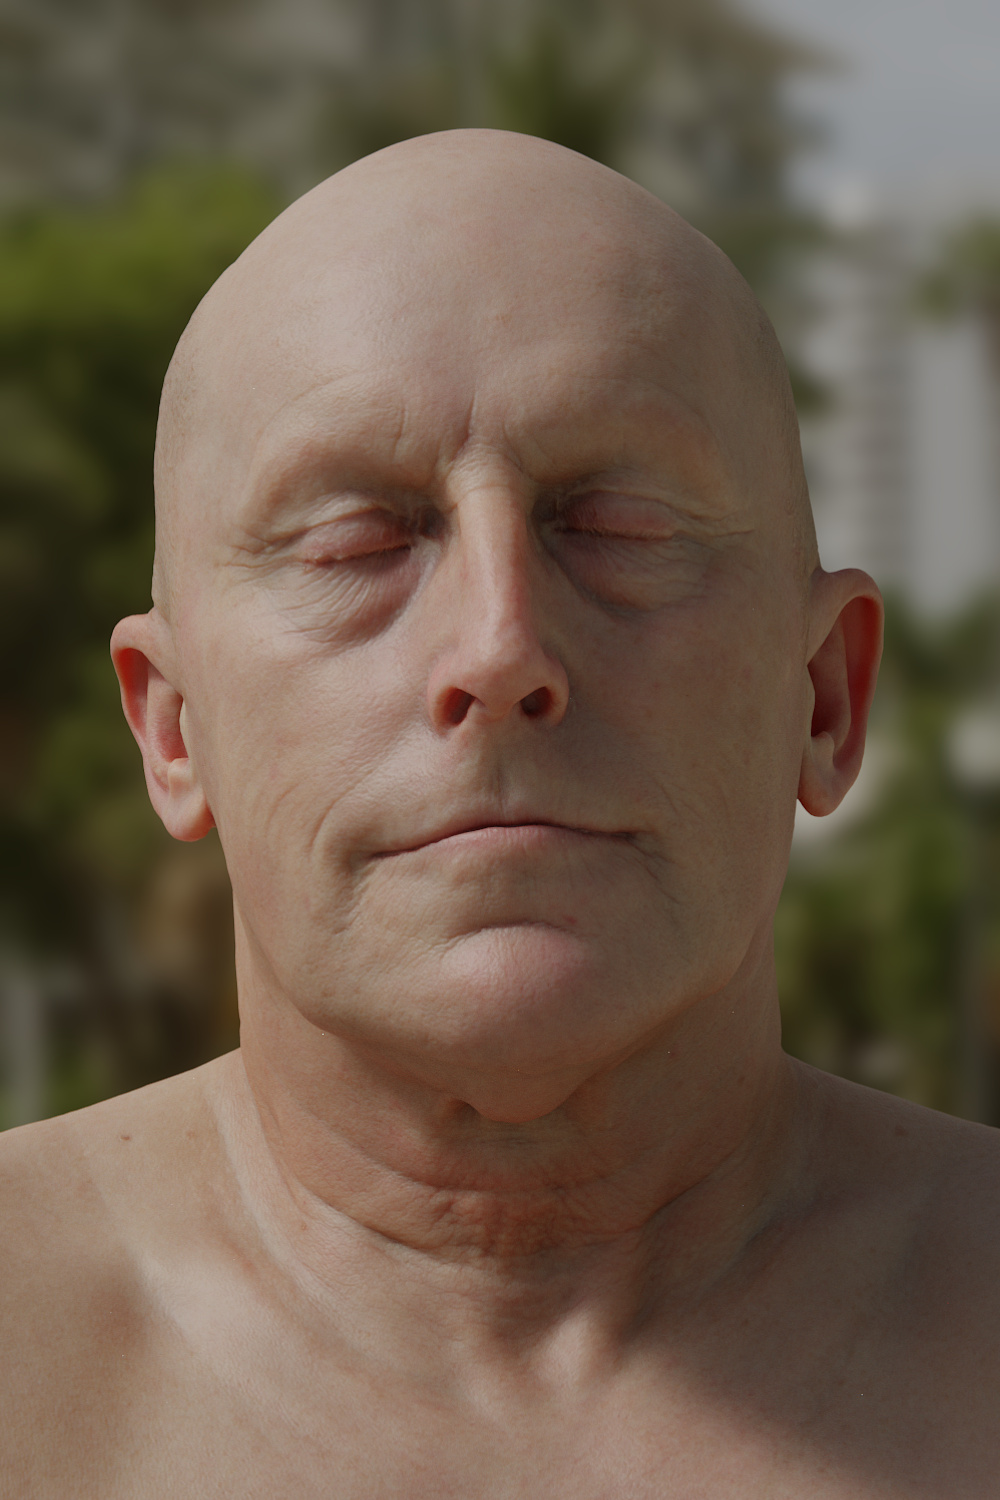
With this shader you can boost your characters a little bit to look more natural and realistic, but this also works on more stylized or cartoonish characters. I will keep updating the shader with new features.
In my Gumroad page i will also been updating with free stuff, like textures, alphas and more shaders. Just in case you want to keep an eye on it
I like the features you mention in the description, and of course the results I see in your link but it would be really nice to actually have a preview of the shader you mention a lot of things about control but I’d love to see how you are able to tweak it using this shader.
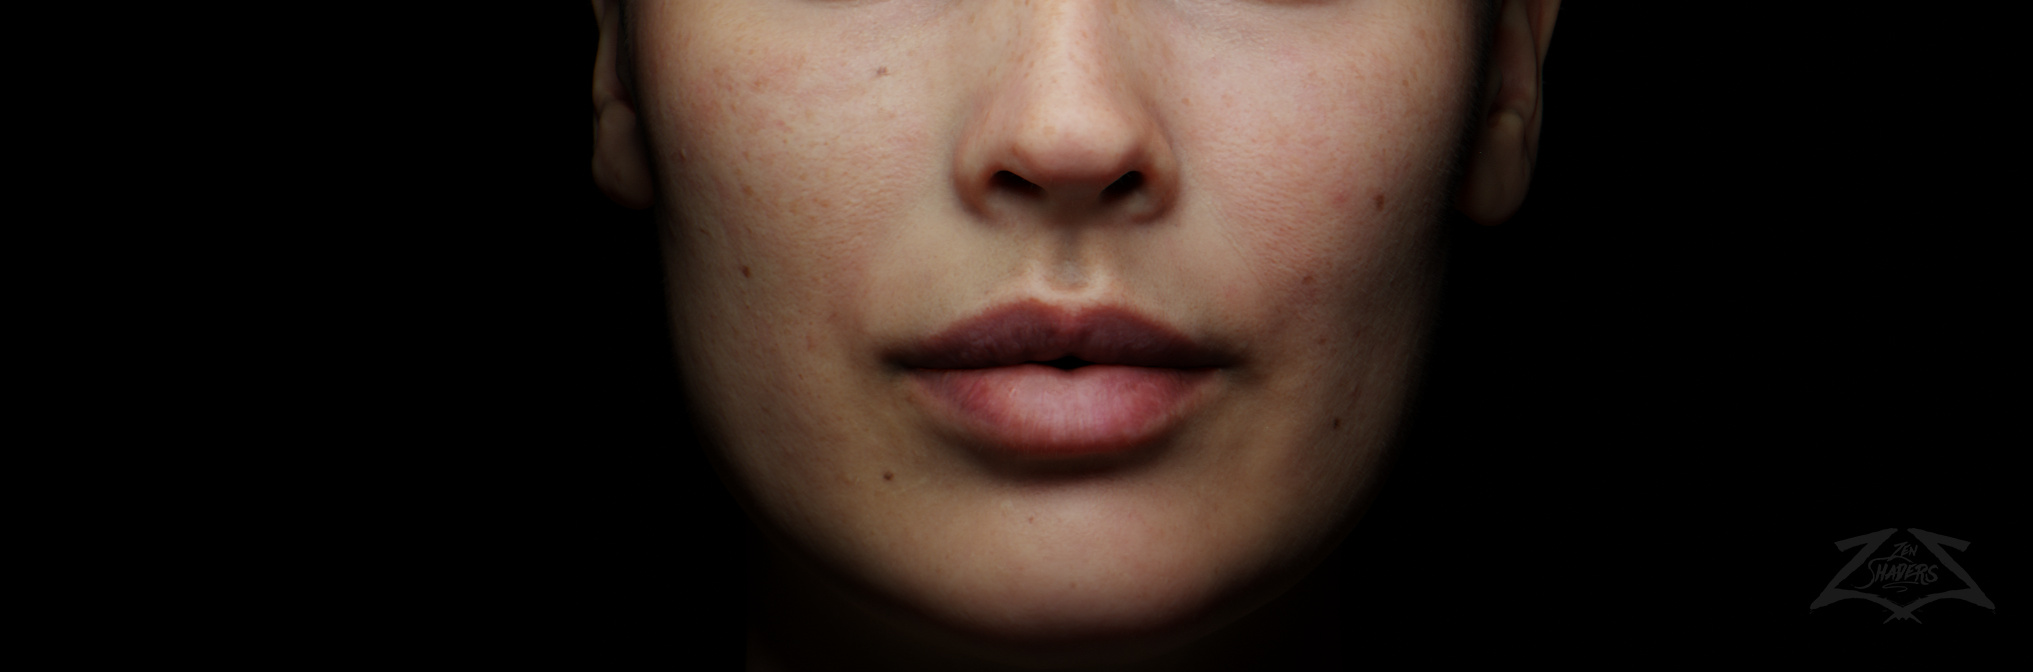
For exsample: “for example we want a blueish skin tone in the cheeks, a more redish tone for the nose and ears, and a more neutral tone for the rest of the face. With this skin shader you can have better control over the tones and look of your characters skin.” now I would say I can fix this changing the diffuse map (which is destructive and we don’t want that) , or maybe using a curve node for the color map, how does your shader deal with this fix? Do you have some scroll-0to1 definitions or you use other nodes?
I’d like to know what makes your shader more efficient, which is of course the only reason why someone will want to buy it
@Donchuanltd Hi, thanks for your feedback and suggestions. For the color control i use a “color picker” So you can choose the exact tone you are looking for. Not all people knows how the RGB curves works. You can change the tones using the technique you are saying with curves, but doing this you are affecting the entire color map over all the model.
With my shader you are basically using a 3 layers system, if you are familiar with Arnold, it used a similar layered system for the skin. Where you can have different tones and different SSS radius scales for each layer. You dont have this by default in Blender with the SSS nodes. You can only have one SSS color for all the model and one SSS radius for the whole model. And you also have the control on how to mix these layer together using a thickness workflow.
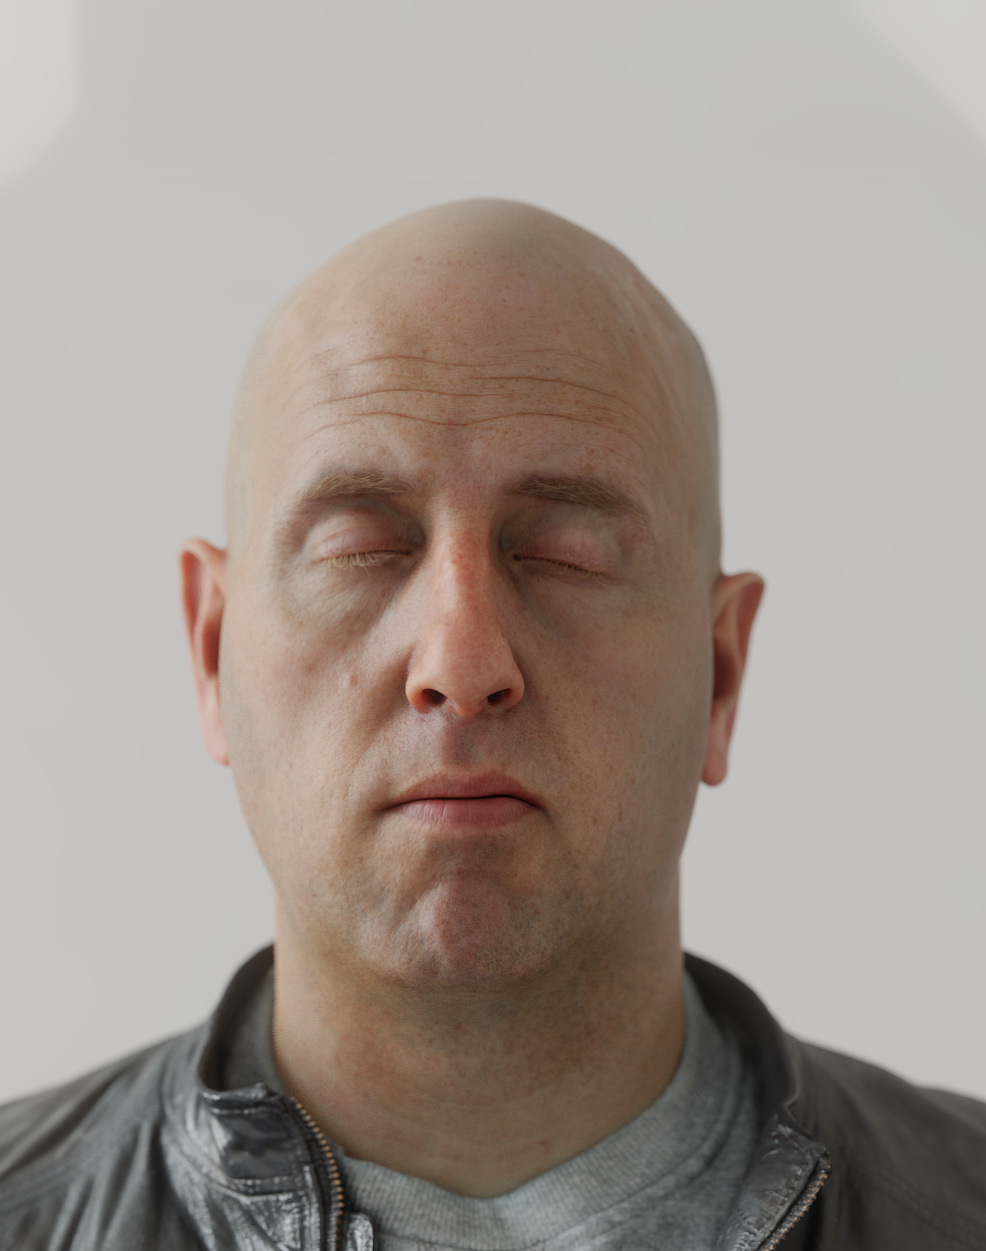
As you can see in the features you also have the option to preview how the scattering is going to work in different zones. This shader is for users who needs more control over the default SSS features. This extra control will give you that extra boost to get more realistic and better results. My shader is a little bit more efiicient because you dont have to be guessing the parammeters for the SSS radius, i already set that for you, you only have to play with the radius scale depending of your models scale, nothing more, and ofcourse play with the other settings like layers color to get the effect you are looking for. I also give you a pdf with my workflow and tips to get more realistic skin results. You will also get the upcomming updates for free, like EEVEE support, skin alphas, procedural skin textures and more.
Like any other custom shader out there, they are intended to make the artists workflow more easy, just append the shader, play with the settings and there you go.
(Sorry for my English, not my native language, i tried my best).
Hello @hokahowa ! Sorry for the late response. Yes it supports all Cycles versions. There is also an EEVEE version which is more simplier and can be used with Cycles too.
Arnold doesn’t use a 3-layer system. The ALshader did, but it is now obsolete and no longer being developed.
Arnold standard surface shader is a single-layer system controlled by the radius(which doesn’t need maps and can be controlled using R=1.0/G=0.33/B=0.2 for realistic human skin) The scale can be controlled similarly in Blender using a few extra nodes. Cycles will render Principled shader out-of-the-box using Random Walk and achieve results almost as good as Arnold.
SSS shaders have moved on a lot over the years and Arnold’s Random Walk 2.0 is a VERY simple setup and doesn’t require 3 layers - same as Principled shader.
Yes i agree, right now it doesnt use a 3 layer sss system, thats why in my comment i said “it used”.
Im not agree that a 3 layer system is obsolete. Maybe in Arnold they dont use this system anymore, but render like Vray, Octane, Corona and Redshift still using a three layered sss system. Because it gives you more control over the shader.
In fact one of the best (in my opinion) realistic portrait artist Ian Spriggs uses Vray for his artwork.
Im working on an updated version of the shader, similar to the simple method you are describing, (without 3 layers) but giving you more control. More user friendly. So the user can choice which version suits better for their proyect.
In my opinion when you are doing look dev and working with shaders there is no one single workflow to follow, pipelines and methods will vary depending on the proyect and the results you want to get, something that works good for one proyect maybe doesnt works for another. Thats why having multiple tools kits come handy.
Hey mate, I was talking about AL surface shaders are now obsolete, as in not being developed anymore. Also, these shaders - including the 3 layer SSS - were 3rd party and not created by SolidAngle.
The thing is, is that the Arnold shader itself is so powerful now that it will automatically calculate the 3 layers based on the radius, and derive it from the albedo. So, the albedo map contains the veins, mottling, yellowish/reddish/etc tones. There simply isn’t a need to plug in all those old-school maps. You don’t even need a spec/rough map with Arnold’s skin shader, it’s calculated in the microsurface details.
But, of course, each to their own. If people want to keep using those other layer maps then great, but there’s really no need with modern skin shaders.
Yes, but even Spriggs himself says he’s not technical at all and uses very basic maps to achieve his results. His sculpting/forms/detailing is so expert that he could render in any modern ray-tracer and get the same results.
Believe me, I spent years using the 3-layer system going all the way back to Mental Ray(the original 3-layer shader) and I for one am happy that we have less maps to plug in.
In fact one of the best (in my opinion) realistic portrait artist Ian Spriggs uses Vray for his artwork.
Holy cow… maybe a bit off topic but these are the best 3d portraits I’ve seen. The hair and beards are absolutely perfect. Is it even possible to get close to this with the Blender hair tools? I haven’t seen anything this good yet, a few pieces are close, but still not as perfect as Spriggs work.
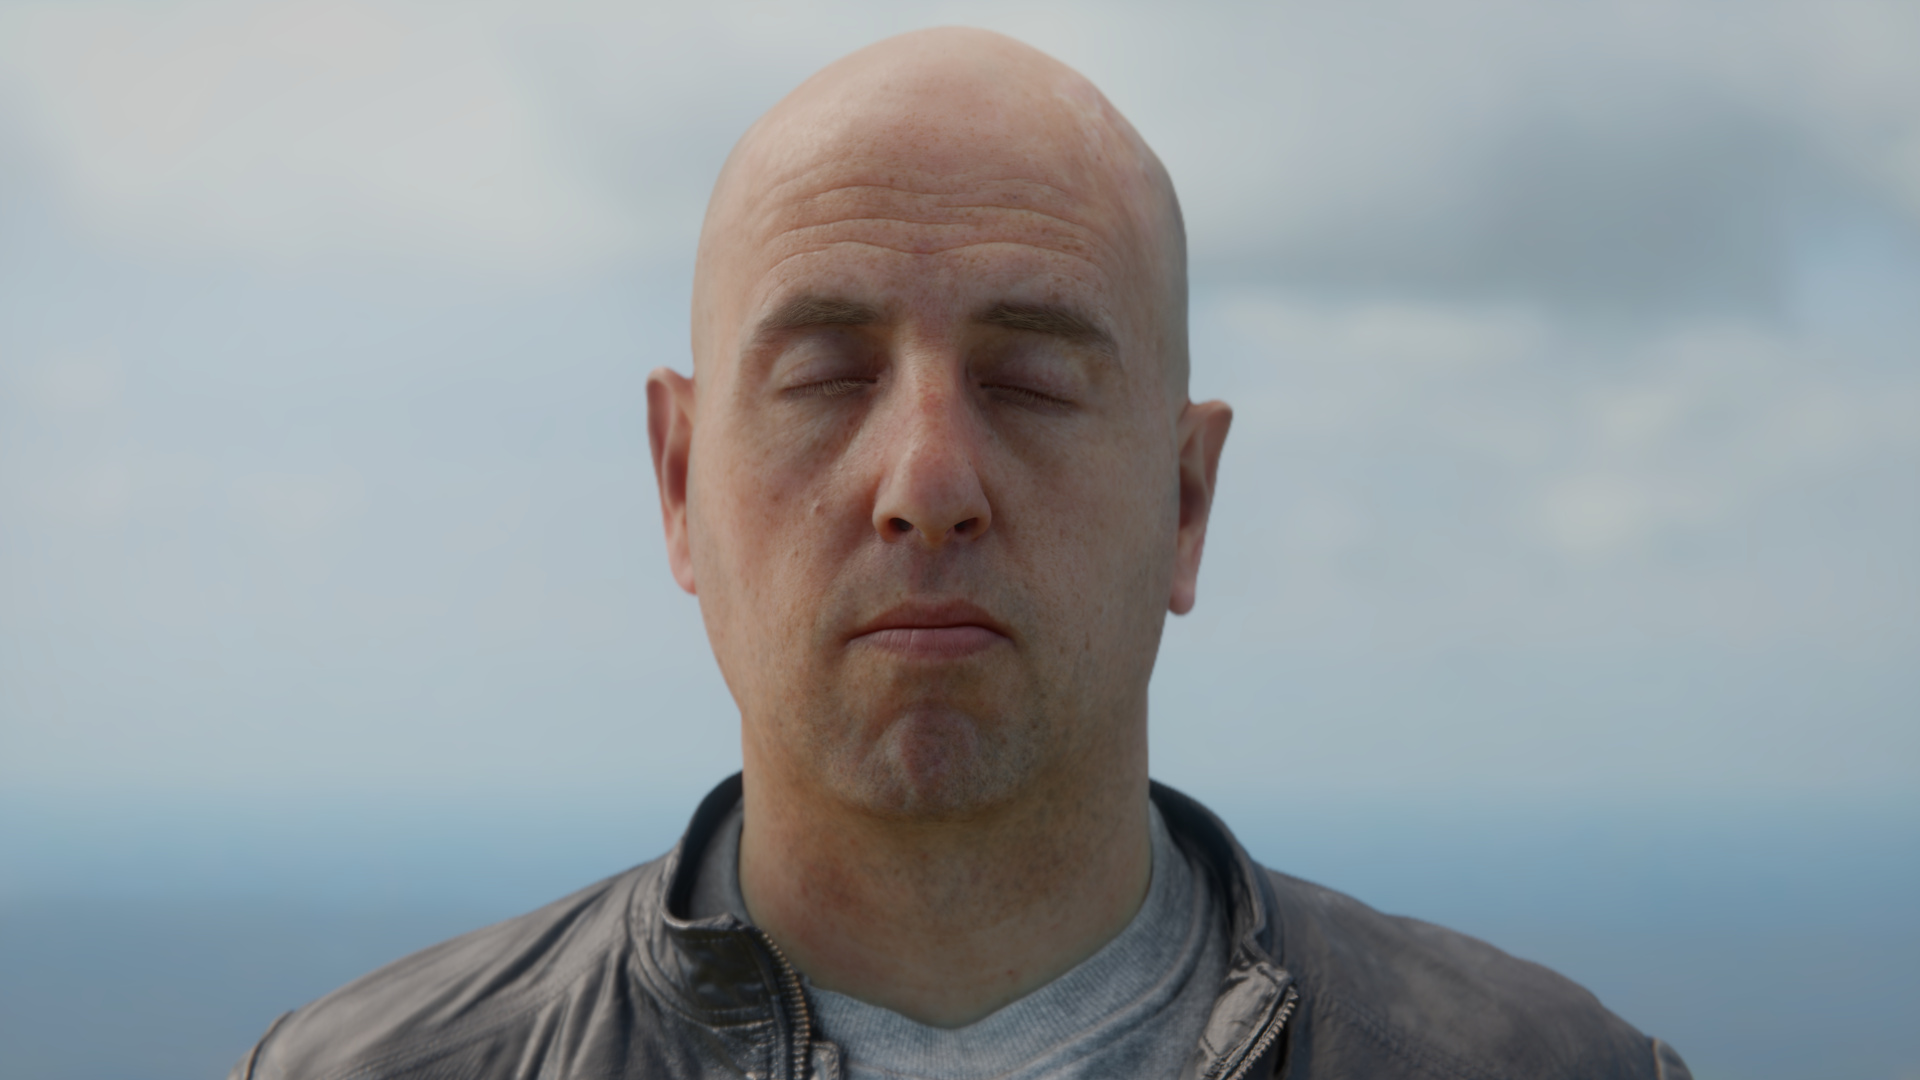
hi Inti, but it still looks like CG, in my opinion until now there is no real time technology that can produce human skin as in free rendering, even the UE5 tech demo skin on the character still looks CG.
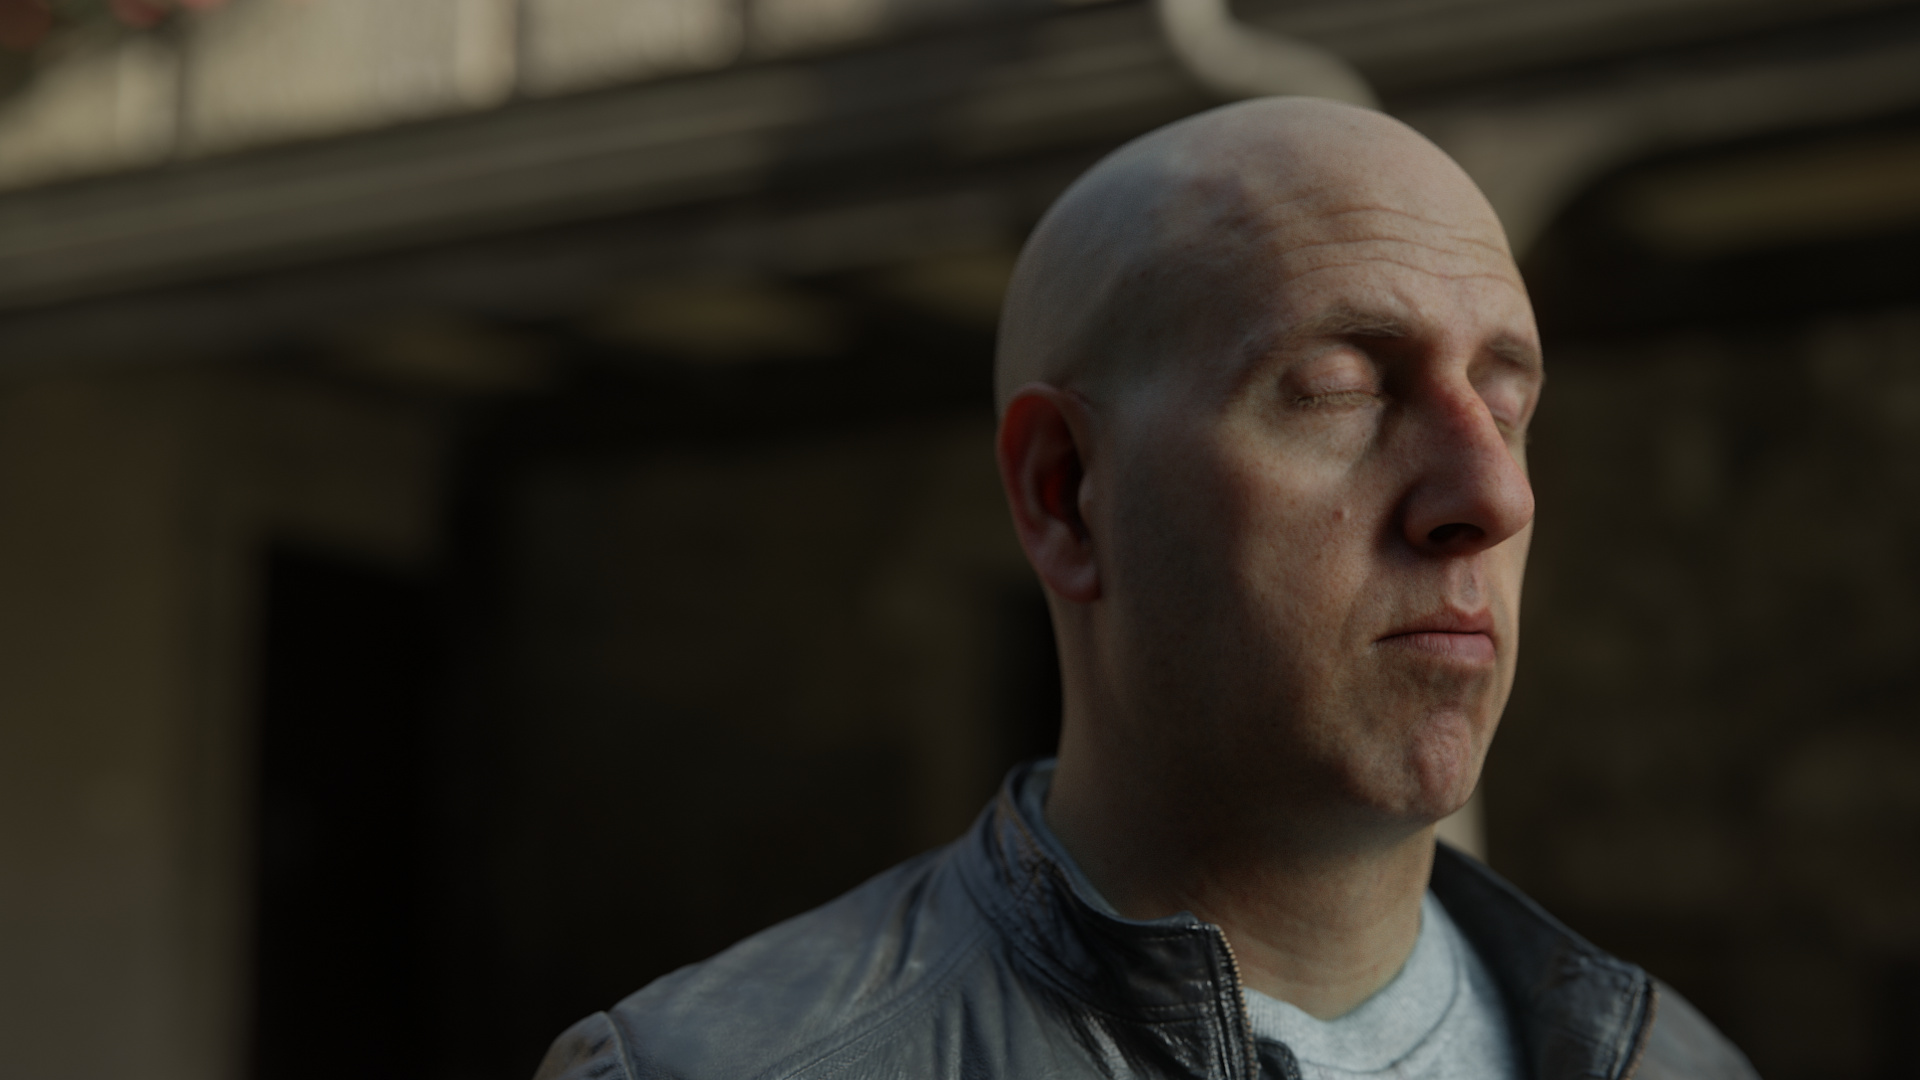
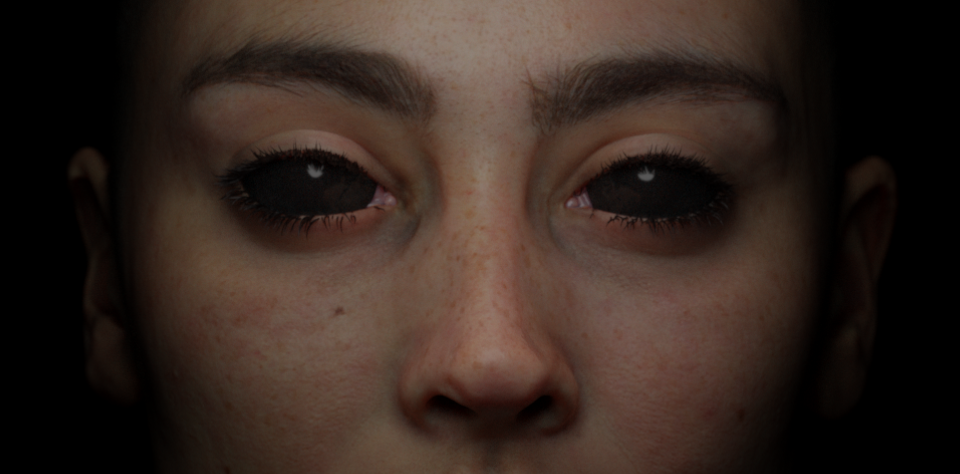
You should add a light to the eevee version as HDRI lighting in eevee doesn’t support directional light, like if you have sun in the hdri or whatever. This is why it looks so flat.
 you mention a lot of things about control but I’d love to see how you are able to tweak it using this shader.