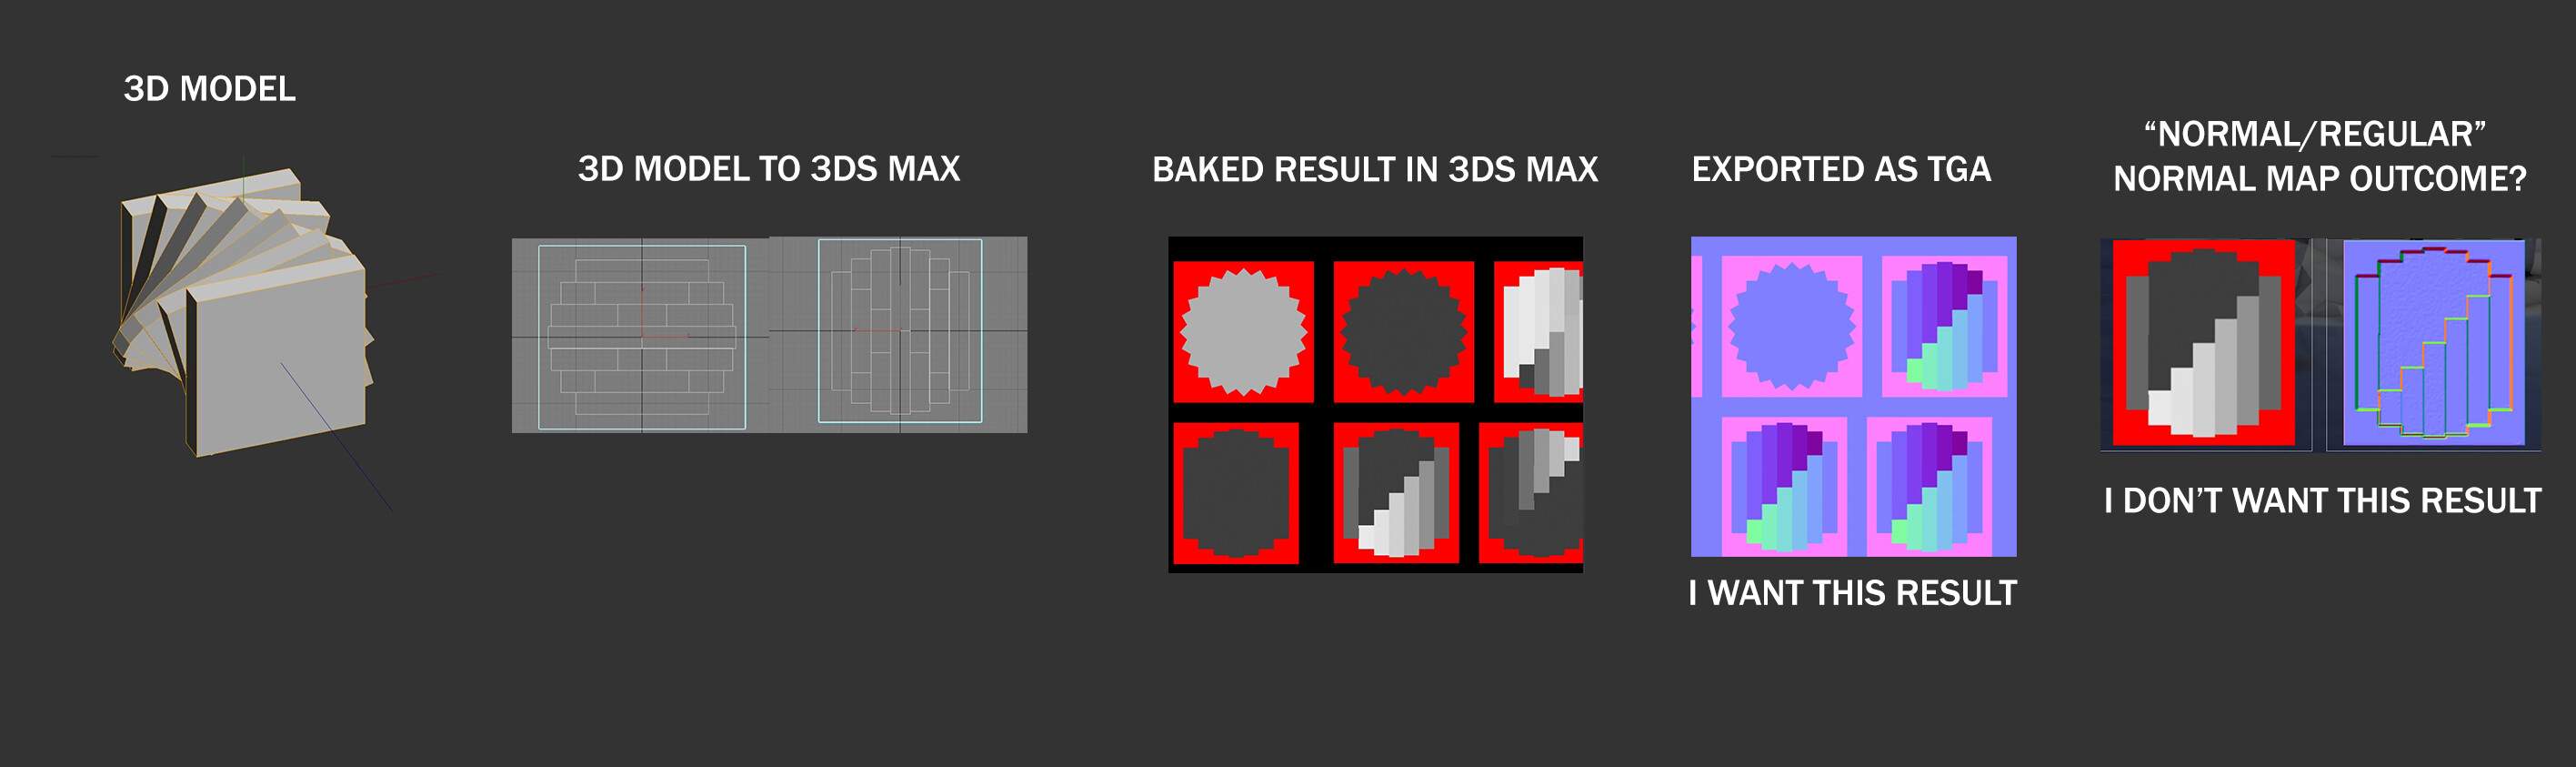
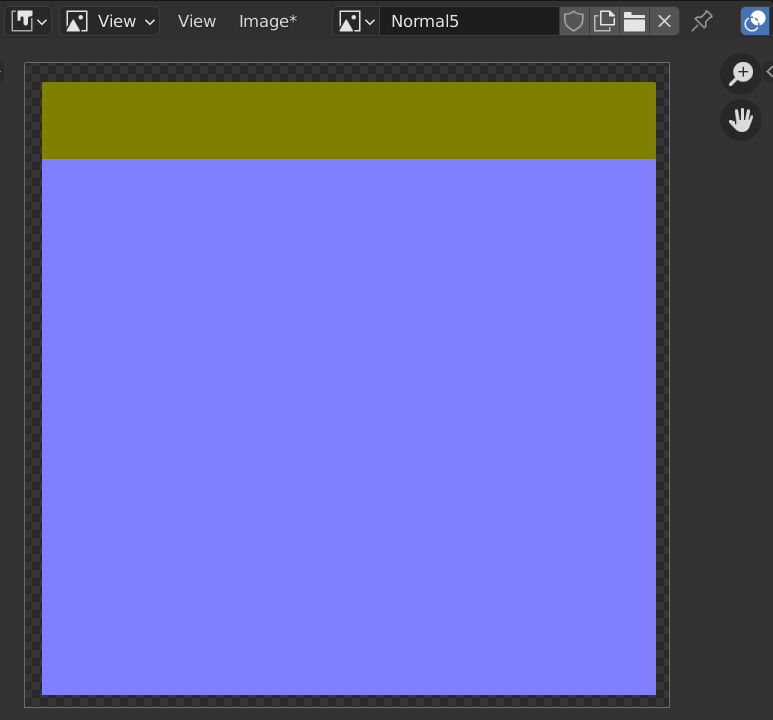
I recently came across a guy who made a model in a 3d software and baked that very model in 3ds Max into a Normal Map. I’m reaching the limits of my understanding, as the result doesn’t look like your regular Normal Map, instead of mere depths it seems to convert grayscale values into solid colors. I want to recreate the very same thing in Blender - but I feel like I might be lacking not just knowledge but also terminology to figure out what’s going on, so I will attach images:
The result doesnt look like converted grayscale for me. No terracing artifacts that will be produced by use of normal map filter. There is little sense in baking as grayscale if you have 3d model
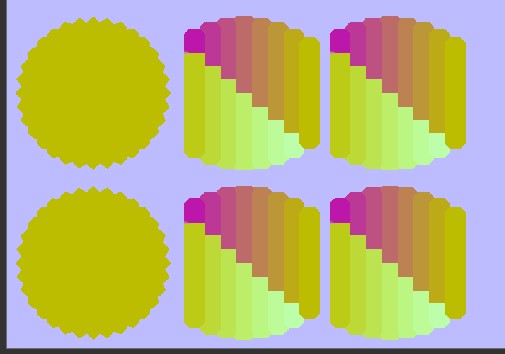
Baking such 3d model directly will result in “solid colors”, because the model in question is flat shaded. So each face of a stack of the boxes is represented by a single normal angle, and as a result, a single color. Normal maps do not store depth, only direction
Thanks for taking the time to answer. Sorry for asking, but what do you mean with “baking directly”? Also, would I be able to achieve the same result with flat shading in Blender? Additionally I wonder if that means the result on the image I uploaded is not a normal map, but something else that defines depth? The method used to bake this in 3ds Max was just “bake as normal map”. How would one go about and bake something like this in Blender?
To bake that in Blender, you need to have both a highpoly model (stack of boxes) and some lowpoly model (lets say a plane). You select highpoly first, and lowpoly - second. Then, you must be in Cycles rendering mode, go to Bake in Render tab, check Selected to Active, and choose Normal from baking options. Press Bake. Almost forgot: in order to bake, your lowpoly needs to have a material, and this material needs to have an Image texture not connected to anything. This texture will serve as baking target
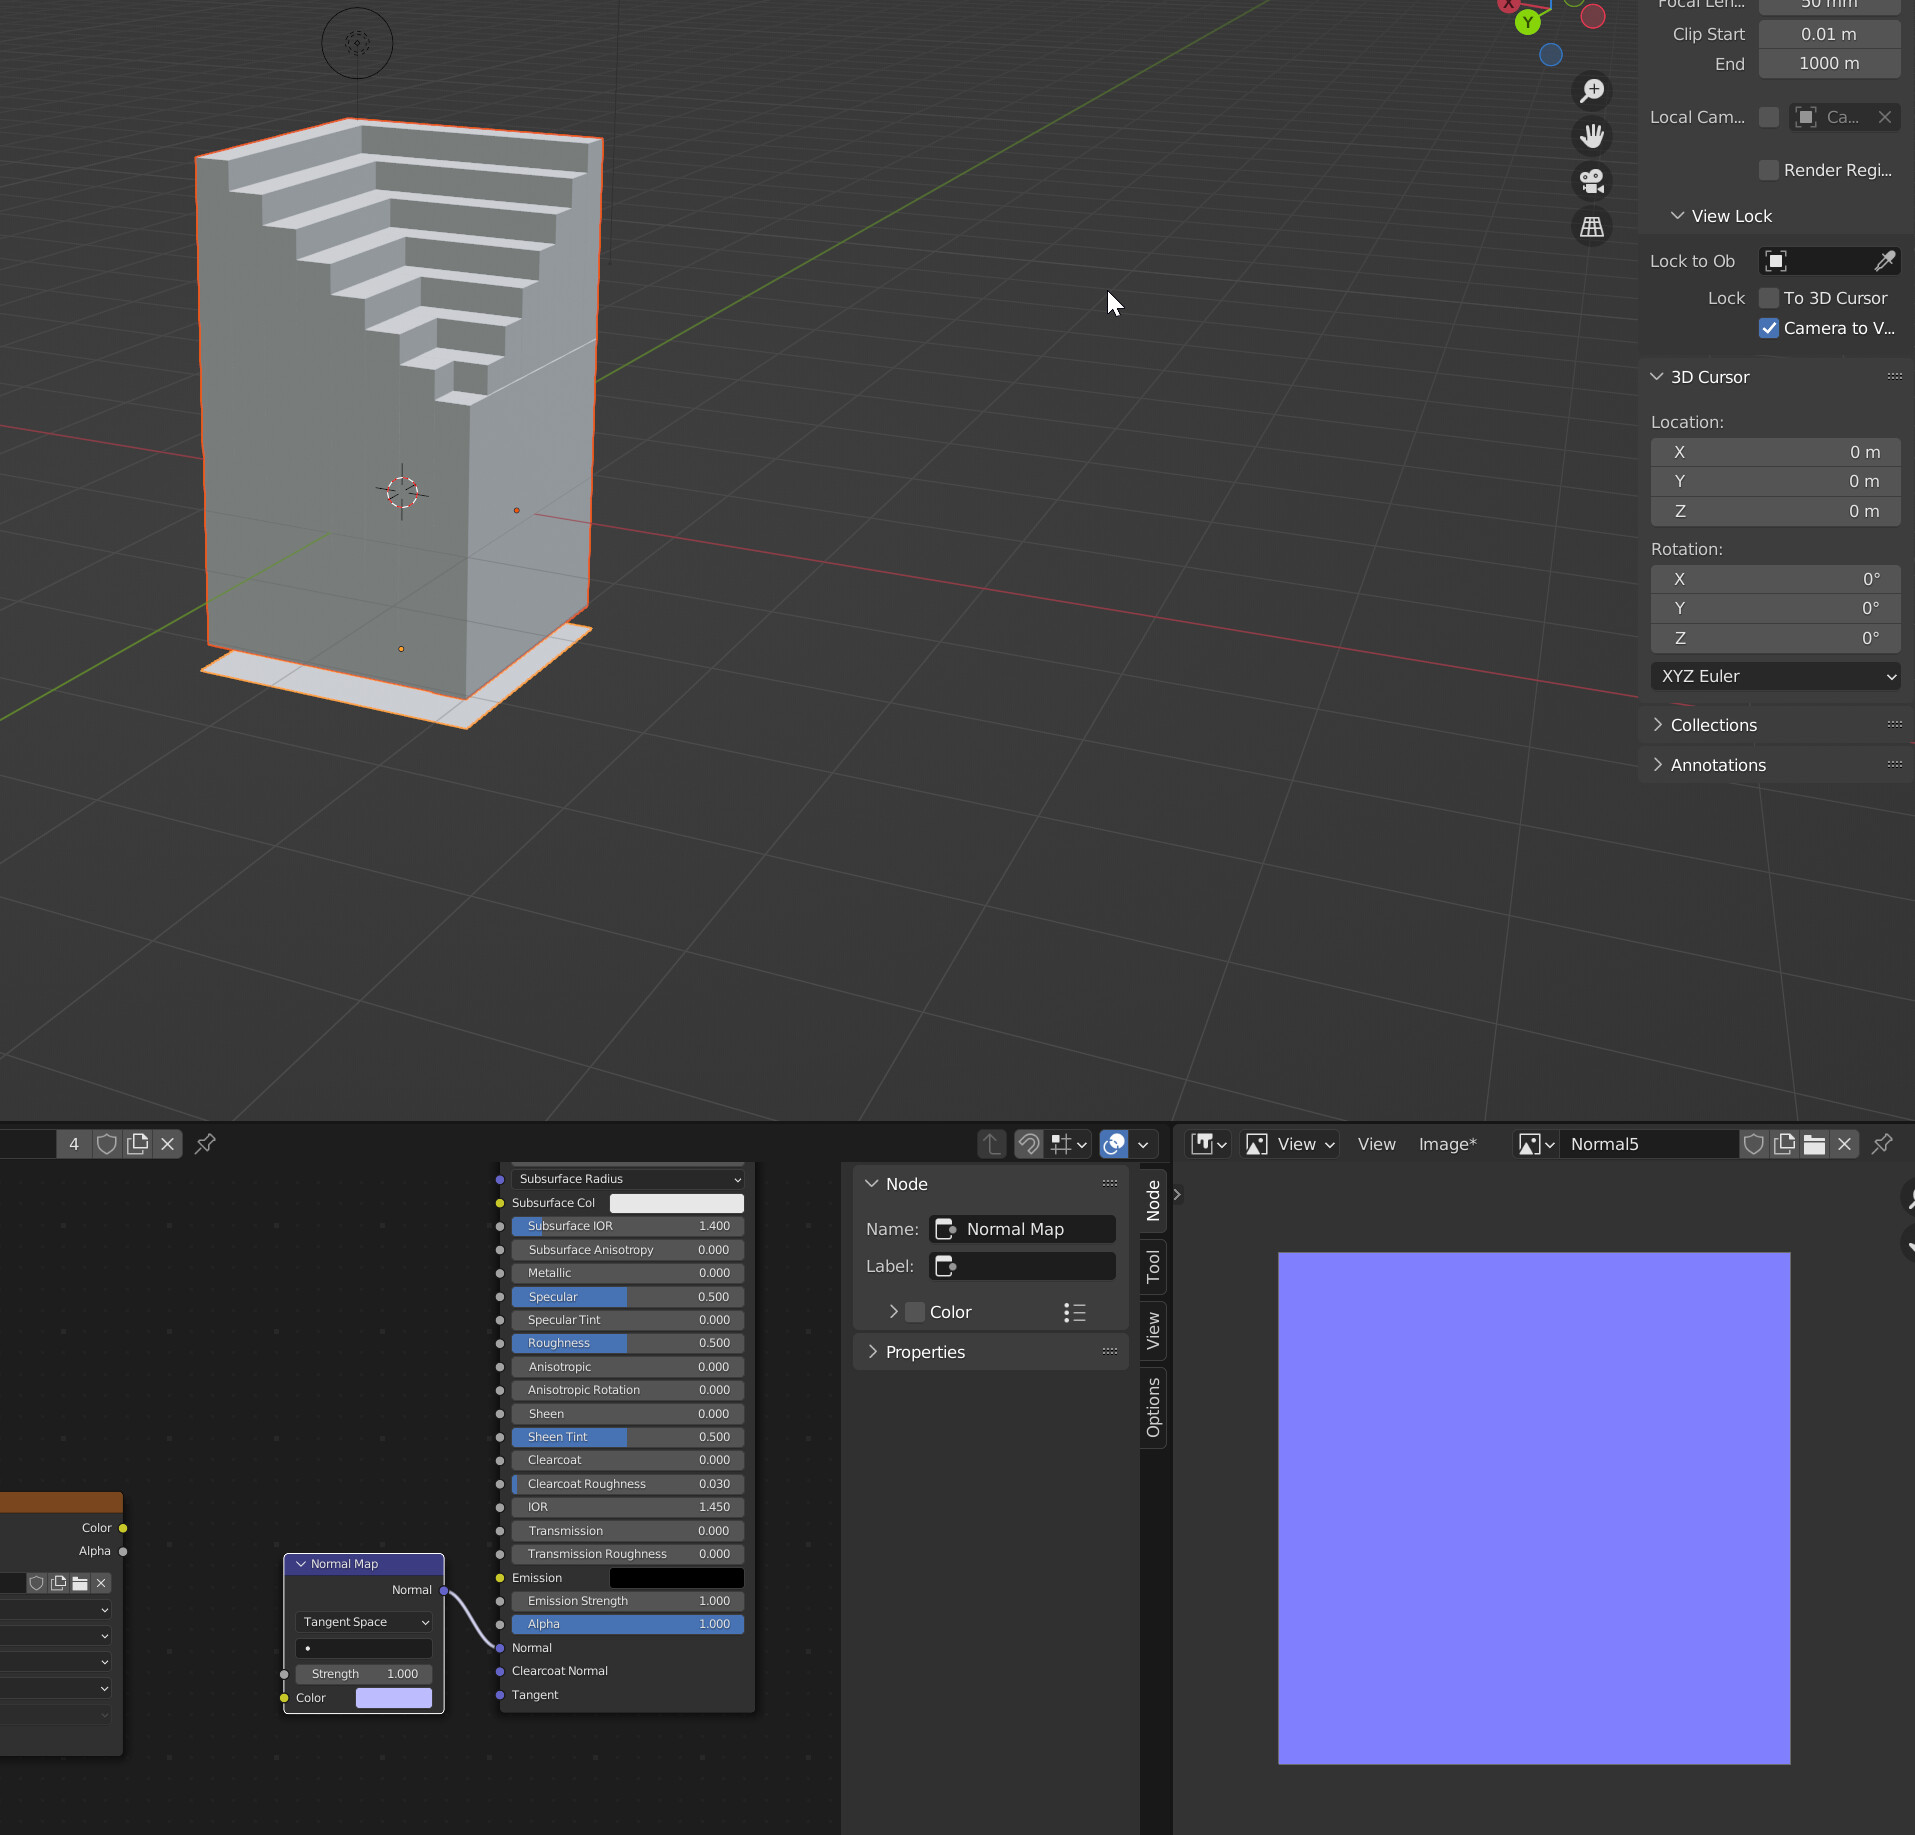
I have tried several tutorials, and I can’t seem to get any outcome coming close. I’ve tried the very exact approach you described but also one including a cage. Even the colors on my Normal Map don’t seem to resemble the color palette normally found in Normal Maps. What am I doing wrong?
I tried different values, but something seems to be wrong. :C Is it possible to have a look on my .blend file? I feel like I’m missing something fundamental here.
Wow, that looks very promising. Thank you so much for your effort! I just tried it out myself, it seems to work great. My goal was to figure out a quick way to create Normal Maps based on 3d shapes and models I’ve created. I want to use these Normal Maps for another Material I’m experimenting on. This works just as well, as I can simply render this out as an image.
But I still have to wonder why 3ds Max can create Normals Maps based on the orthographic view of a model, as shown in my first post.
While this is incredibly helpful and great, I still wonder about the shortcomings of my understanding and knowledge about these things.
EDIT: I played around abit more - and while I have zero comprehension of the technical wonders of this method, I seem to be able to just bake the object + material as they appear in my Layout view into an image texture/normal map. Thank you so much again, Atair.
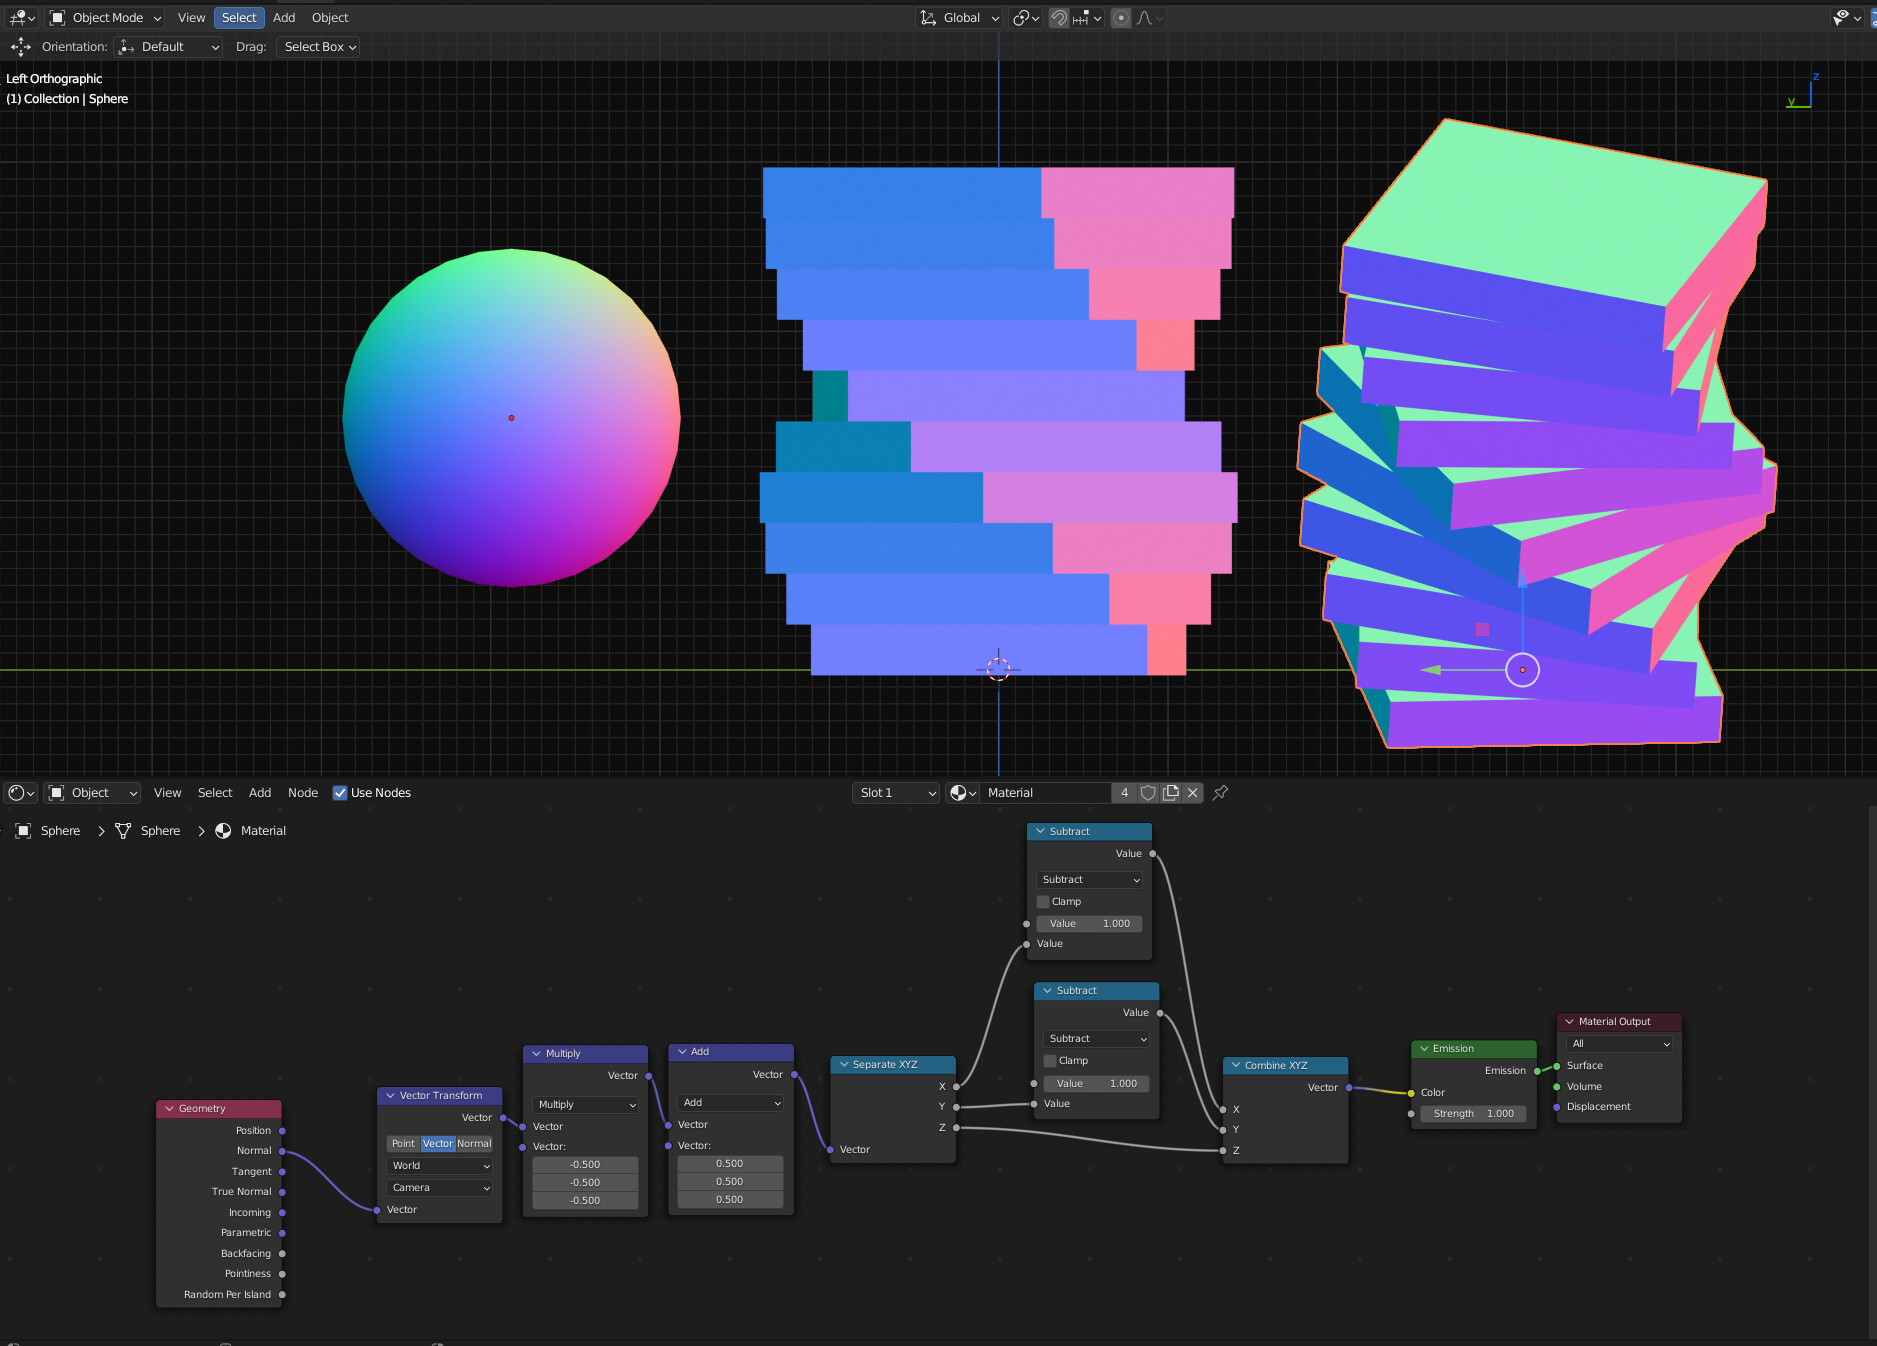
if i remember correctly from my 3ds max times - the 3ds normal pass is essentially the same as blender, and further the same as the one i provided you, but with one difference:
the ‘real’ values of the normals go from -1 to 1. But this is hard to visualize and even harder to save as an image. Thats why i have the 0.5 multiply and 0.5 add - to basically shift the values from -1…+1 to 0…1
3ds max normal passes just already shift the values to the visible range, while in blender we have to do it ourselves (which is much better, because more freedom to do custom things)
Notice that Cube_Low has split faces. This is to circumvent normal bending and quicker unwrapping. For convenience and in this particular example only.