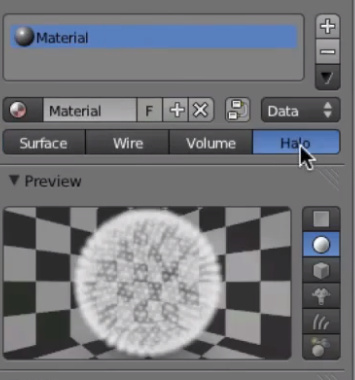
Hello, I’m following a tutorial on Blender Cloud which has a material like this:
I was asking people on Discord and someone told me that “That was part of blender internal engine, which got removed in 2.8”.
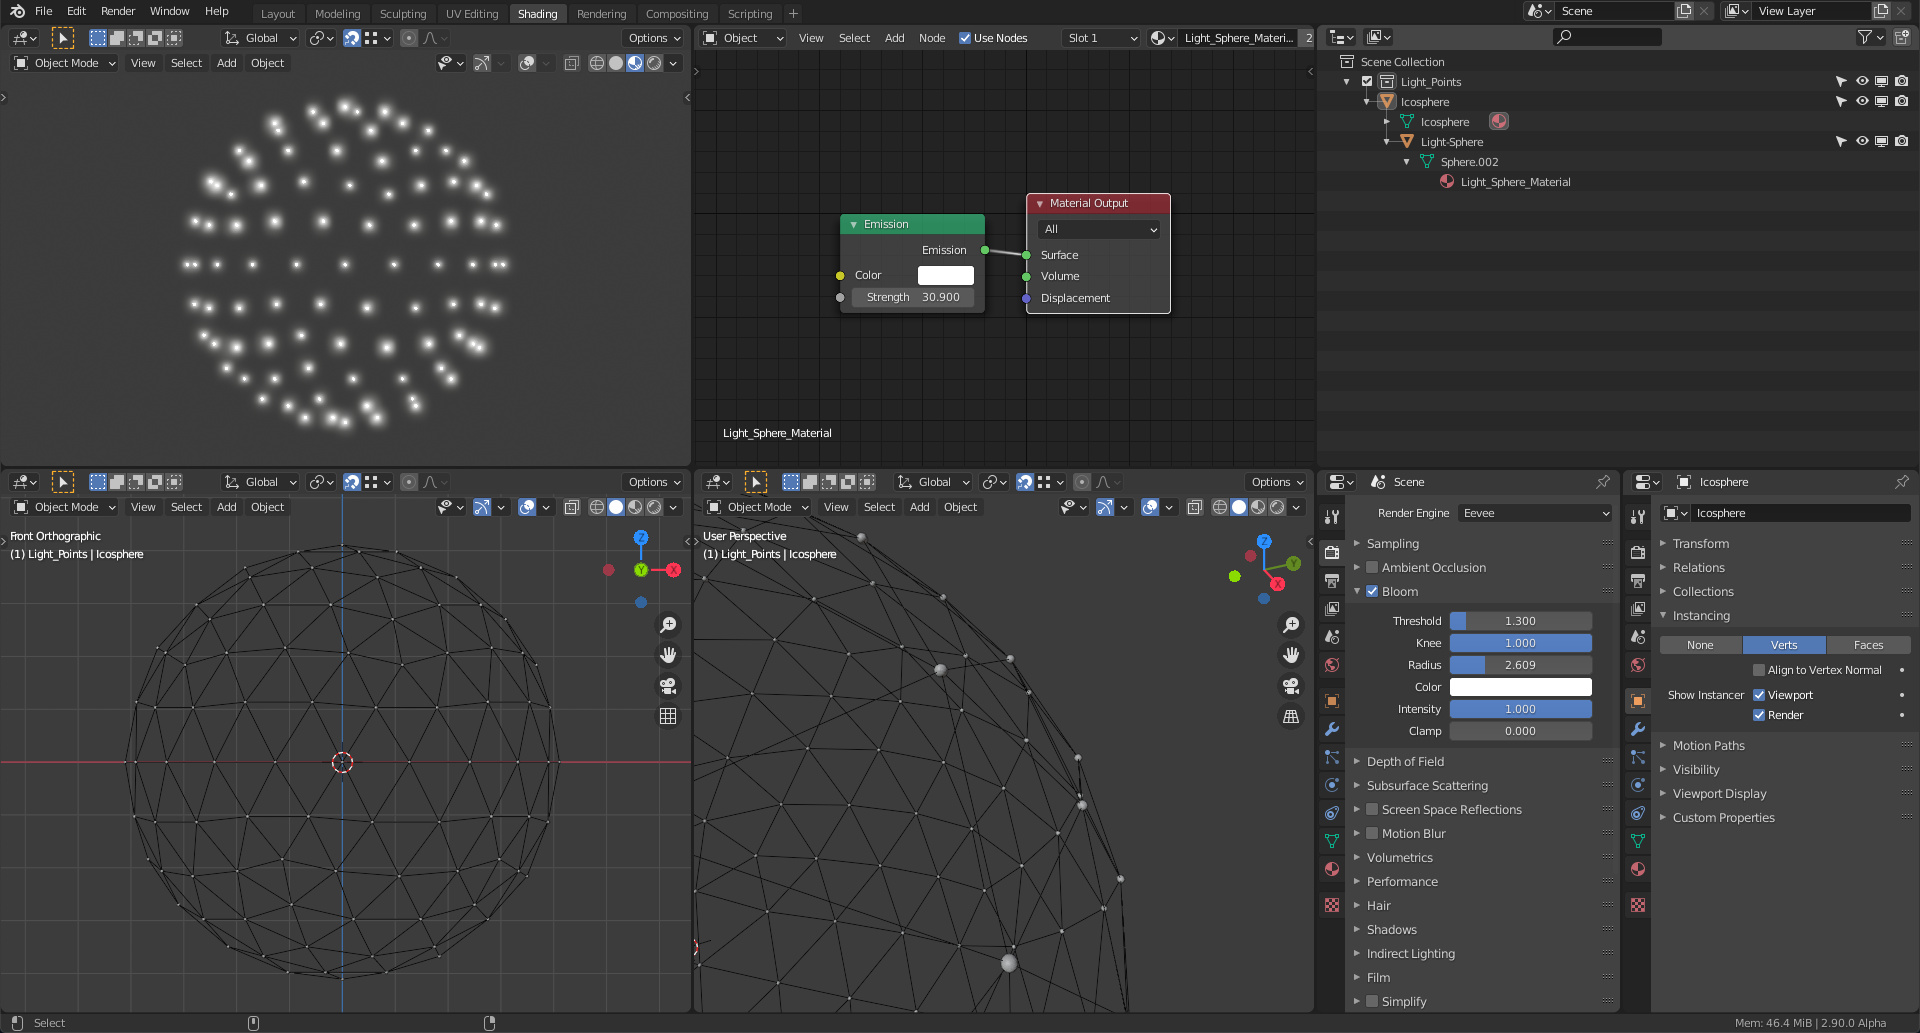
This setup is instancing small spheres to each vertext of the bigger mesh (I deleted the faces of that mesh). Those small spheres get an emission shader to make them light up and Eevee’s bloom is emulating the glow.
I’ve included all relevant settings in the screenshot, but I can explain things further, if you’re interested.
If you really wanted, you could probably get something closer to your screenshot by shading the instanced spheres with a volume shader, though that would will increase rendering time a lot.
What exactly is it, that you’re trying to make? Knowing the goal could maybe help coming up with more suitable workarounds.
Anyway I’m curious if someone knows a good way to recreate that kind of look.
I’m trying to make a particle which has a trail. I neither find the trail setting in 2.83 (which was available in the old version) nor that kind of material.
In the tutorial, the material makes the particle glow. Mine didn’t. I searched around the internet and found a workaround. It’s to create an object based particle which has emission material. It works, sorry for not mentioning here.
By the way I’m really interested in what you created. It reminds me of the clone system in C4D. Would you mind telling me how to do it?
Also I found that there is a experimental trail particle system which is in developement in Blender:
Is there any workaround to have a particle that leaves a trail in 2.83?
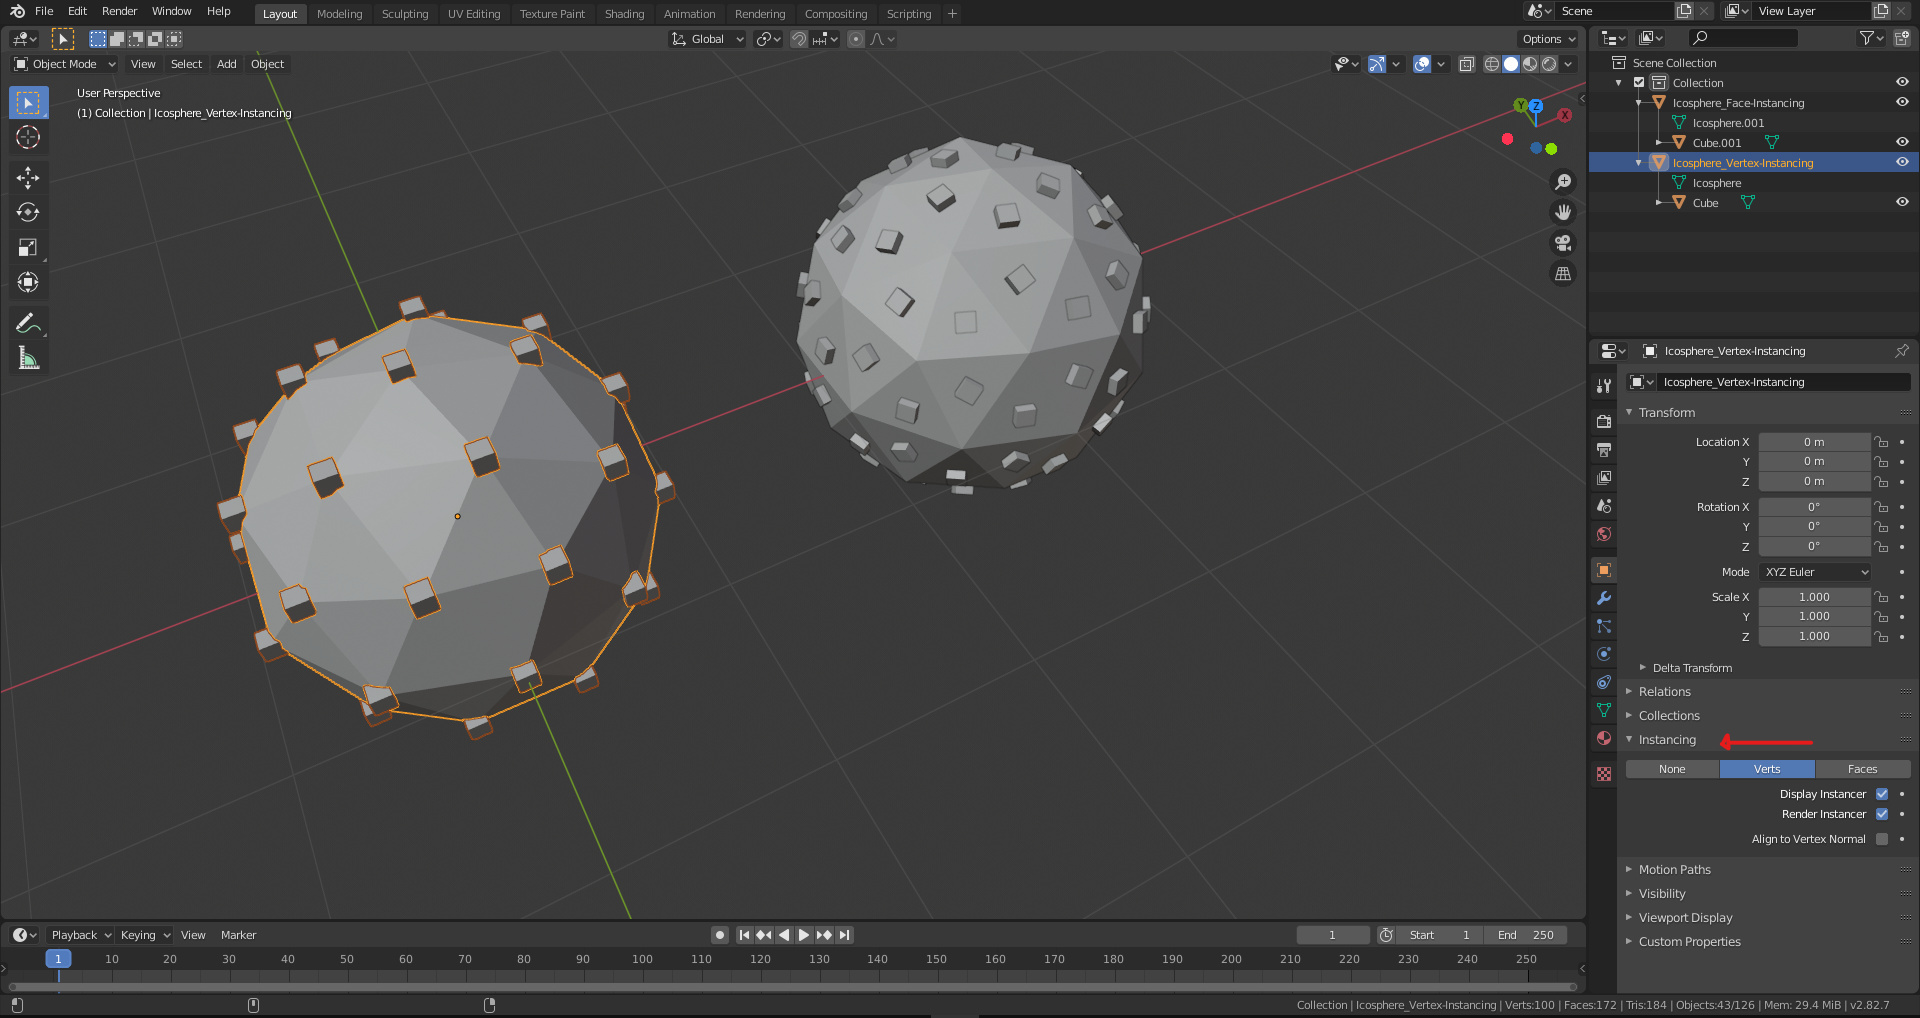
The instancing (or cloning, as you said) is quite simple:
Make the object you want to clone the child of the object over which geometry it’s supposed to be cloned.
This can be done in the Outliner by holding shift and dragging the object that you want to become the child on the object that you want to parent it to. (Or in the 3D view by first selecting the child, then the parent (order matters) and then pressing ctrl + P to parent it using one of the shown options)
Go to the Object Properties of the parent object and look for the Instancing subpanel. There you can choose to either instance the child to the vertices or the faces.
The new particle system is actually being implemented and set to become part of 2.90 as an experimental feature, as far as I understood.
Though I’m not sure how much functionality that will entail. Currently first manipulations of particles through nodes are implemented in the master branch.
Unfortunately I hardly use particles beyond distributing greenery on terrain, so I can’t tell you more than what you’ll find on the first page of google results…