Hello and welcome to the forum!
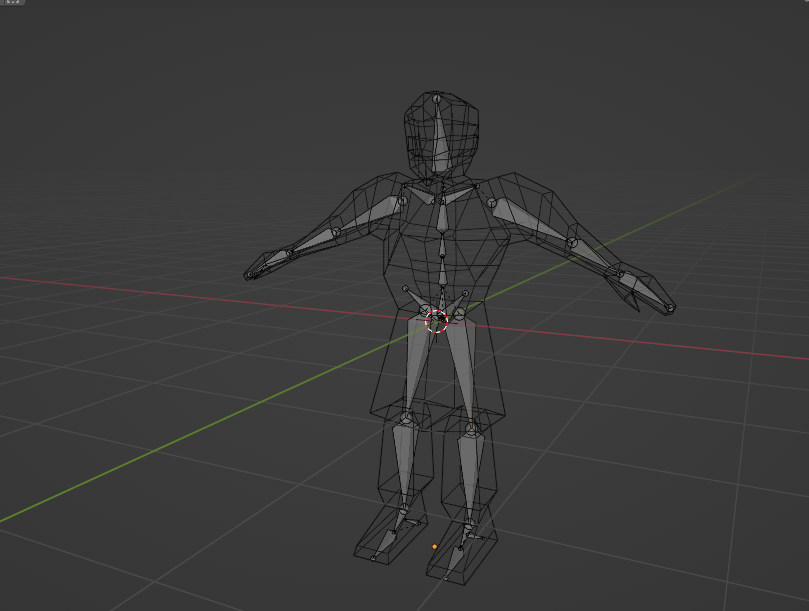
That is clearly a weighting issue. For blender to know what parts of the mesh should move with which bones, the mesh is ‘weighted’ to the bones. Basically a vertex group is created for each bone, and yours appear to be screwed up.
So I am assuming originally, his legs were working ok? Then you added in a skirt and problems started? And you also used auto-weighting?
If so, here’s what I think happened. Once the skirt was added and auto-weighted, that screwed things up. Auto weighting is very limited in what it can do. IMO, even on a simple mesh like you have, it does a poor job of weighting the mesh. Then, when you add in another mesh, like a piece of clothing, it just totally fails.
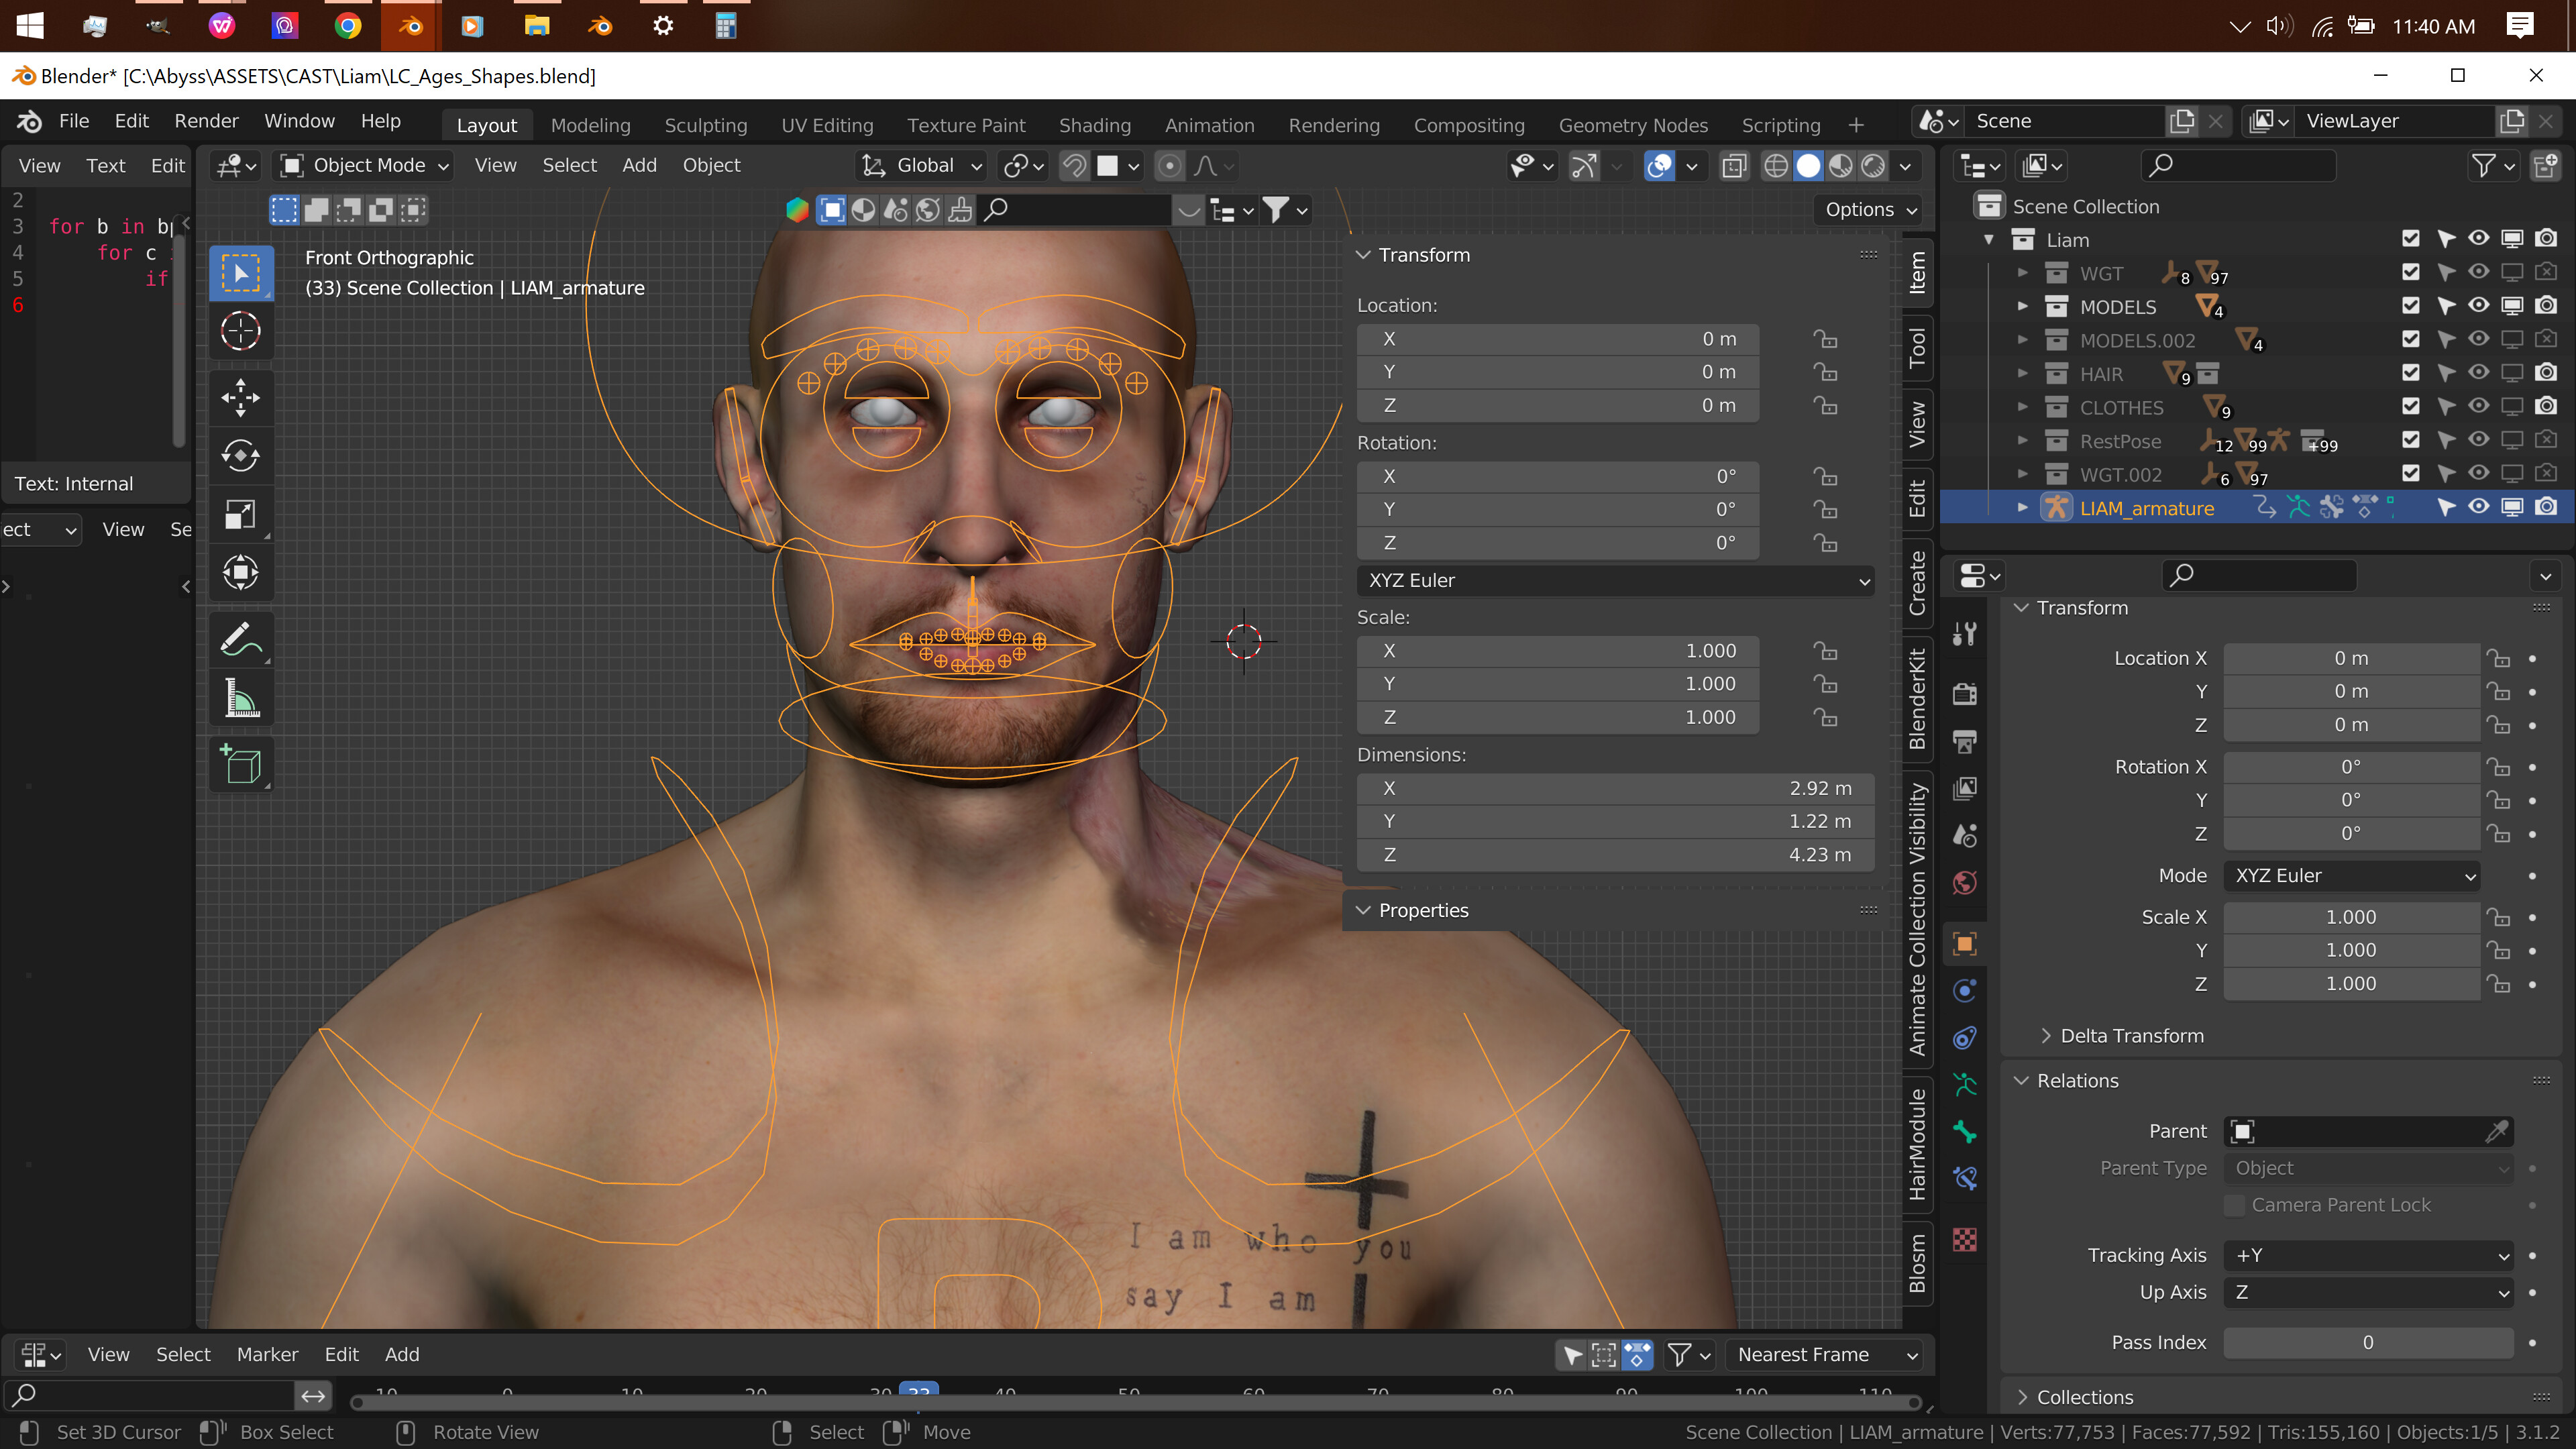
What you could try for a quick fix is this - Delete all vertex groups on the mesh. Do this by selecting the mesh, then look in the Object Data Properties panel (it’s icon is an upside-down triangle with dots on each point) for Vertex Groups. Select to top vertex group, should be the name of a bone, and hit the ’ - ’ button to delete that group, then keep hitting the button until all groups are deleted. Then save the file and reopen it.
You really shouldn’t need to do that, it’s an extra step to ensure success. By deleting the vertex groups, saving the file, and reopening it, you’re making sure the data for the vertex groups is gone, deleted, removed from the file.
Now go ahead and auto weight the mesh again. That should fix the problem.
Also, since you are new around here and a newb at rigging, I’ll assume your new to blender too, so here’s a bit of advice. When working on a project, get into the habit of saving your file with incremental file names as you hit certain milestones in the project. Model the character mesh, save as File1.blend, rig the character mesh, save as File2.blend. Now you add in a skirt, and screw everything up, save as File3.blend. Now you have the option of going back the File2.blend before you screwed it up and work from there.
Hope this helps!
Feel free to ask questions,
Randy
")