Here the project with the mesh inside : BUggedUV.blend (2.9 MB)
For exporting into mixer I have to merge the uv island of all the object. When I merge all the object together and pack it the uv of the entire object will get bigger, this is done by the amount of the island on the uv space so my question is :
How I can merge all object together and still maintain a good uv?
hi.
1 If you align some lign of uv you will achieve a better result and avoid distorsion on a clean mesh.
2 Merging object don’t change uv unless you unwrap again. But your texture have less space to give info at pixel so you can choose a better resolution or use udim, always compromise between weight and quality.
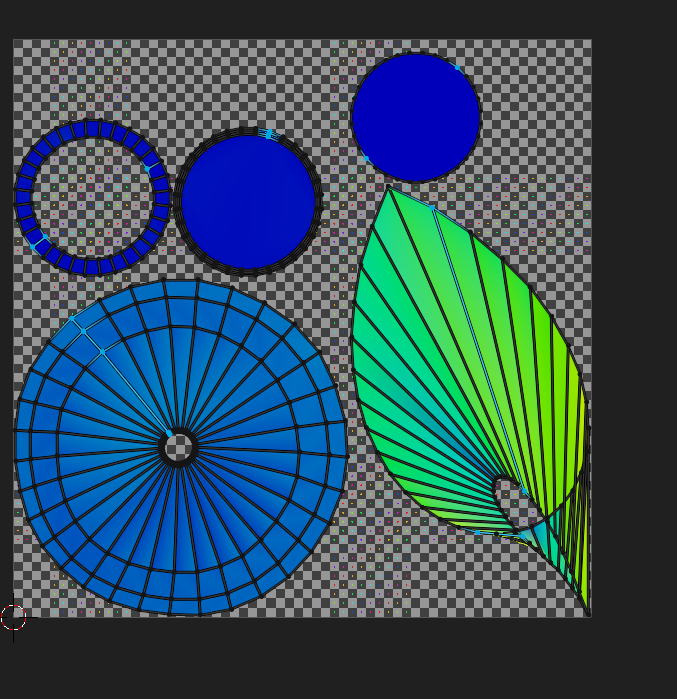
what dou mean by mirrored… there is the inner and outer cylindric part cut at your seam, the inner disc, the bottom disc and the ring, which is indeed cut open in the UVs… (not much but…)
the file seems to look different from what your images show
For the scond:
your image about merged objects… doesn.t show a merged object… it’s clearly visible that you still have multiple object…
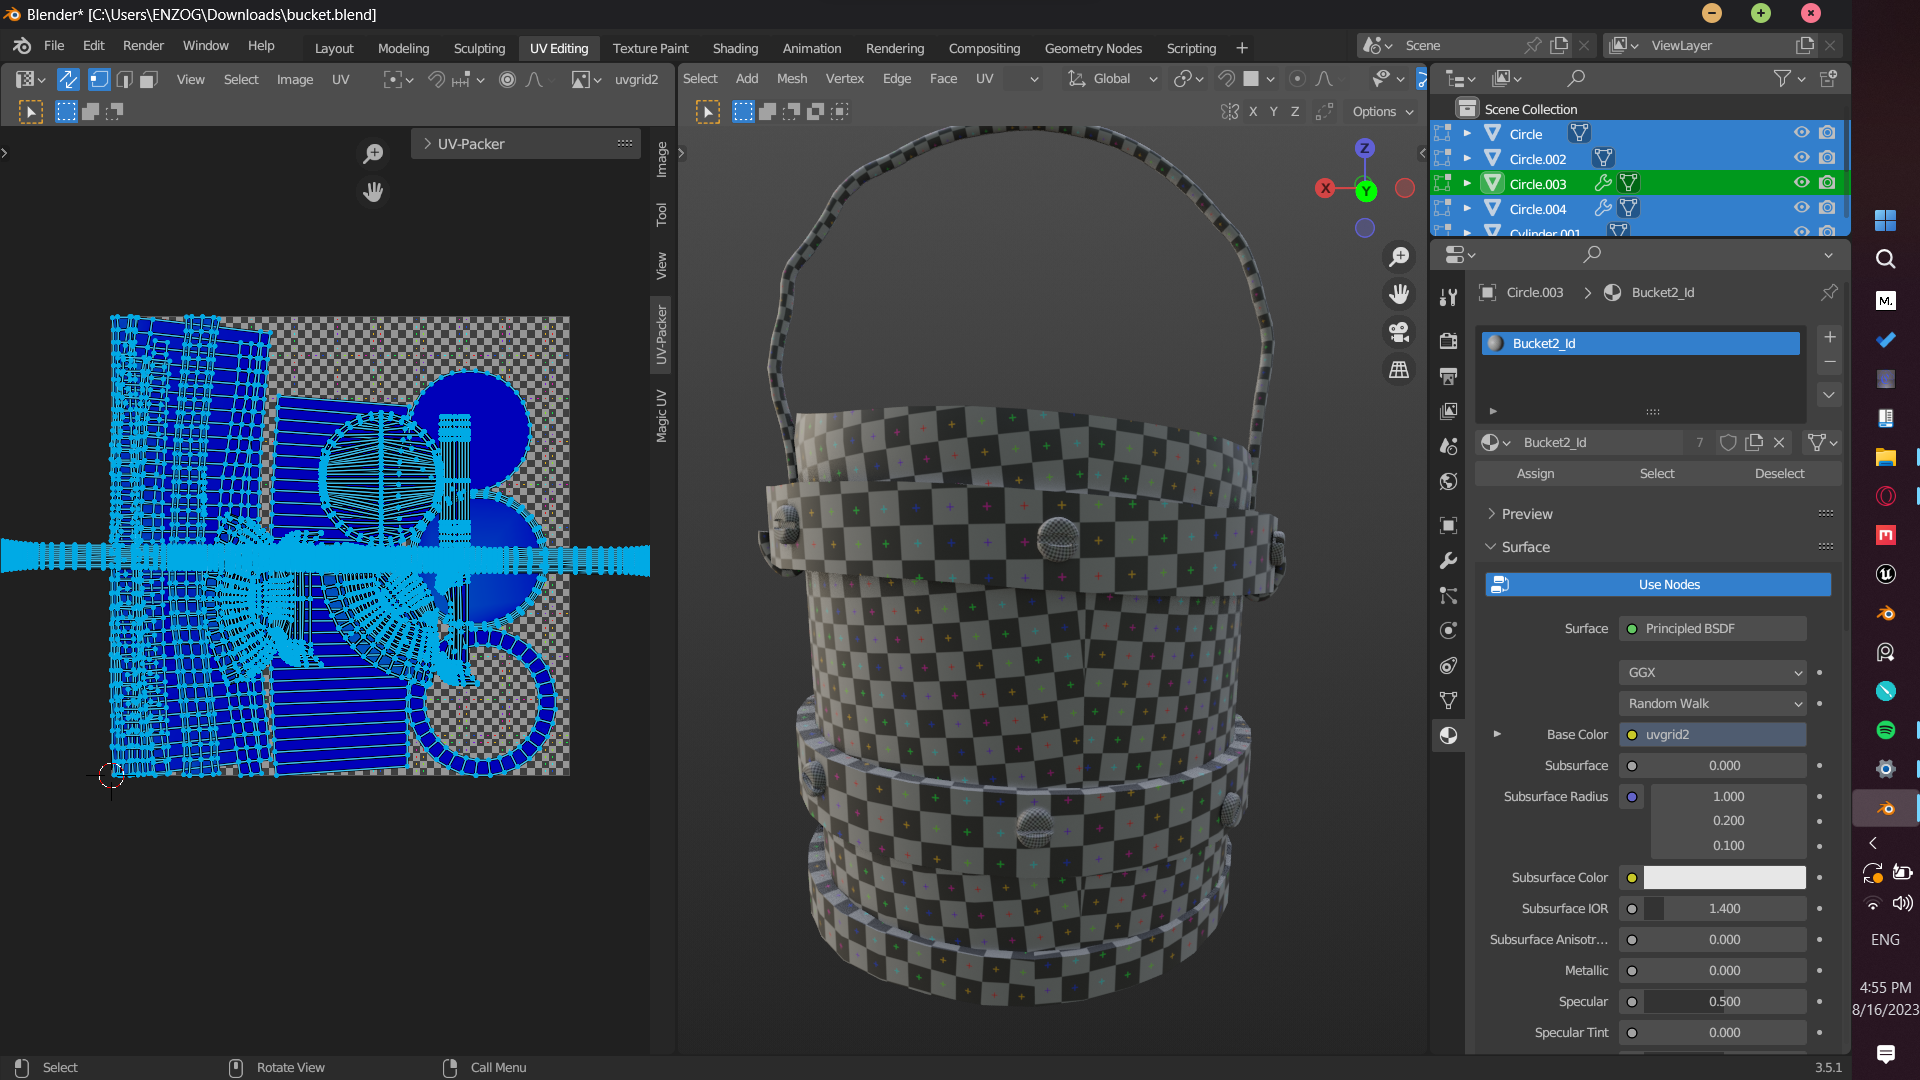
One thing I would do is to Quadrify your islands ( Follow active quads).
You can see in your image that the Unwrap will be distorted on the main bucket and you will have that nasty seam right down the middle…
If you Quadrify, you can get rid of that…
Also, you missed selecting some faces on the screws, best way for something like that is to temp hide everything else and use the x-ray view to fix all those parts and then do an unwrap, and re-pack…
I haven’t merged my object because it would give me problem. I merged it only to show what it would happen if i have merged it together and then i don’t know why my file are different from the photo but what i have showed in the photo is my current uv. Where do you put the seam for unwrap this cylinder?
I used you seams… just used some tricks/experience… like @RSEhlers said follow active quads… but first only for the lower (not skewed) part, then pinned the UVs and added some more unwrapped and pinned again… also straighten them and scaled along X (or Y…oh yes i rotated the whoelUVs…)… the upper ring has to be handled extra because it really get’s weird by just follow acive quads… so rotate ~ 30 degree, scale only one side repositon… etc…