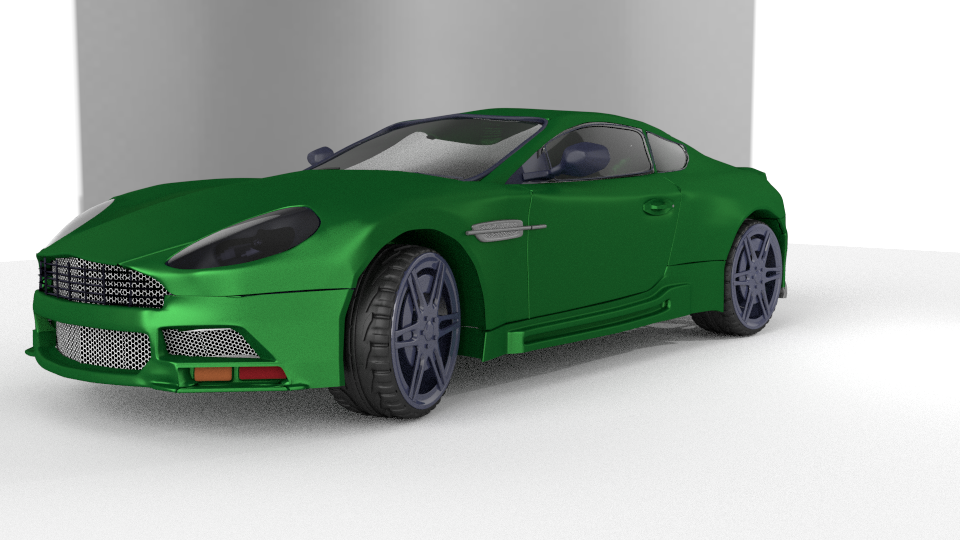
After six months of getting advice, practicing on smaller projects, I felt brave enough to tackle my first serious project. This is based on Johnathon Williamson’s excellent tut on modelling a Porche.
I’m not looking for advice on this particular model, but if anyone feels like giving some, it will be much appreciated.
What I’m asking for is some input on modelling techniques. Johnathon models in subsurf. Where I learned modelling, in Hexagon, it was considered a big no-no to model hard bodies in suburf. Mainly because you often end up with unwanted jagged mesh when applying subsurf and with Hexagon not being a renderer, you would have to apply it in order to export.
The accepted method was to model the low poly version, switch to subsurf to see what the finished product would look like every now and then and switch back to low poly for further modelling.
I modeled this in panels, with the edges of the panels extrude very slightly inward. This which is where my biggest challenge came in with using subsurf . There is always some shrinkage, pulling the panels apart. The control cages of the adjoining panels crossed over each other when attempting to get them close, causing confusion when selecting edges/verts to move close together. Ended up hiding adjoining panels, which meant some guesswork in aligning panels. As it is, many of my adjoining panels are still too far apart and too obvious in the render, although the meshes seem to be touching in object mode.
In Hexagon, we used a method where you could clone a mesh, subsurf the clone, then continue working on the low poly version. Whatever you do to the original gets done to the clone, making it a lot easier to model and you get live feedback on what the mesh would look like with subsurf applied.
My question are
Is it normal practice with you old hands to model hard bodies in subsurf mode?
Do you normally leave subsurf unapplied for rendering?
Does Blender have the clone facility that which I described?
1.Depends, some people model with the subsurf modifier while others add it after modeling and then do fine adjustments (i’m the latter)
2.Yes, there isn’t much of a reason to apply it since you still get the same result.
3.“Duplicate linked” is similar, you can have subsurf on one model while not having it on the copied object (or vice versa).You have to tab to object mode to see any changes however.
Generally i don’t export my models unless they are low poly or were made without subsurf in the end process.
Subdivision is not something you add after modeling, the use of subdivision is planned since it has its topology requirements. That includes planned subdivision level to keep the model density as consistent as possible so that no single detail need higher subdivision level than the others - If some contour/silhouette or other detail would require higher subdivision, that would quadruple (*1) polygon count on each added subdivision level.
(*1) on quads.
Subdivided polygon count is face_count * 4^subdivision_level for a model consting of quadrilateral faces, and face_count * 3 * 4^(subdivision_level - 1) for a model that is made of triangle faces.
There are two ways subdivisions are controlled: edge creasing and control edge loops. Both have pros and cons but for exporting to an application/format that doesn’t support edge creasing one would use support edge loops to ensure it subdivides as intended. The model would retain these controls and the target application would use its own subdivision to get the higher density model. With good topology it’s possible to use either, or both, when keeping things in Blender.
2.2.3.3 Holding/support edges present to retain shape after subdivision
2.2.4 Crease value: 3ds Max and Maya only: Value of Crease parameter must be 0 for all edges.
I don’t view subdivision result while modeling the structure. Vertex positions and the actual control cage is more important, and the subdivision is very predictable.
Could also use matcap in 3D view properties region to make the subdivision result more visible with 2. visibility option.
Never model with the visibility enabled on the control cage (3). That doesn’t show the actual vertex positions and you will make a mess. It’s handy when making minor tweaks/adjustments to vertex positions after the structure is already in place.
Thank you for your input - and my apologies to Jonathan for misspelling his name
My feeling is pretty much along the lines of what DCBloodhound wrote. I don’t see much advantage in modelling hard bodies in subsurf mode - especially when Blender has such a great tool as vertex smoothing. I think that adding subsurf towards the end of modelling, once you have the structure in place and it is time to smooth it all out and add tweaks, would be a good approach.
JA12 - Not too sure of what you mean by not adding subdivision after modelling - is that not the whole point of subdivision - to smooth out any bumps?
As I see it, there are advantages to using subsurf modifier when modelling organically, because it lets you make smooth transitions, like working with clay - but using it without the control cage cancels out that advantage - unless I’m not understanding you.
I do agree that using the cage causes a mess when doing hard-body models, because, as you say, it doesn’t show the actual vertex position and, as I found with the edges of the panels, the cages of adjoining panels get all mixed up and cross over each other.
Yes and no. The point was that the use of subdivision surface is planned before modeling even starts, not just adding it on any model with any structure. It allows to work on low density model (control cage) and gives an adjustable level of subdivision to get the approximated high density model.
Totally agree! I’ve seen so many times that modelers try to cover bad topology with excessive smoothing. I personally don’t like to give more than 1 level of smoothing, excepting motor vehicles where you need very shiny surfaces, where the slightest bump will stand out like a sore thumb. Then I will go to 2 levels. Anything else I see as a modelling failure