Im almost finish with the jacket. All it needs now are cloth folds.
Questions: How do i remove/separate material/material blocks for an object? I had too much and i wanted to delete some. Also for some reason the jacket texture was carried over to the pants making weird texture patterns in the pants rather than having a plastic black texture.
Note that i used the same material for both pants and jacket before i started uv-mapping it
To delete unused materials simply close the blend and reopen it. If the material is still being used it will not be deleted.
To see where materials, texture and other datablocks are actually being used you can use the OOPS viewer. It is part of the outliner. In the view menu you have to choose OOPS viewing mode.
Details can be found here: http://wiki.blender.org/index.php/Manual/The_Outliner (scroll all the way down to OOPS)
The same applies to your second problem it is likley that you are still referencing the same texture datablock. Simply make the texture for the pants a single user (pressing the small number next to the texture name) and change it for the pants that should do it.
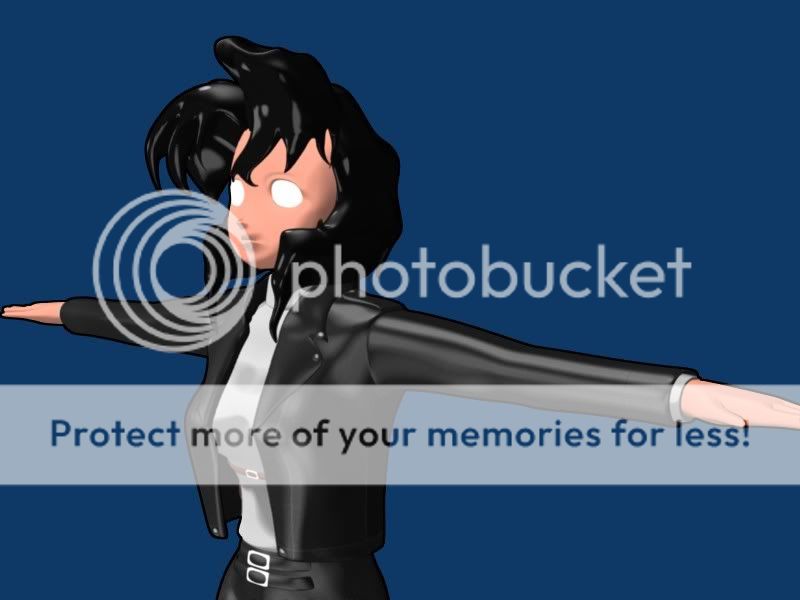
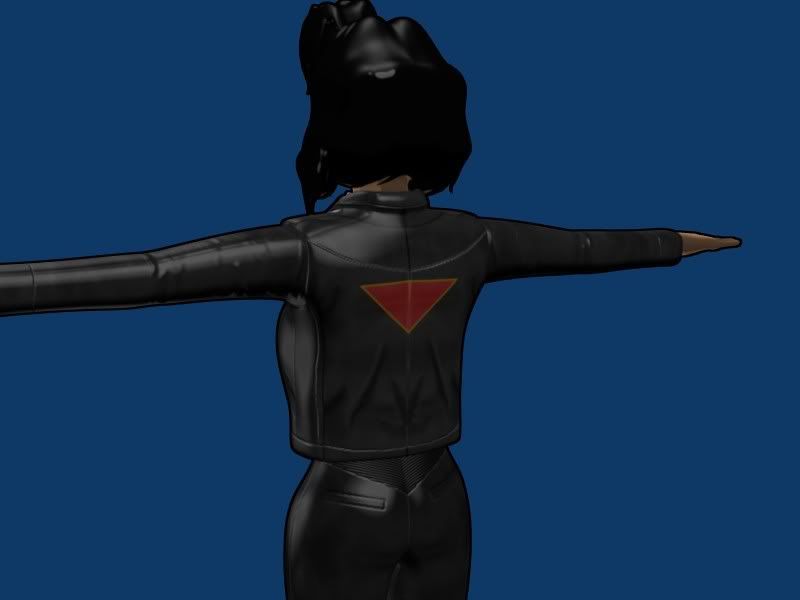
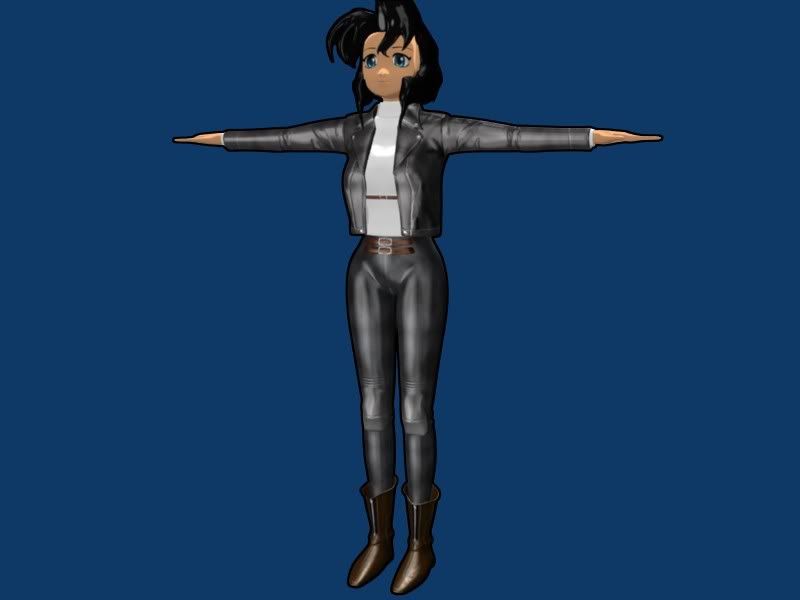
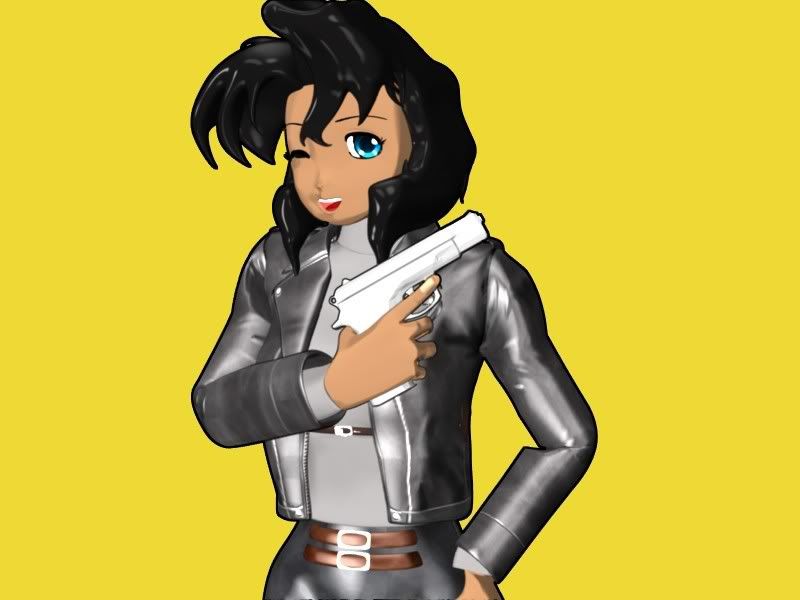
Wow its been a while since i last posted. I have pretty much finished texturing my model. I wanted to ad a logo in the back of the jacket, but i can’t seem to put the logo over the UV texture. (ill try to figure it out)
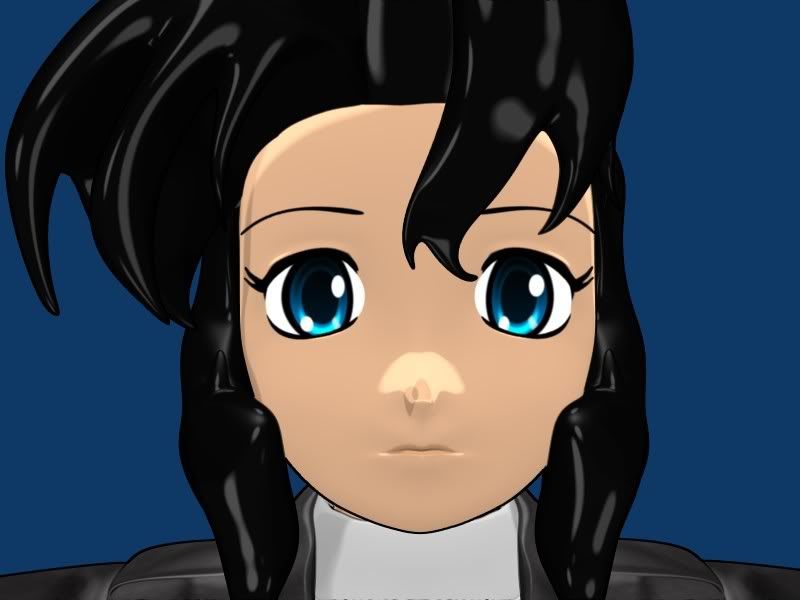
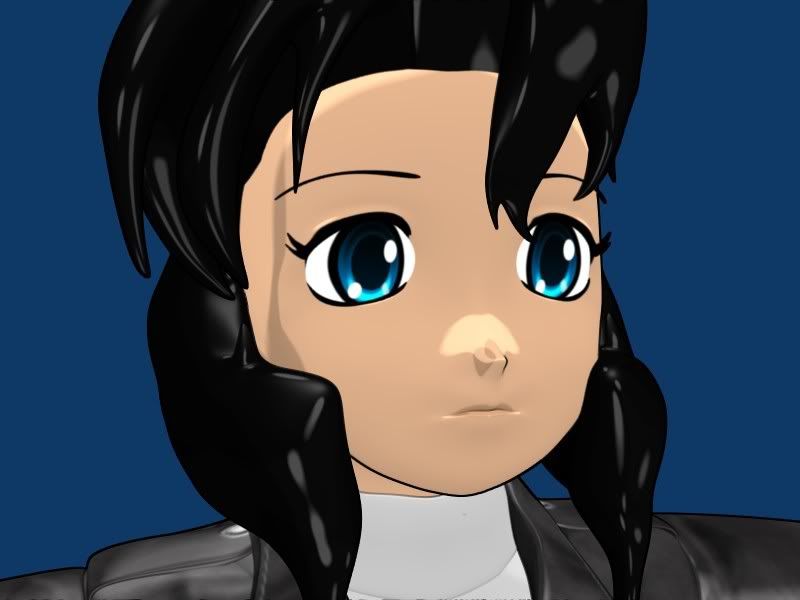
Rally Close-Up:
I made some adjustments in the eyelashes:
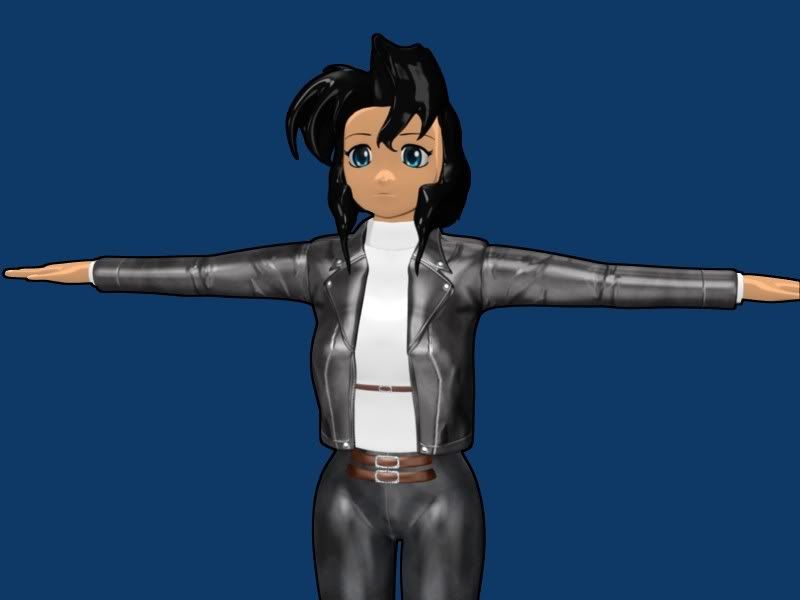
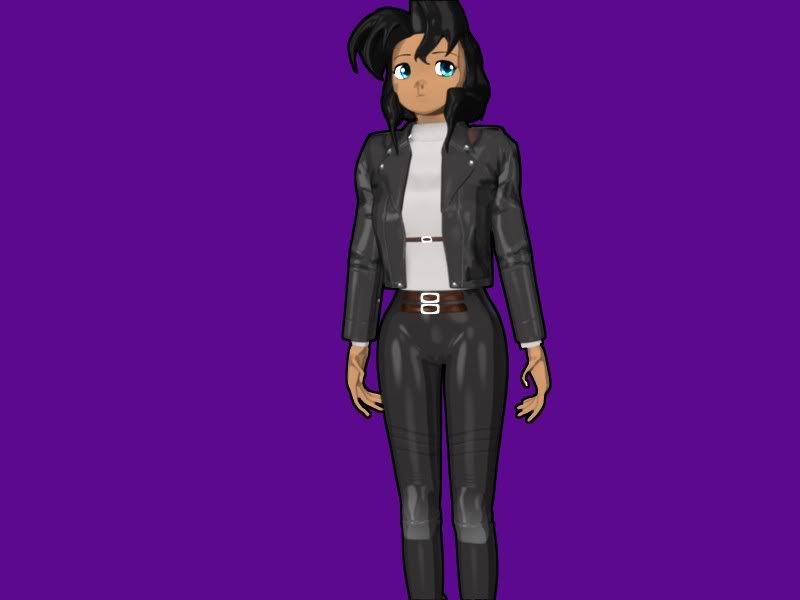
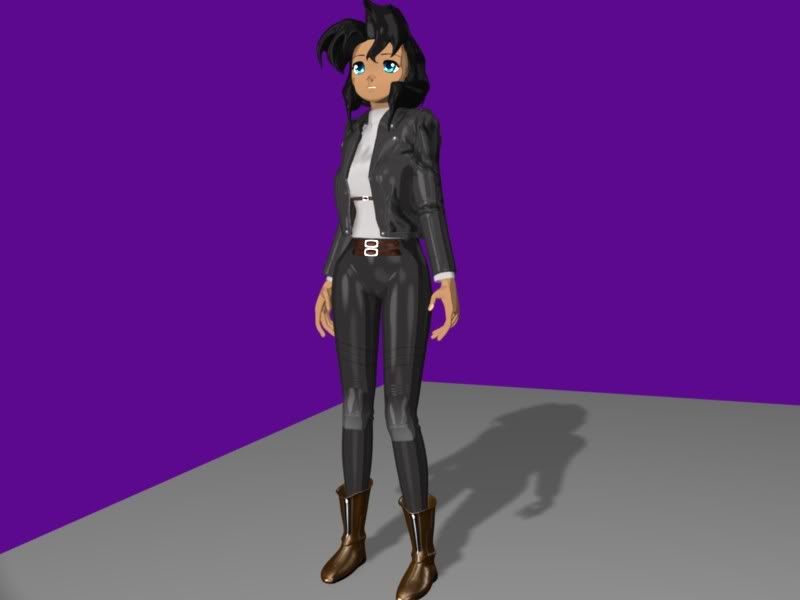
Full-Body:
If you guys noticed theres something od near the nose, I cant seem to fix the lighting on the face area. Any tips for it so that that irritating shine in the nose would be gone? Thanks!
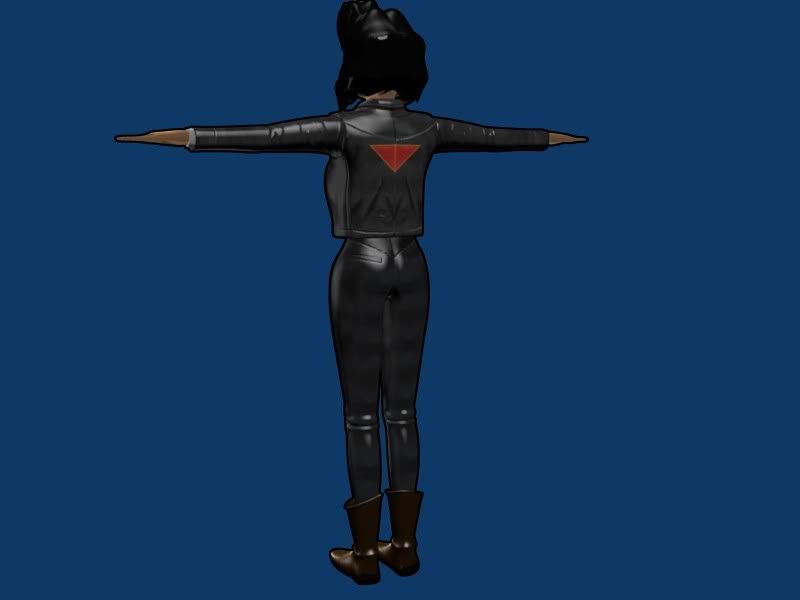
I was thinking about the logo, couldn’t you use a normal decaling technique, as long as you get the textures in the right order. Link here if you need it.
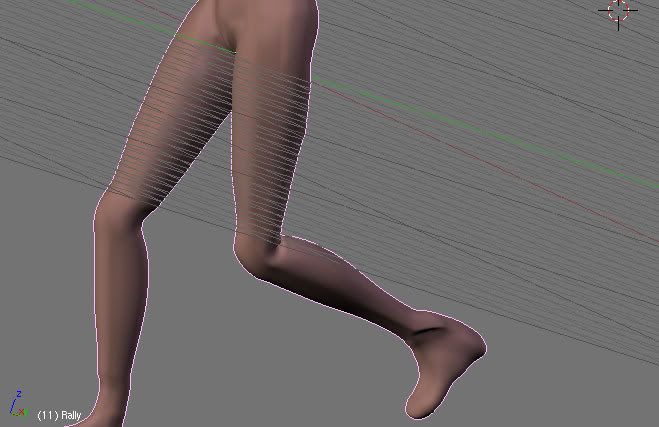
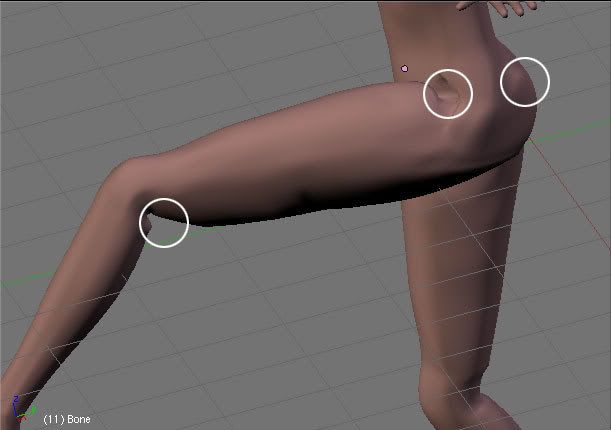
Thanks for the help viqous ill try to do that. Im currently trying to rig the model but im having problems when i start moving the bones, there are deformations that i really dont like and i cant figure out what to do. I have been weight painting it for hours now and everytime i get it right when i move to another pose to check i have to readjust the weight again.
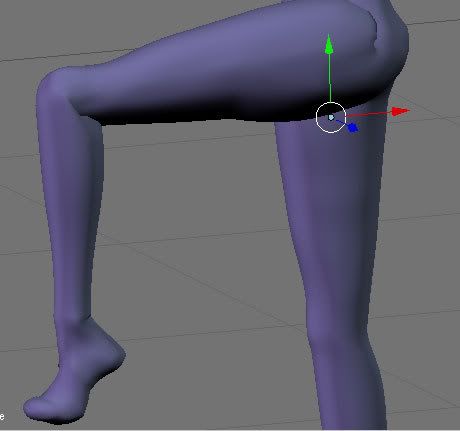
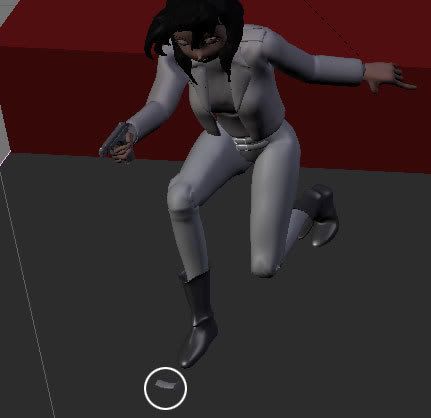
This was the 1st pose for the mesh in which i got the deformation controlled in a way:
But when i move it i causes weir deformations that i dont like:
And when i try to adjust the weight again, it will have a different affect on my previous pose which starts to irritate me since im going no where.
Any tips you guys can provided would be helpful. The Blender book didn’t really shows you how to weight paint the mesh and i have too fend for my own.
Also if you guys have any ideas if theres a software that could complement Blender (especially for rigging meshes) that would be helpful
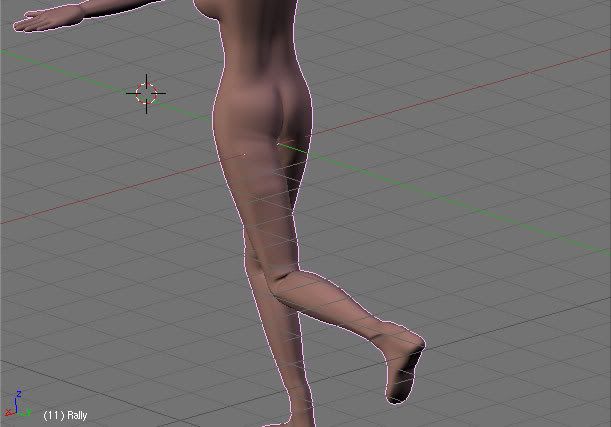
I decided to redo the bones and it seems that the results are better. It made weight painting easier as you can see.
QUESTION!!:
Since I have multiple objects and at the moment the body is the only one rigged with the bones. is there a way that the other objects (pants, sleeves, etc.) would follow/inherit the characteristics of the body? Or will i have to weight paint them too to match the rest: i.e. weight paint the pants to match the legs weight paint.
A reply would be really great since i wanted to know this early how much work load i have to do.
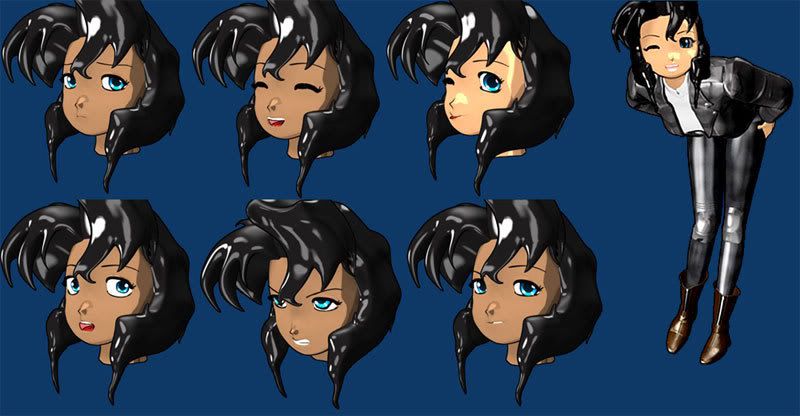
After a month of hard work im finished with the rigging. Here are some test expresions and a simple pose. I still have 1 more thing to do and thats to use Ipo Drivers to make the folds better on the joints.
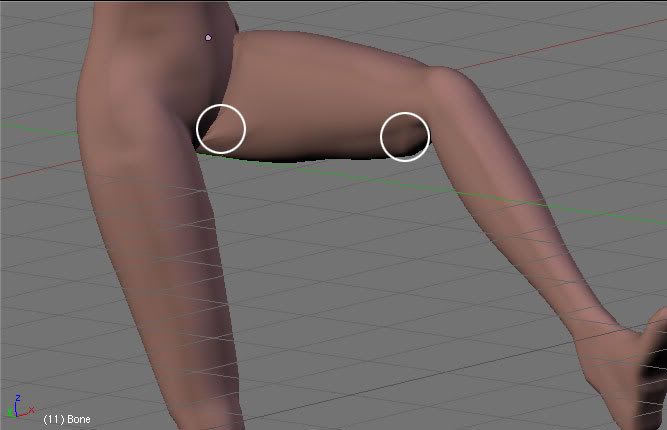
Decided to do a test pose on my rig with the shape deformation on the clothes when the arms are lifted. Finally figured out how the fingers move (the book never tells you how).
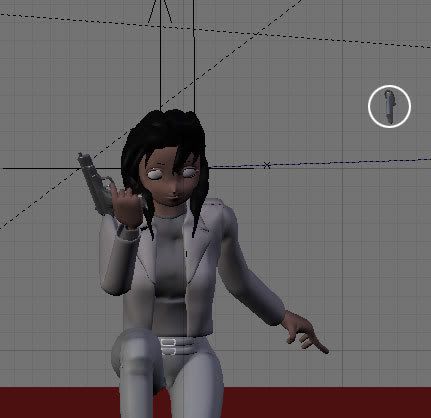
Just finished modeling her handgun (its not really accurate but the gun isnt the primary thing anyway). its still not textured in this pic though. Ill finish up the gun textures when im done doing some animation test on the model.
Im still trying to fix the thumb, if worse come to worse ill just remove the constraints on it and just animate it manually.
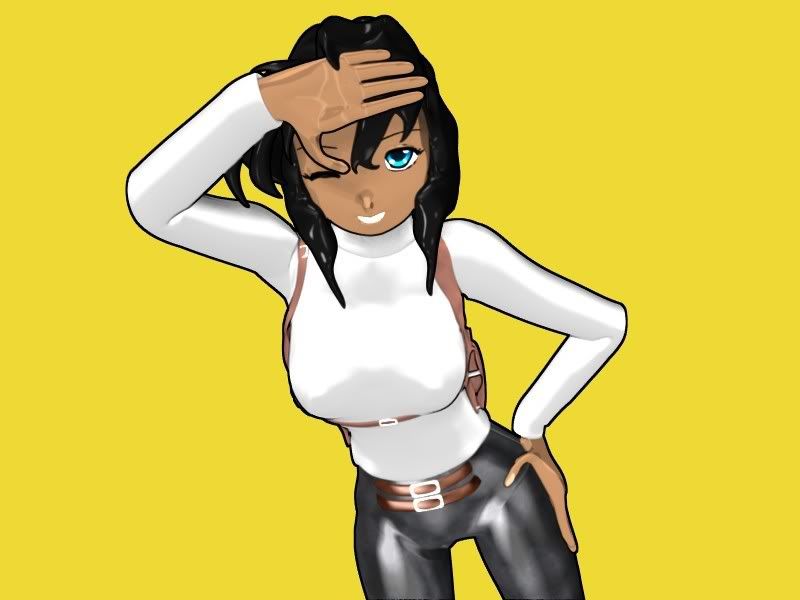
I made the clothes more toon line and took out the leather texture.
I also made a jumping test animation just to see her in motion. Ill working on her walk and run cycle next then finally make an obstacle course for her to run.
Oh yeah Can you hide and un-hide layers in an animation? I want to hide the gun when she isnt using it and un-hide the gun when she draws it.
heres another render of the model w/o the edges. The edges makes the fingers look really bad so i had to take it out.
Also i just finished a walk cycle for her (its not rendered though). Ill start planning on making a 30 sec strip for her and move on to the next project.
So im finishing up my animation set but i ran into a snag. I was going to put an animation where Rally unloads a magazine. I got the magazine to drop perfectly but when i start to move her arm, the magazine wont stay in place. I tried keying it in place but since its parented (but not connected) to the hand when the hand bone turns it follows no matter what. I tried adjusting the Ipo but it didn’t solve the problem. Is there a way to lock the bones location in place even if the parent starts to move?Im already having a headache trying to solve this:spin:
*I wanted the magazine here
*but when i start moving the arm the magazine follows the hands rotation.
I think what you need is a location constraint. I believe you can unparent the mag from the gun but get it to follow it with a location constraint. Then when you want to animate it dropping you can turn the constraint off. I remember there being a thread about animating someone holding something. I believe it is the same idea for the magazine clip, so you may want to do a search for that.
At the moment im done with my animation. I tried rendering the animation (by pressing the animate button). But the darn thing keeps crashing on me.
I know my computer can handle animation rendering since i did it once before (although its only a 50 frame animation). Is there any way to reduce the chance of this happening? Also right now my scene is roughtly 900 frames (around 30 secs), I was thinking of rendering it in multiple scenes ( 1 scene = 51 frames) and then combining them together in compositing. is this a more reasonable way or should i just render the whole 900 frames?
If theres anyway to speed up the process the better.
I notice that you can add audio in the Sequence editor but you can’t hear it when you render it (pressing the PLAY or ANIMATE button in the Scene section). I hear that the older versions of Blender cant use audio during animation.Does 2.46 still has this drawback since thats the version im using. They say theres a work around but i dont get how those codecs work.
For audio you need to use FFMPEG as the codec then a video and audio tab will appear. In the video tab you select the codec you want to use (try h264 or a xvid codec) and in the audio you have to activate multiplex and choose a codec either mp2 or mp3 works for me.