I think this will be quite a long project. Basically trying to do a fairly original looking space plane, one that can fly in space and in a planet’s atmosphere.
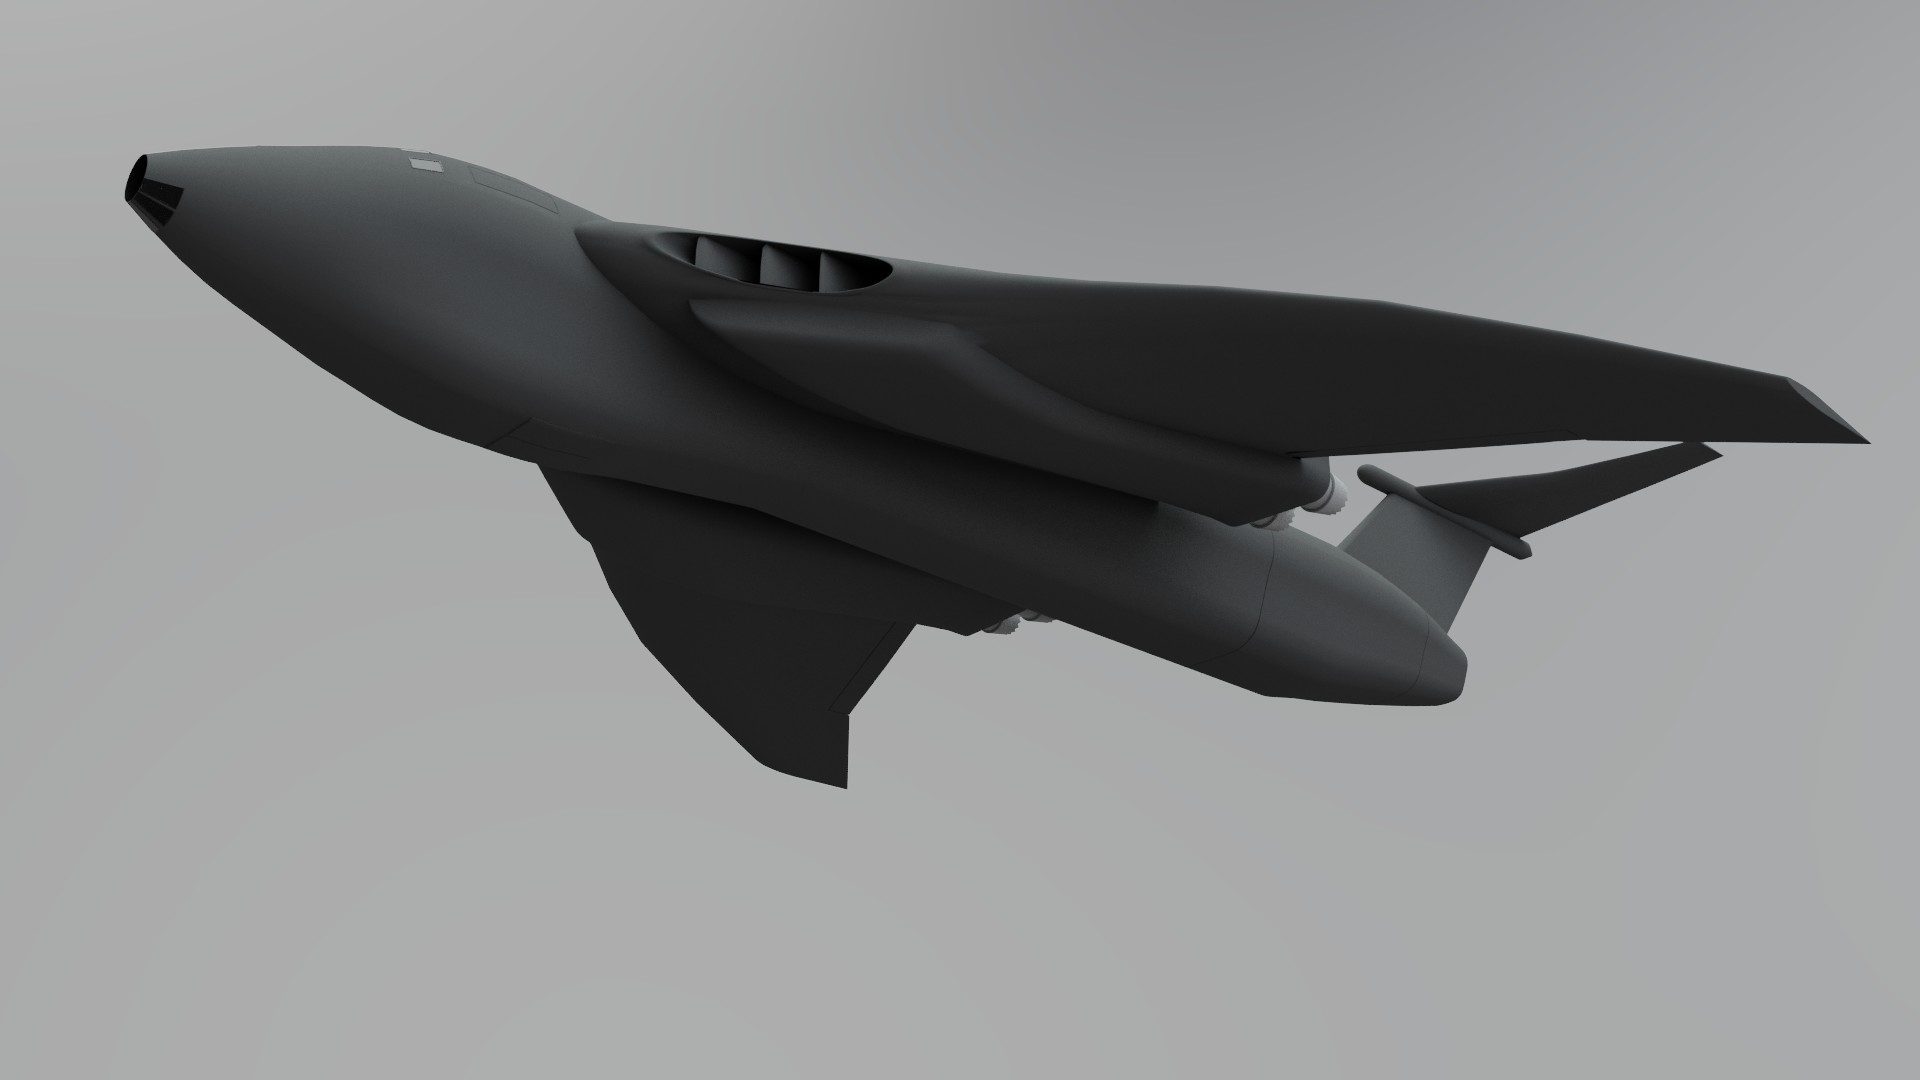
I am happy with the basic shape, it’s based on a cold war nuclear bomber, and I also plan to do it as low poly as is feasible.
I plan for it to have the VTOL ability. So i’m thinking along the lines of having three nozzles near to the back of the engine bays. These point straight down and the thrust from the rear engines is directed into them via some magic machine that’s hidden in the engine compartment. I really have no idea how any of this stuff works
There will also be a fan system just to the rear of the cockpit. Doors on the top and underside of the fuselage will open up as the plane comes into land. Something similar to the system used by the F-35.
Comments are always welcome. Thanks for dropping by.
Looks like a combination of the three British V-bombers.
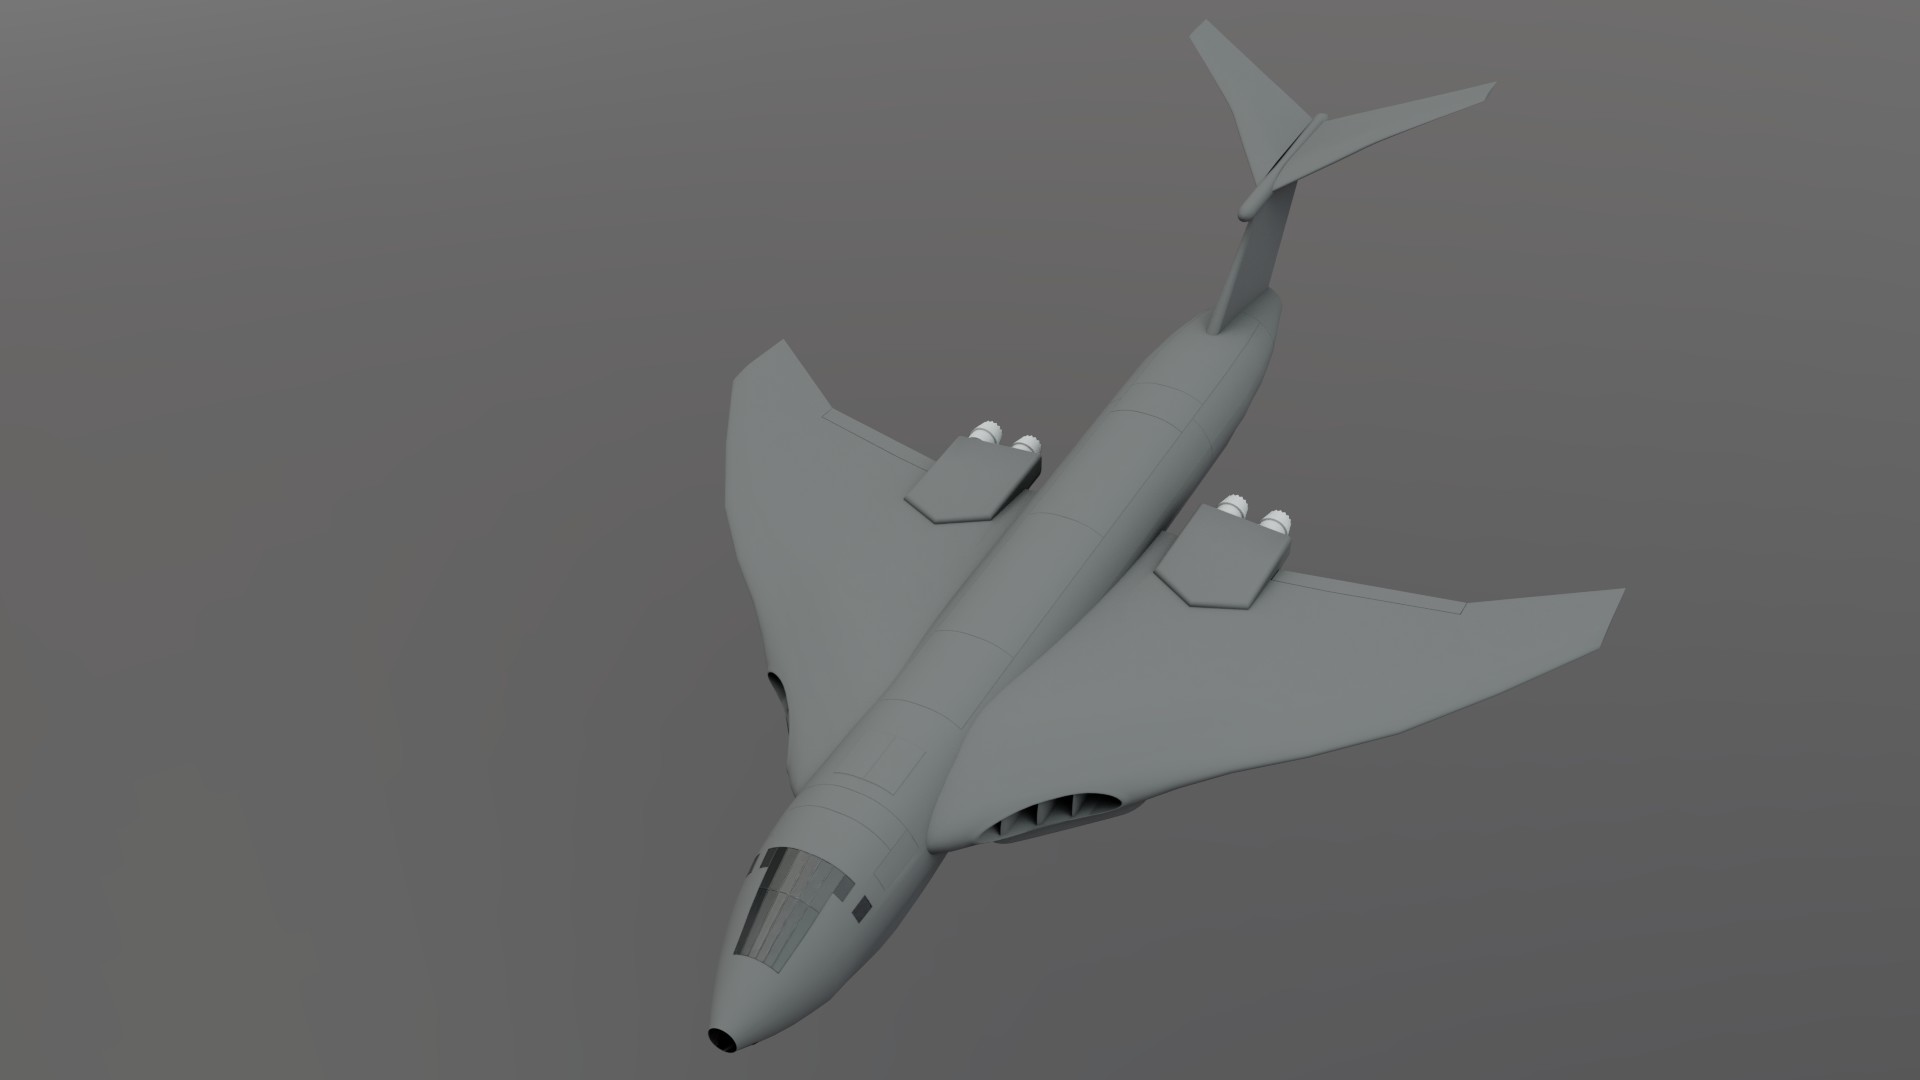
I’d suggest making the engine cowlings more aerodynamic, too blocky and produce much drag. If you don’t know, for this plane the underside extension from the wing area where the engines are mounted in the wing root, and extend to the thrust cones to the rear. This drag would hinder flight and cause big problems for re-entries. I’d make it blend a little more with the wing, a bit more rounded as well. Could sculpt it out easily.
EDIT: If it’s aircraft, I know them well. I can provide more clues to make this more realistic and appealing.
You are right, it is based on the V-Bombers. Mostly the Victor but I think the wing shape owes a lot to the Vulcan.
The Victor, when I saw it for the first time many years ago, looked to me like it belonged in space. It was so futuristic looking back in the sixties, and still is today.
I have been looking at some reference photos and see what you mean about the engine housing. It does need to blend into the wing more. So that’s tonight’s project sorted. And thanks for the offer on clues to make it look more realistic, it’s much appreciated.
Managed to get the engine housing to blend in with the wing better, but there does appear to be an issue with the mesh just below the air intake, bit of an uneven line there to my eye. There is a level 1 subsurf on the wing, any higher than that and things don’t look to good. I’m not that convinced it’s worth keeping on there.
The housing looks better on the top side, few lines visible at the front edge of the wing though.
I also added in the top fan and doors for the VTOL. Just wanted to see how it would look. Nothing is set in stone at the moment as far as the look and design goes.
How are you modeling the wing? It looks like you’re extruding, scaling, and moving. It’s easier (and smoother) to extrude along a curve and use a taper deform modifier. Then rotate the object as needed. You should only need smooth shading for the wing, no subsurf needed.
Yeah, I have been modelling the wing in the way you describe, extruding, scaling and moving… I think I understand about extruding along a curve, just watched a few short tutorials, but I have never tried it before. So I will go with the advice given about the curve and taper and see how things go.
Cheers for the tip.
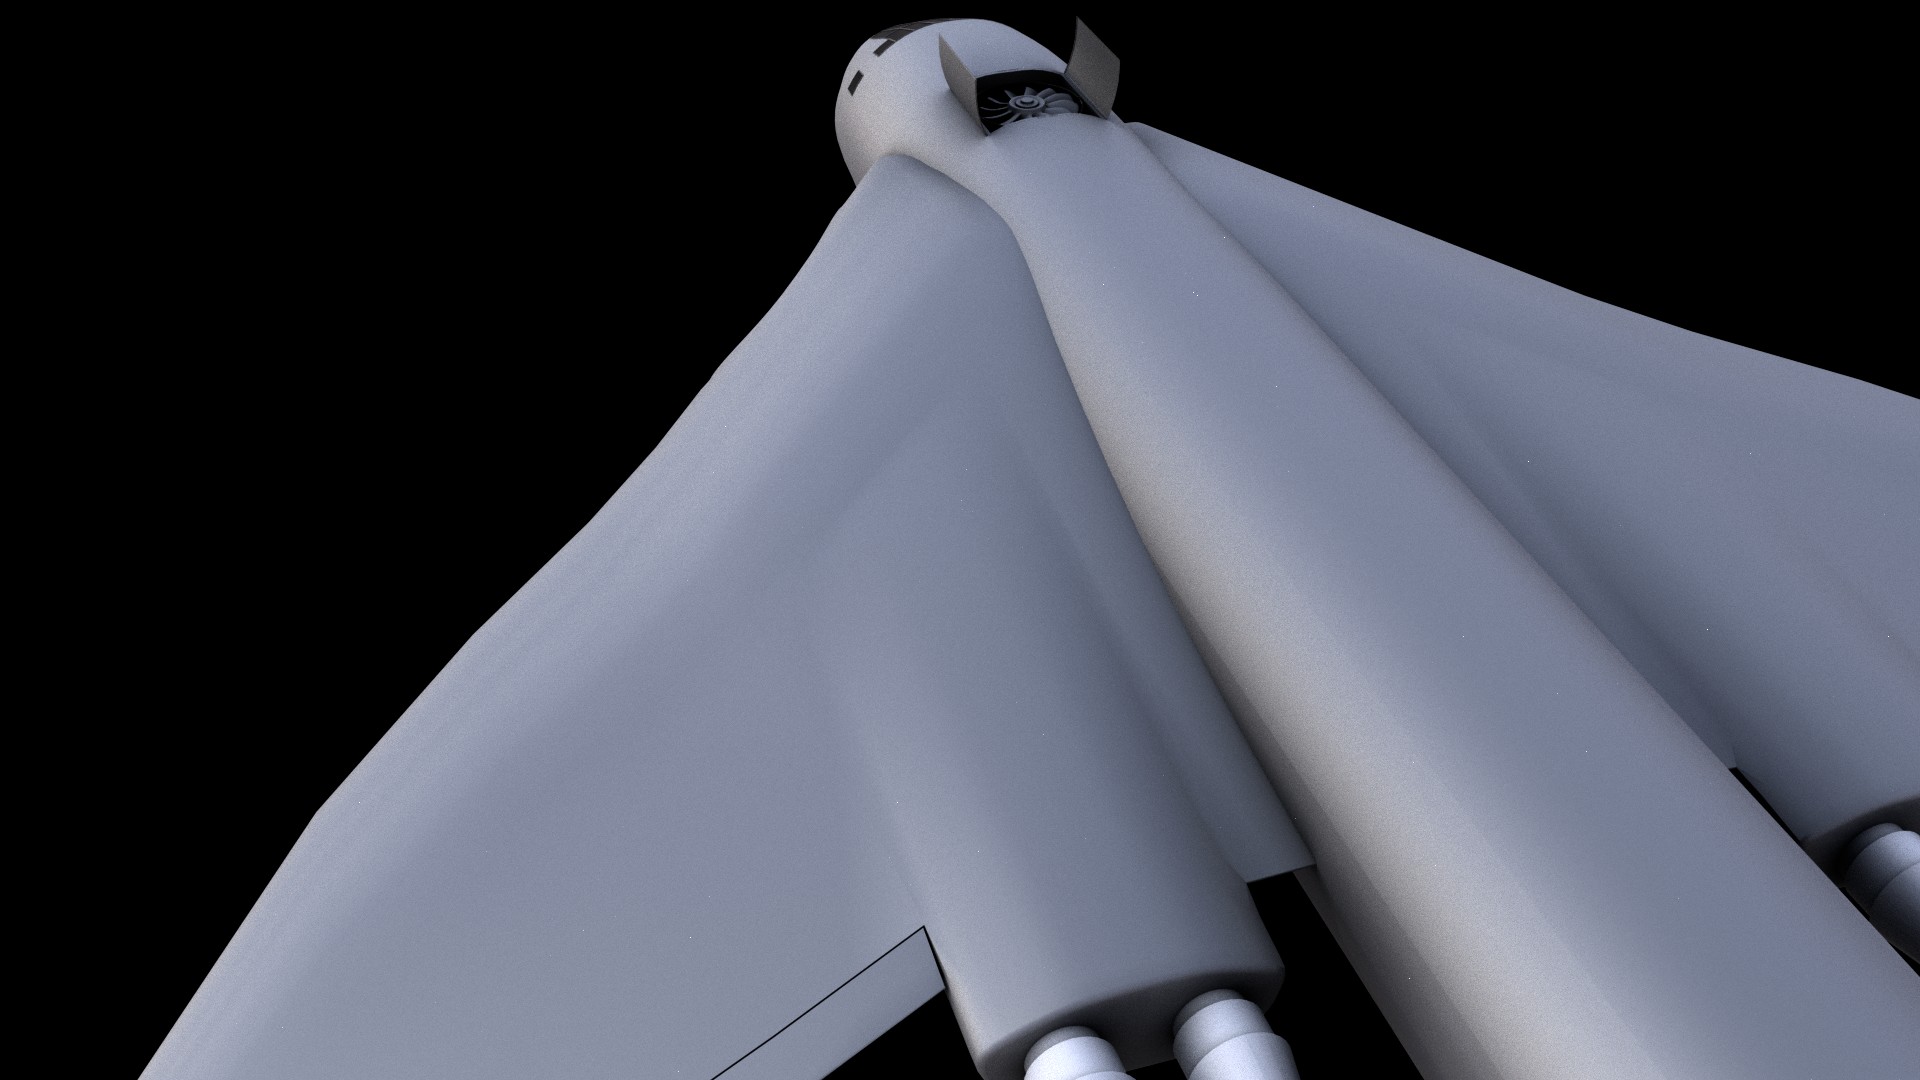
I spent quite some time playing around with paths, and although I wasn’t able to get the taper modifier to play nice, just kept getting some weird shapes, I think the wing now looks a lot better.
There is no subsurf on the wing and the only problem area on it is around the air intake. This was mostly due to the way I cut the hole in the mesh. Couldn’t find a way that left a real smooth edge to the cut, though the fast carve addon did a pretty good job. If I add a level 1 subsurf it makes the air intake a lot smoother.
So I learnt that the best way to make an aerofoil section is to use a path, it’s much neater than the clicking round a reference with a single vert method.
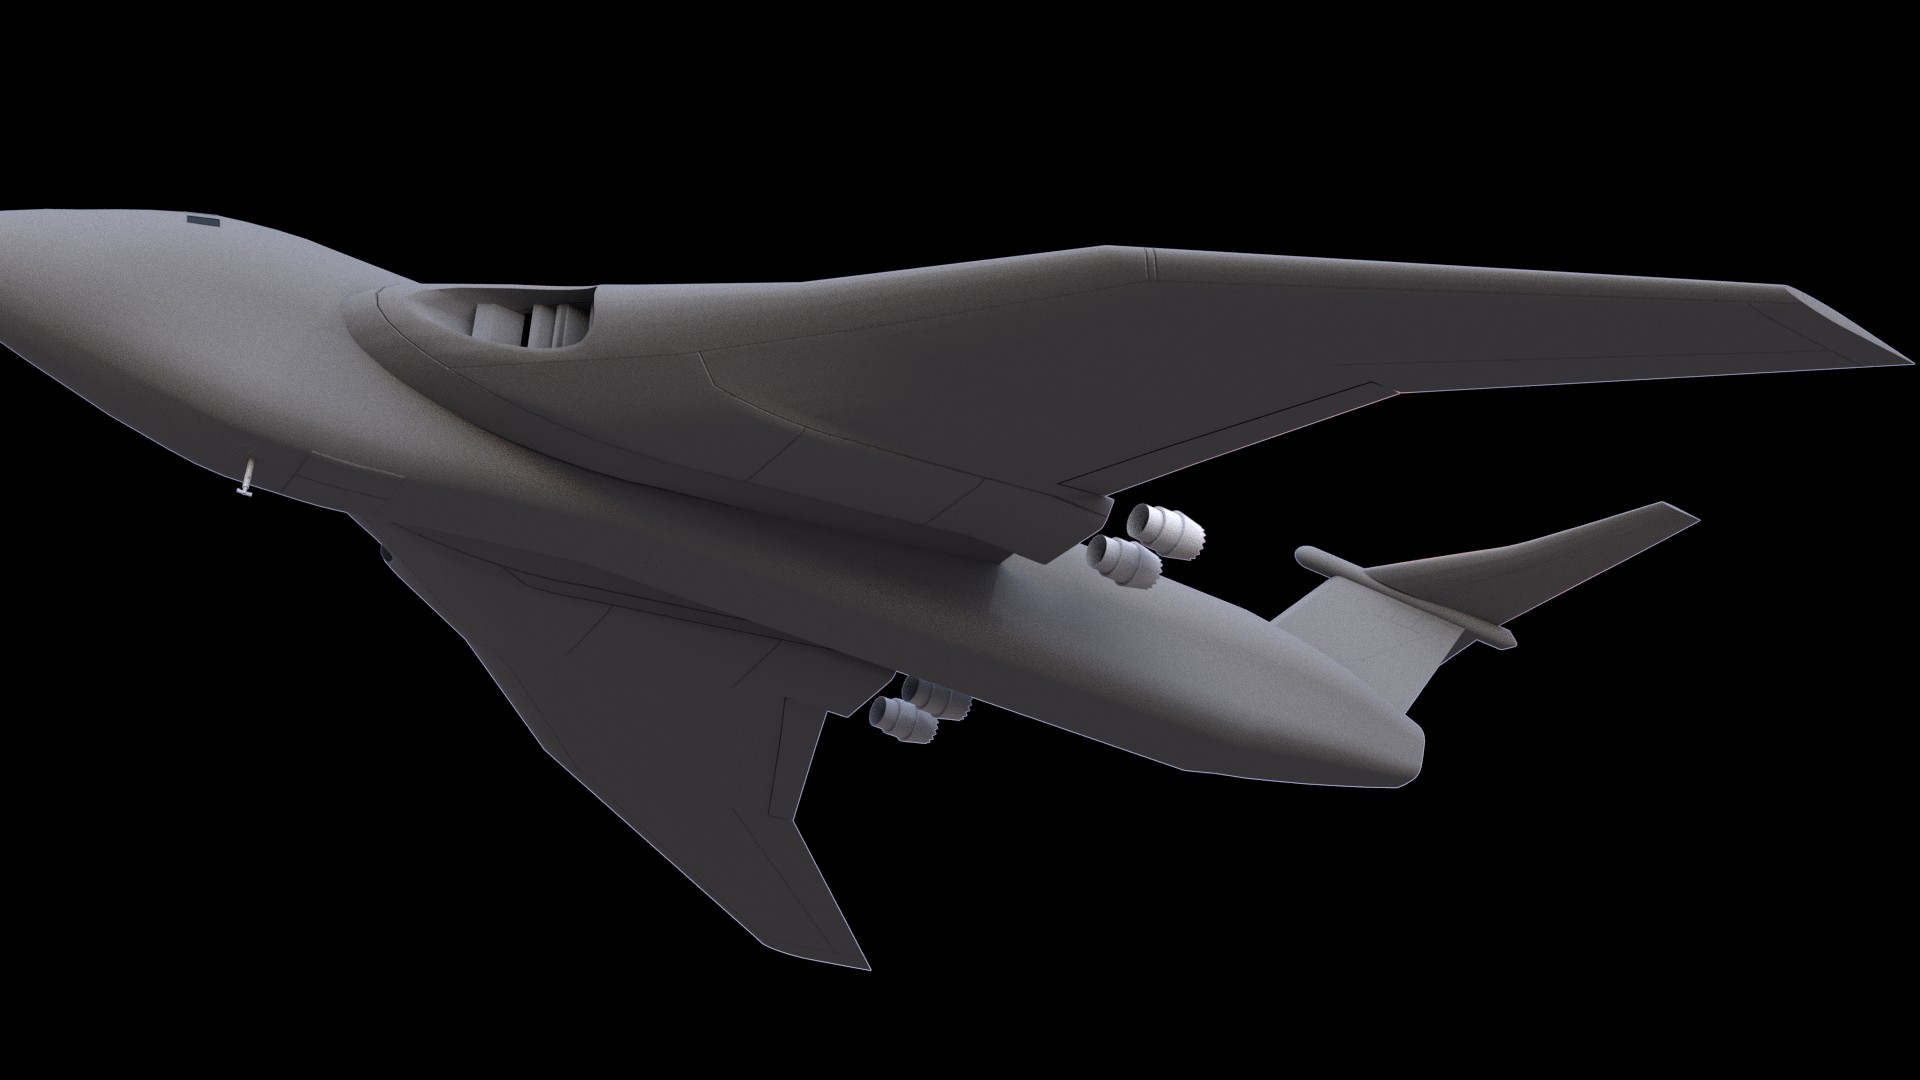
Started adding some panel lines by using a normal map I made in Gimp. Not sure if this is the best method or if it’s better to cut the lines into the mesh. At least with the normal map it can be changed endlessly, the other way is less forgiving.
The landing gear is not finished yet. I want to rig it and it appears the only way for it to fit into the wing is if it retracts toward the front of the plane. It’s going to be something of a challenge I think.
The turret gun rotates the way I want it to so at least that is sorted.
The pods on the rear section of the fuselage are for plasma engines. These are designed to take over from the turbine engines when the air is too thin for them to work, or there isn’t any air at all. No idea if that’s likely to work but it does sound convincing to me at least.
Things still to do would be some forward facing armaments, panel lines, maybe some more control surfaces, don’t want the plane to crash to earth in a fire ball after all and whatever it takes for a realistic looking plane.
Normally undercarriage like this would rotate into the wing root/fuselage, see most airliners for details, this stops you having to rotate the wheel bogies. Without seeing your model I could not really comment further, but if you can get it to me, I will certainly look at it and advise on rigging.
There are some examples in early posts here of rigged undercarriages, and also here, if these will help you.
At first I did plan to have the undercarriage rotate into the wing but found out pretty quickly that it wouldn’t fit, the wheels were sticking through the top of the wing. Then i happened upon this video https://www.youtube.com/watch?v=31ypGN0iREE
It’s for the Vulcan Bomber and even though I had based my plane more on the Victor I thought what the hell, if it works that’s fine by me. You can see the wheels retracting at about the 56 second mark.
Thanks for the links, there’s a lot of good info and tips there. Looks like there’s a long way to go to get my plane to that standard. It’s fun to learn though
At the moment only the undercarriage doors are rigged and there’s no control bone for them as I have yet to work out how to do that. The rest of the hatches and wheels are moved by rotating on the pivot points.
It would be cool if you could take a look at the model and offer some advice. Would it be an idea to email it? The blend file is 5.3 mb so might be on the large side.
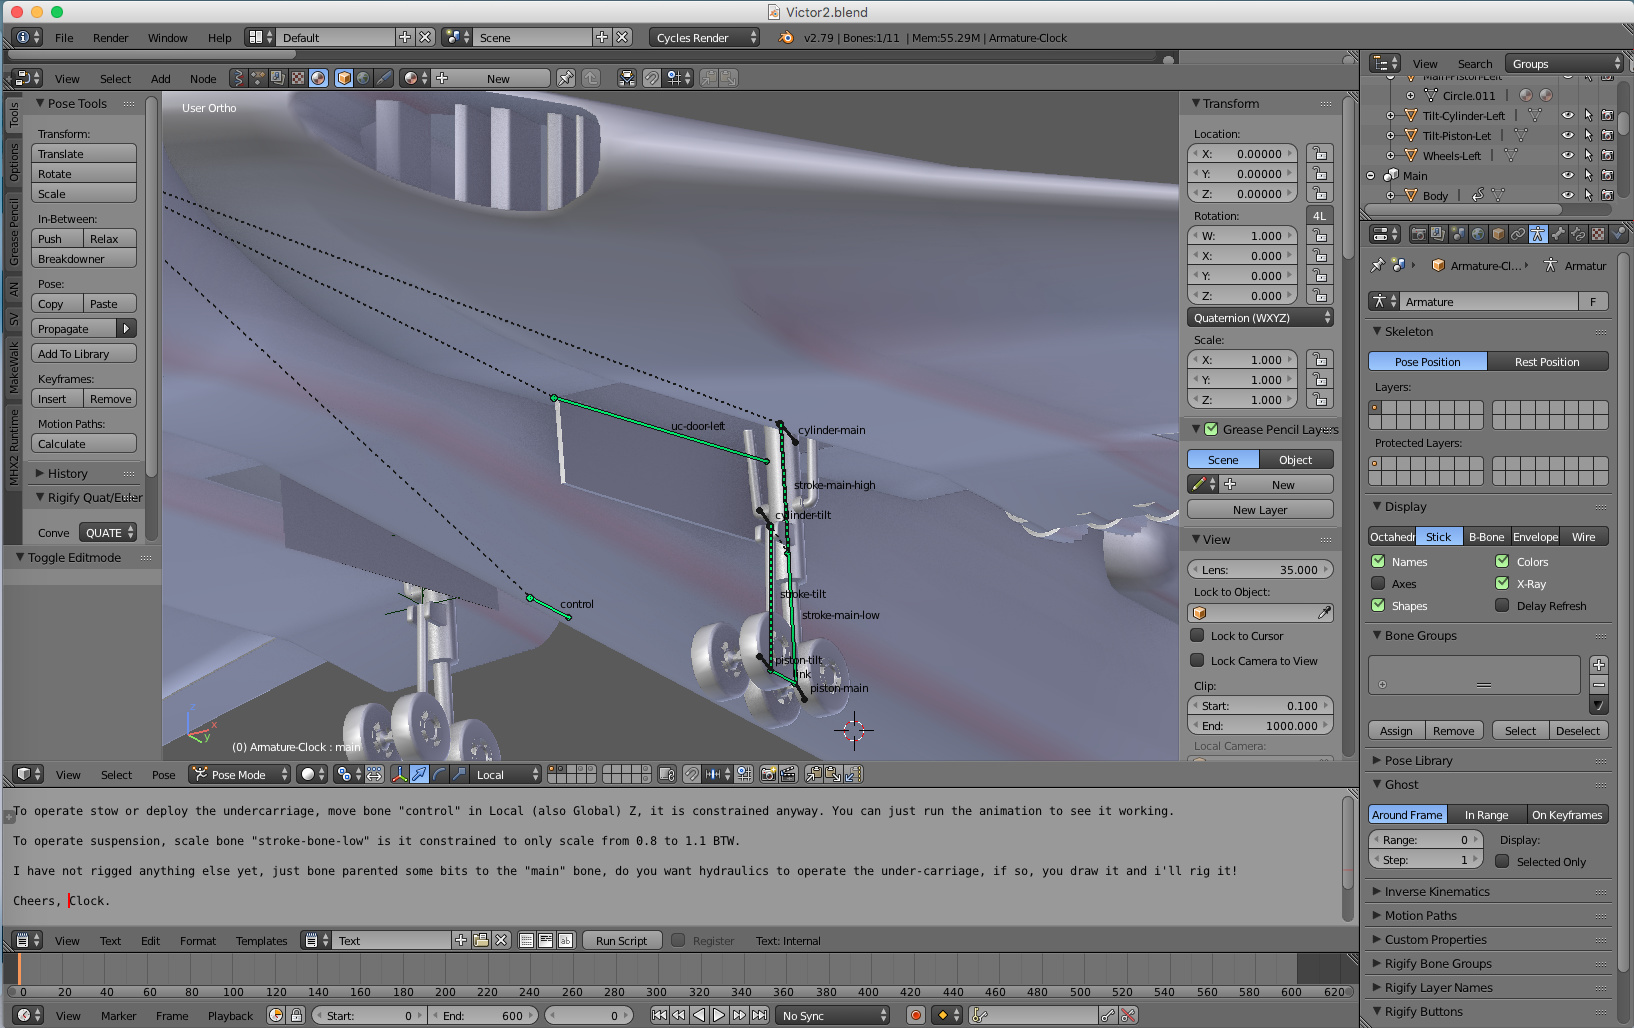
This is the starter for how I would do it, I have only rigged one side so you can play with the other side… Just run the animation, or move the control bone.
I think you might need some hydraulics to operate the main leg, you draw it and I’ll rig it if you like, or I can add some thoughts to the file.