I have watched the tutorial on how to use spline ik for a tail. I have been through step by step for hours now. Every time I go to add the spline ik to the armature it flips the armature the wrong way. I have tried to figure this out for quite a while now and I need help. Can anyone explain this to me? I hope it is a simple fix. Thanks!!
Upload a file would be the best bet to get help…
Randy
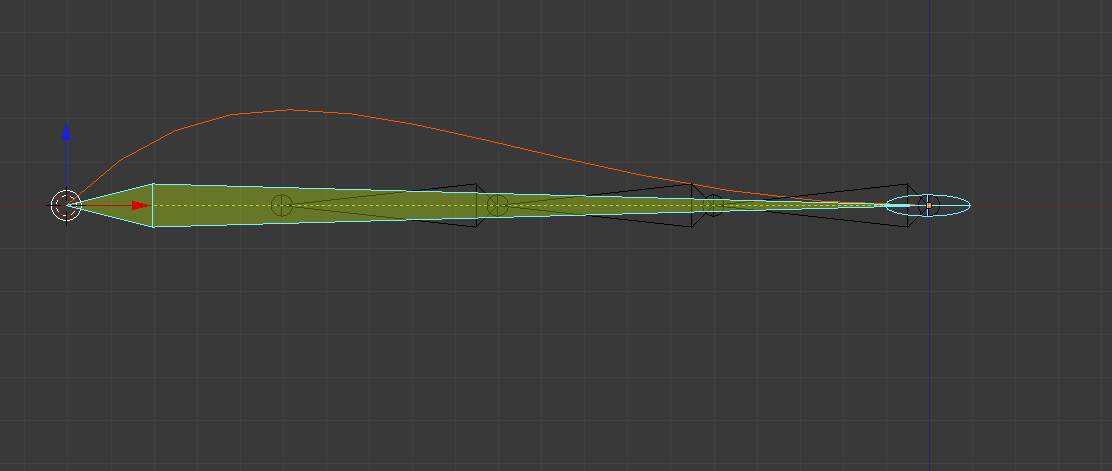
Here’s before I add the spline ik:

Here’s after I add it:
You can see the armature got flipped. The long point of the triangle should be at the other end. Don’t know why, and I can’t find the setting to change it.
I’m going to second the request for a .blend file. This kind of setup in Blender relies on connecting several different complex components together in a complex way. Unfortunately, there are more ways to have it work wrong than there are ways to have it work right. You should also probably post a link to the tutorial that you are trying to follow. Know the steps that you are trying to follow will help see where you might be going wrong.
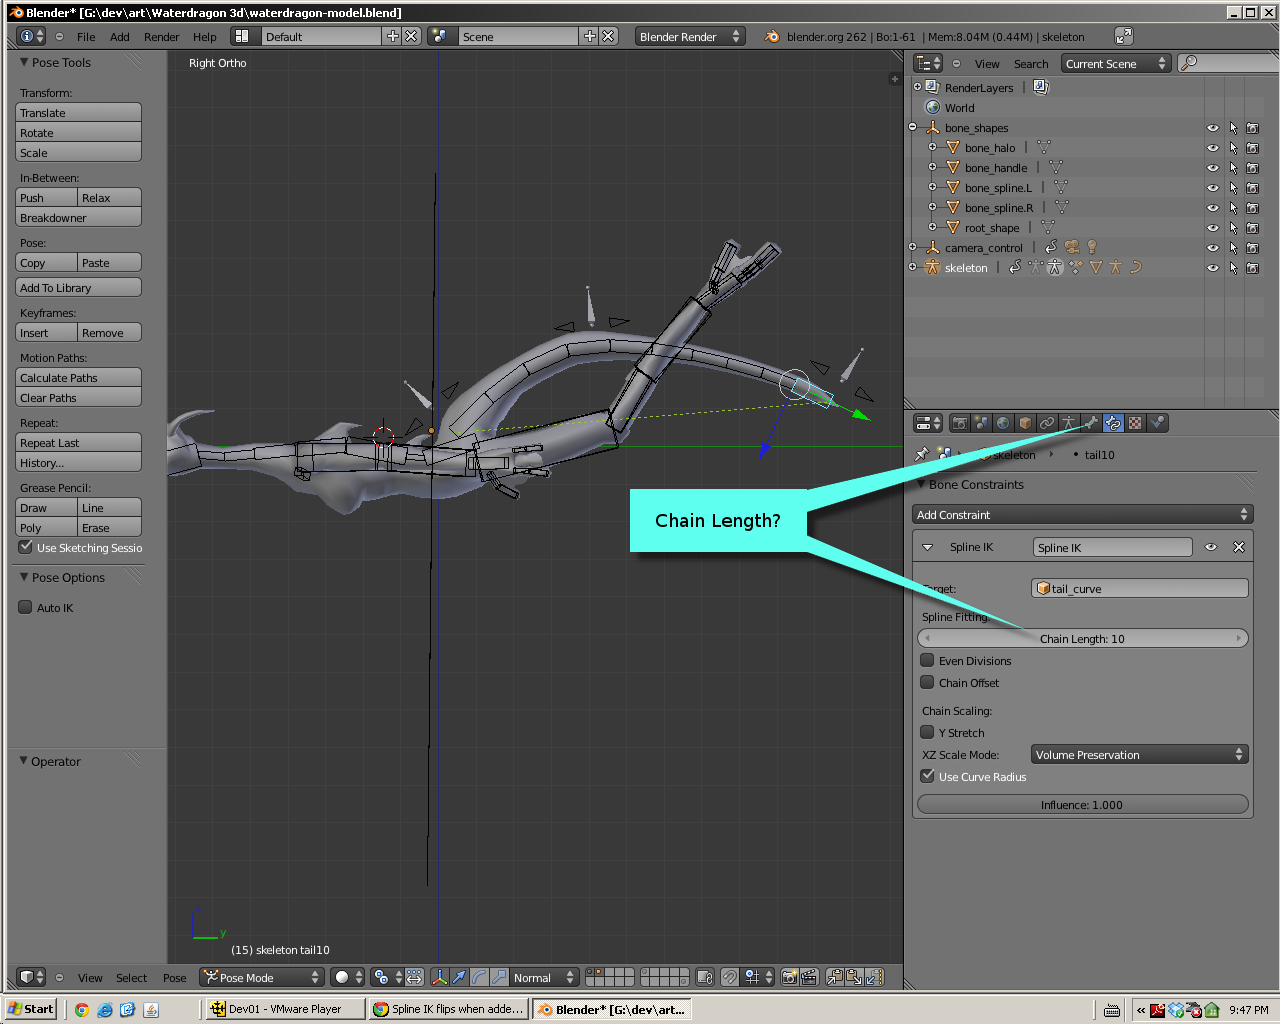
It looks like you did not set the “chain length” for your “Spline IK” modifier. I don’t think your tail is being inverted, I think a single bone is being stretched over the entire spline.
Or maybe you put the IK constrain on the base of the tail when it should have been on the tip.
Attachments
Here is the link to the tutorial I have been using:
It is the “chain length” on your “Spline IK” modifier. You need to change it to “4” instead of “1”. This setting tells how many bones from the “tip” of the tail that the modifier will try to fit onto the curve. When this setting is 1, then the modifier tries to fit just the last bone onto the curve resulting in the effect that you are seeing. Turning this up to “4” will cause Blender to fit all 4 bones onto the curve and make it work the way you want it to.
At 5 minutes even he adds the spline IK and changes the ‘chain length’ to 4.
I actually posted the wrong tutorial, and it didn’t matter. His does what this guys does.
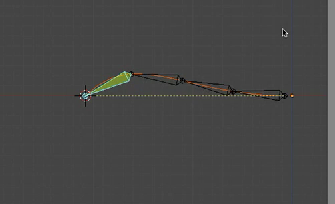
Here is my 4 chain lengths. Notice though that the object has been flipped.

Your bones are reversing direction like that because that is the direction your curve is going in. To see this, select the curve in object mode and enter edit mode. Your curve will now display a series of arrows showing it’s direction and it’s going in the direction as the bones shown in the 2nd pic you posted. With the curve in edit mode, there should be a menu option in the 3d view to switch the direction of the curve, or the w-key menu might give you that option.
Randy
THAT WAS IT!!! Thank you so much! I had scene that in a tutorial once and completely forgot about it. In his tutorial it must have just flipped automatically because he never said anything about it. What a huge difference this will make. Hopefully I will be able to do the next steps. If not, I will be on here with the next question. Thanks again!!!