I modeled a car in blender and created the whole main volume in one mesh. Now, if I want to split the mesh up it always changes the shape of the mesh as well (probably because of the subdivision modifier). Is there a way to split the mesh (seperate for example the windshield from the body to use different materials in rendering) without changing the shape of the mesh? Thank you!
If you want edges to stay sharp with subdivision, you can use edge creases. Separate the windshield, for example, and grab the edges around it. Press W and choose Edge Crease, type 1, and press Enter. Do the same thing on the car model, on the edges where the windshield was.
If I may ask, why are you breaking up your model into individual parts?
if you just want to apply different material to your mesh, you don’t have to separate your mesh. You can simply select your faces in edit mode which you want to give another material, select that material and hit “assign”, like so:
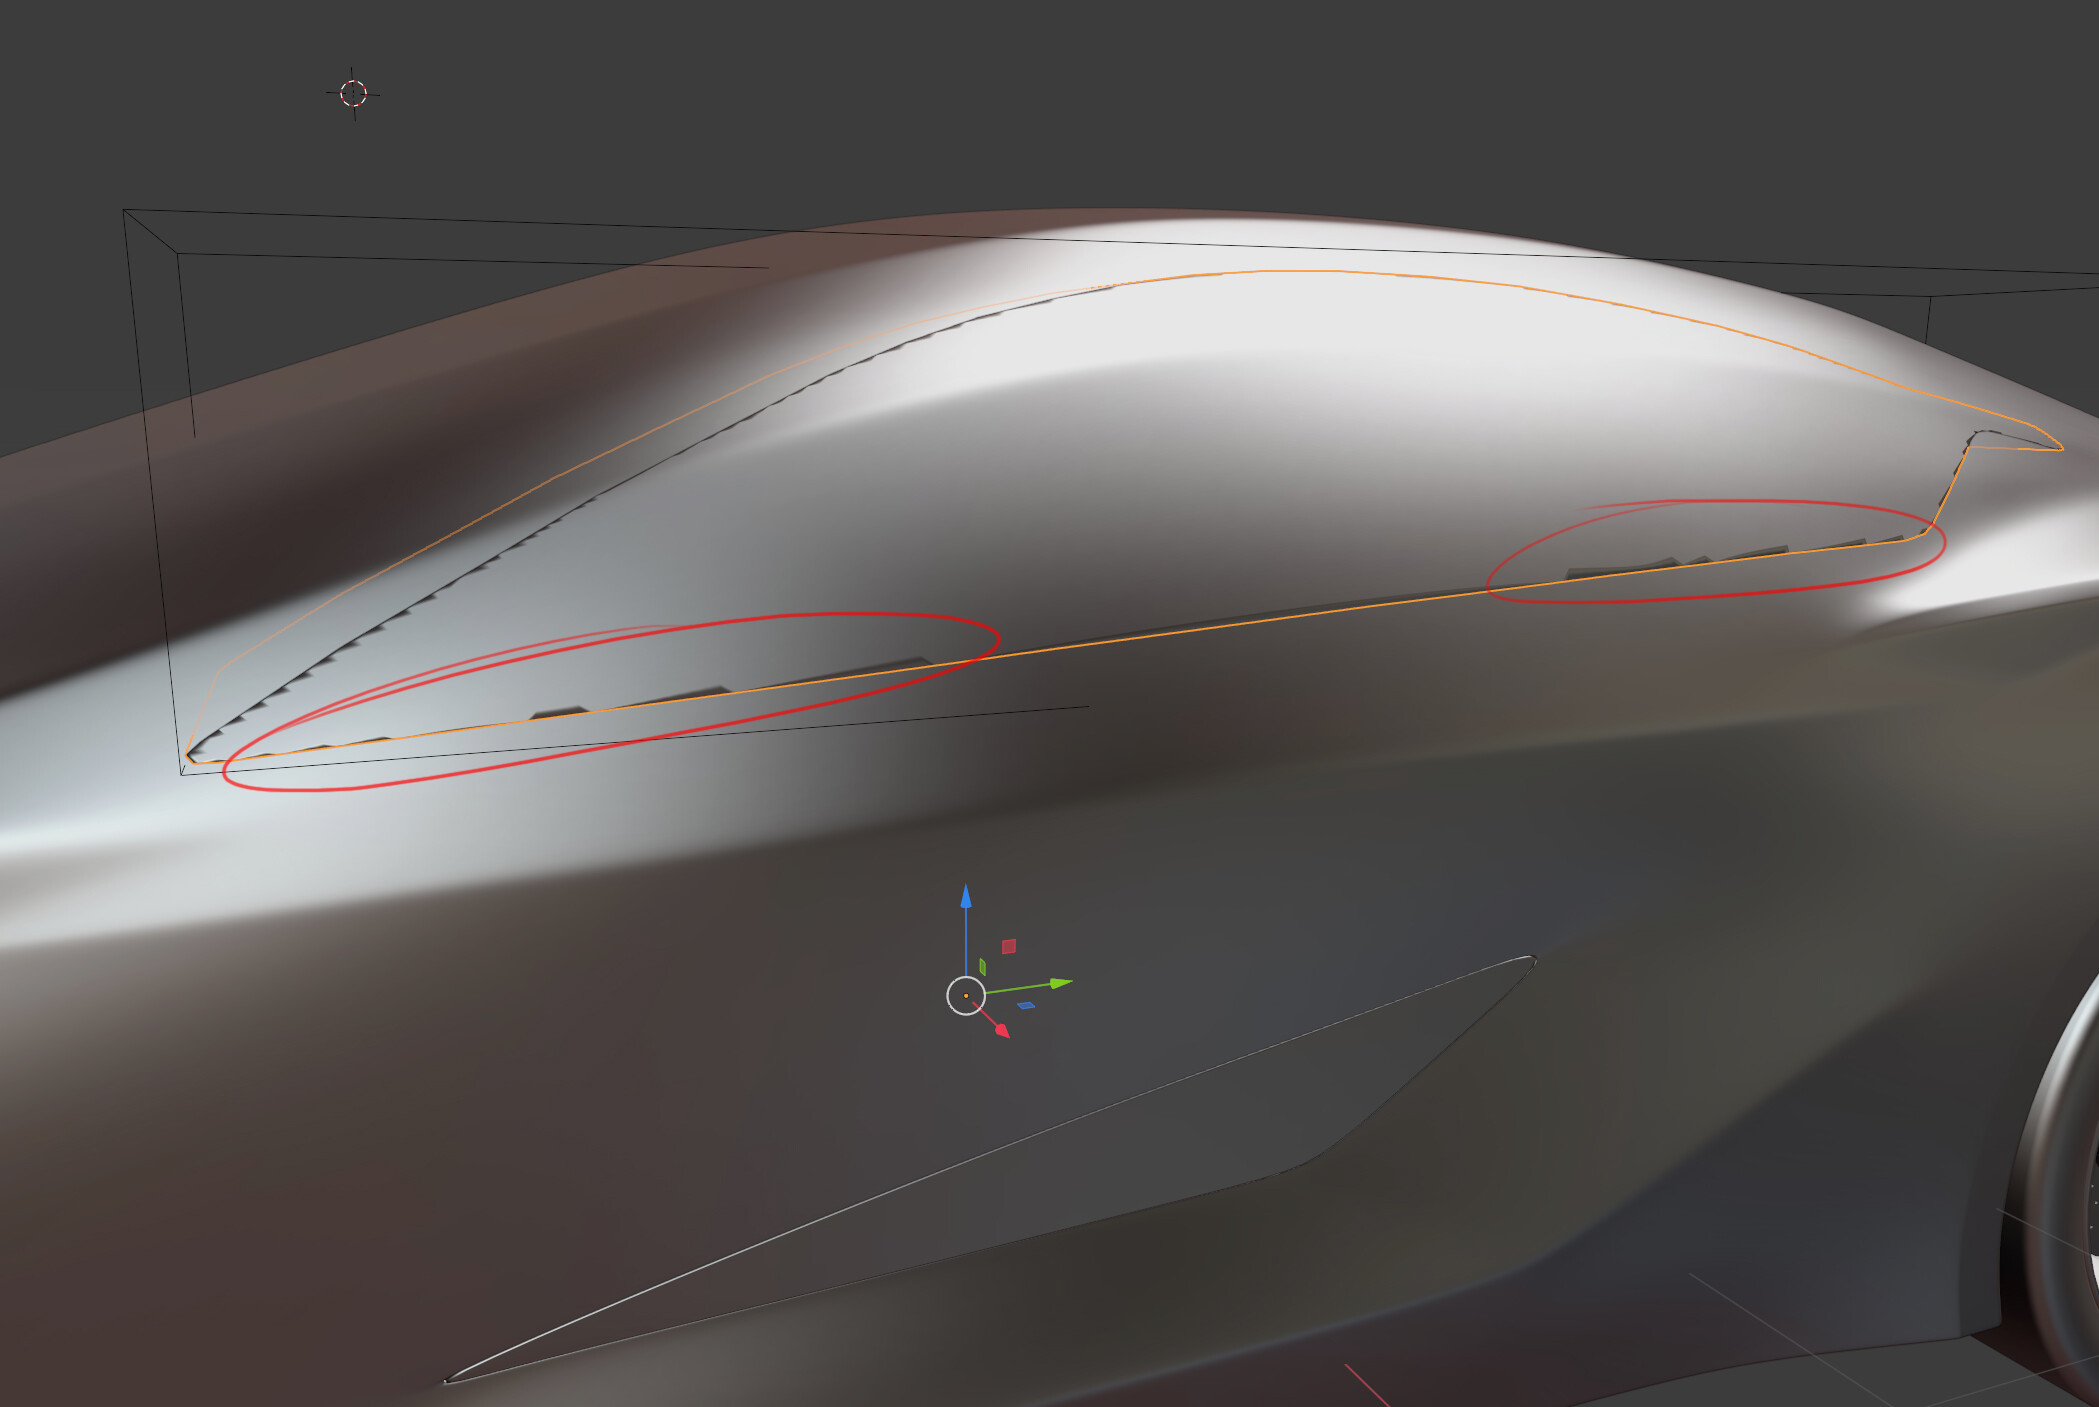
Thank you for your replies so far! The problem is that the shape of the car is quite advanced and the window split is inbetween faces. So even if I can assign different materials to different faces I have to seperate them first. I attached an Image where I painted where the seperation has to be. Unfortunately, If I knife the shape into the mesh, the mesh shape changes…
Though @Blender_Fun1’s method may work in some cases, it’s rather improper, and can lead to some messy results, especially if the topology doesn’t match the flow of materials. In a finished asset, each island should be assigned materials, not each face.
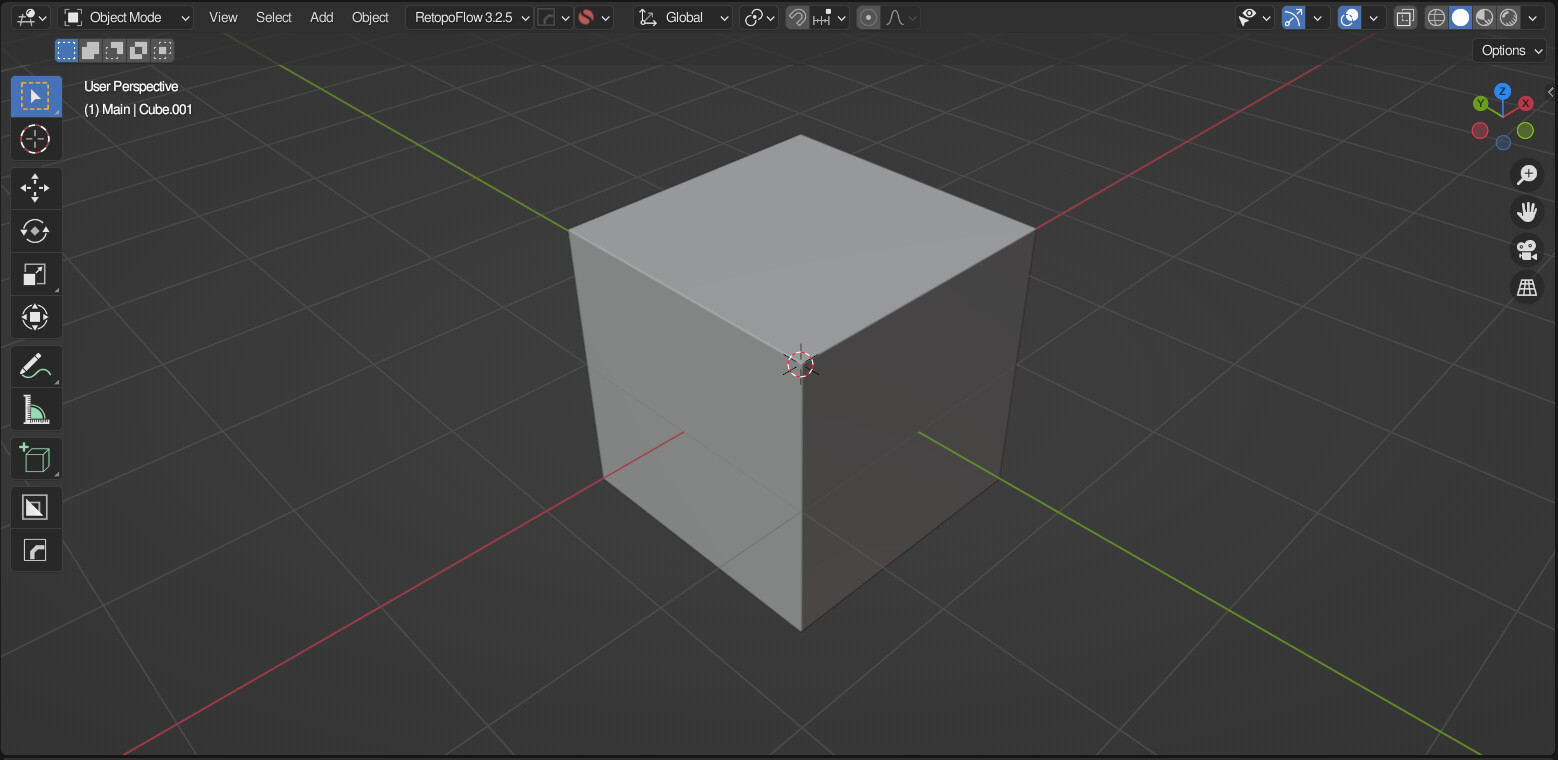
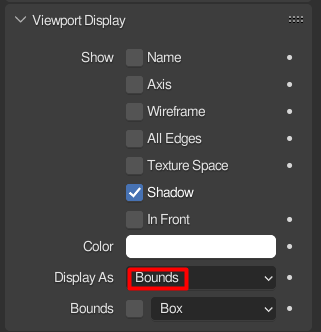
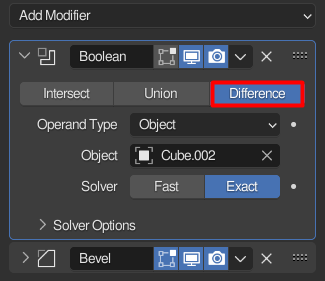
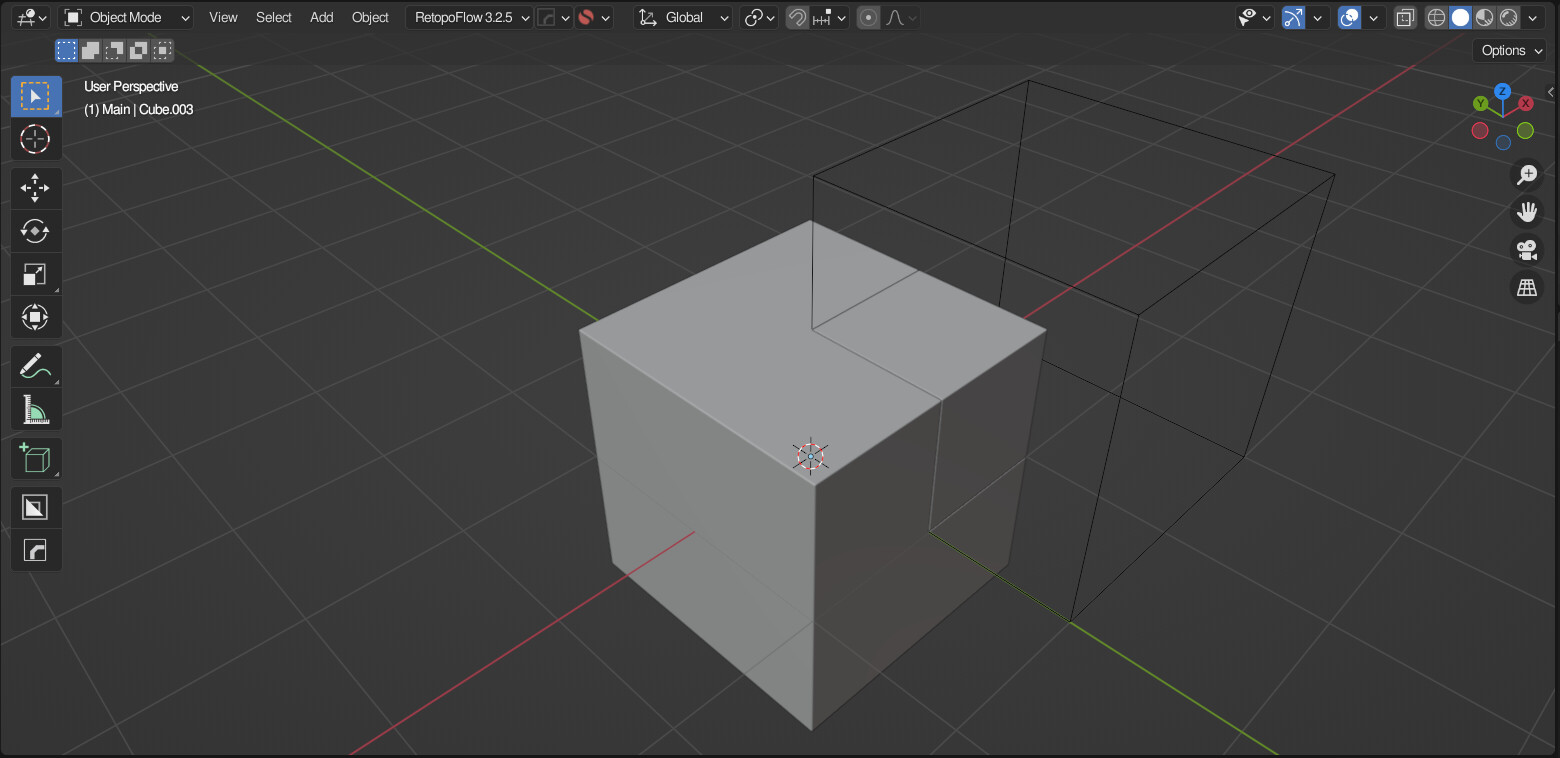
You can use a “split boolean” to achieve this effect procedurally. Here is an example of how it works:
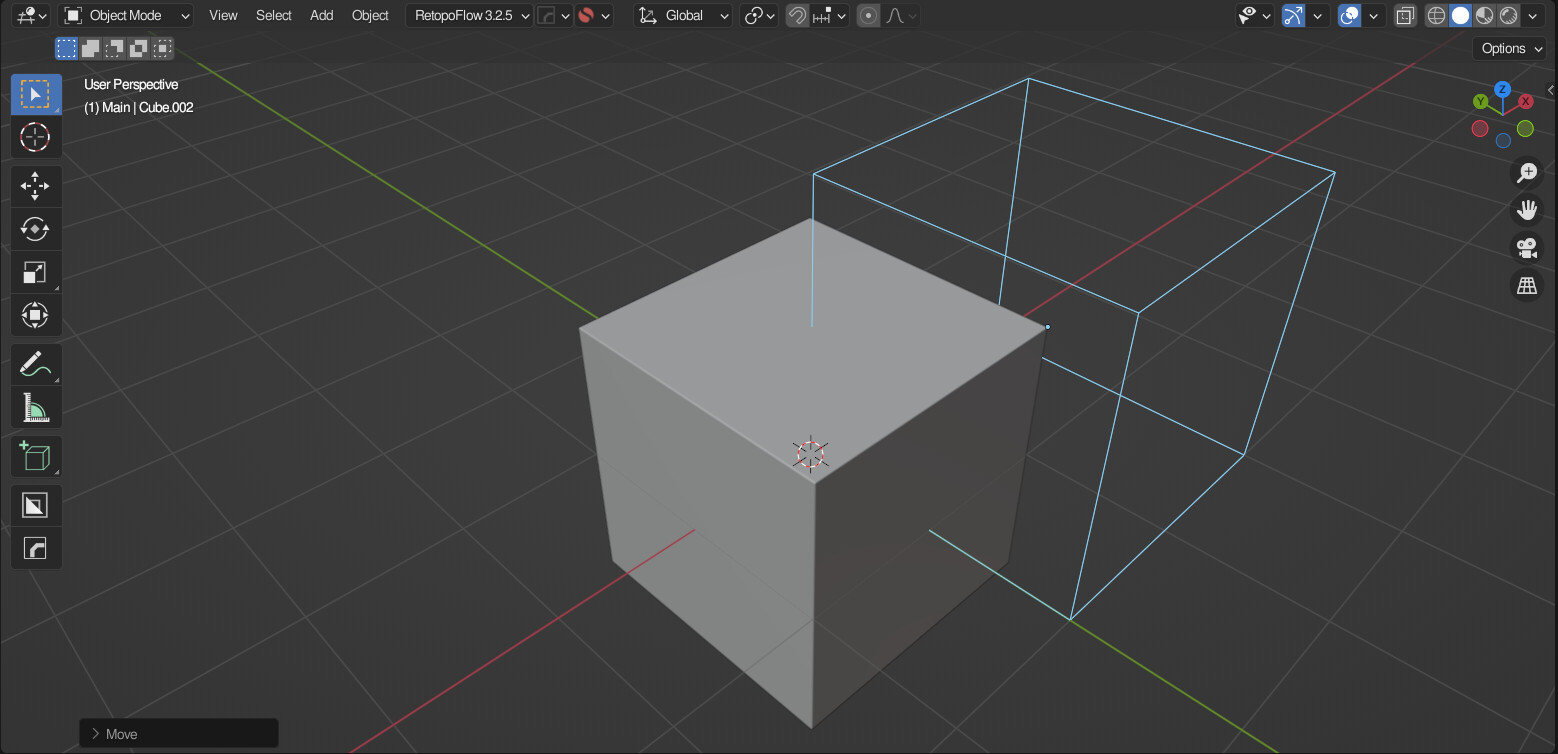
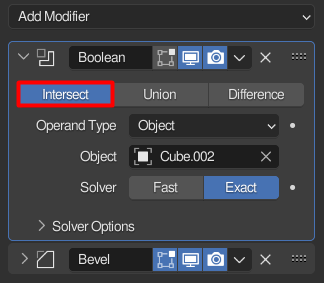
Duplicate the object, but change the boolean to intersect.
The built in bool tool addon can do this process in one click.
Keep in mind that while booleans will work most of the time, sometimes the topology just says no. In this case, either change your topology by moving some verts around, or use a different method, such as @joseph’s creases. Good luck.
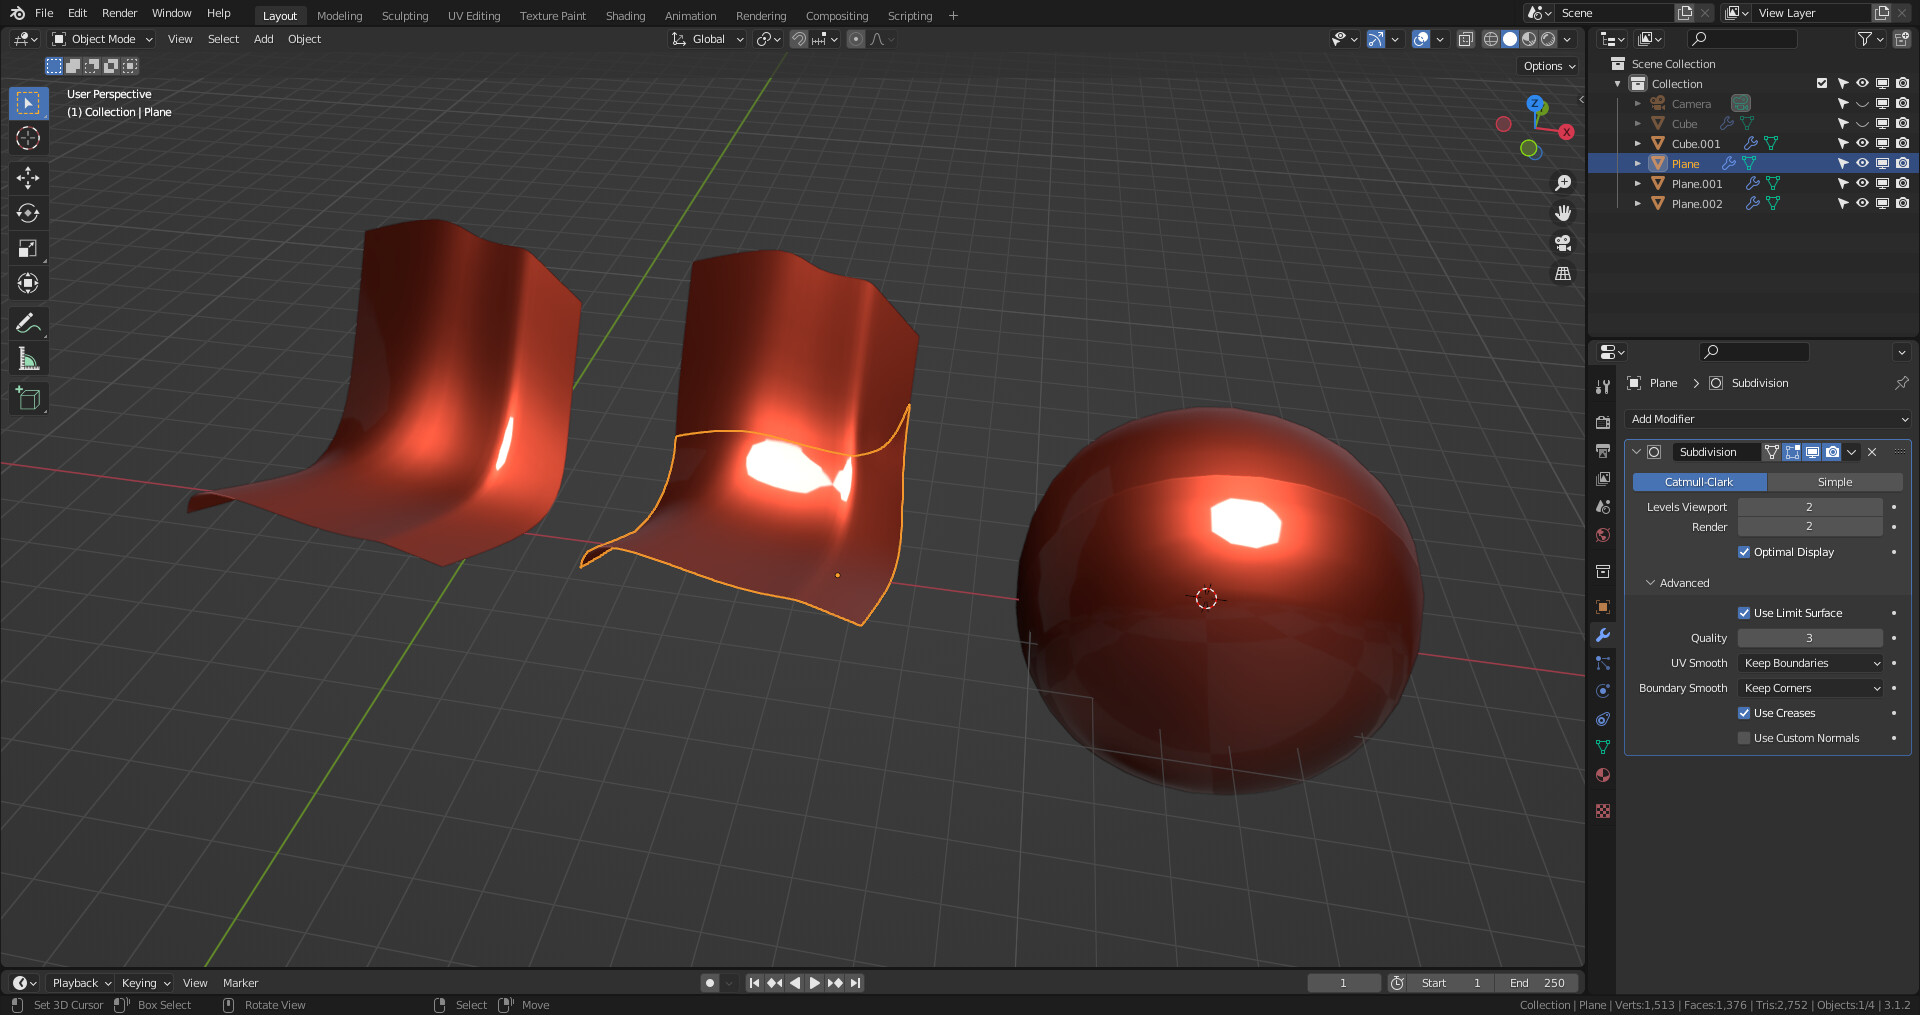
I doubt this will work and guess you have to apply subdiv as mentioned,
but you can try subdiv with “keep corners”. It works best on open surfaces, for closed maybe use shrinkwrap too.
An ‘old school’ technique been around since (2.7x legacy) if I recall correctly via implementing the shrinkwrap modifier and also guys like Chris Plush have continued improving it’s overall workflow.
Thanks so much guys for your input, great community first of all! I tried all your methods @Charles_Weaver@rigoletto @ sacboi (cant mention more than two people apparently).
Applying the subdiv modifier gave the most “correct” result but for my usecase its not useful because I cant try and correct the outlines of the windows afterwards and also am limited changing the shape of the other parts of the vehicle afterwards.
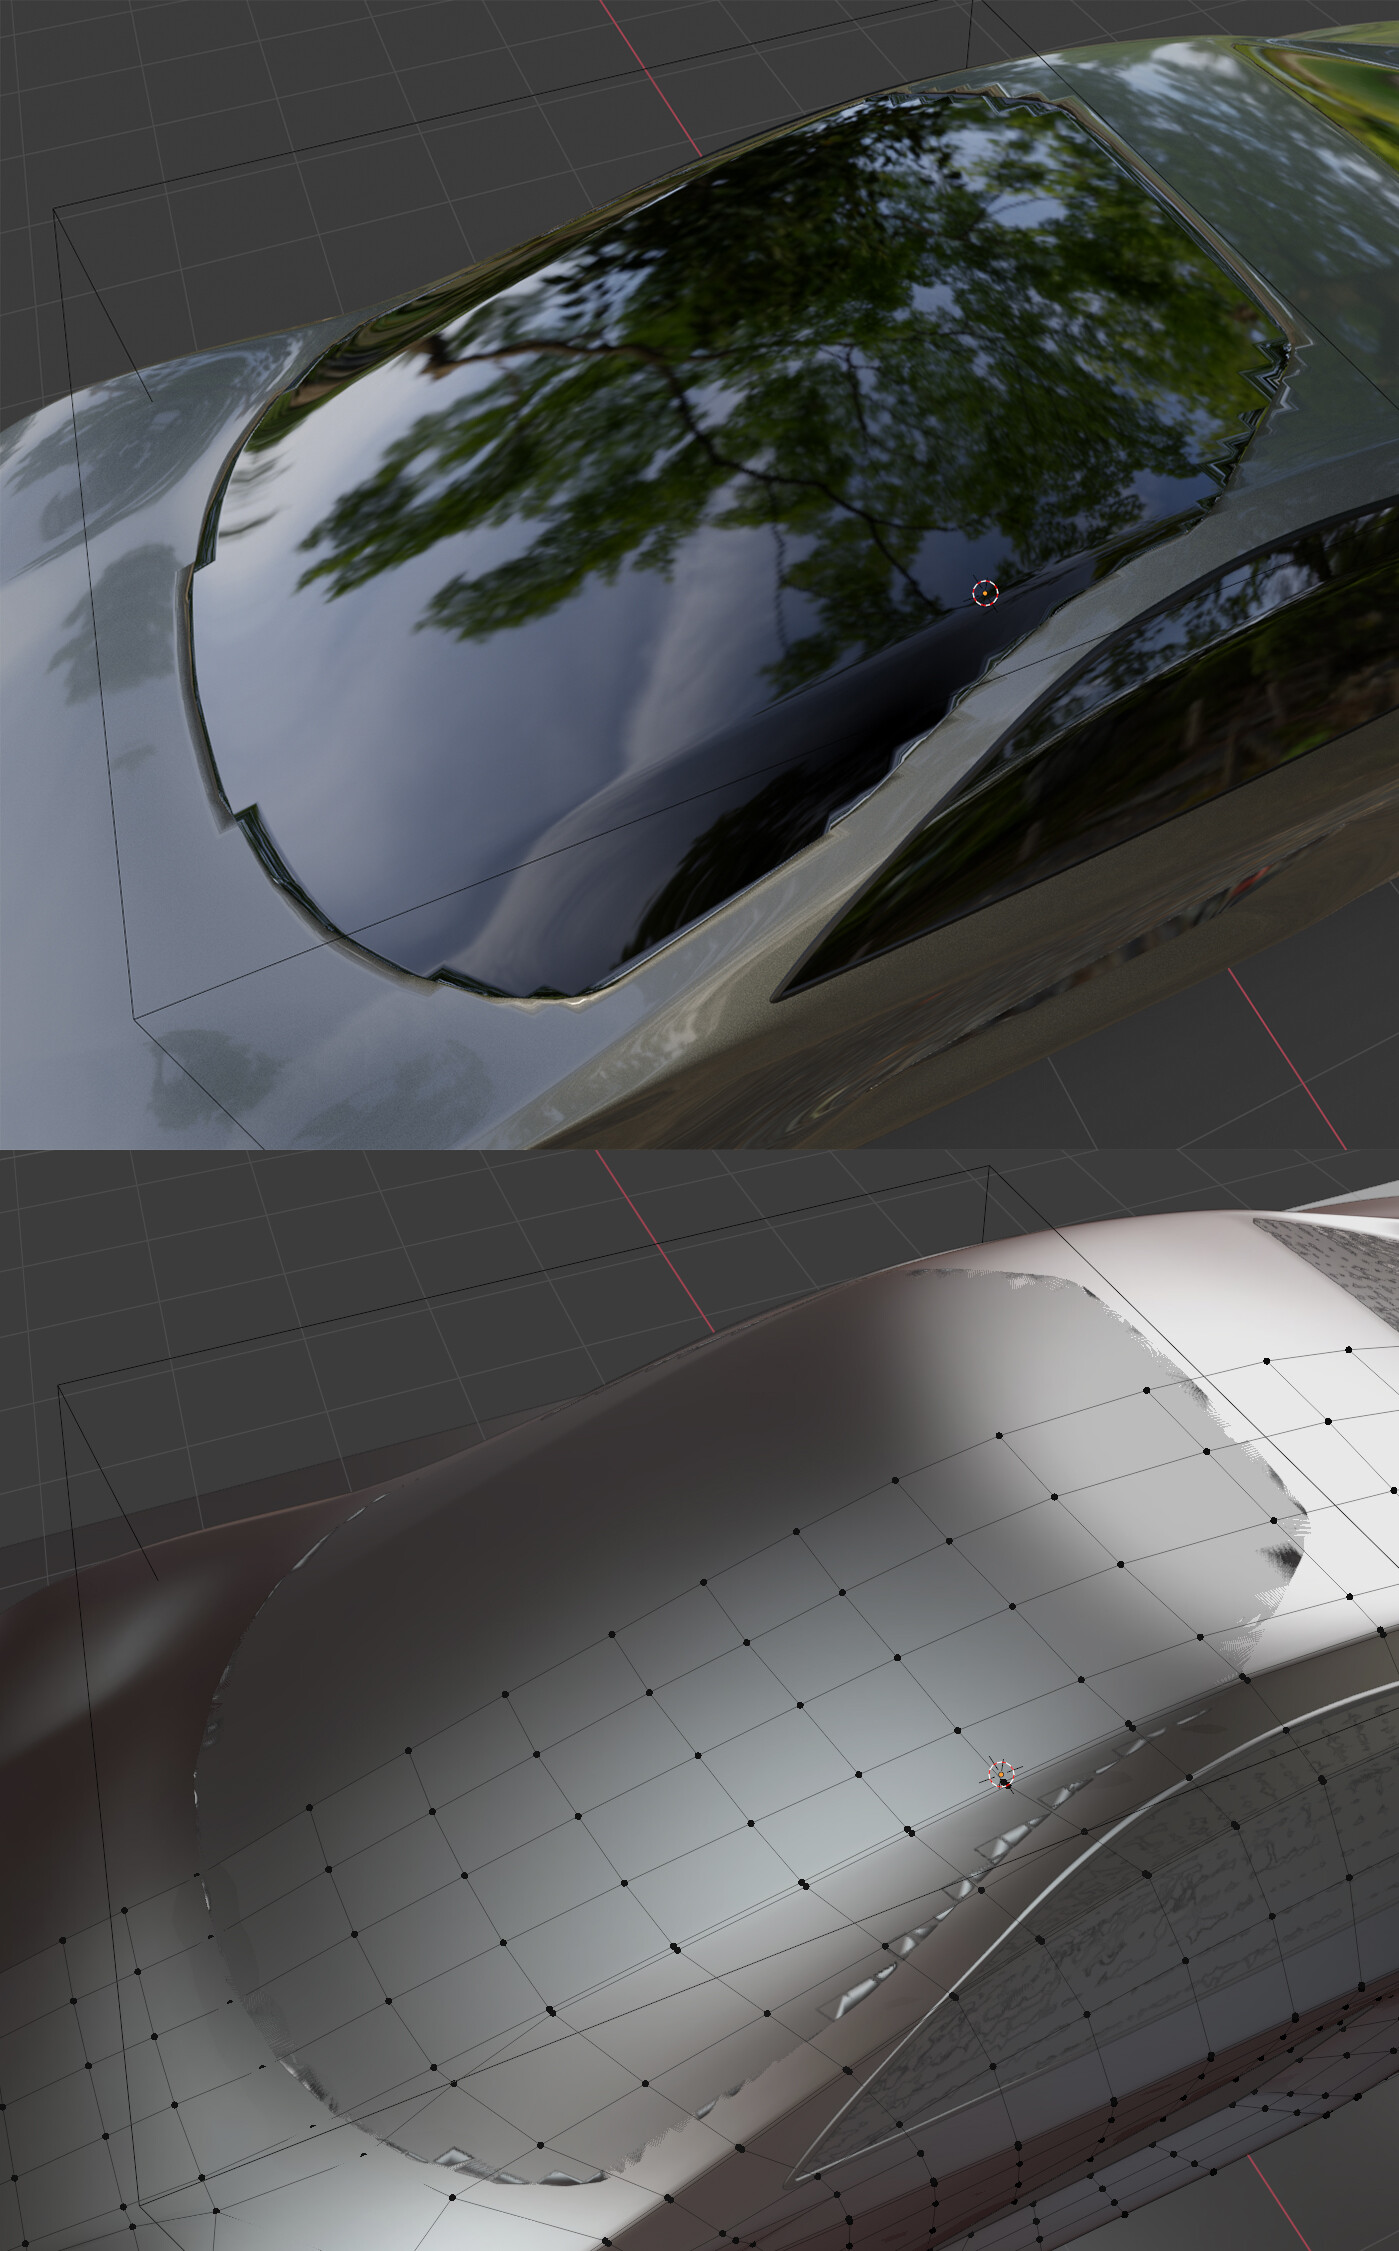
Actually the boolean modifier makes the most sense to me from a design perspective because I can always change the shape and outlines of the cutout later. The downside is that apparently its very hard on the computer and seems to slow down the workflow but I can live with that. Also I’m getting artifacts on the boolean cutlines (as shown in the screenshot). Do you have an idea how to smoothen this?
Yes and no - I increased the levels of the subdivision modifier to about 5 before applying it and using the shrinkwrap to cut. It decreased the problem but it isnt perfect - I solved the rest with photoshop because I only need stills for now. But I still would be very interested in a proper solution!