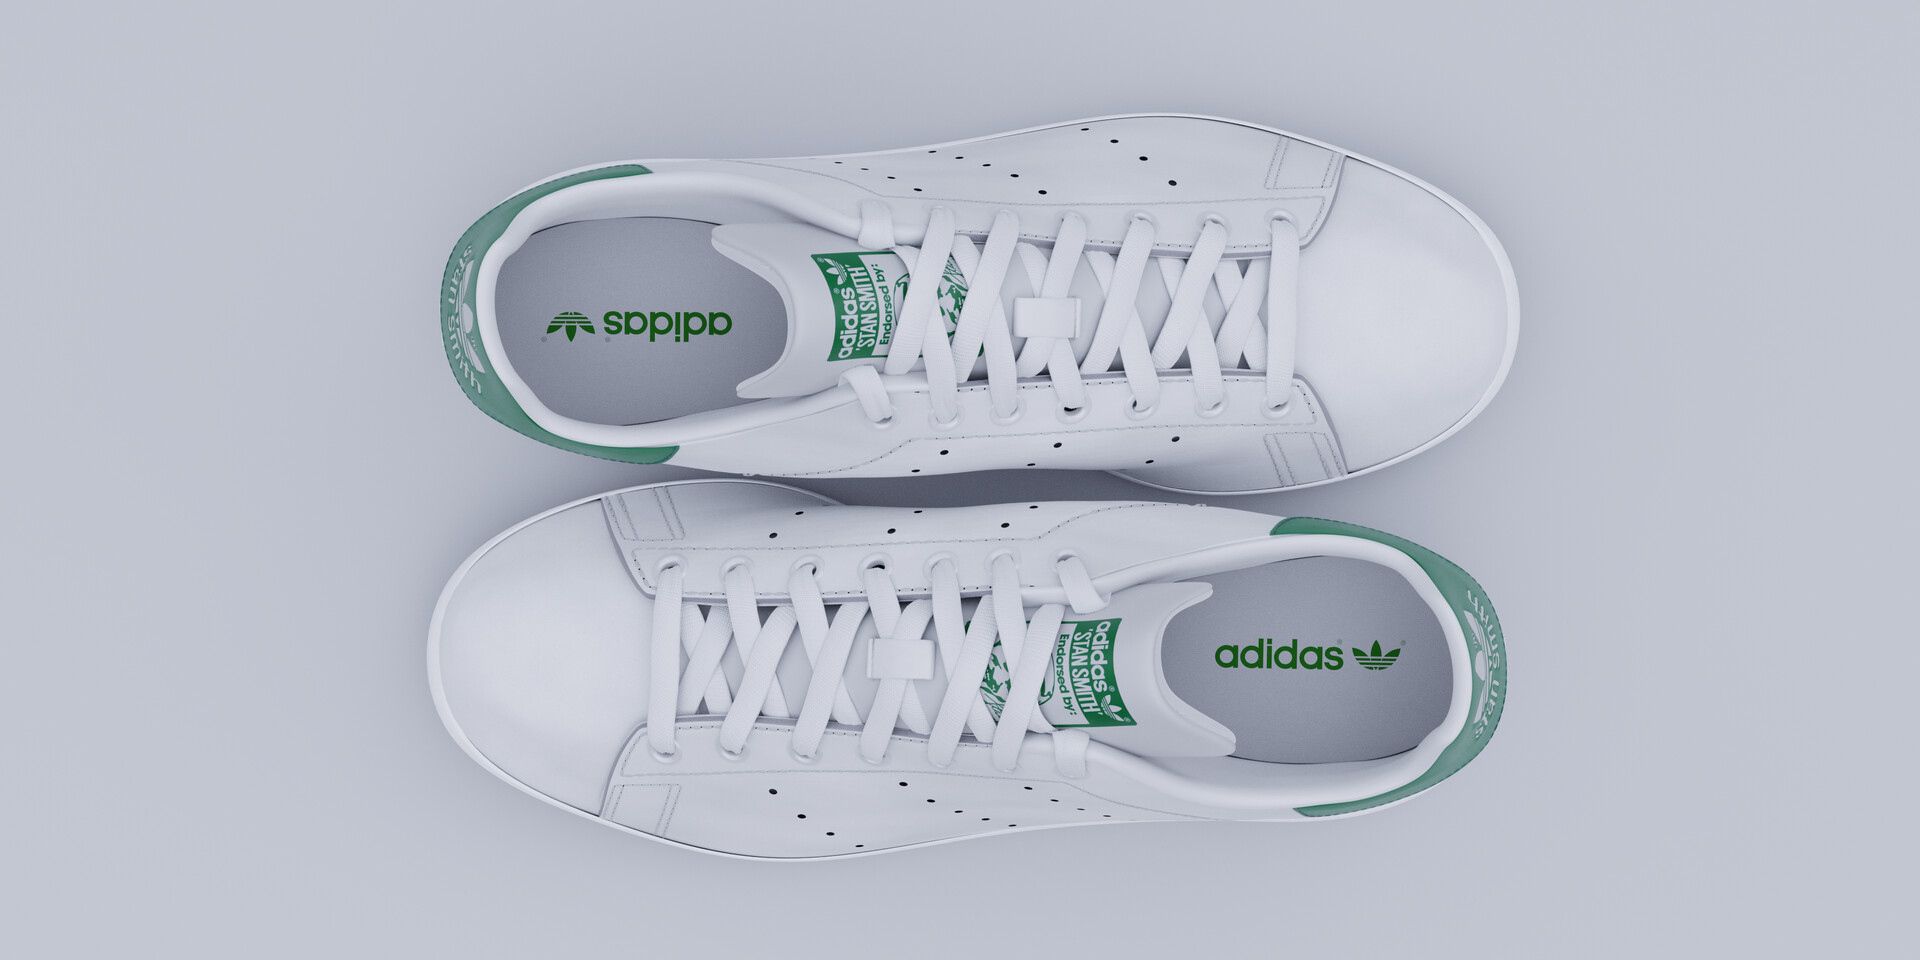
This is a project i’ve been toying with since the summer. My first attempt at a shoe. I feel i definitely could improve on it next time around but i’m happy with the result.


45 Likes
You’re #featured! 
3 Likes
very nice rendering!
any tips on these white on white rendering?
how did you make the white look different but still ‘white’?
1 Like
Thank you!
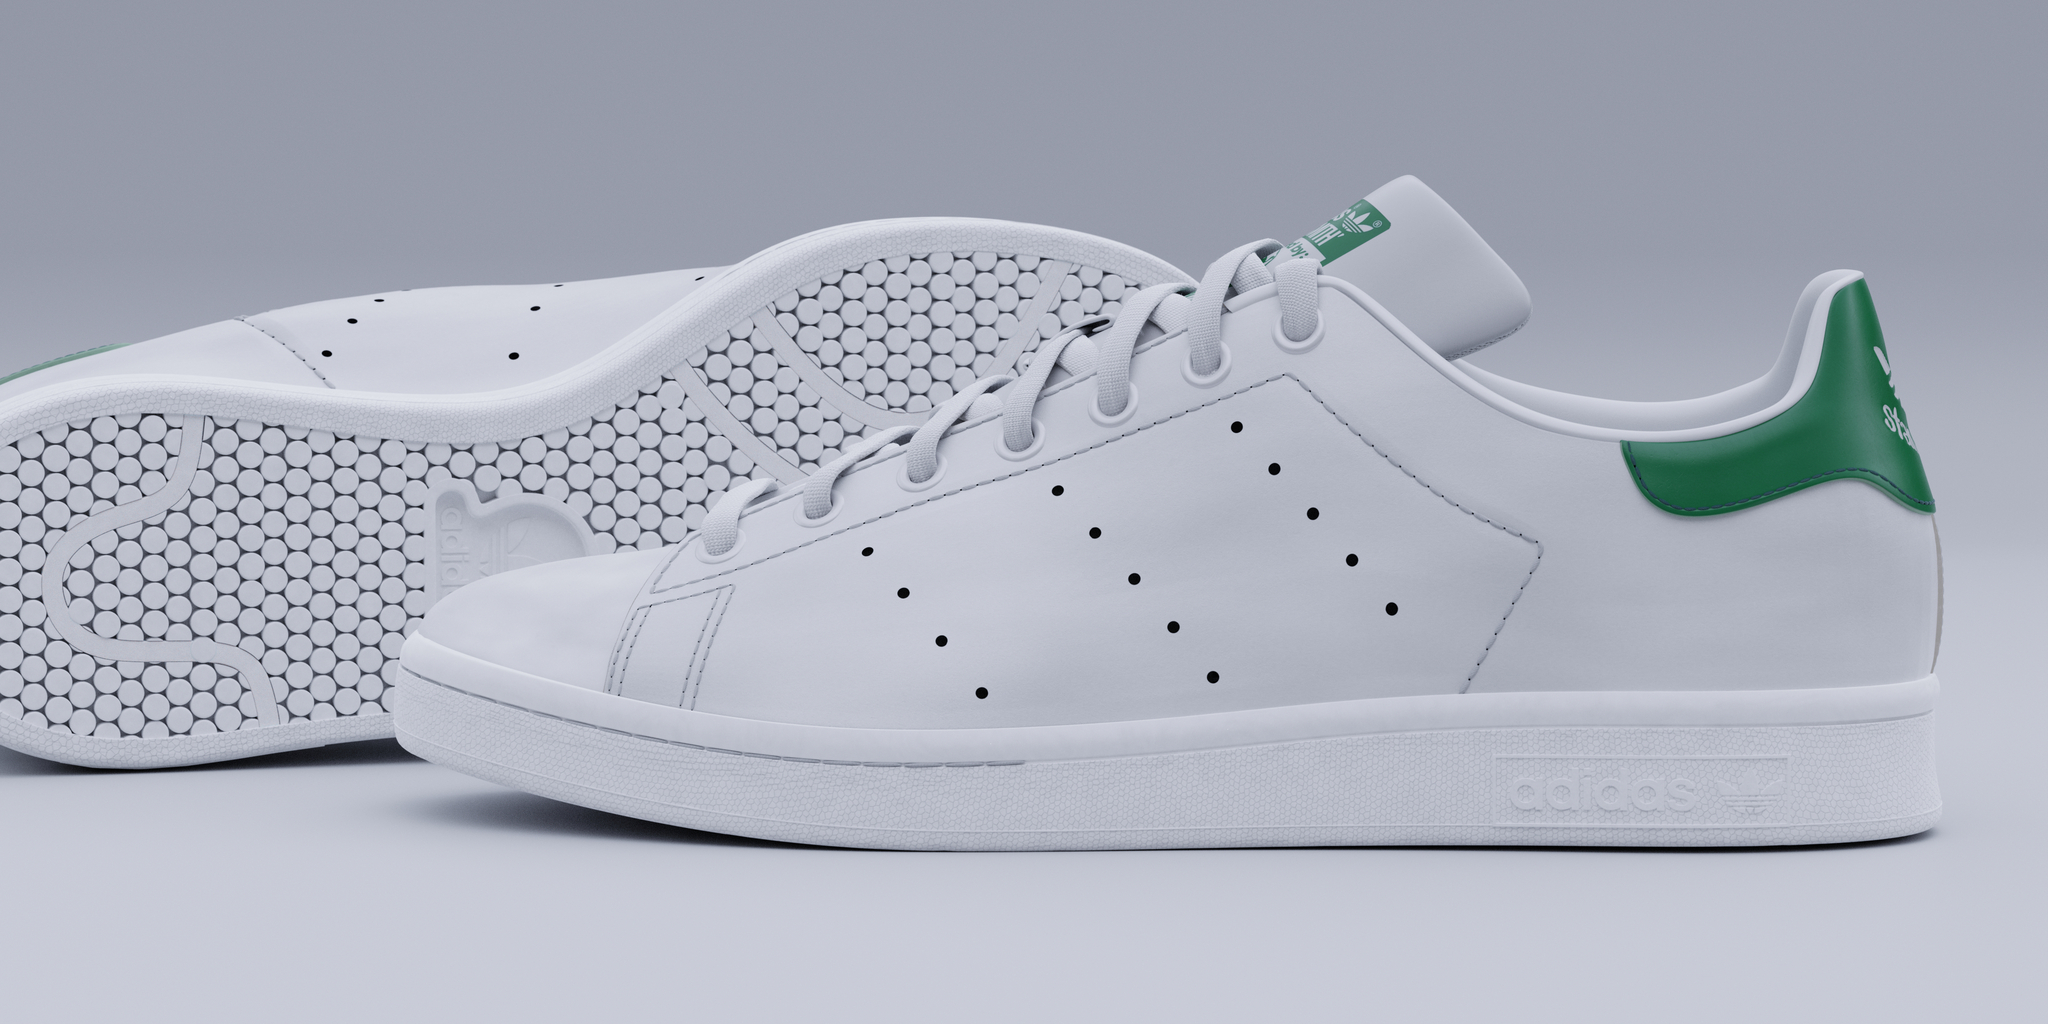
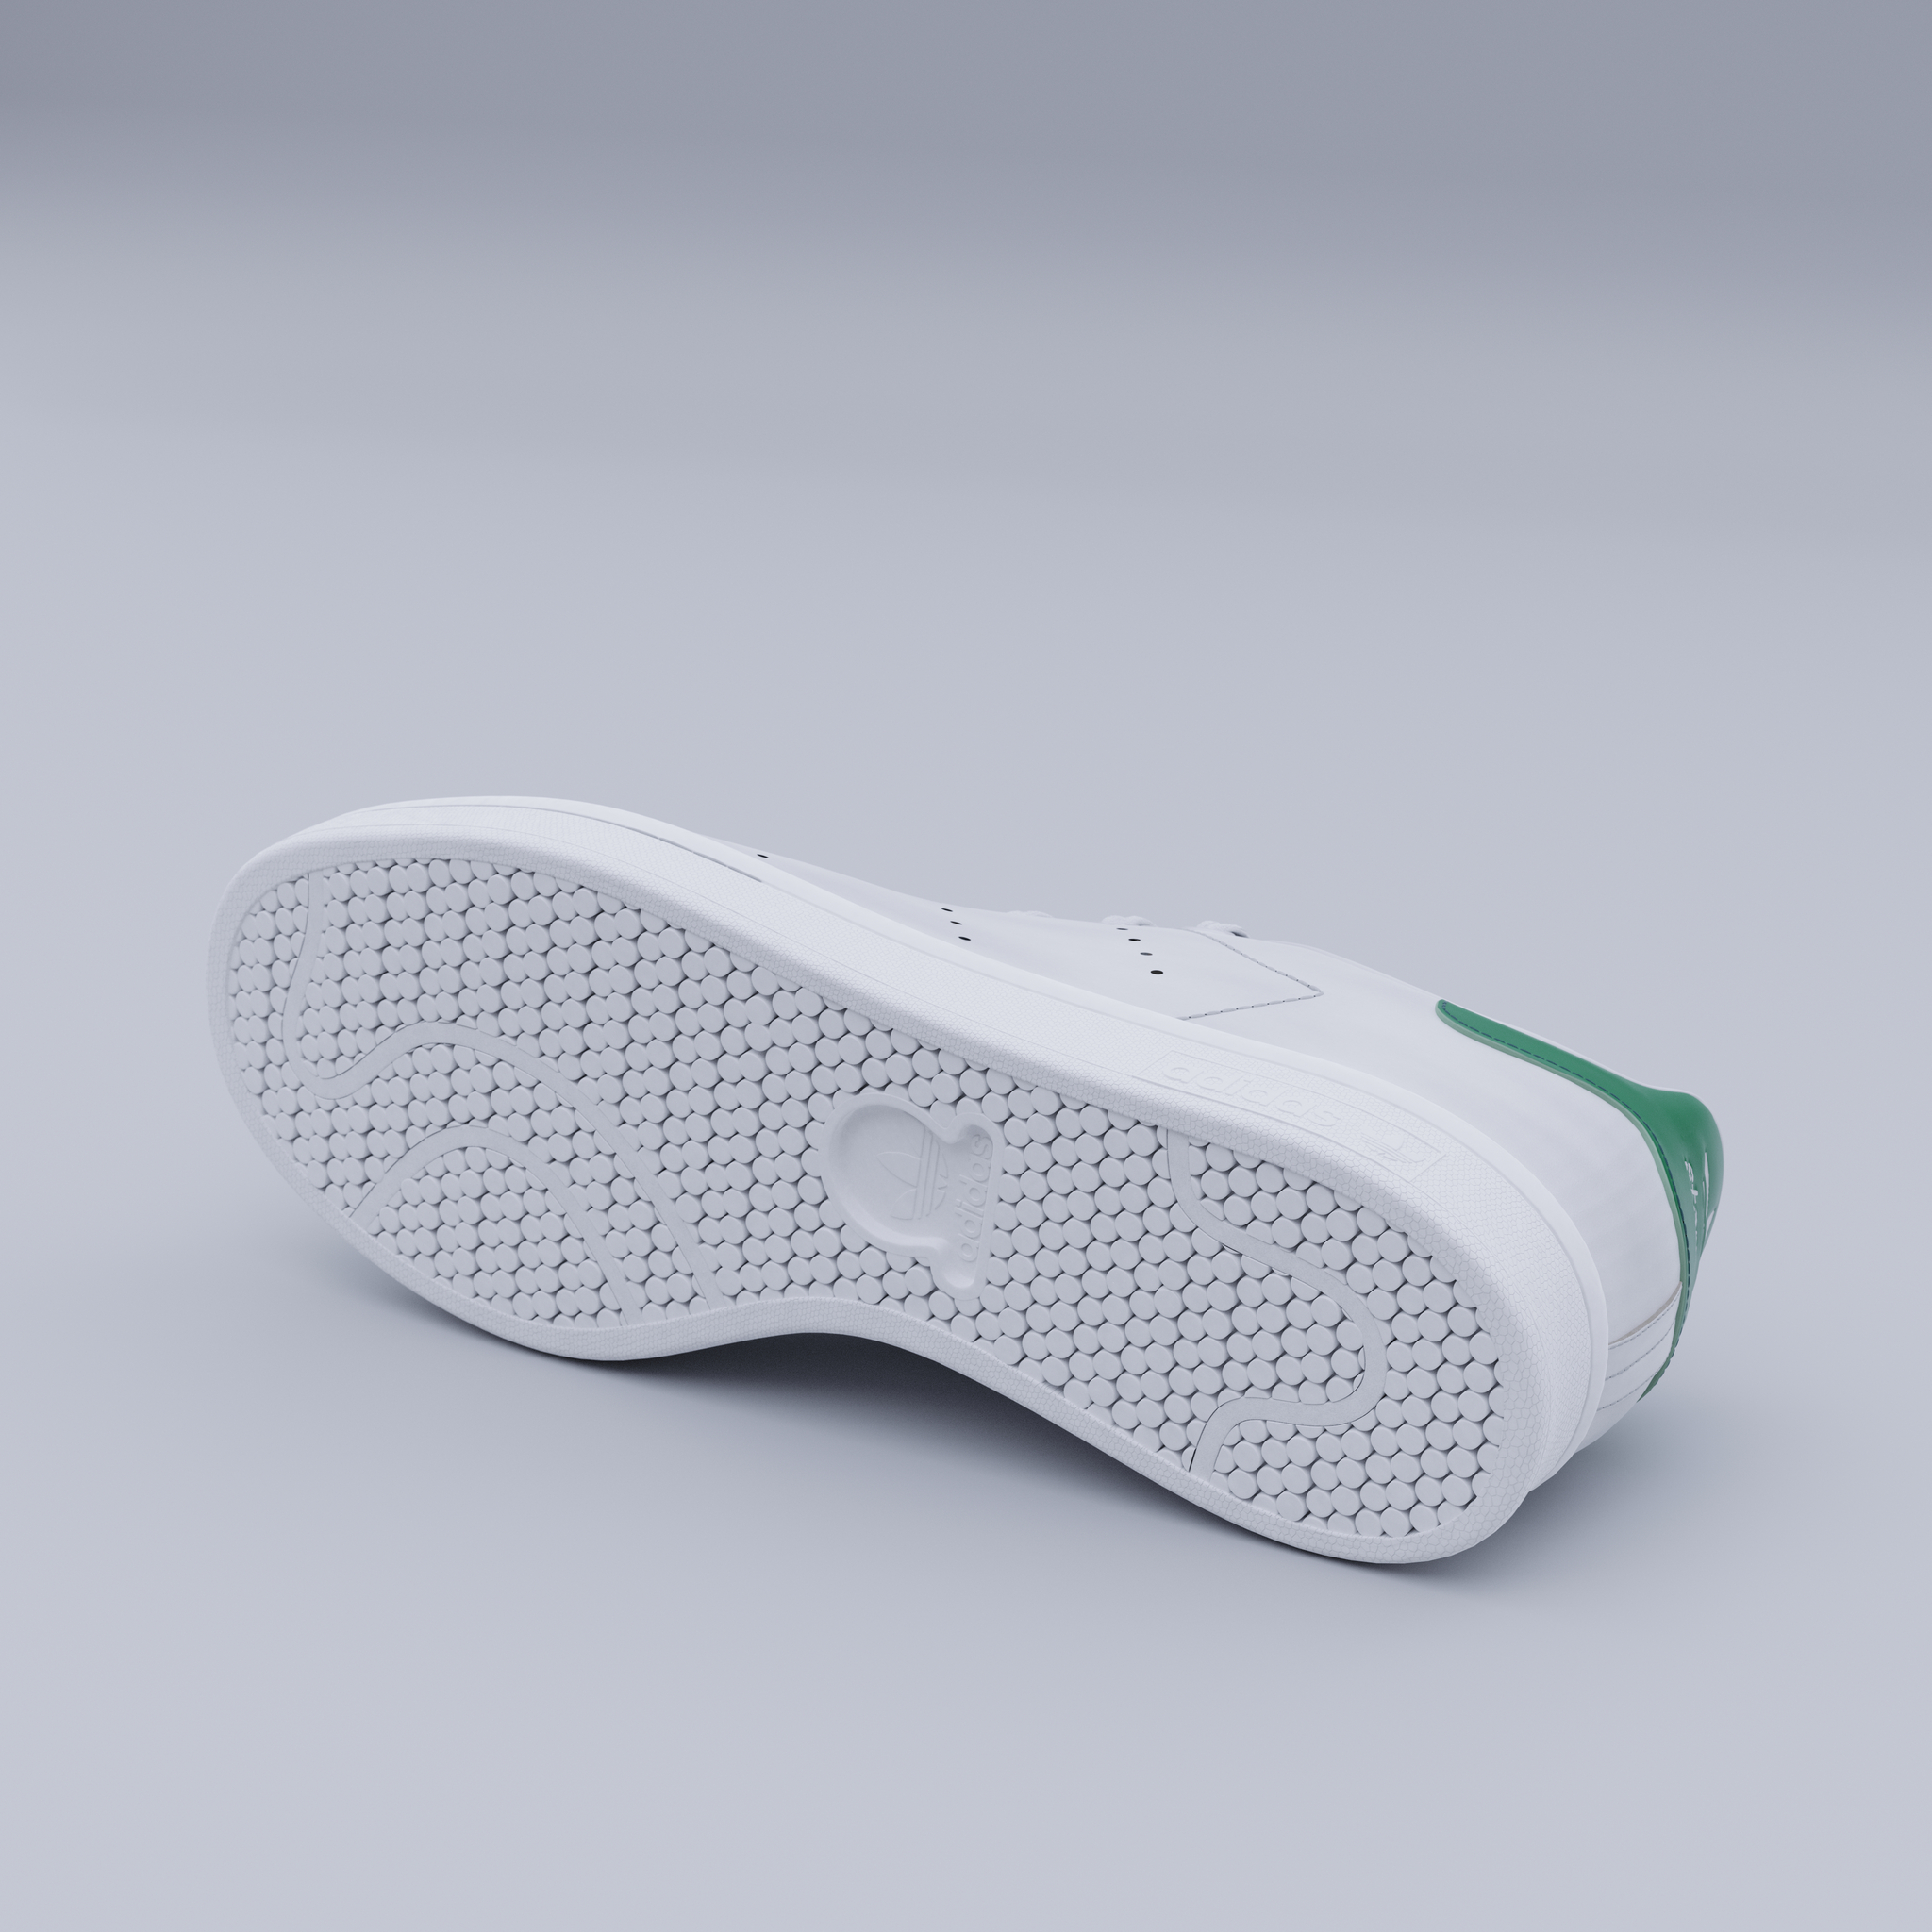
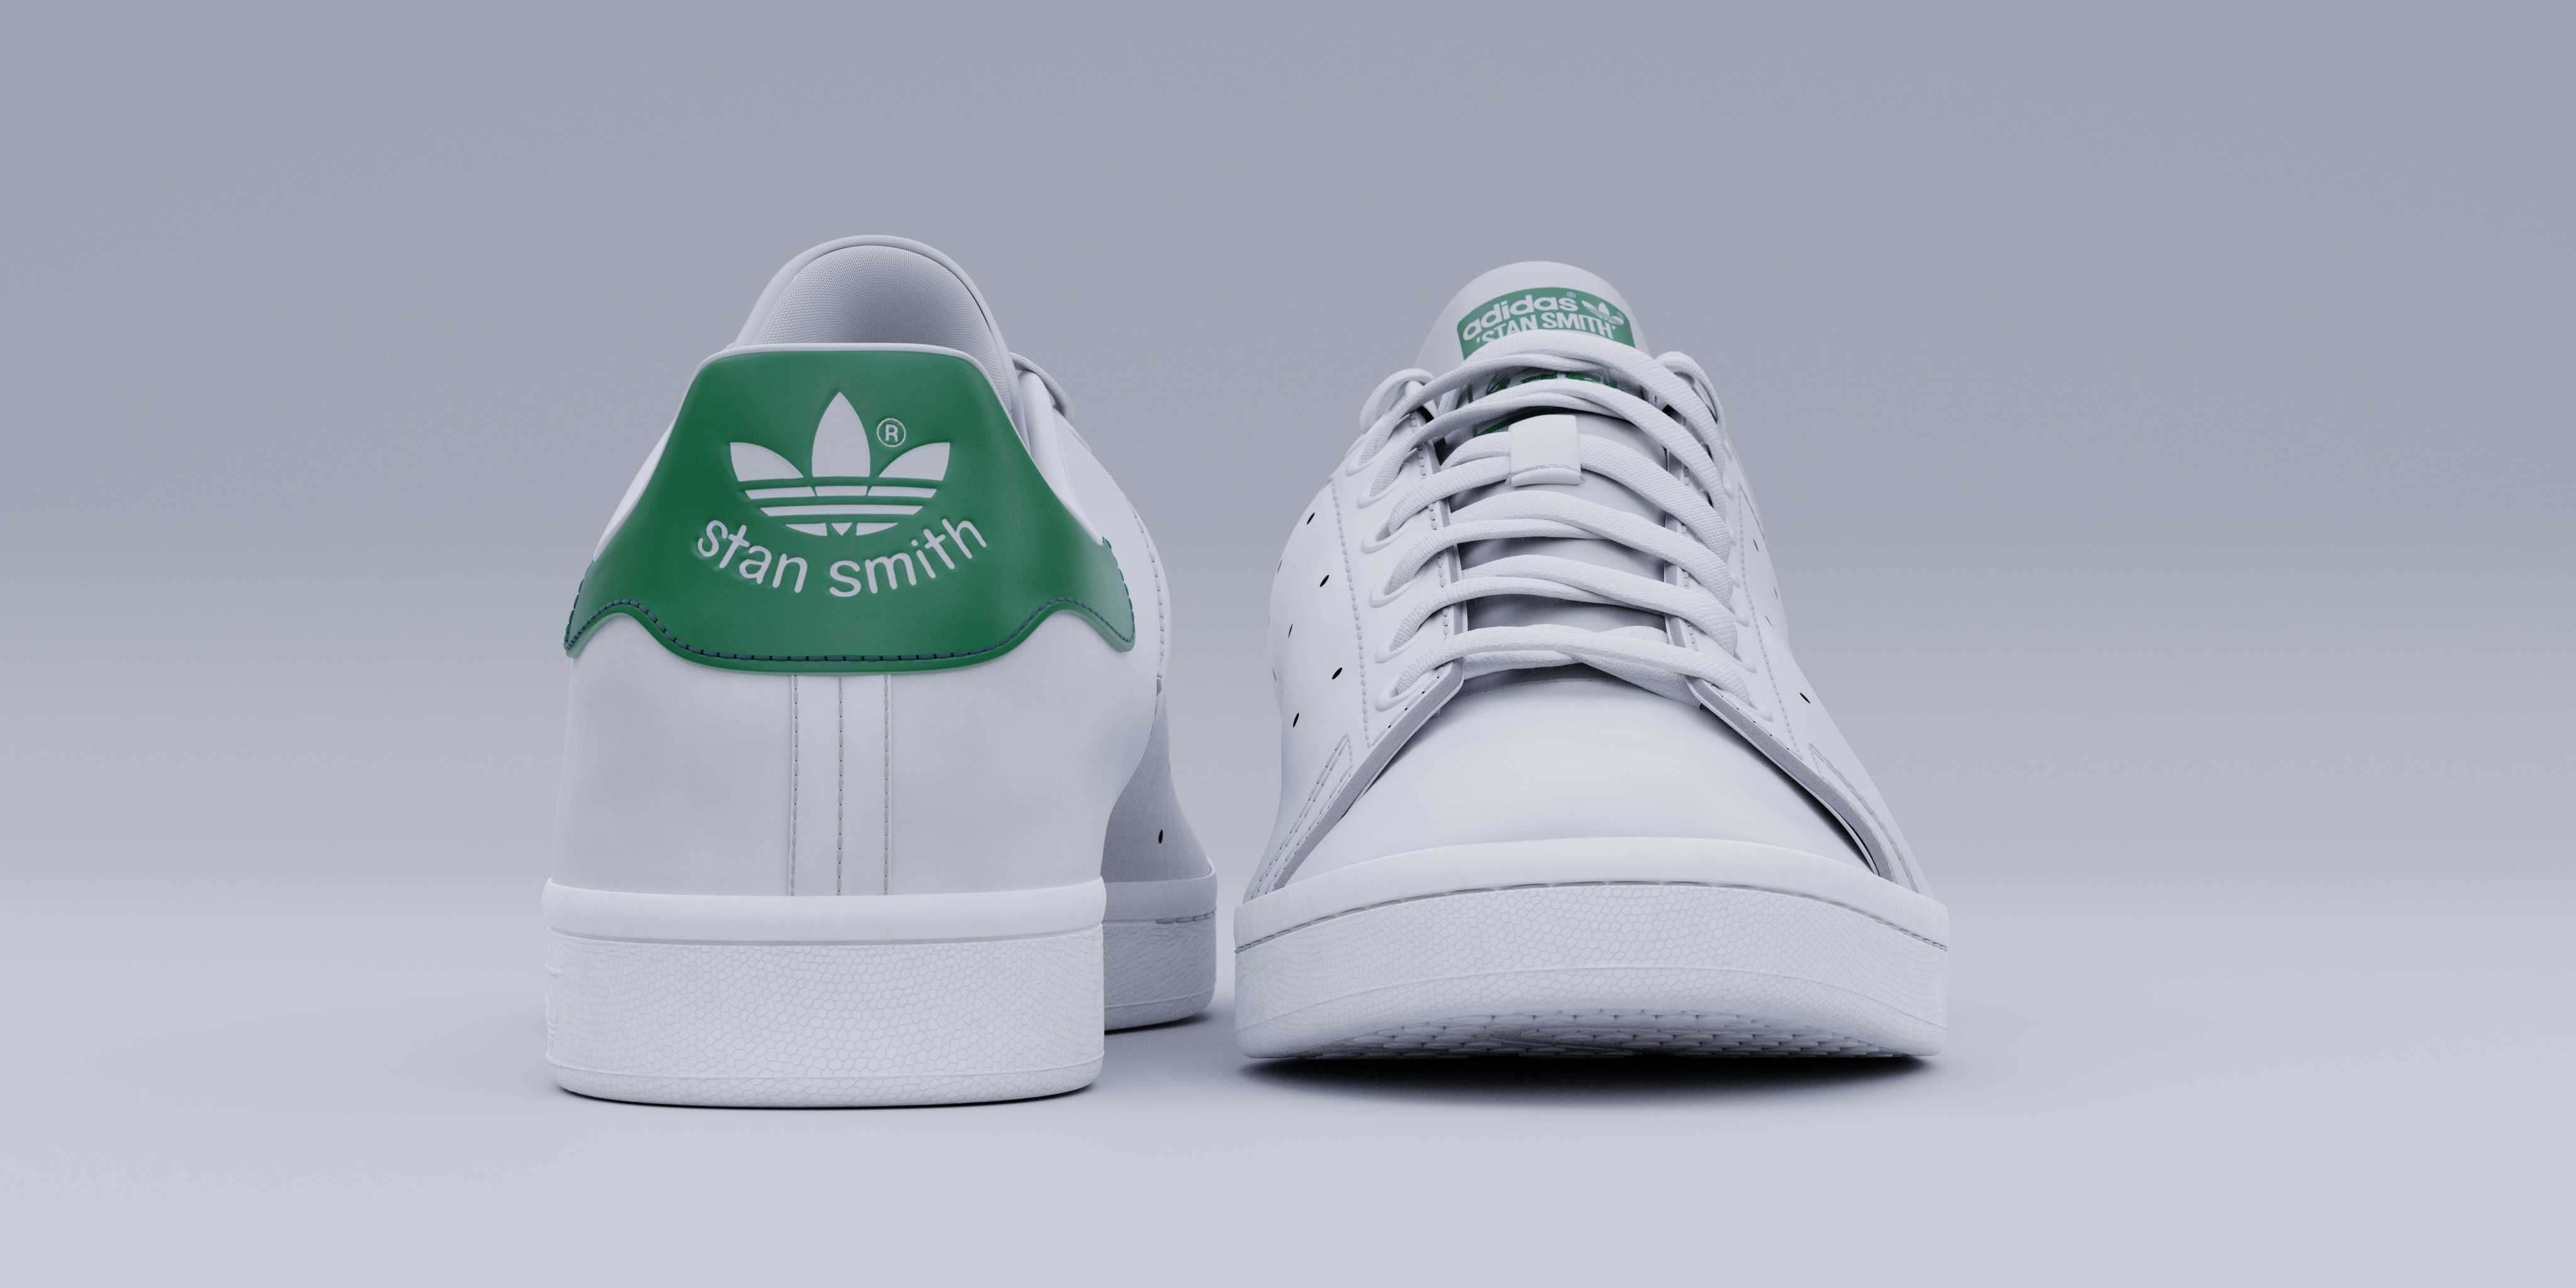
Separating the whites wasn’t such a problem. The background is just a base color with a little gloss. The shoe will separate itself as long as the lighting isn’t too strong. However my original renders made the shoe leather look very flat and basic. The leather shader has a lot of detail, structure, micro scratches, smudges and dirt, which help change the overall look. Same for the rubber sole. The render didn’t showcase as much of this but the subtle effect seems to have caught your eye.
1 Like
Love it! well done :).
1 Like
so nice and very beautiful 
1 Like
beautiful, did you use any sculpting too?
1 Like
No, no sculpting just displacement modifiers to get the soft effects.
Very clean job! I love it!
Can you give a tip on modeling a shoe? I’m trying to do a climbing shoe at the moment and I’m struggling to find a workflow that fit’s the purpose.
The way I am doing it now is with a base mesh that’s the shape of the shoe to which I shrinkwrap the leather patches. What method did you use?
1 Like
Having modeled shoes professionally, in the past, I can say that yours would be good to go  Great work!
2 Likes
Thanks man! That’s quite a compliment!
1 Like
I’m far from getting a perfect workflow down but I did learn a lot. Essentially yes the base mesh method worked great for me. A good tip is to add all shape modifiers to the base mesh. Displacements and stuff so it doesn’t look wooden. Then all the shrink wrapped pieces will follow the form. This helps with stitching later also, otherwise you will forever be dragging verts.
I also like to start with the sole. As this is always a solid shape with no negotiation. The upper shoe can be for the most part dragged around to fit the sole, in fact this gives a bit more realism as it breaks the uniformity.
Use curve modifiers also for the sole curve and laces.
1 Like
I’m sure that the community would appreciate a “making of” thread and/or video.
It’s obvious from your last post that “you did learn a lot.” Please think about ways to turn this into lessons. (Reach out to experienced Blender education resources, maybe, for help. One of them might be interested in “taking the ball and running with it?”)
Can you show us the details of the leather texture(i mean all the dirts, micro scratches, smudges, etc.) It would be really helpful learning form how you add thoses details!
Thanks in advance!
This would be a great idea. Unfortunately being a father with a full time job that barely is finding time to just simply produce art, laying down time on this is not an option right now.
I can add a node structure if you like but my tip is the Ozzy legend at Blender guru. Most of my node building I learnt due to his resource videos. The inside tongue texture for sure is from poliigon. The leather is a repeatable texture I found and added to.
1 Like
I’m gonna have a look at making a walkthrough of this. Time allowing. Thanks for the idea
I want these. Great work 
1 Like
great work. even though personnally i find the inner sole a bit too clean
1 Like
Great work!