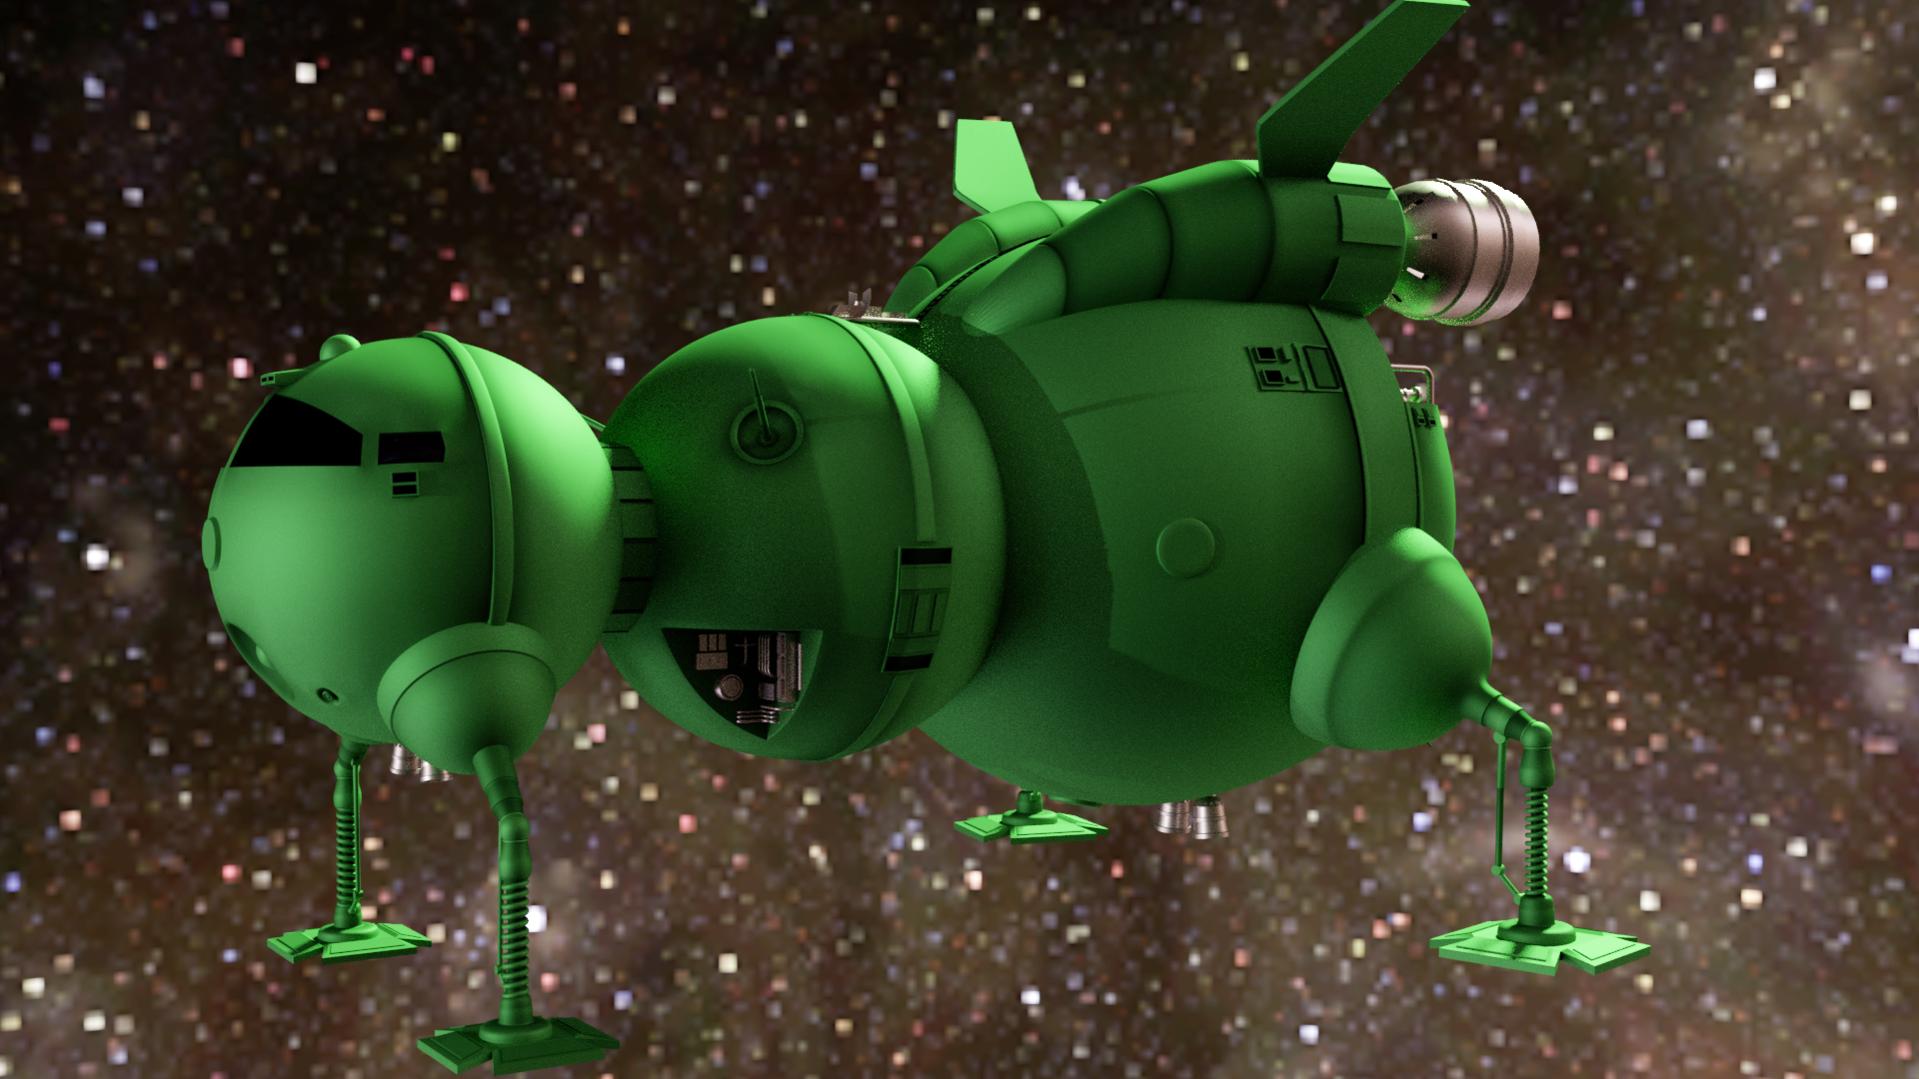
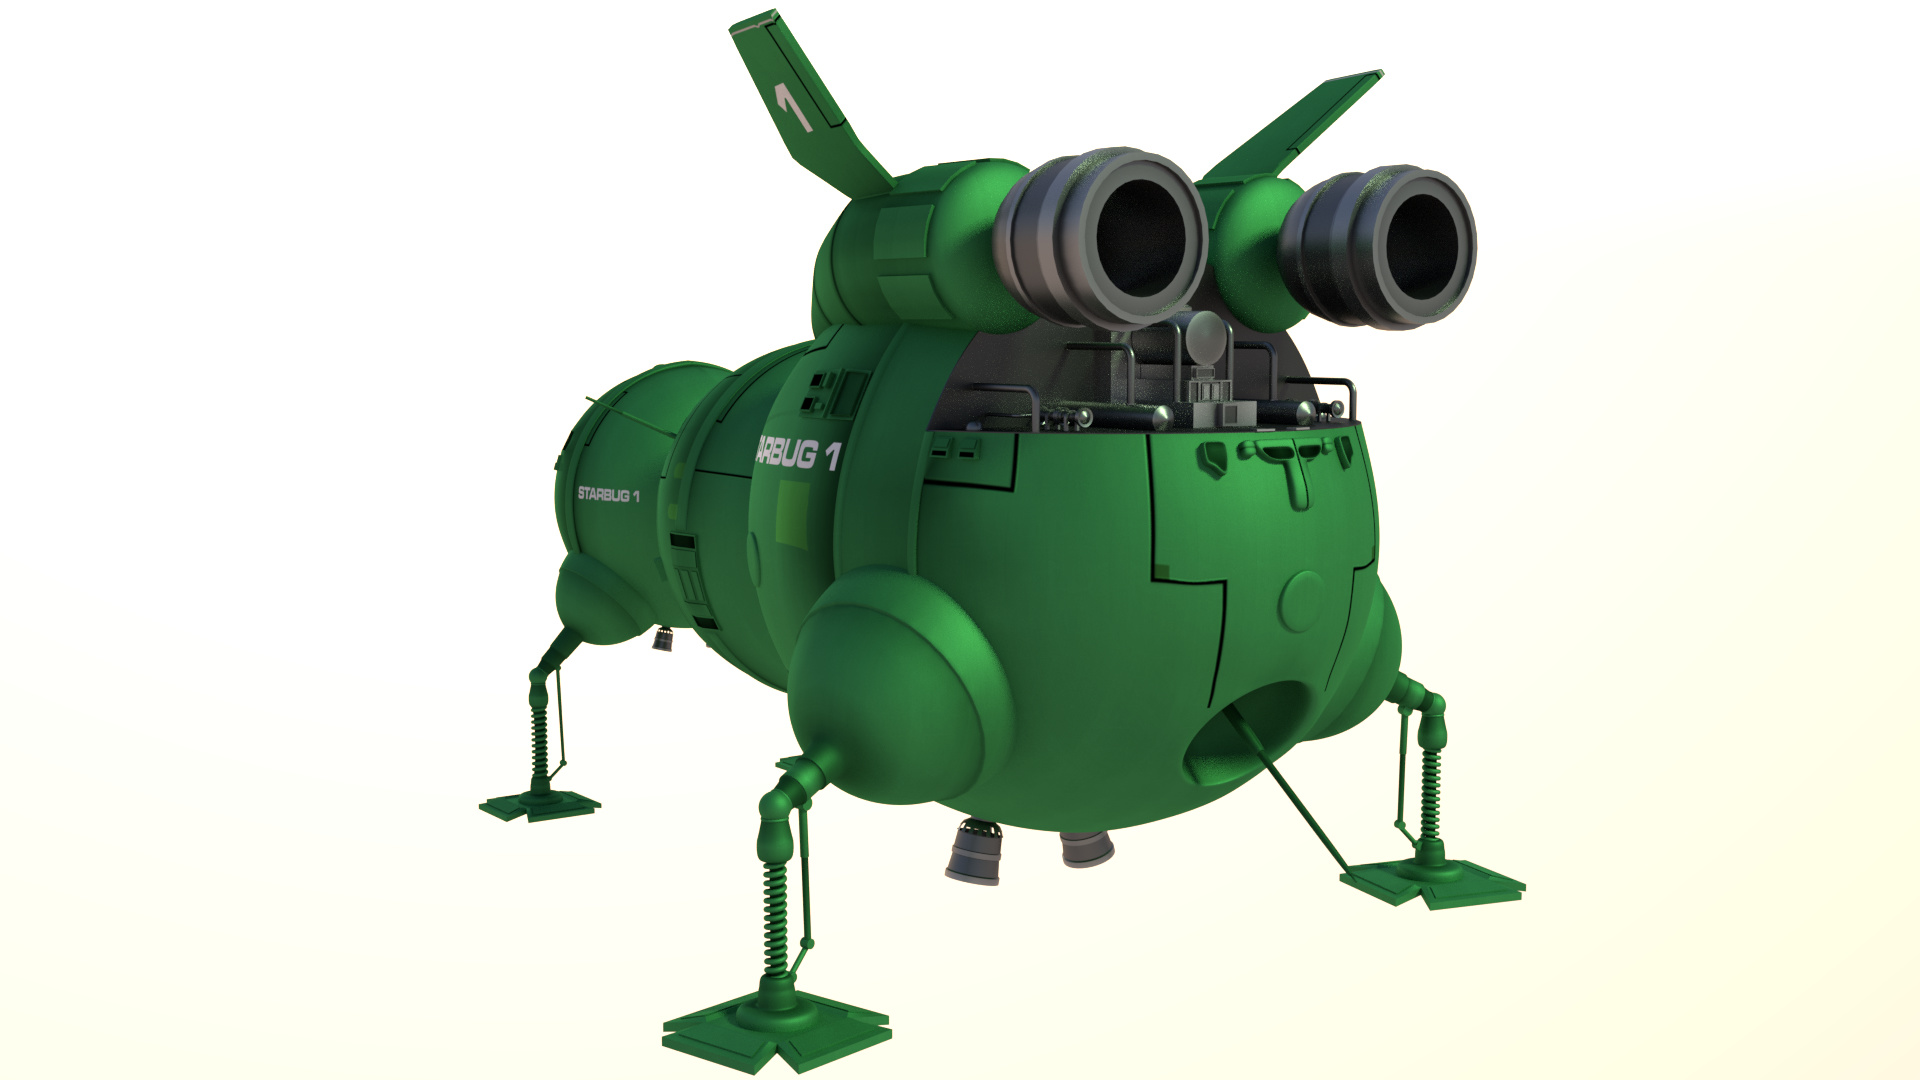
Been working on this for a couple of weeks. I think I’ve got most of the modelling done, although I might still add some finer detail.
I’m on to the materials and textures now and finding a way to give the ship a bruised and battered look. I also plan to set up a chase scene, through a canyon, where Starbug is being chased down by some other spaceships.
Sweet - I remember the TV programme from my younger days…
Battered look needs image textures and bump maps to get a little distortion on the currently perfect lines. A greyscale image used as a bump map will slightly depress the surface where the image is black and slightly raise it where the image is white, with varying degrees between the two extremes for different grey colours, (probably telling you something you already know - it’s may age you see…)
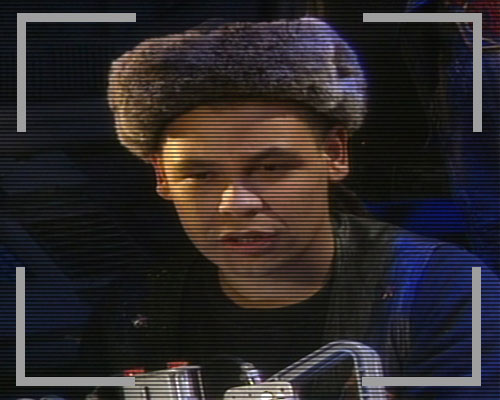
Are you going to model a young Craig Charles to go in it?
Thanks for the comment and info Clockmender. I don’t know much about using a greyscale image for a bump map so that’s something I will be looking into.
Currently working on the pin striping, or go faster stripes as we used to call them back in the day, that run across the hull of starbug. Took an age to work out how to draw straight lines in texture paint. The lines were patchy and at odd angles, figured out that I had to straighten up the UVs before doting in the lines for it to work.
Modelling a young Craig Charles is probably beyond my capabilities, I think Kryten is more my style.
It’s good to see that they are still making Red Dwarf, watched the new series a couple of months back, daft as ever but great fun.
There’s lot to the UV mapping, get that right and everything else is easier! But, it’s a bit like black magic! I find that I tend to make the straight lines in my Image texture first - then adjust the UV map to fit. I get some weird comments from others here, but it works for me.
Keep up the good work, if you look at my Canberra project https://blenderartists.org/forum/showthread.php?364654-Canberra-B2-WH640-in-1956-Suez-Crisis-Livery - page 2 has the straight lines on the paintwork (RAF “Go Faster” stripes) and post #73 (page 3) has a typical bump map image that might give you a clue how to “bump” panels. I am always happy to help with this as you get to it. There’s also hints on scuff marks, “dirty” areas and rivets, panel lines, etc.
Cheers, Clock.
PS. I had “Go Faster” stripes on my second car - a Triumph Dolomite Sprint…
Thanks for the link to the Canberra project, I’ve had a read through and there’s some real good info there. Fantastic model btw, the level of detail is something I can only dream about.
Spent quite a few hours today trying different ways to unwrap starbug, none of which have worked very well. UV mapping really does appear to be something of a dark art.
Best result so far has been using Projection from View, got nice straight lines on the side then I tried using a second UV map for the front and it all went a bit wrong, could be due to the Mirror Modifier at a guess, will have to have another look at that.
I will always be grateful for any hints on unwraping, it’s got me pretty baffled at the moment.
Going back to do some more modelling for now as I noticed there’s a few bits and bobs that I’ve missed, and will try out using a noise texture to rough up the smooth lines on the hull.
As I recall my third and fourth car, I’ve had a lot of motors over the years, had pin stripes added to them. Number three was a MKIII two litre Cortina, and number four, my all time favourite, was a black, two litre S Capri. Loved that old motor.
Had a play around with setting up the chase scene, obviously still a lot to do to make this look good, I do like the idea of having a Star Wars - Red Dwarf mash up though.
Tell you what - cut the front piece off and put it in a separate blend file and mail it to me, I will PM you my email address. I will look at t and give you some clues from my experience. Others are better at this than me - but I can get you started.
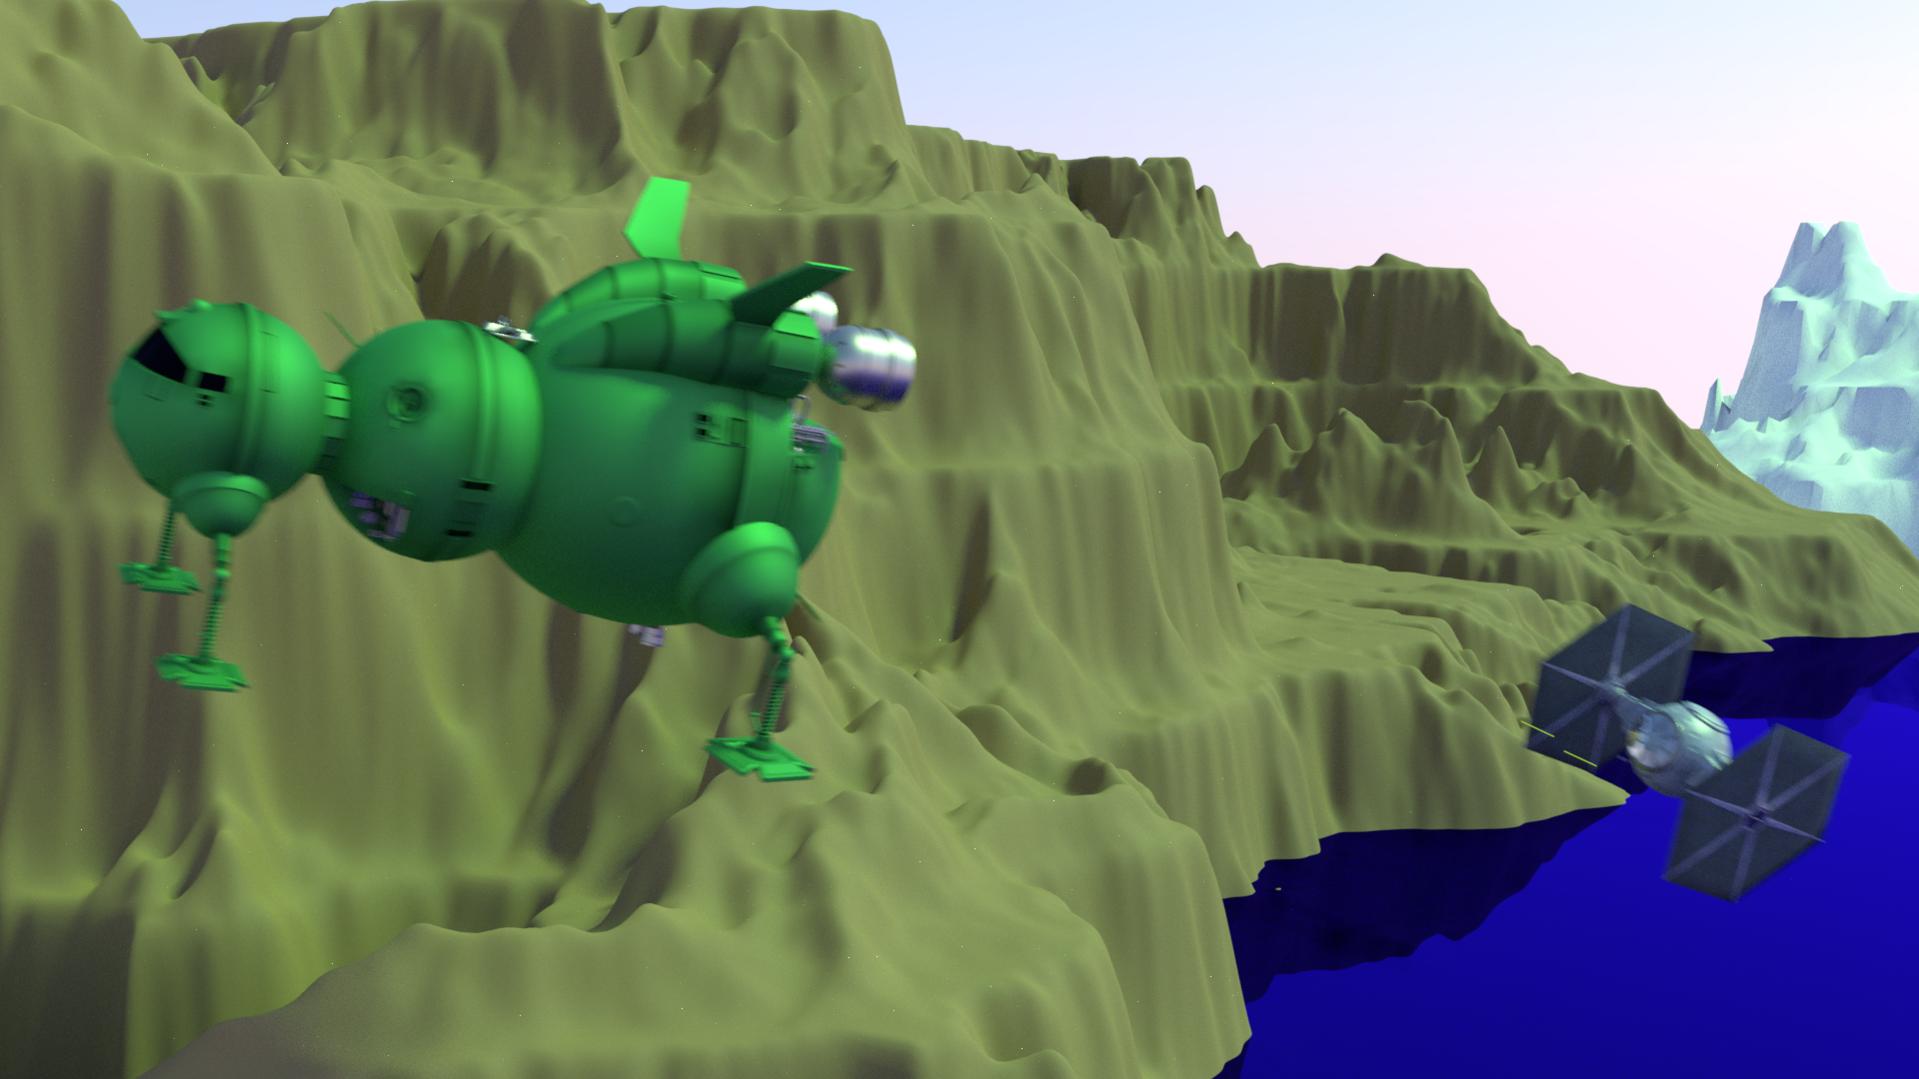
Still messing around with a scene for the spaceships. I quite liked this one at first, having them chase through a tight canyon turn, not so sure now.
It will probably look better when I add in some more background detail, better lighting, and do a lot of work to the brown thing at the bottom which is suppose to be water.
Cheers for that. I had to get back to work this week, boo hiss, but will have the weekend to have a good look at the sea blend.
I have made quite a bit of headway with the UV unwraping. Just been experimenting with the front section for now, I think the way to go is to split up the model into the front, middle and back and do each section separately. All I did was to add a seam along the vertical axis of the cockpit and once I learned exactly what I was looking at it wasn’t so hard to add in the pin stripes. I tried a normal map as well which looks pretty good. The old island trick is very useful as well.
I used Gimp for the normal map and painting on the exported UV, seems to work a charm.
I’m thinking that if I join the model into one after adding the UV maps I will still need separate materials for each section? Will have to run some test on that one.
Cheers for all the help on this one, Clock, It’s much appreciated.
You don’t need to split the model up into sections, just select subsets of polygons and unwrap these. There is nothing to say you must unwrap the whole lot in one go, or adjust all the UV maps in one go… :eek:
You do not need separate materials if you do cut up the mesh. You can have multiple meshes assigned to one textured material, then just move the UVs to where you want them on the image. If you look at my Meccano WIP - there are about 1,800 separate girders, plates and brackets all of which use the same material and all of which use the same image texture, I just move the UVs to where I want them on the image. The texture is used to set all the holes by feeding in a Transparent Node using the image as the mix factor:
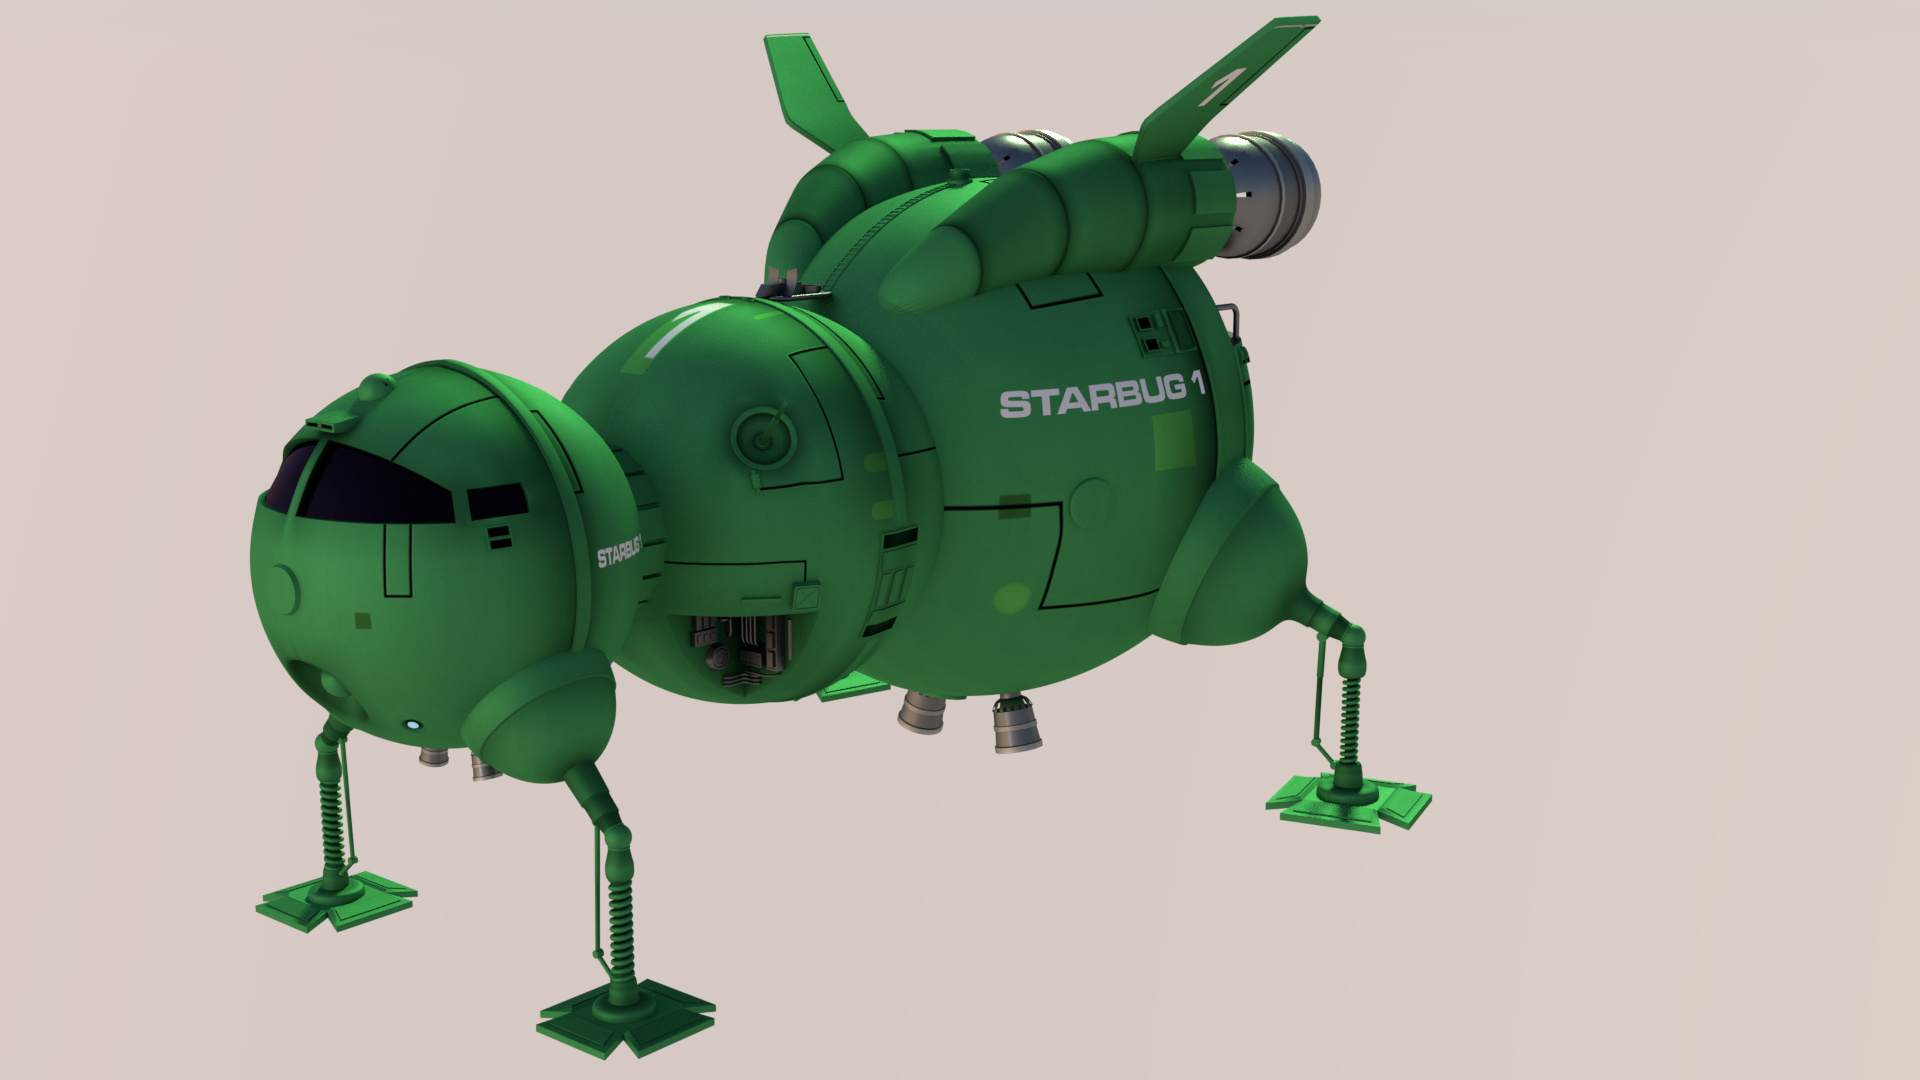
Been messing around for the last week with that mysterious UV unwraping alchemy, no gold for me yet but it’s a step up from the lump of lead I started with.
I have learnt a lot thanks to the advice from Clock Mender, and made a lot of mistakes along the way. Still, lessons learned.
Some of the pin stripes are a bit wavy and I think the model still looks a bit too factory new. I have added scratches and dirt maps to rough things up a bit. I would like the model to look older, more worn, but for now I’m at the end of what I know how to do with Blender so it’s on to some scene setting.
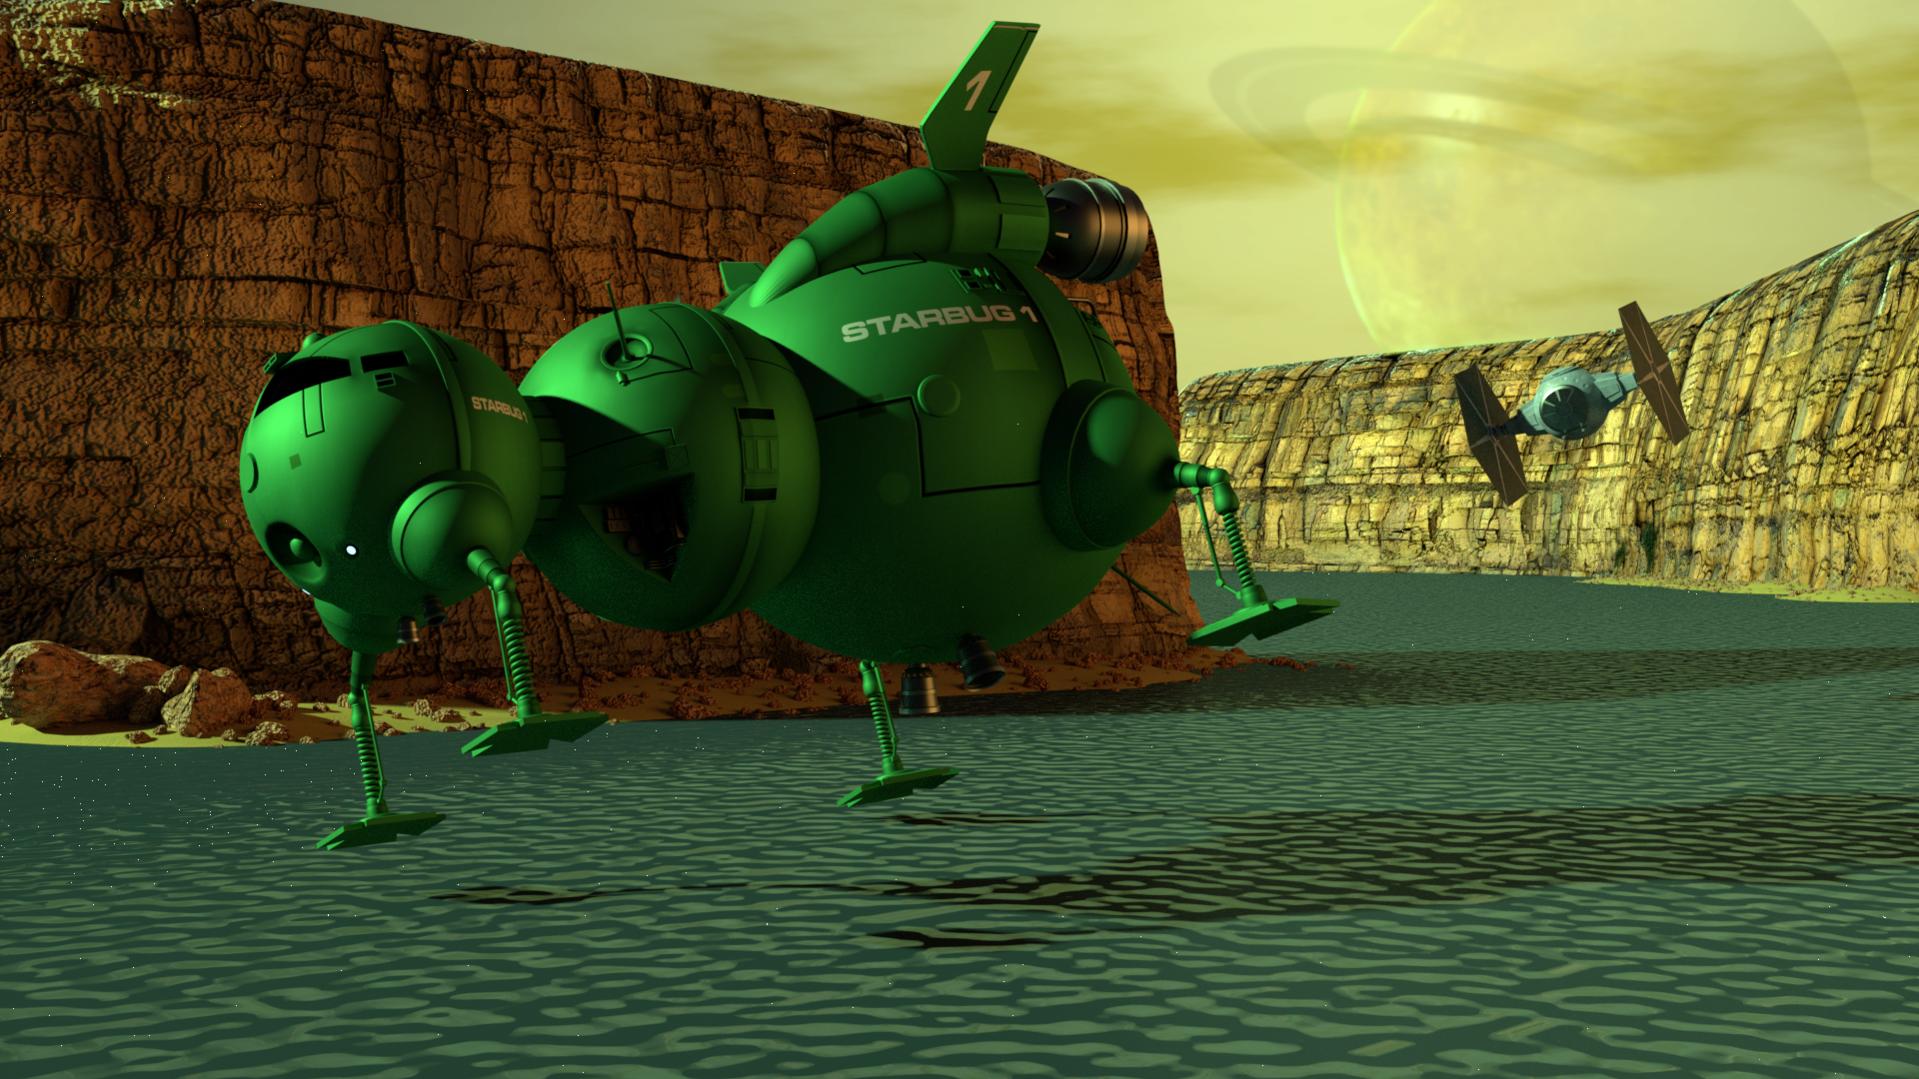
Starting to get a scene that I’m happy with, for as far as it goes. Still got a lot of work to do but I like the dogfight look of the piece.
Starbug and the Tie fighter are both on a path so that I can add motion blur to them at a later date. Next is to get the camera to follow them as they race through the canyon, I only want a little motion blur on the spaceships and quite a bit on the background, not quite sure how to get two different types of blur set up so that’s one to investigate.
There’s a bright spot on the background planet, from the sun lamp, which I need to do something about. Would also like to make the dark side of the planet less visible, a mask or some such for that one I guess.
Then it’s on to the water. The plan is to have Starbug’s thrusters blasting down into the water, they’re on a real tight turn, which will send up a fountain of spray. I need to add in the thrust for the main engines and the retro rockets, add in some weapons fire and probably do some more work on the background and lighting.
I managed to figure out a way to add most of the effects I wanted for this piece. Still not that happy with the blast from the retro rockets but it’s the best I can get at the moment.
I have spent a few months working on this, I’m not the fastest of Blender users, so I think I’m going to call it a day on this one now. I’m still interested in any thoughts and comments though.
Next project… lots of ideas at the moment. One might be a space armada made up of ships from different tv shows and films, could be something from Space 1999 next.:RocknRoll: