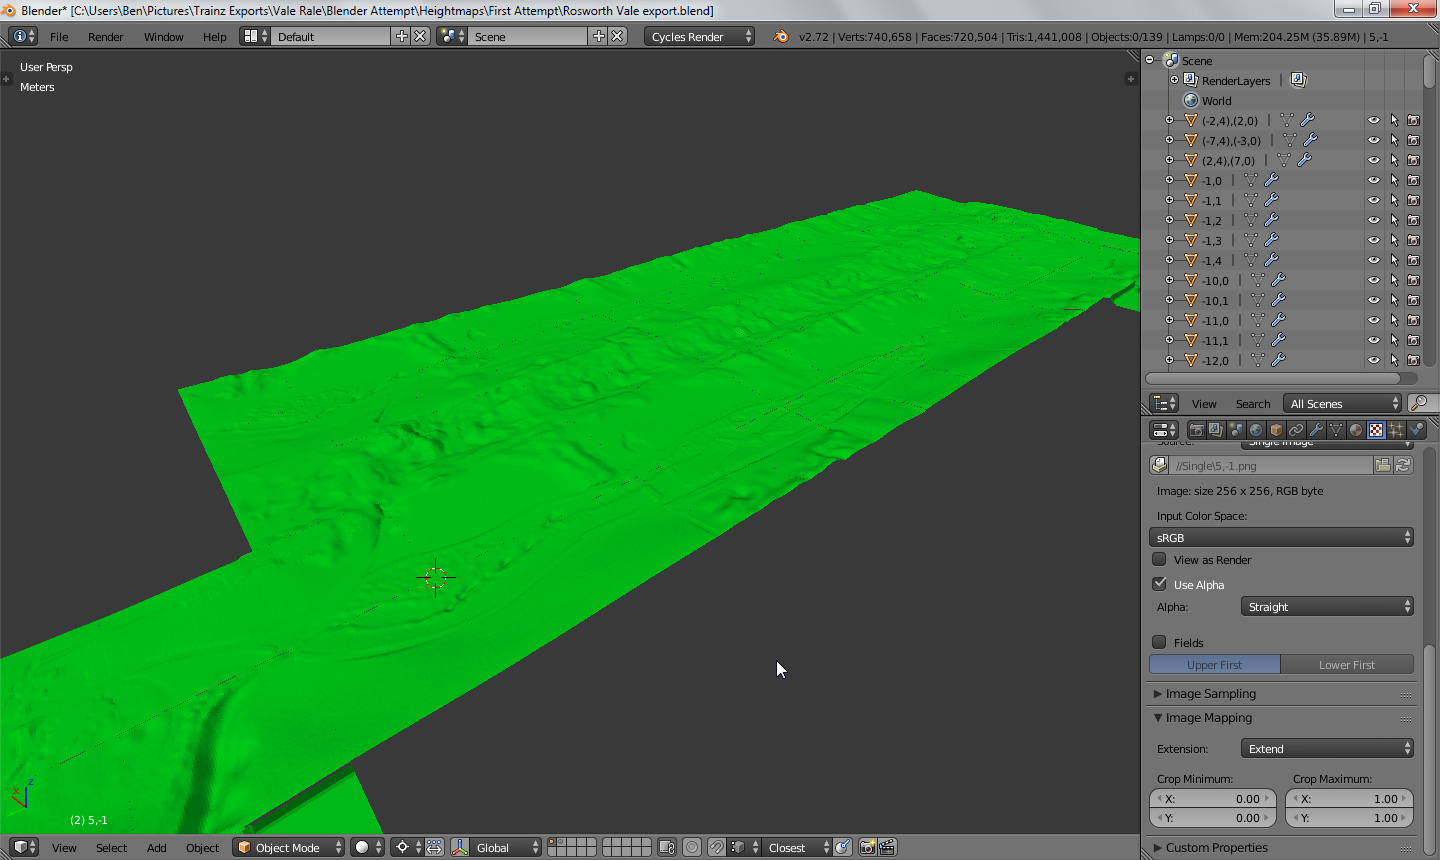
I am trying to stitch together multiple 256 x 256 pixel greyscale images which are designed to fit with each other to create a larger image.
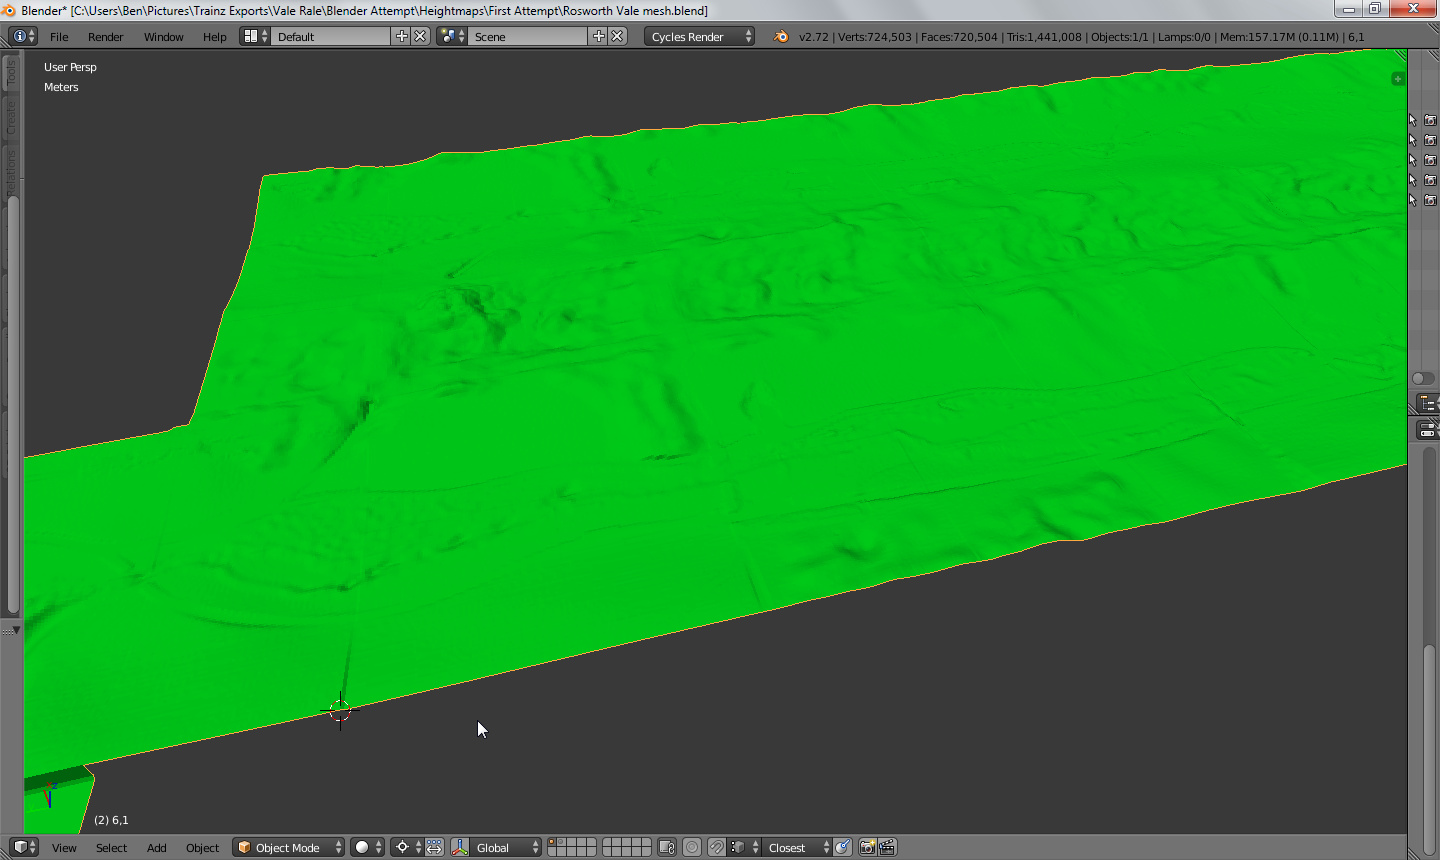
The problem is is that the program I am using doesn’t export the heightmaps with great accuracy which tends to create seams where I’ve joined the maps together, which is why I use blender to visualise the seams better in 3D.
Can you give me advice on how to remove the seams while retaining the map’s overall shape?
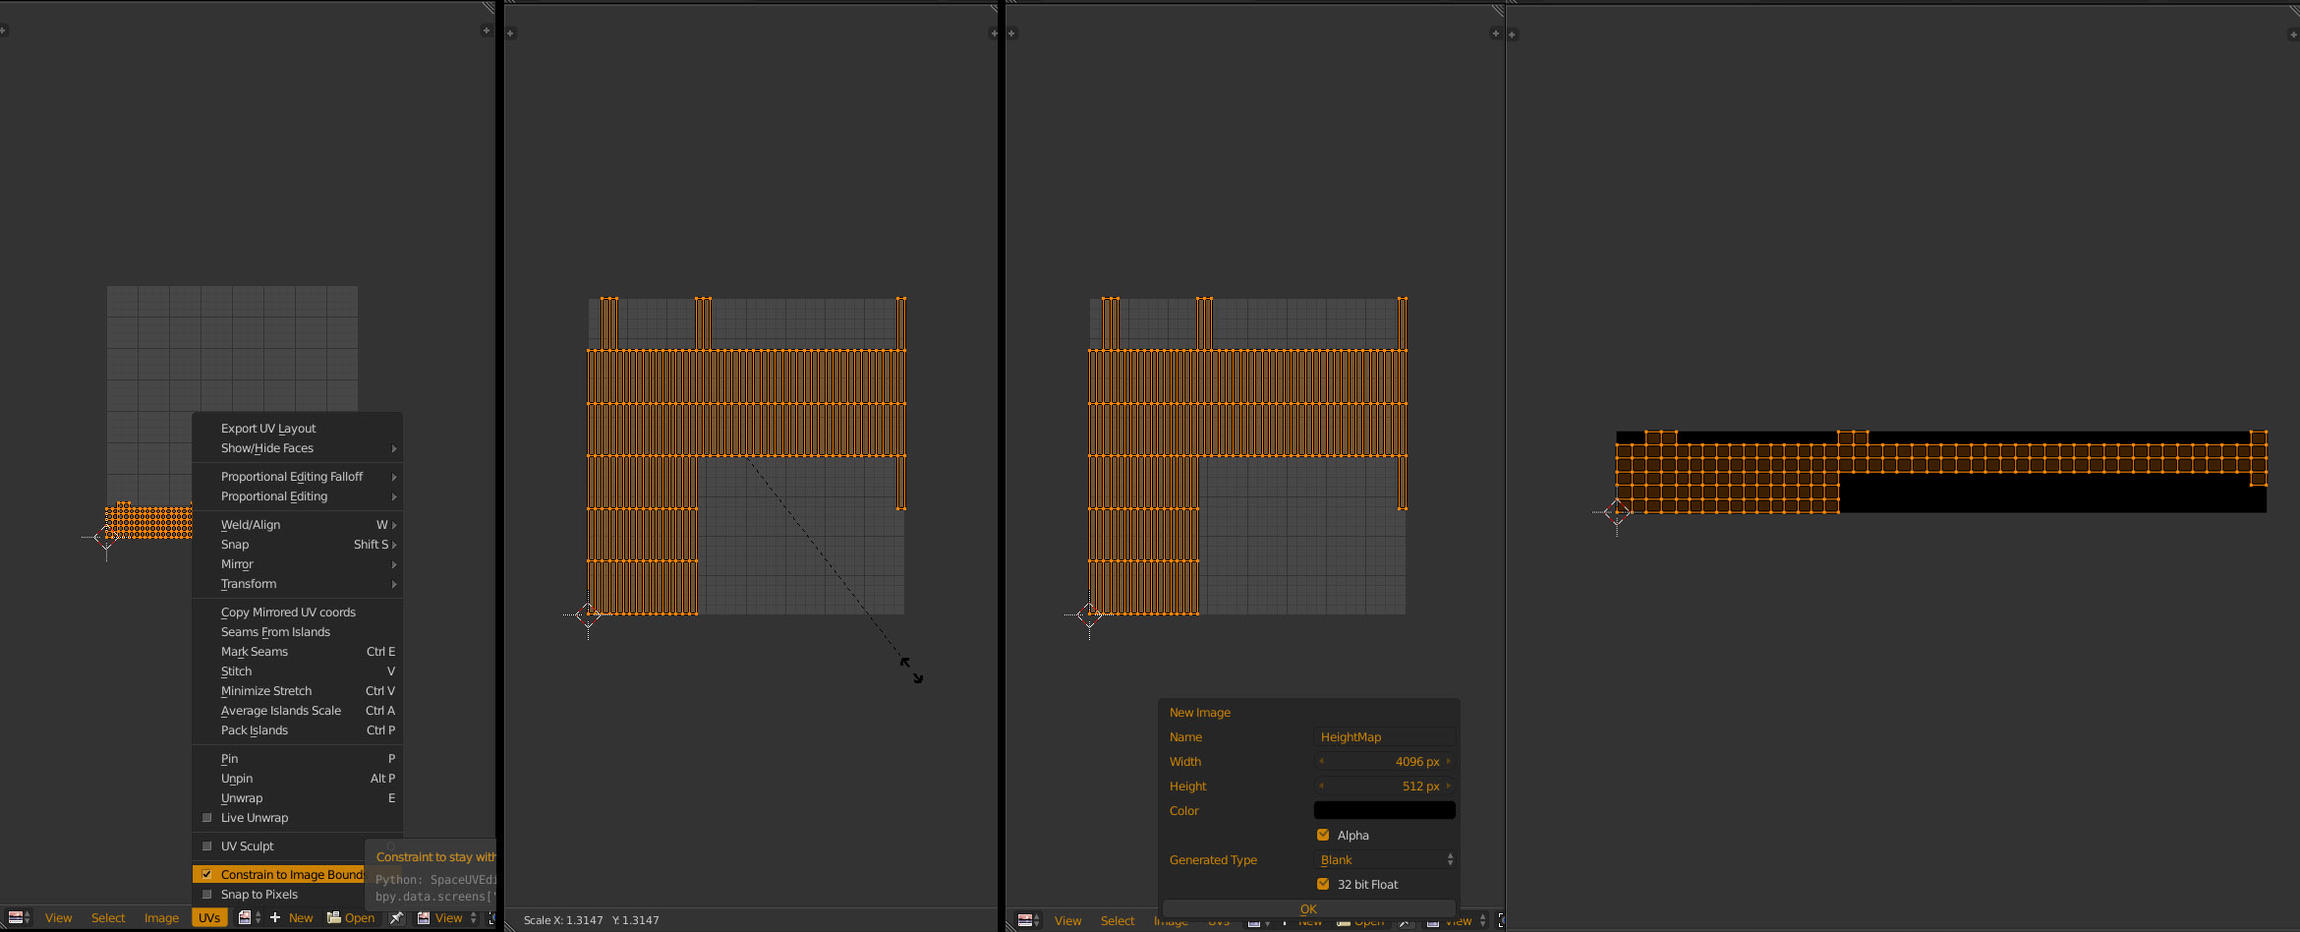
What you could do is duplicate the object, then reUVmap the duplicated object with the project from view option from top view.
Then apply the maps to the original object as textures and bake that across to the new object. (just remember to use 16 or 32 bit depth for you baked image) You should then have all those smaller maps as one big texture and can then use clone brush in Photoshop/gimp/krita to remove seams. You can also try making it tilable
Try uploading your blend file to googledrive or dropbox and share with a link.
I also remember the method where you have two planes dictating the top and bottom, the top plane emitting full light, and the bottom eliminating transparency (the Alpha Channel) with the main object creating the heightmap.
As for using GIMP to remove the seams, how do I go about that?
I’m not entirely sure if making it tillable would work as all vertical edges and all horizontal edges would be approximately the same. thereby eliminating changes in the terrain.
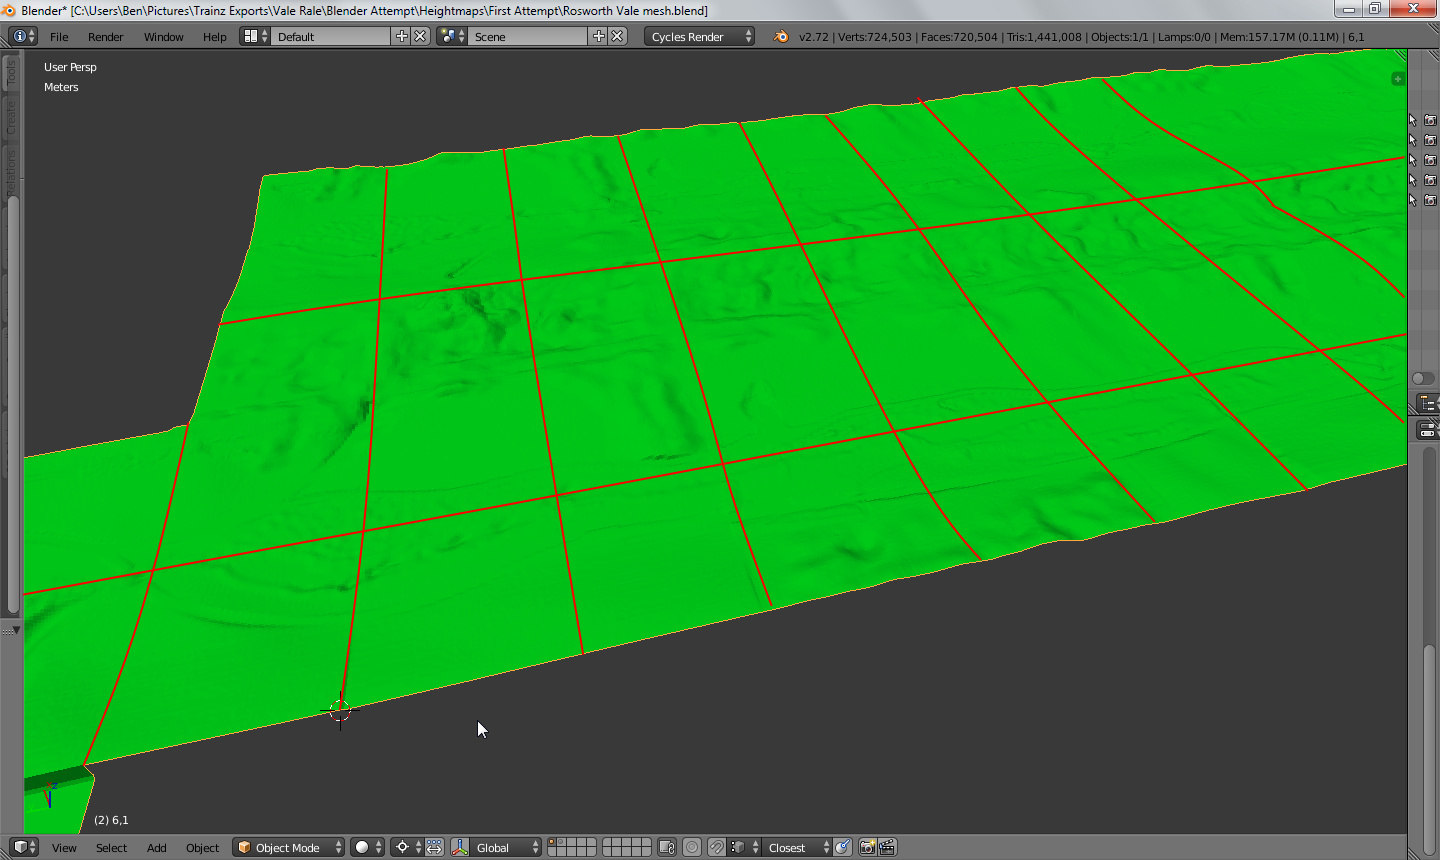
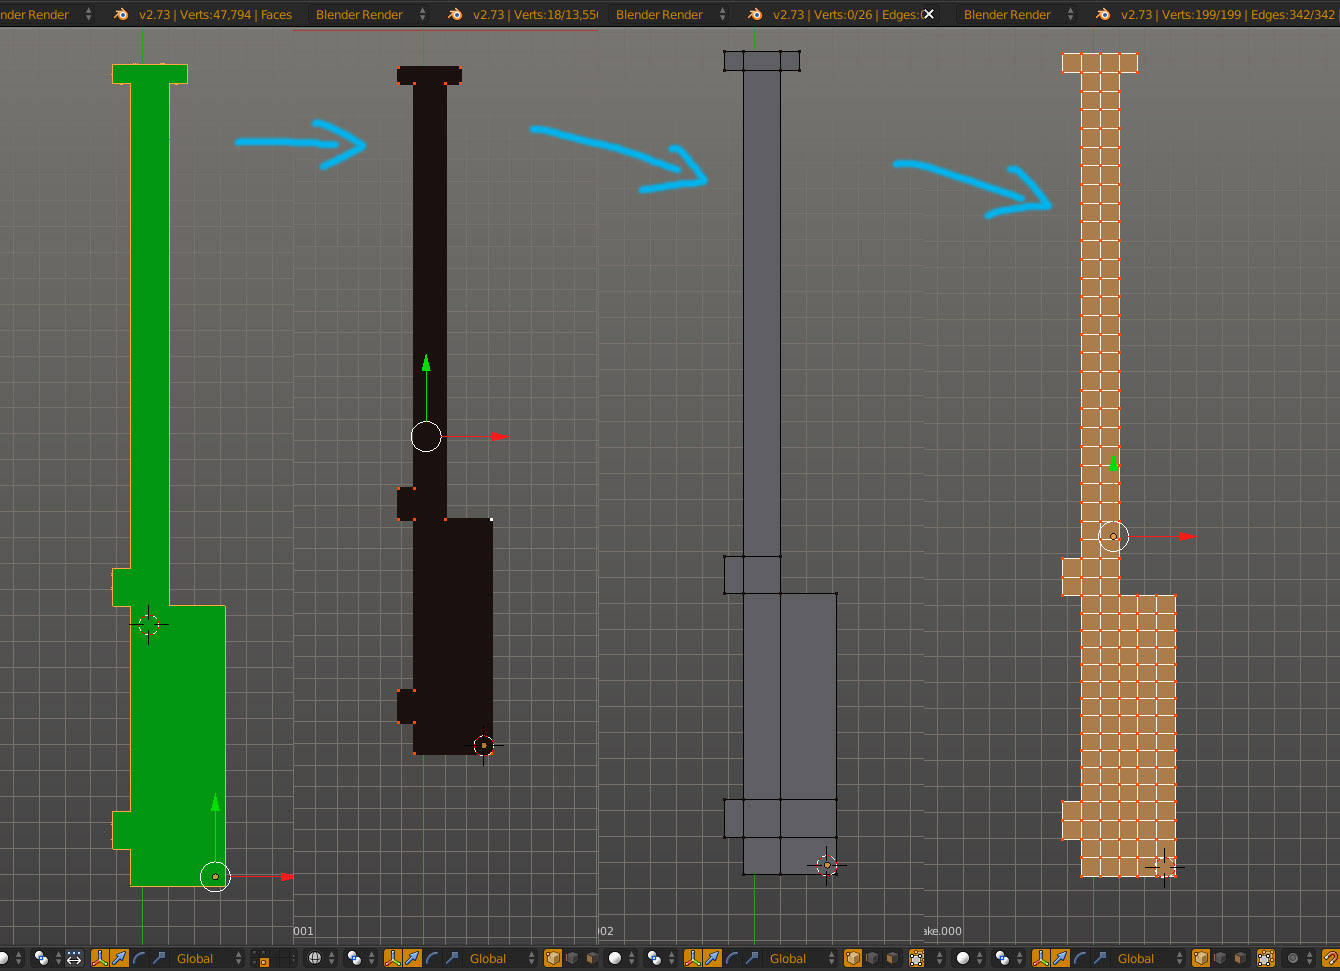
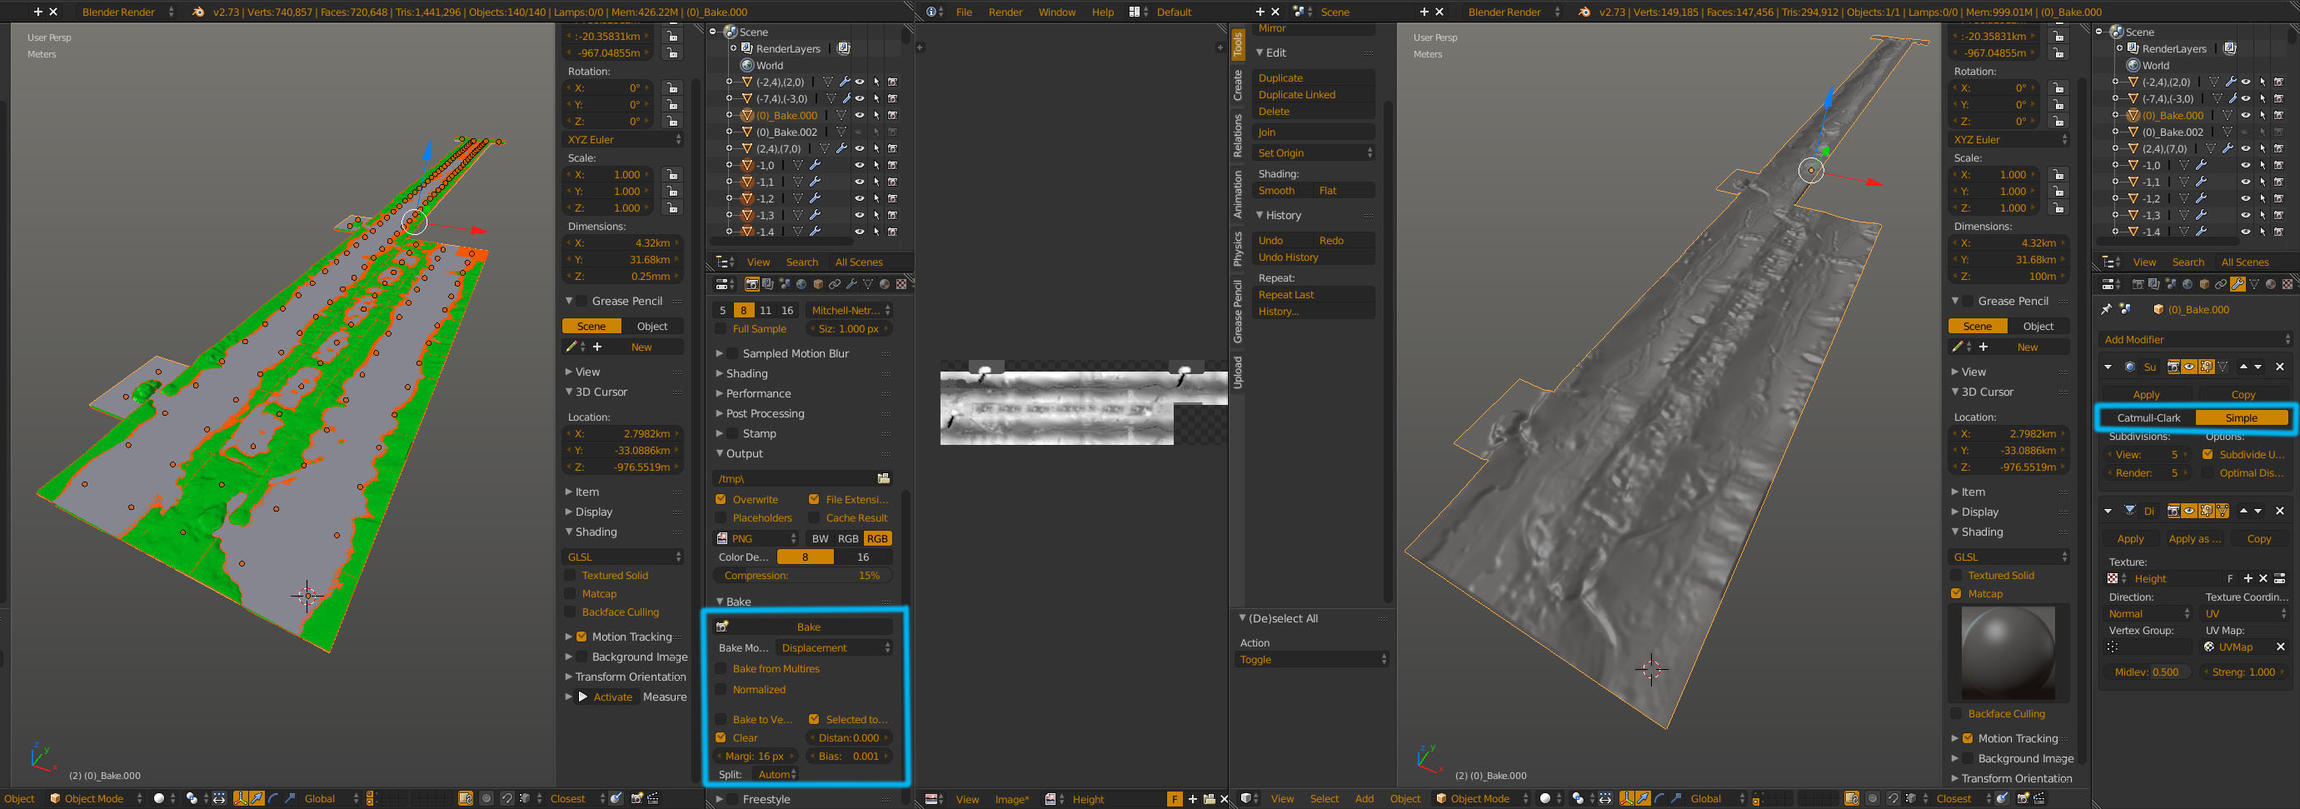
Okay this is how you can do it. First retopologize, your current mesh is too dense and also dont have UVs. Make a duplicate of all the pieces and join them (ctrl + J) then scale on z axis in edit mode to flatten the mesh. Then apply a decimate modifier but use the unsubdivide option just to get rid of some verts. Then in edit mode delete all verts except the outer corner verts, and then you can just refill the faces (F) and add some loops so that you have even sized polys.
To get rid of seams edit the map in PS/gimp. I used smudge tool to just blend the areas where seams are visible. This works but its not always that visible looking at the map alone. Alternatively you can duplicate the new mesh and apply the subsurf modifier and displace modifier and then sculpt out the seams in sculpt mode. Then rebake the height map.
Thank you, sorry for the extremely late reply, there’s a lot of stuff going on at the moment.
As for the topic, I downloaded the video and experimented a bit more with the baking of the heightmaps, and I have a good feel for how it works.
As for getting rid of the seams, the baking method generates a few unexpected pixels in random areas, so I used GIMP’s healing tool to get rid of them.
But overall, it looks as good as it’s going to get.