Coming from 14 years of SketchUp, I’m close to pulling my hair out, trying to replicate this simple operation from in Blender.
My muscle memory and “expectation” of the 3D drawing/modelling process is clashing with Blender’s way of working.
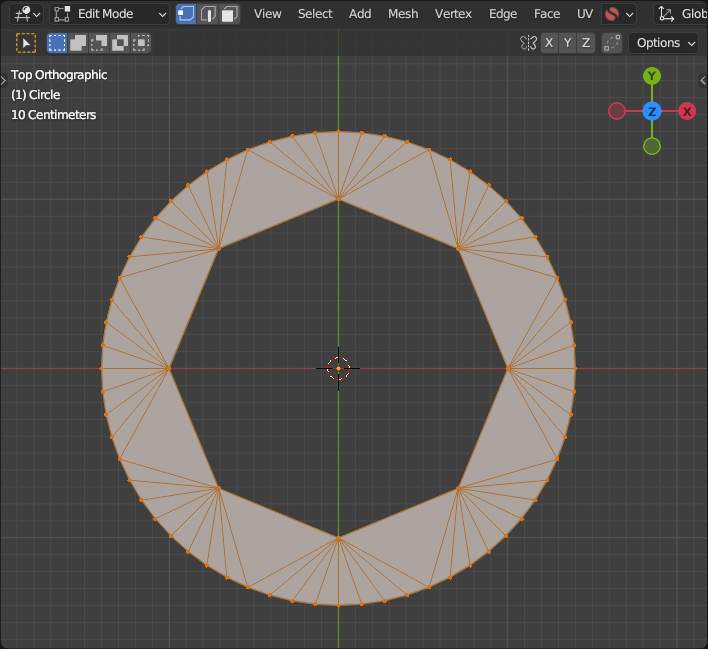
Does this mean I have to always draw extra lines/topology when I want to model stuff like this? You will notice, SketchUp is “smart” in that, there’s no need for topology or triangulation when merging a circle with an octagon. You just get one flat surface with a hole, without any connecting bridges or lines.
Is there a way to have the same kind of “smart” meshes in Blender?
I would appreciate any kind of support, thank you!
SketchUp is made that way so you can “sketch” on the 2D plane and extrude to some height: also the “meshmaking” is specialist to make those “instand booleans”
Blender was/is made to make 3D meshes.. finally with triangles and maybe quads; at firs tn-gons wheren’t possible at all; and faces with a hole need some inner edge inbetween
Both applikation are made for special use cases and so also the implementation for the mesh structure is optimised for this and can not do things which “originaly” aren’t meant to be.
So for this (of course a bit simple example) in blender one might do something like this:
Add mesh circle with vertex to 8: switch into edit mode and add circle with maybe 64 vertices and some bigger radius; select all; bridge edge loops…
There are also many ways to do this in MESH modeling, something you will need to get your head around, to progress.
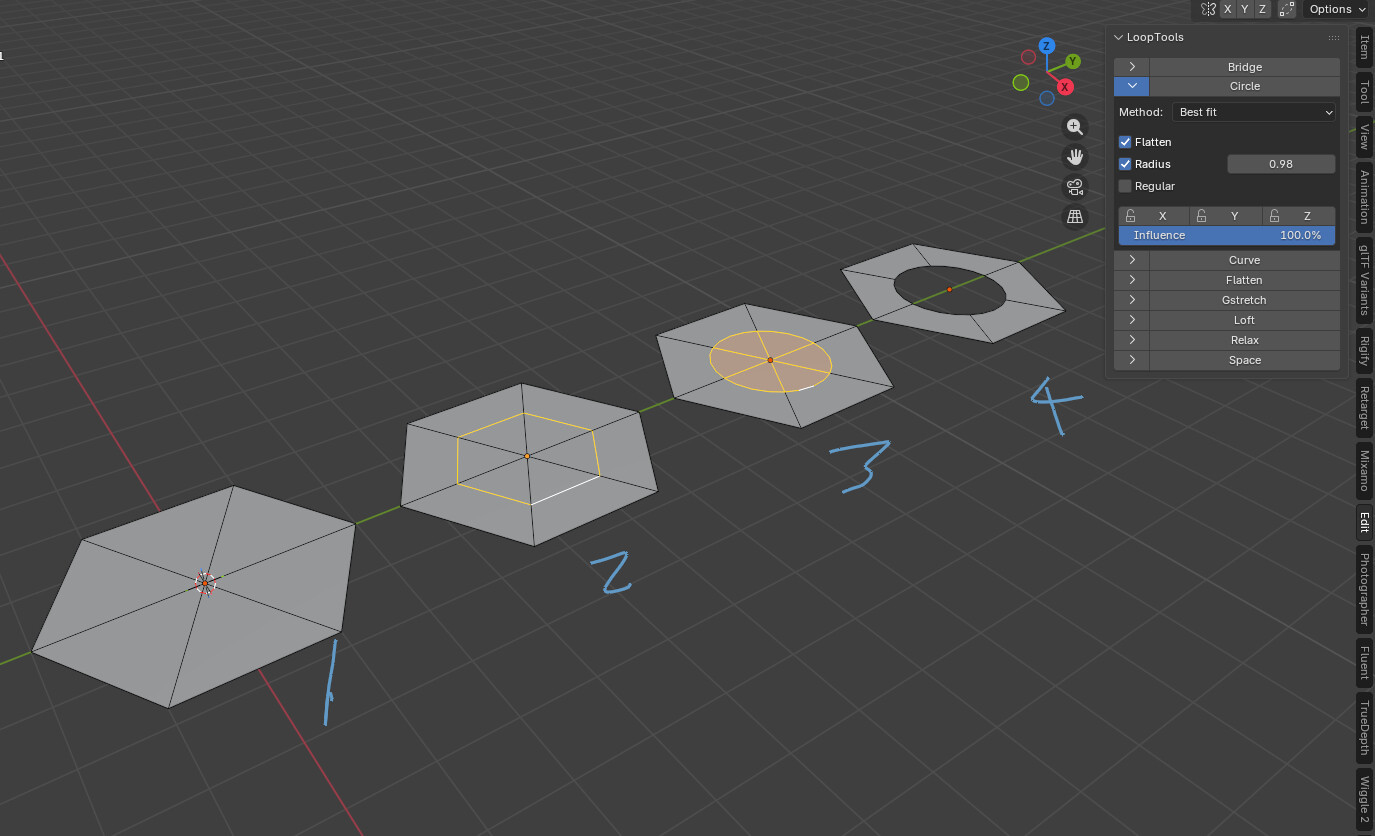
Add A Circle with 6 vertices, use a triangle fan for the fill type.
In Edit Mode…
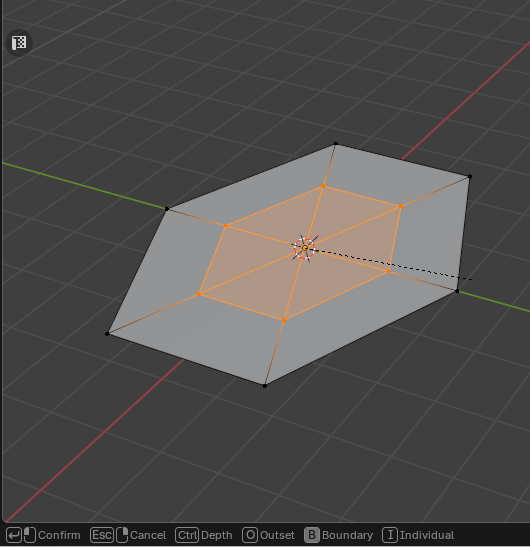
Use ( i ) inset and make it approximately the size of the hole. Select the inner inset edge (only) and subdivide 2 times. Then select those inner faces.
Use the addon Loop-Tools ( included in extensions), and open the CIRCLE tab. Use the settings in the picture. Press the Circle TAB and adjust the Radius.
You can obtain such kind of flat surface with holes by using 2D Curve object.
You can add a BézierCircle to scene.
In Object Data properties, you can set its shape to 2D, its Fill Mode to Front and its Fill solver to Delaunay.
In Edit mode, you can duplicate circle, scale it. Hole will be created by automated filling.
Then, you have to change Resolution of selected spline, in Active Spline panel in Item tab of sidebar of 3D Viewport, to change a circle into an octagon.
Then, you will have to convert 2D Curve into a mesh. You will end up with a mesh made of triangles.
You can select all internal edges and dissolve them to obtain an Ngon.
That is slower than creating an octagonal disk filled by an Ngon, in Mesh Edit mode ; add a circle ; select both and use Weld Edges into Faces operator ; select and delete Ngon face corresponding to hole.
By default, Blender is a polygonal modeler expliciting triangles and quads.
Ngons are a conscious choice requiring dissolving operations, use of dedicated tools or indication at creation.
Indeed, to change that behavior by default, use of addons is necessary.
Hey @Okidoki
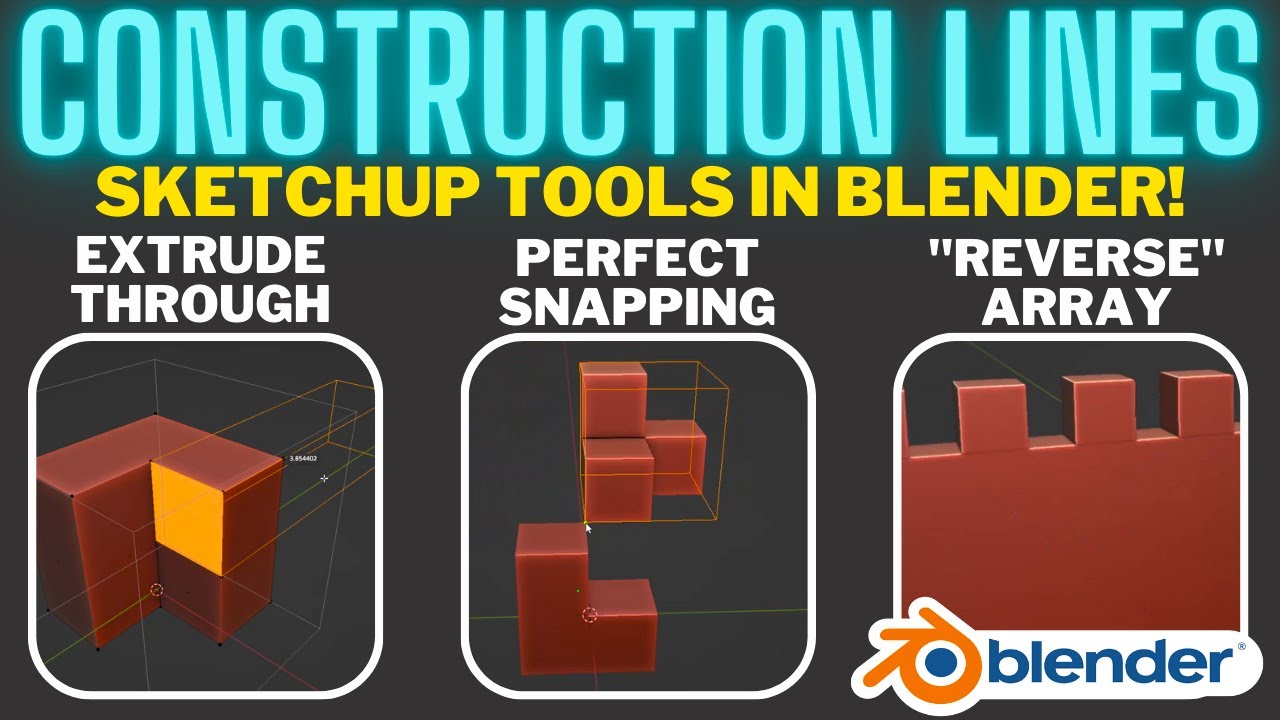
Thank you very much for your input. I’ve just purchased Construction Lines and will give it a go. At the same time also trying to build this natively to learn all the bells and whistles.
Delaunay is the name of a Russian mathematician, author of a type of triangulation.
I suggested to change Fill Solver, just to obtain a prettier triangulation in Edit Mode, for your example.
Default Sweep Line may create elongated triangles, more frightening.
Fill mode of curves is generating a mesh, made of triangles.
The only way to see triangulation, before conversion to mesh, is to enable Wireframe overlay.
Using Inset, you need to move the mouse towards the center of the object. You managed it several times in your vid, but Individual was turned on. When using Inset, look at the bottom of the window, the settings are listed there.