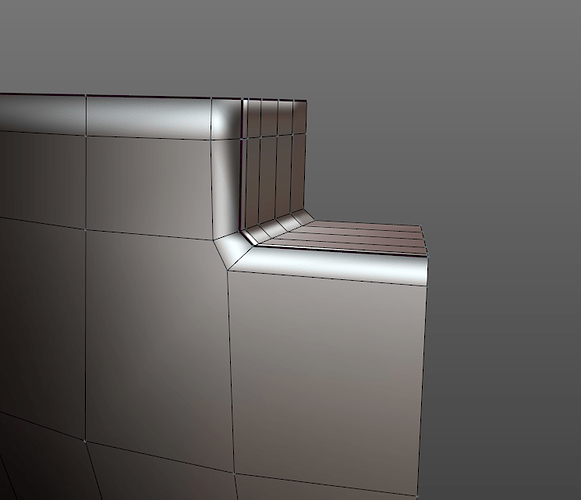
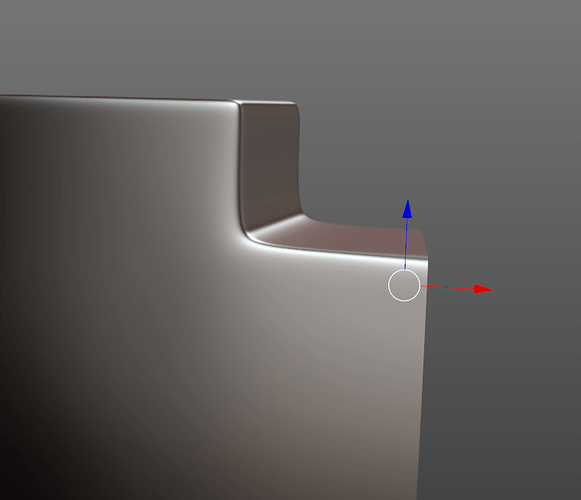
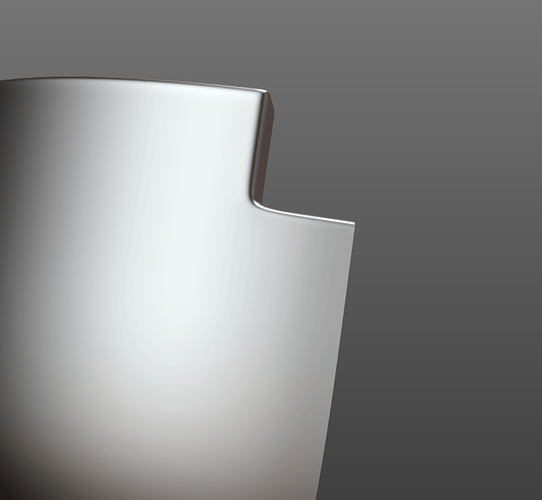
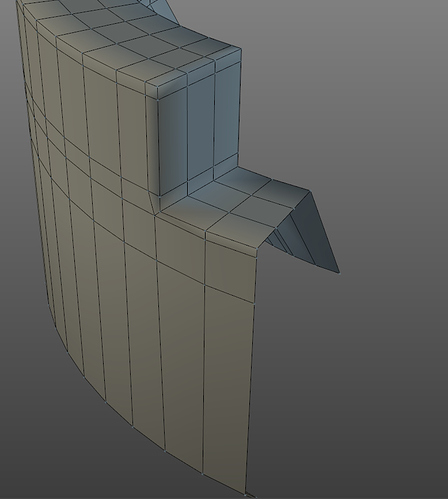
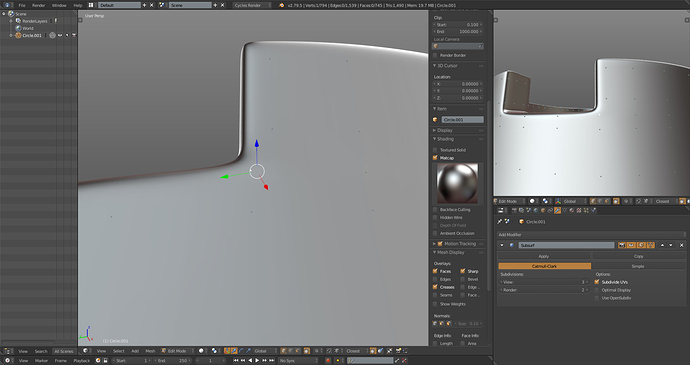
What’s the best way to avoid this kind of distortion when I’m using a subsurf? I tried playing around with the crease tool instead of using support loops but it’s not the same.
There are various ways, you can use a bevel and get an 5 sided polygon, this method needs some vertex tweaking to correct the curvature, is not the best but it allows you to keep your current mesh:
The correct one is to simply use more geometry:
Thanks Sonic, can you just post a picture looking down on that last one so I can better see what you did?
You can also simplify the shape by removing some edges afterwards, the edges that are near each other then need to be “slided” apart to allow a smooth transition, this will change the curvature that you have to fix, using a Circle guide, it’s a little bit of an hassle, because you can’t use coloured wireframes (thanks a lot Ton), so with black on black you have to look closely to identify your mesh from the guide.
Support_Loops_01.blend (136.1 KB)
You can find in the attached .blend file the various shapes, they are separated in different Layers.
Here, a little trick to get a better smoothing 
That’s awesome man, I will look at this now 
Ok, so I tried what you showed me, it looks pretty good now, though on the corners there’s still a little distortion…
I only subdivided it to 2, 3 improves it a bit but this is one object of many in my scene and I want to limit the divisions a bit.
I noticed inside I have some unwanted distortion…
It’s not the end of the world, and in fact doesn’t show up with the material applied (glass). I sometimes don’t know if I’m being too pedantic, but I really kinda enjoy having a neat mesh, it feeds my obsessive compulsive disorder ![]()
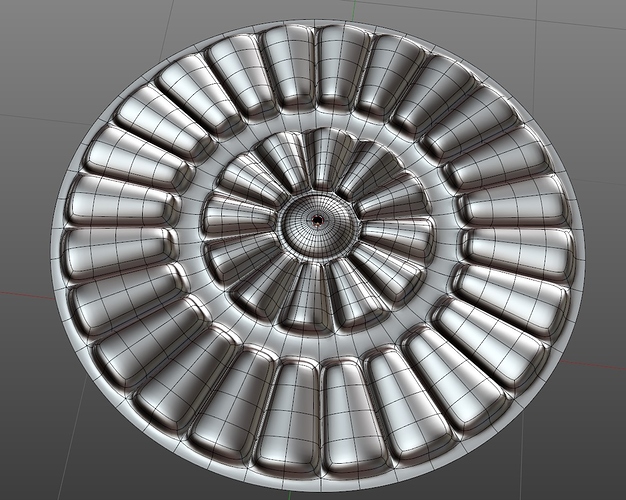
I have another 2 questions if I may, 1 filling the centre…
What’s the best practice here, obviously if I do this I have a bunch of tris in the middle, it seems to fine, I’m just curious what you think.
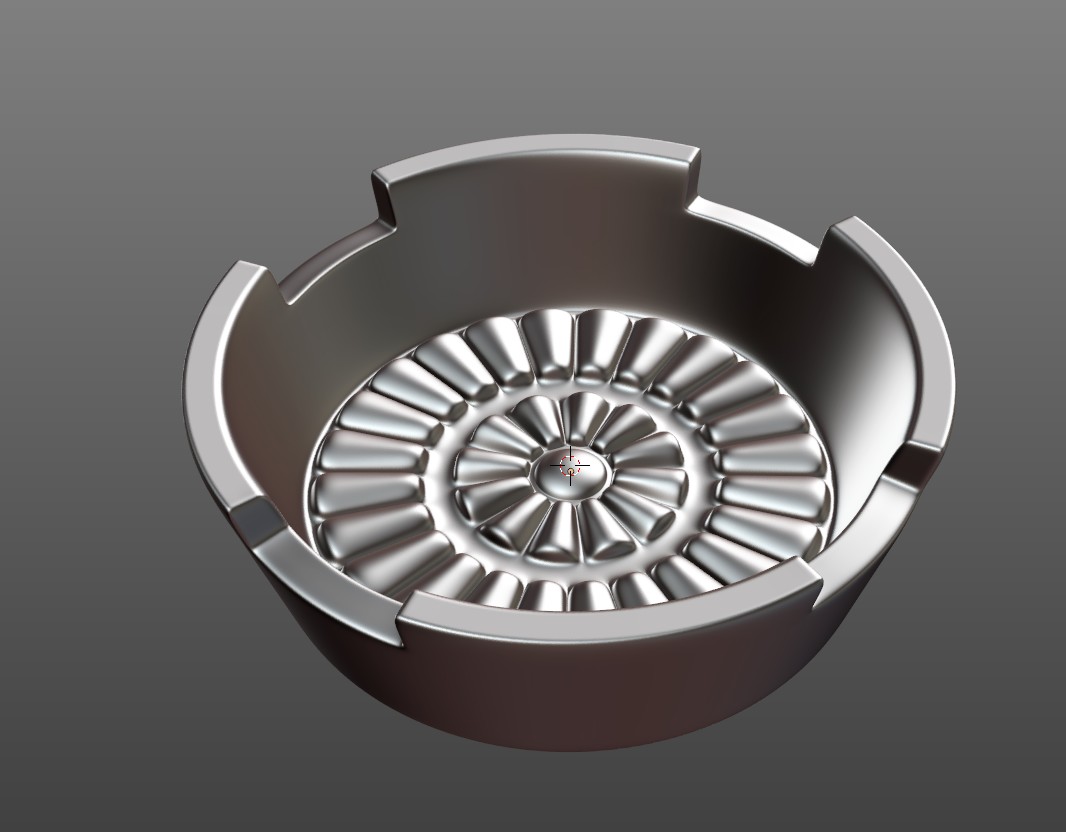
Also, my aim was to make an ashtray along the lines of this…
So adding this glass detailing, should I build this off the main object, or add it as separate object(s)?
For the first problem you have to move the edge loop around a little bit, when they are too close this kind of problems occur, or you have to correct the curvature, can’t say much from the picture (what’s that dithering?)
For the second problem
That won’t work with transparent materials, as you will see the interpenetrating pieces.
Ashtray_01.blend (162.6 KB)
You need the right amount of edges to do it correctly, in this case 48, but you can go higher, to get better results when you add the holes.
Since we are here:
Ashtray_02.blend (201.7 KB)
The ashtray from the reference has a different shape, it’s more like a rounded square going toward the top part, and the parts where you put the cigarette, is more jagged, there’s also a pattern on the front facing part, but since you are not copying it 1:1, you can ignore these details.
I made the holes too big? ![]()
Thanks Sonic ![]()
Yeah, I wanted the detailing on the outer sides of the ashtray as well, but that then distorts the rim because of the subsurface… I’m not sure if it’s possible for me to do that without compromising the overall shape of the body of the ashtray.
Also on a side note, I notice you use this…
I’m curious what this feature does ![]()
In Edit Mode, instead of showing the cage edges, it displays the subdivision surface edges, so that you can work with the subdivided mesh directly.
As for the dithering, It seems to appear when I turn on the ambient occlusion, I don’t know why 
OK, that’s what I thought, I got used to editing it without it on, but do you think it’s worth getting into the habit of using it? I don’t mind changing habits if it feels more natural or has some other benefits.
Depends on what you are doing, some operations are difficult to do with that option turned on, like using the knife, as the components don’t match visually where they actually are.
I don’t work with subdivison surface turned on all the time, I just use it when I need to preview the mesh, it’s also a performance problem, since most operations are slower when you are working with a high poly mesh.
Thank you SonicBlue for the info. But when I try to reproduce the same mesh as yours, I am getting some small distortion, while your mesh does not have it. Any ideas why am I getting this? Thank you.
Here is the file: https://www.dropbox.com/s/097kw5mpkuwr2bj/tryIntersection.blend?dl=0
Remove the edge loop below the distortion.
Thanks for the reply. I am aware that by removing or sliding the edge loop below distortion will solve the problem, my question is why I have that distortion in the first place? The mesh topology for both blender files is the same, and I should get the same results.
Try moving the edge loop that is about an inch to the left, closer. You can see in his it’s about half the distance as yours from the part you were working on. (If that doesn’t make sense i’ll explain better when I have more time)
As the person who started this thread about a year ago, and was in your position, I recommend practicing things like this and putting holes in objects if like me you like hard surface modelling. If you do it a few times you really start to get the feel of it.
Edit: One of the most challenging for me was putting a hole through a cylinder. Great practice. 
I didn’t get the notification because you forgot to quote me, and casually the thread appeared in my suggestions ![]()
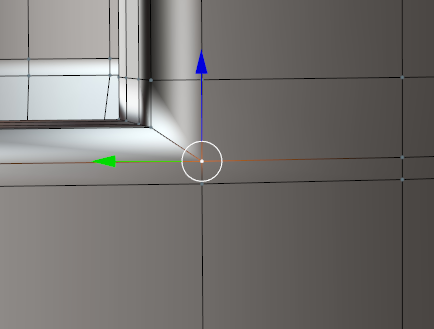
2.79, woah, anyway, you are not getting the same results as what I did, because you need to work on these points:
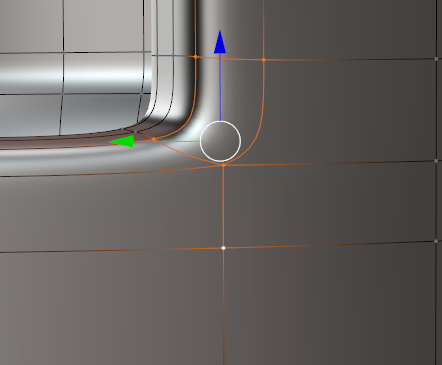
This is the main culprit, and it needs to be moved slightly outward.
While this, can help you get smoothness if you move it inward:
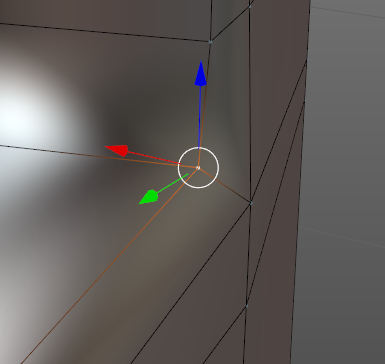
How much? You have to judge it by eye, maybe using a different view to observe the adjustments, is not an exact science. And, as I already wrote, you need more geometry if you want to get a good result more easily.
The setup looks like this:
Blender 2.8 offers better setup, as you can disable points display too.
