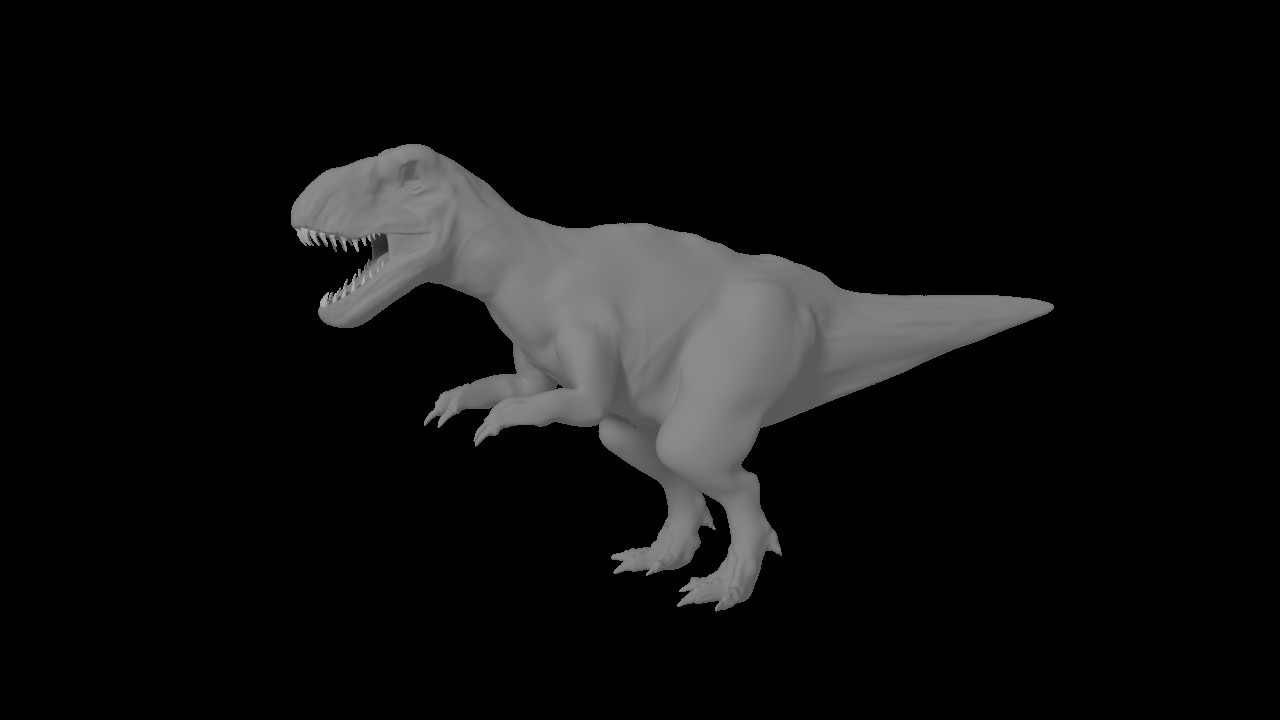
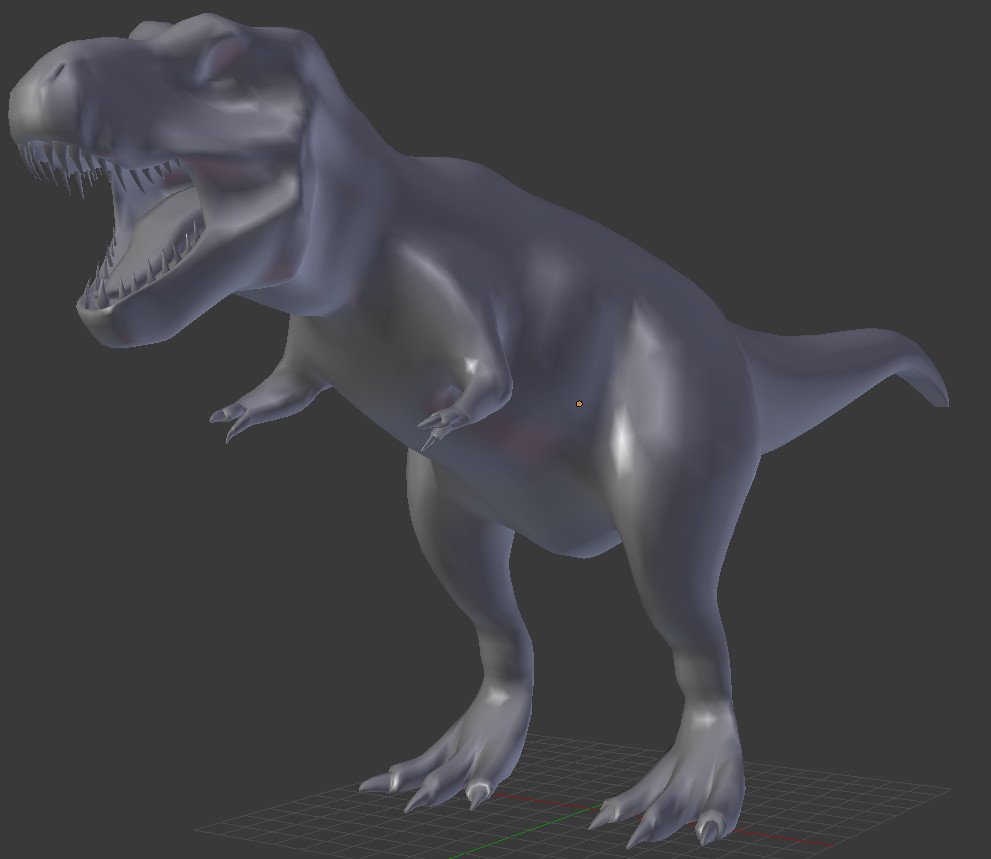
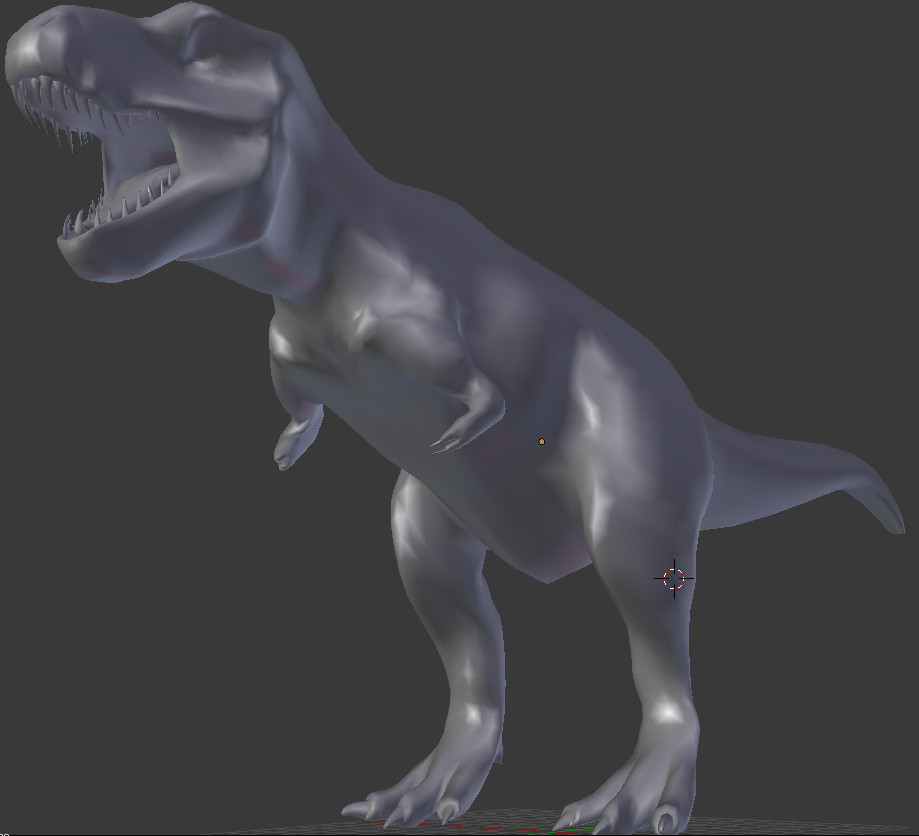
I was a little tired of the t. rex having too short arms, so I lengthened them, and call this a “Blendosaurus Rex”. This is not to be confused with the indominus rex, from Jurrasic World, this is simply a t.rex with slightly longer arms, that are actually useful and can serve a purpose.
However, I will still try and stick to correct anatomy, so please continue giving me constructive feedback. Thanks in advance
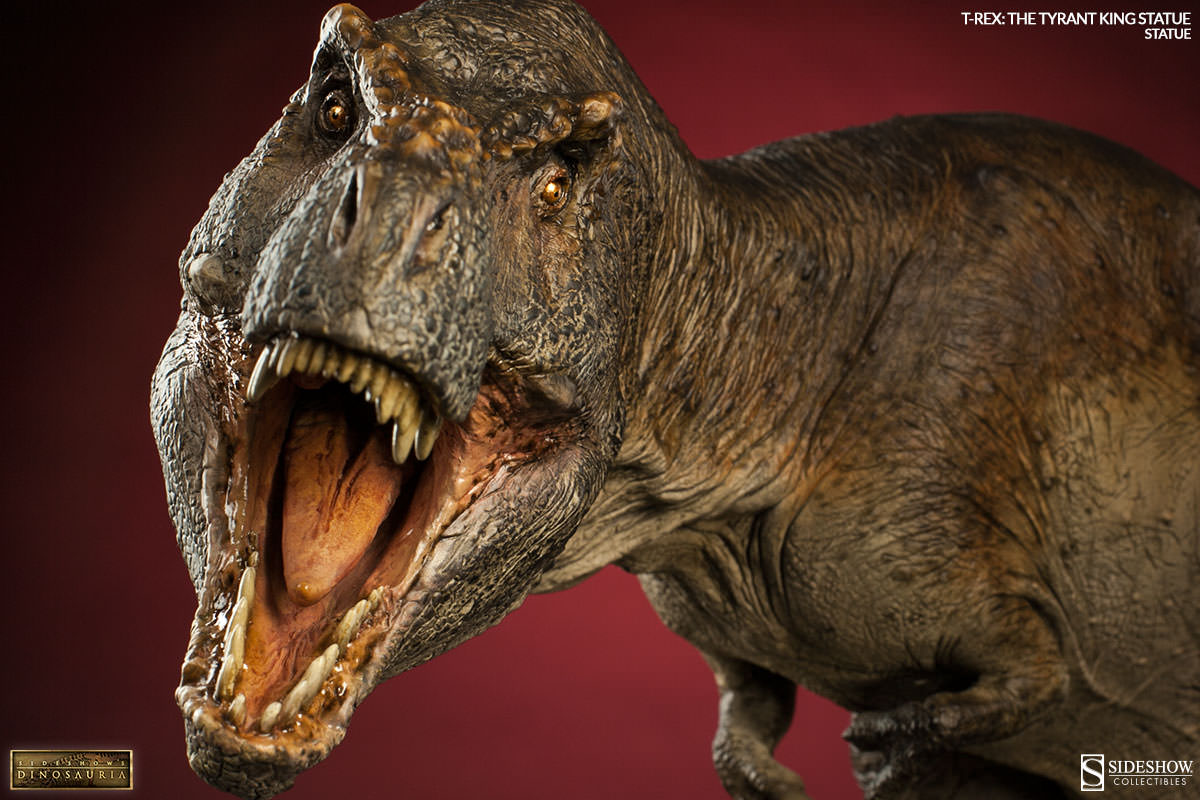
If you’ll check out my thread on the T-rex I’m currently making, you’ll see I used PLENTY of reference images on my .blend file. The tutorial I use was on youtube. He model’s a raptor on this, but you’ll find he gives you a lot of good pointers and you can throw your own twists in it as like. For example, get as many views as you possibly can. Front, back, side. The more references you get, the more you can match it up to make it look better in every view! And I find it much easier if you can do as much as you can in edit mode as your doing your basic topology before actually using sculpt mode.
well you are definitely making some good process here. looking a lot better than the original, that’s for sure.
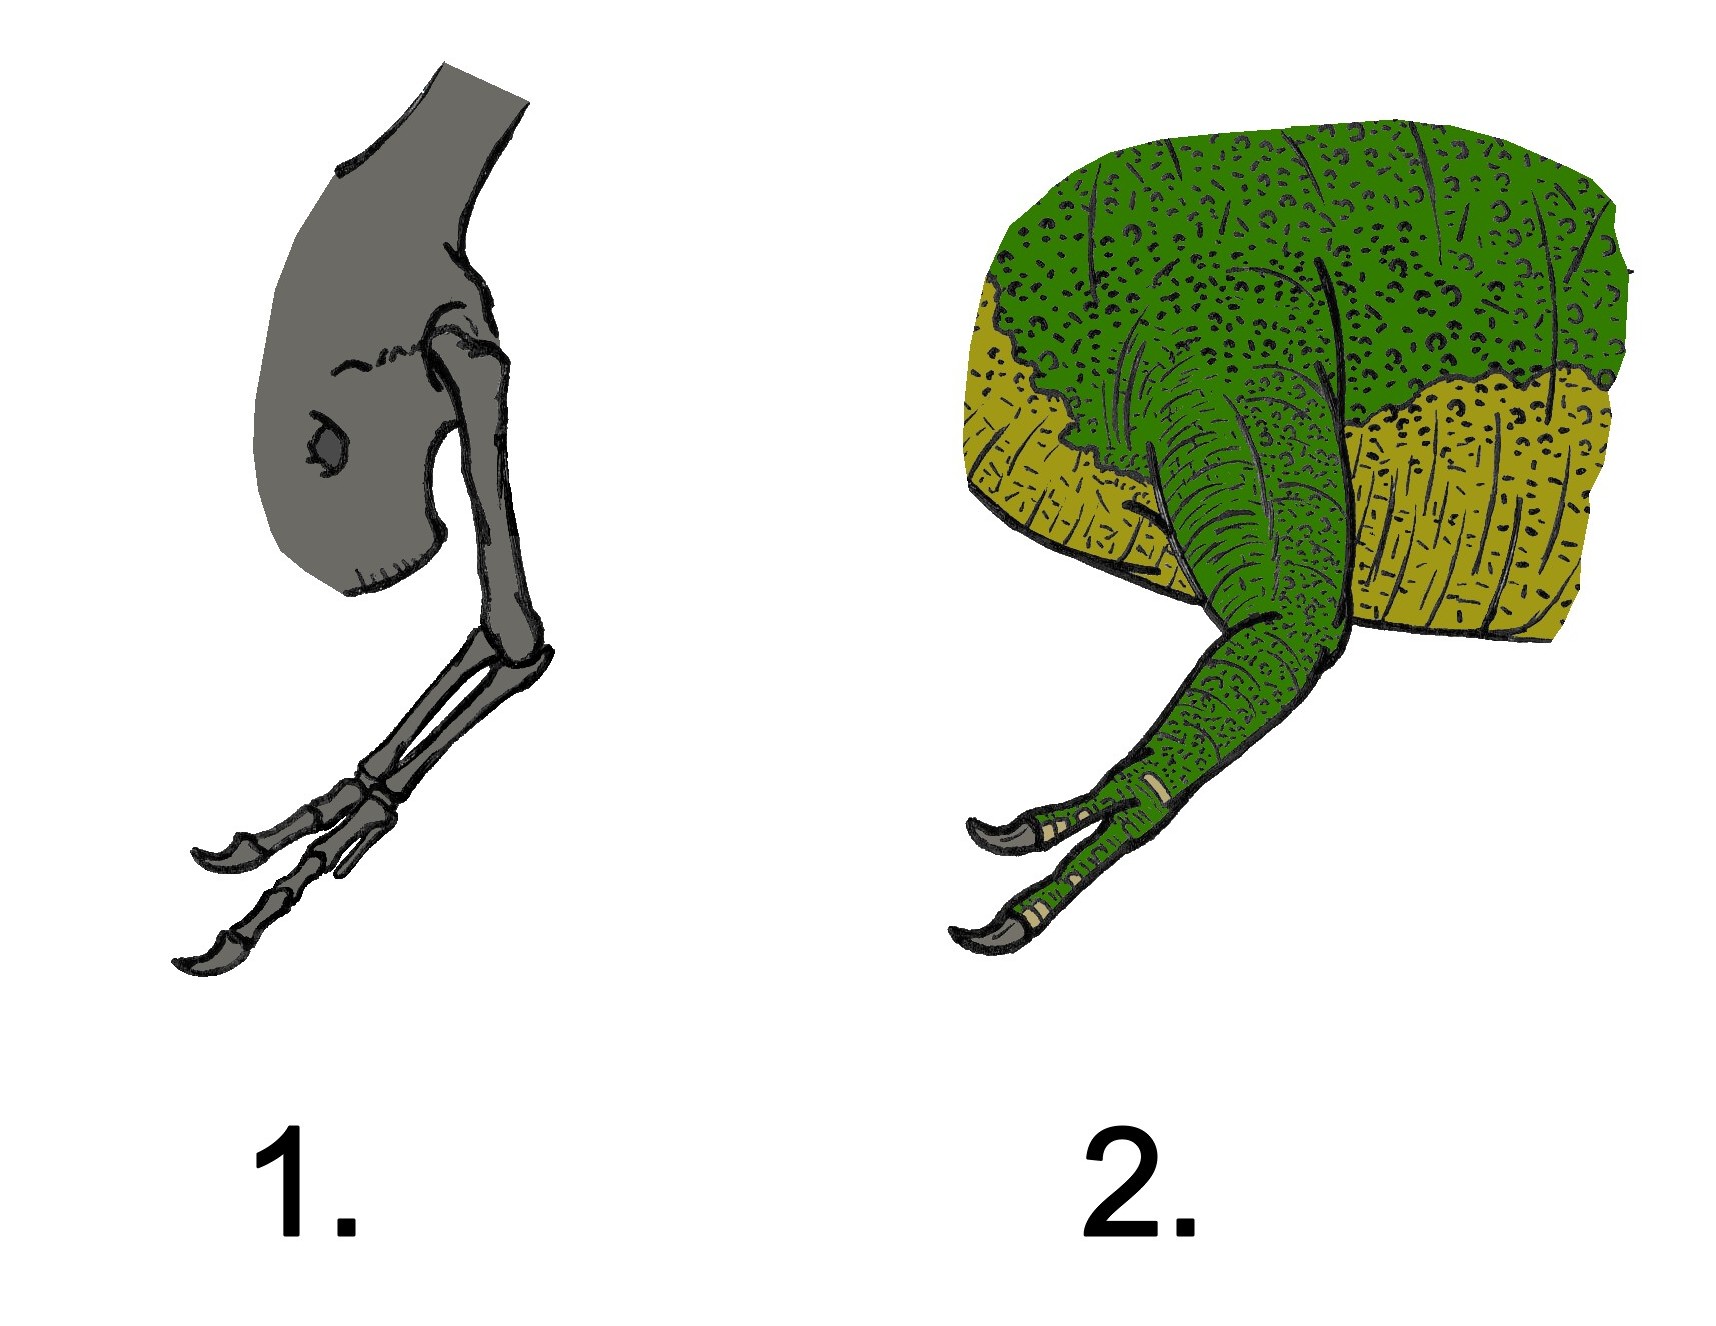
head could still use some more tweaking to fit the skeleton better, hand is pronated, which is another very frequently made mistake when people reconstruct t.rex. the arm is suppose to face sideway, like this
Thank you. I will post some pictures from other angles, when I get a better sculpted model.
I was told from elsewhere, that I should try and sculpt the muscles realistically, that I should study reference images on how the skin overlays the muscles and how the wrinkles appear, where, when and how.
This is very difficult to me. I would actually like to request a video tutorial, and it need not be for Blender specifically, as I am very much familiar with its sculpting brushes (and I know I can get more brushes) in Blender, so I can apply the techniques in Blender, if it is for z-brush. After all, this dino was made using a Maya tutorial…
What I need is someone, some pretty good tutor who can tell me where to put my strokes, and what to look out for on a reference image. I may be familiar with Blender, but I am not familiar with sculpting muscles and how the skin folds on them.
Quick tip for making wrinkles: Use either a clay brush or normal bursh. Clay brush will work better for things like: wrinkles on your forehead, neck, and big muscles while the normal sculpt brush will work better for wrinkles at for example joints.
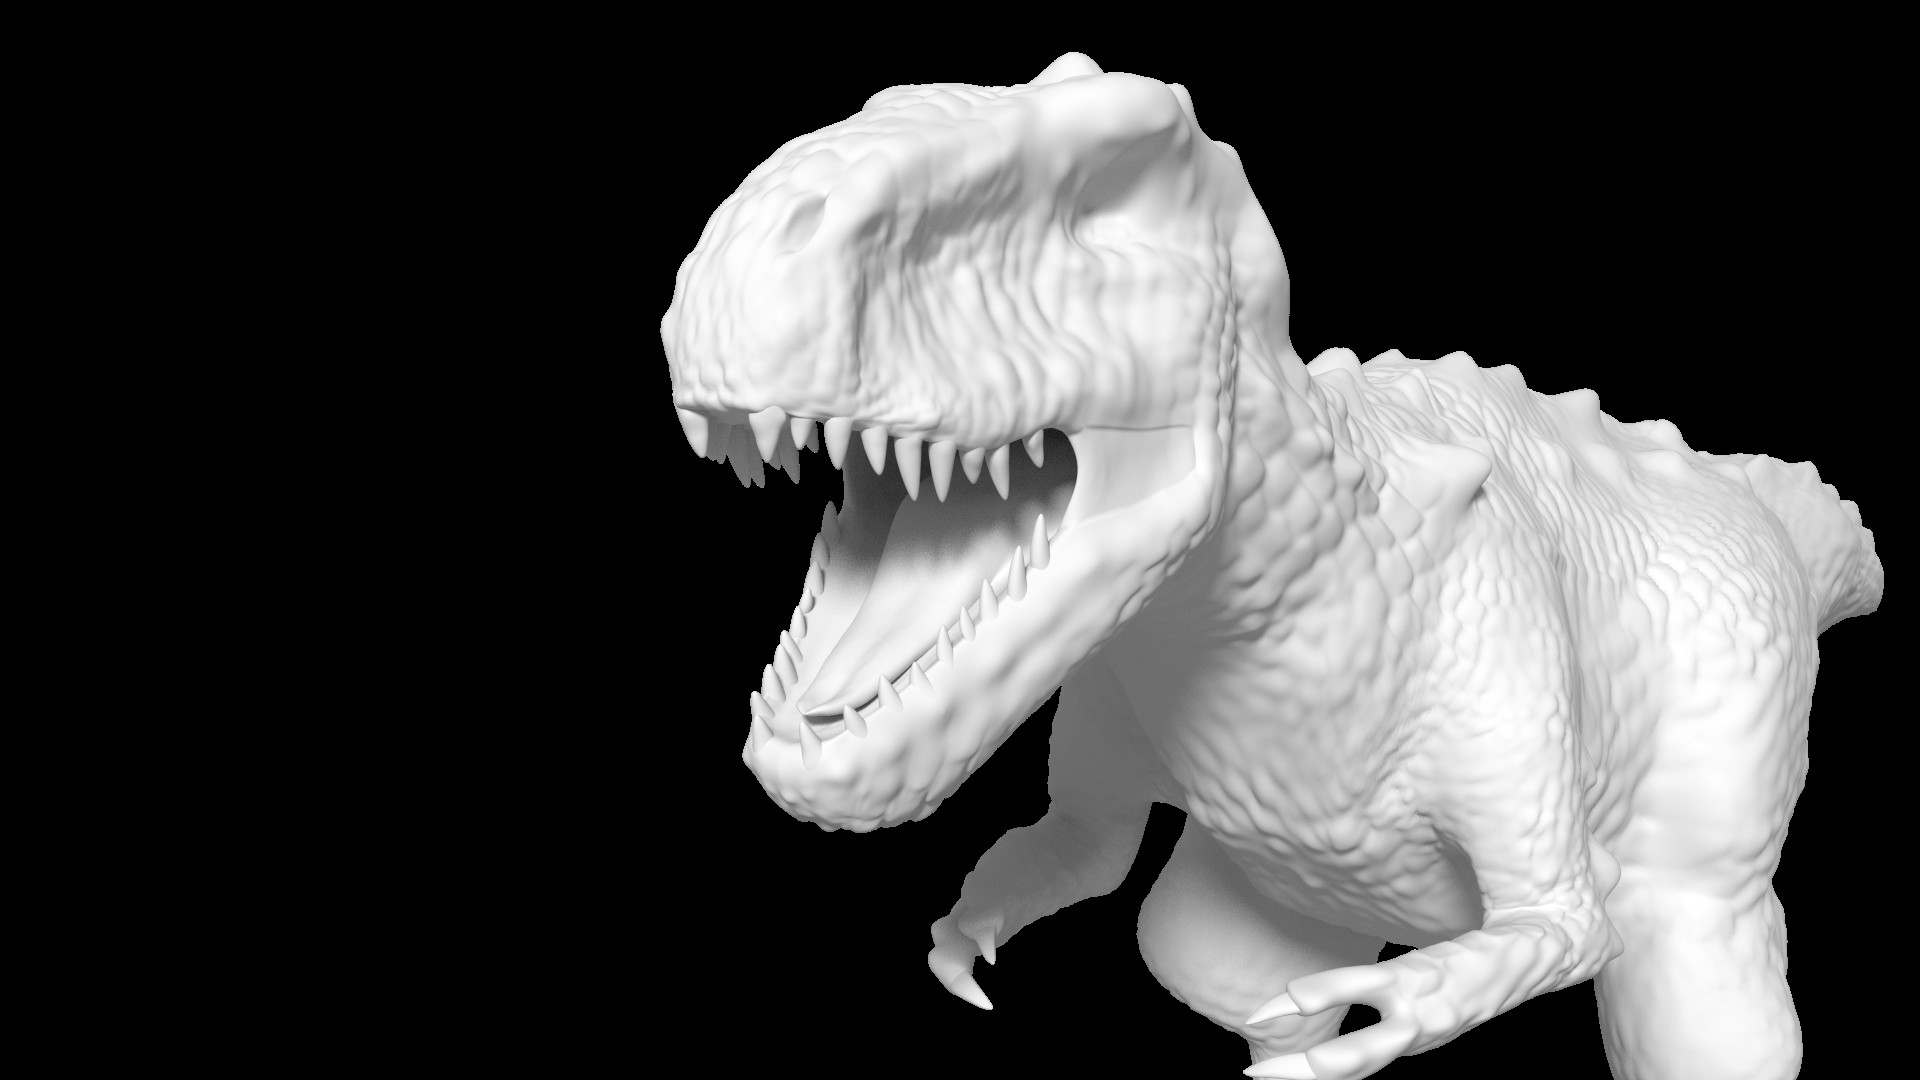
you wanna smooth out the top of your stroke, so that is doesn’t look like it just pops out. The wrinkles you have here now look more like gigantic blood veins because the “pop out” too much.
You are not much mistaken here. These ARE indeed blood veins, not wrinkles. I have very few wrinkles on my model, mainly on its neck, but again, a lot of them are meant to be veins.
If they are veins then they are far too big for an animal that size. I would say you still need to work on better definition in the sculpt before moving on. It looks rather smudgy and bloody still. You can use the crease brush for inset wrinkles around the elbows and knees. You’re getting there though, already looking a lot better than your first attempt!
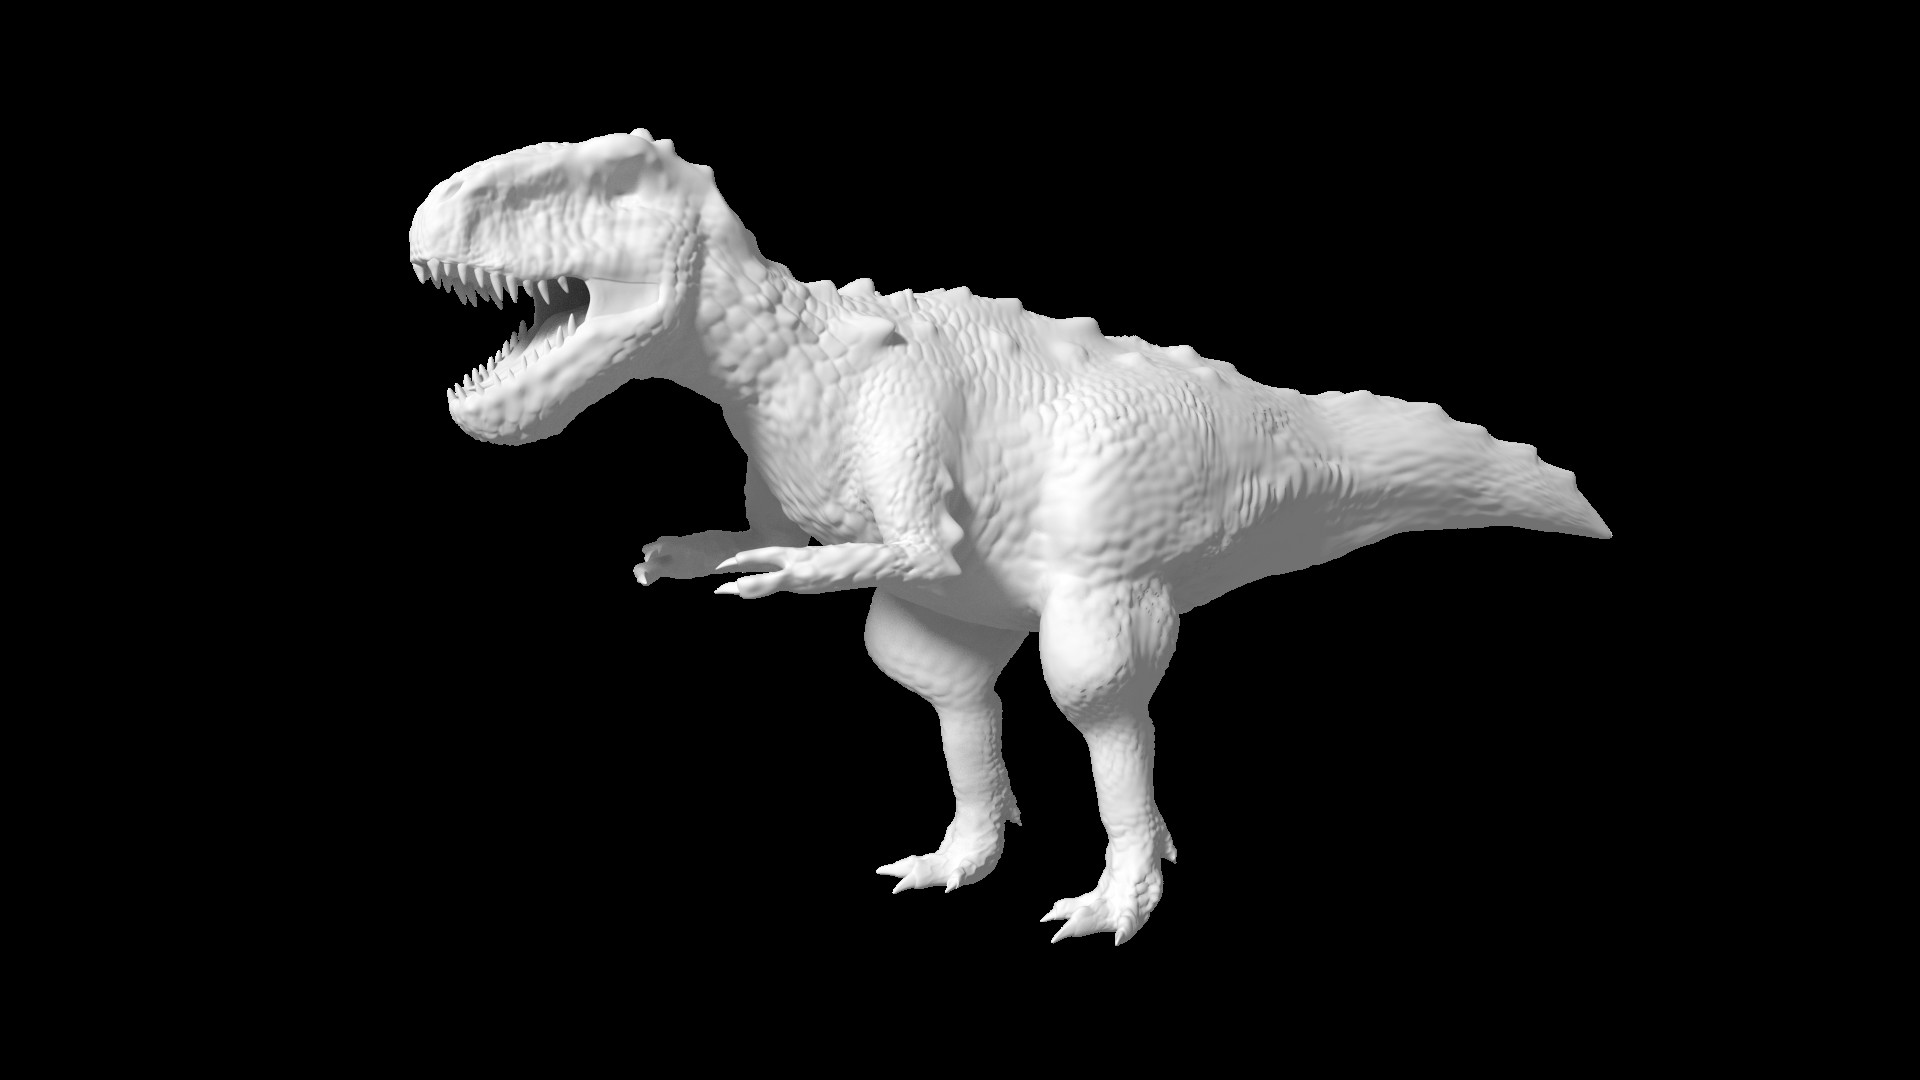
yes. too big and kinda weird looking scales. and by golly! those legs, now that i see them from another angle, it look super weird. like the knees section is inflating like a baloon. look closer at the references.
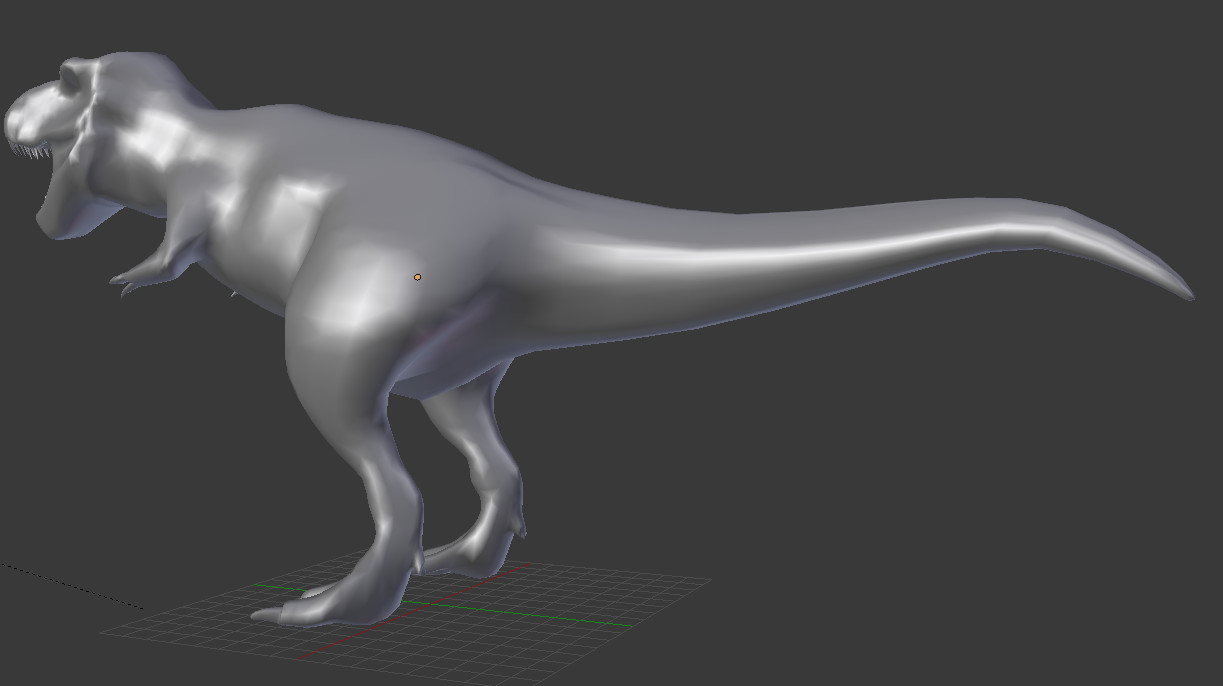
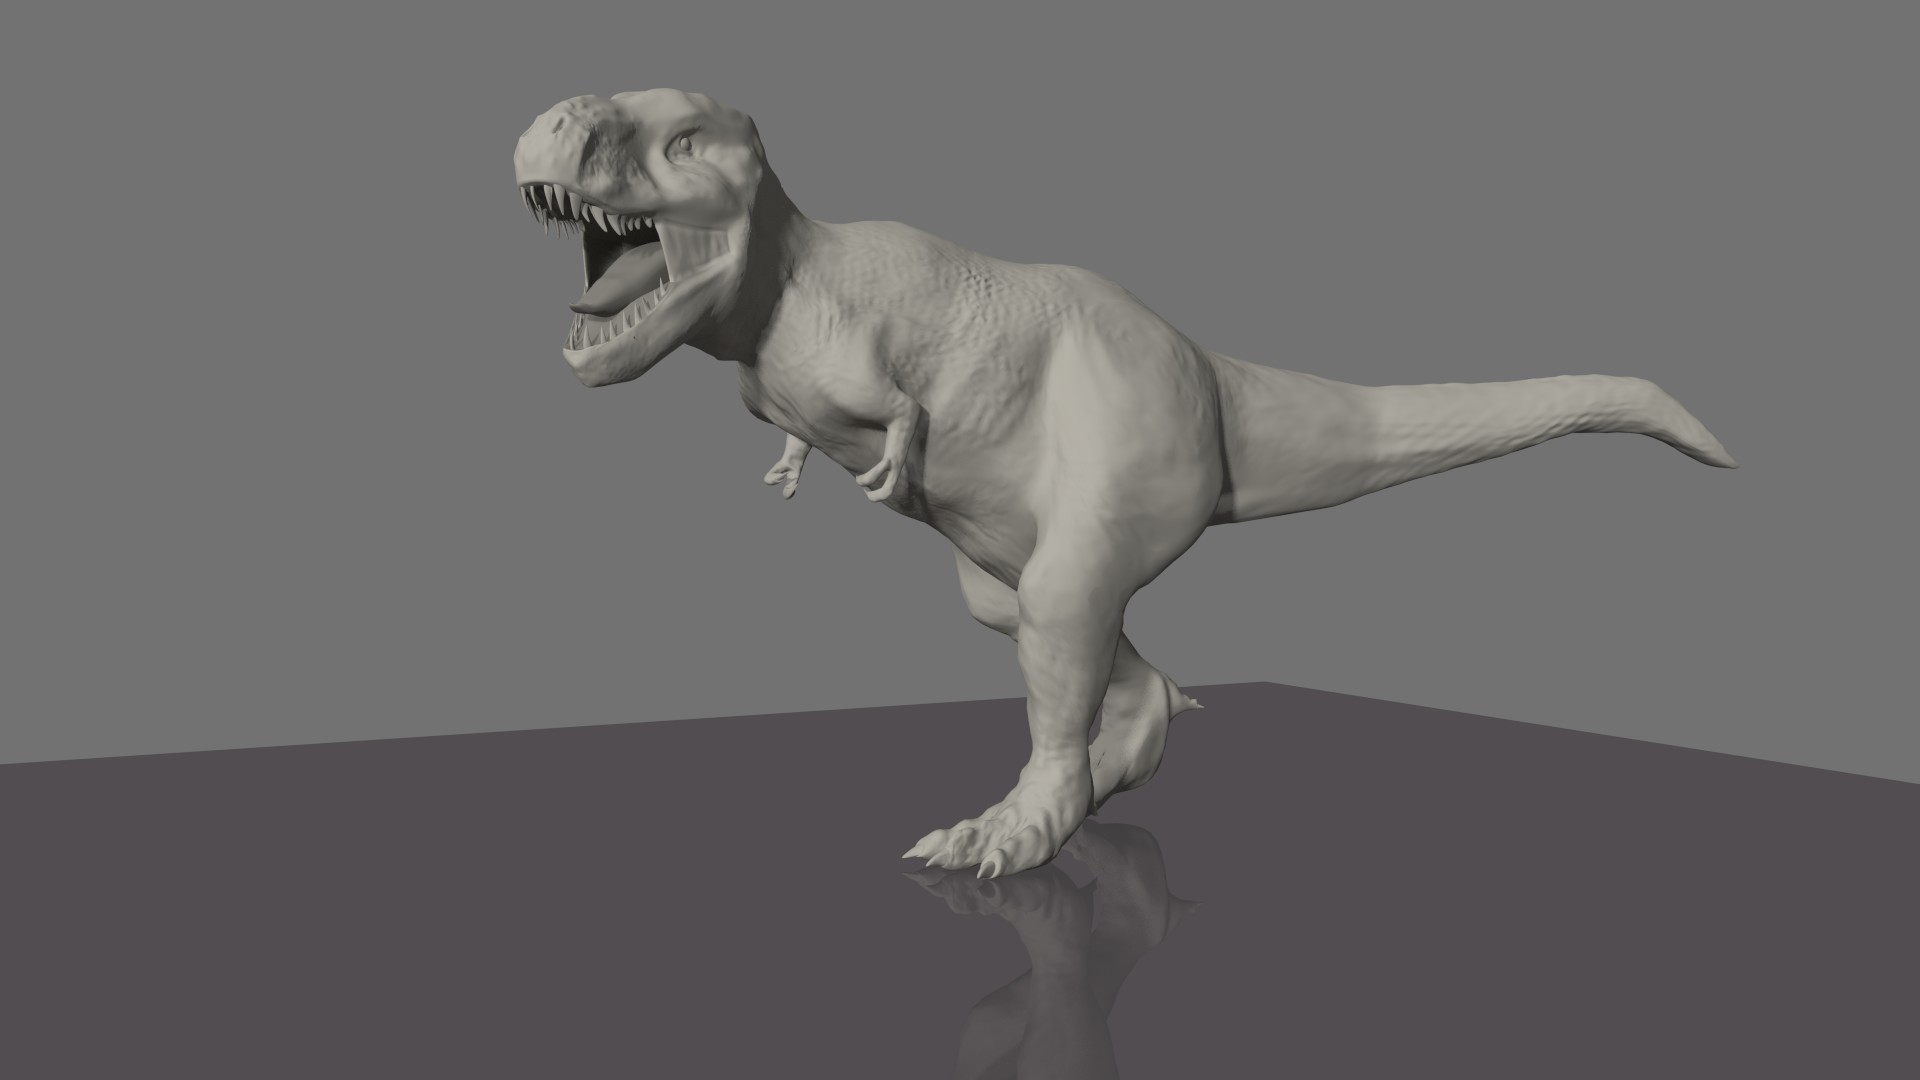
This is my 5th attempt at creating this dinosaur. As Blender does not allow for sculpting with mirror modifier on, I have to apply the mirror modifier, so I want to be 100 % certain that I can begin sculpting now. Are there any overall forms and shapes that should be changed here, before I apply the mirrormodifier?
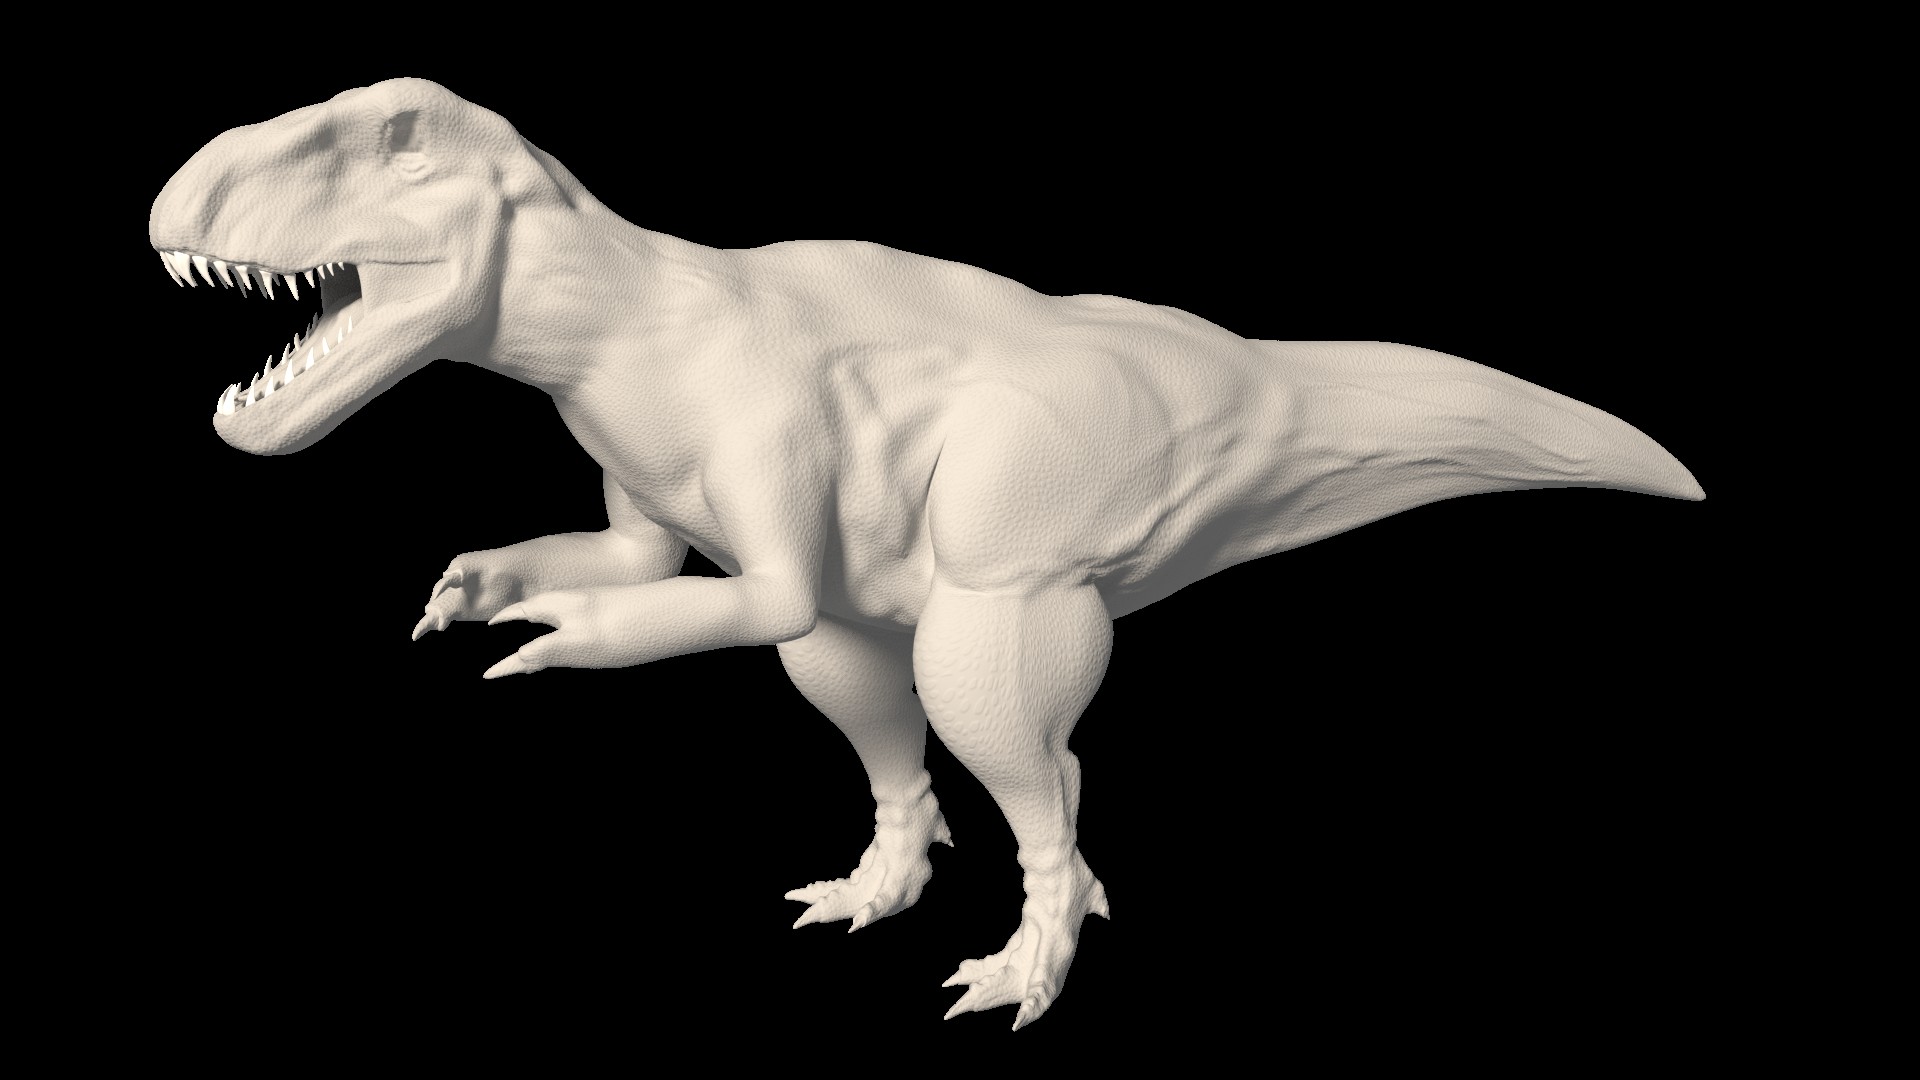
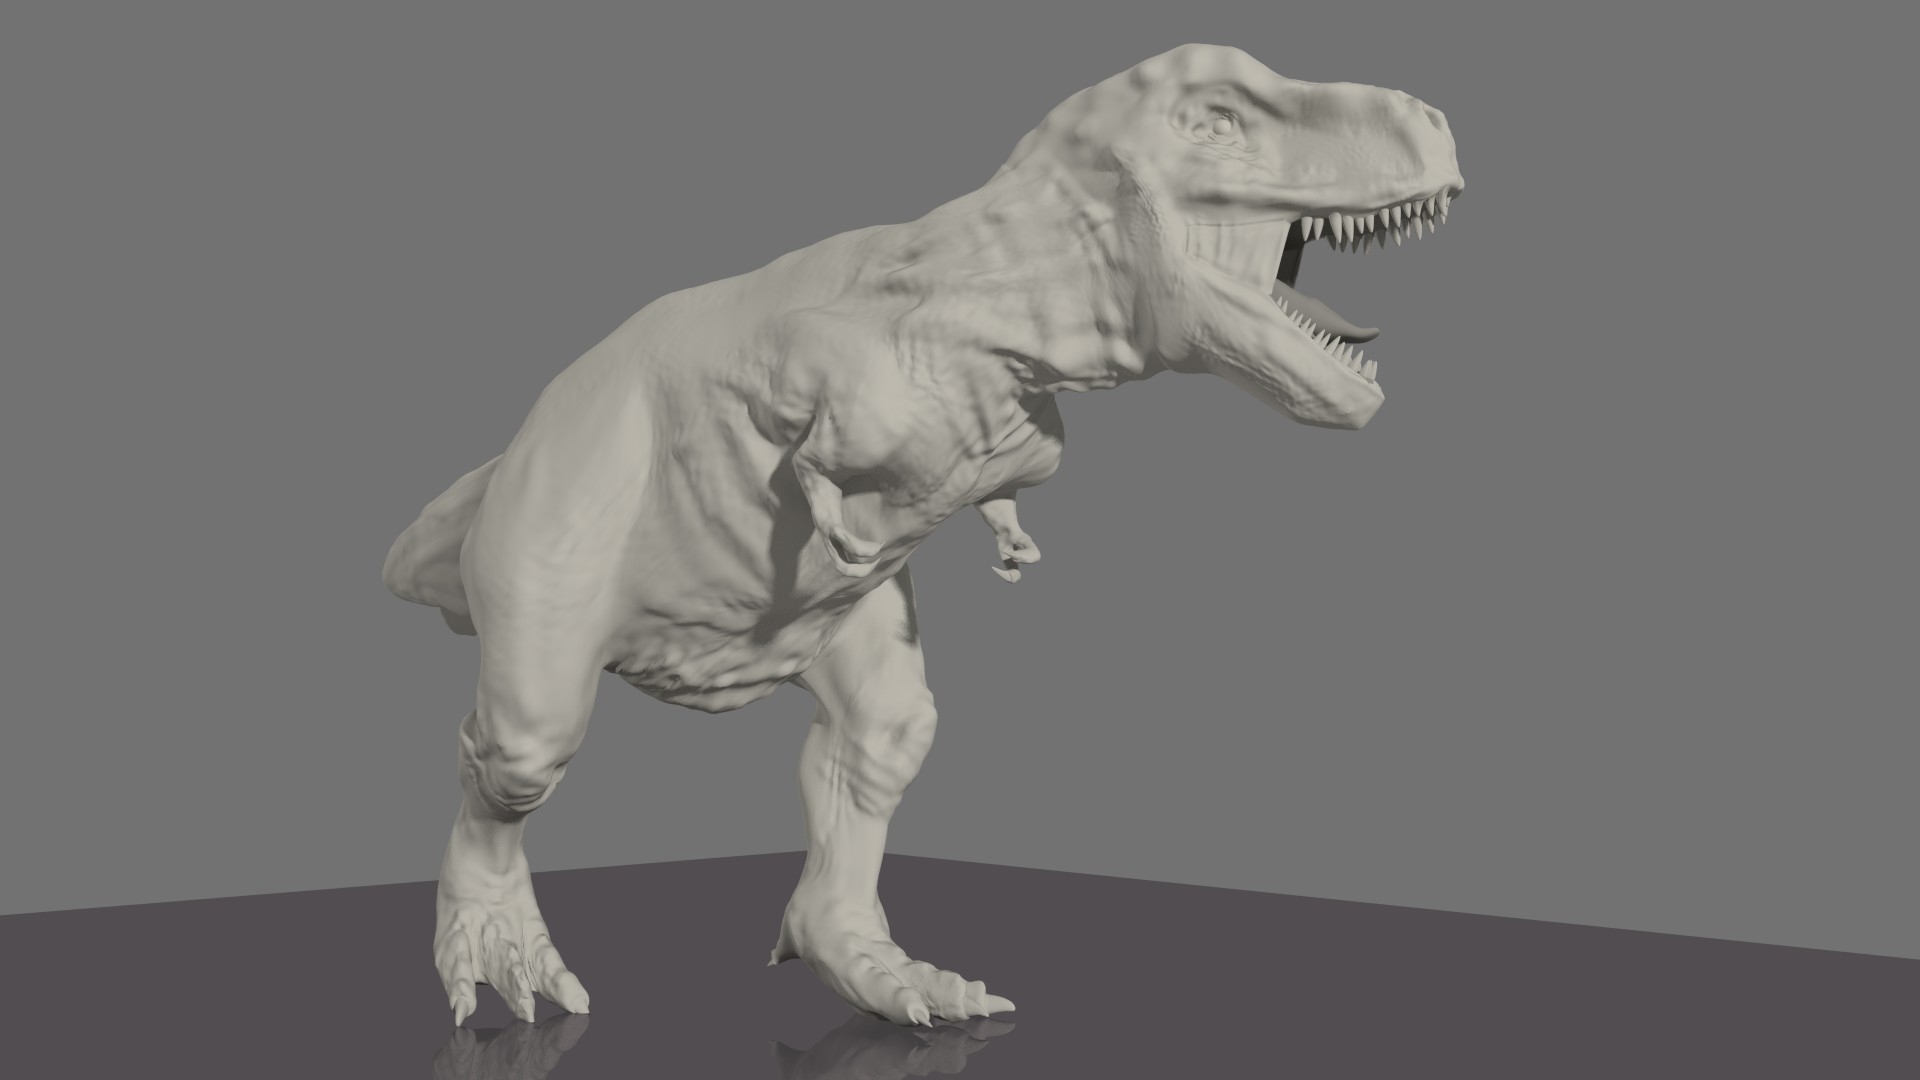
nice. look how much that have improved ay? the eye’s ridges should be more pronounced though. and the tail could be more bend-y and less stiff like it is now. and perhaps some finer details in the sculpt, as there are still plenty of room to spare.
Yes, there is plenty of stuff to be done. I will fix the eye ridges and tail.
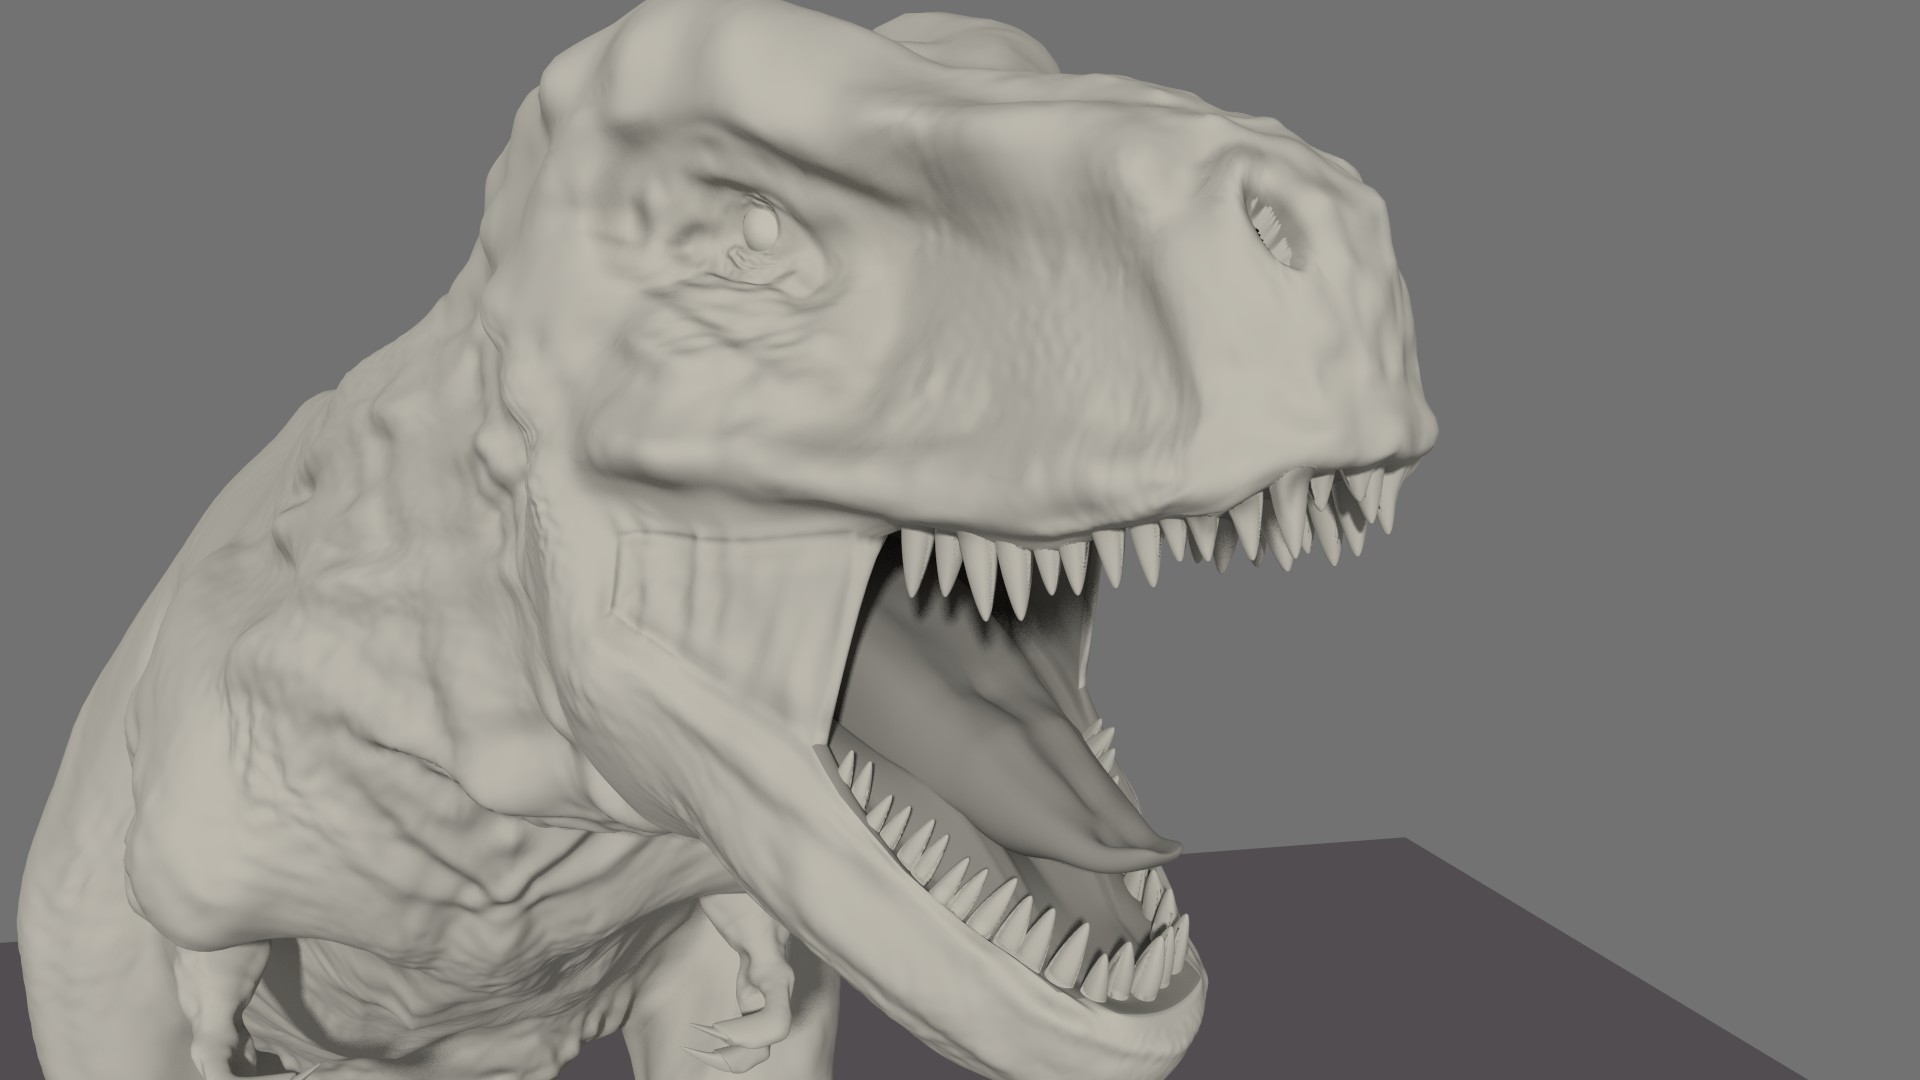
However, when it comes to fine-sculpting, I will now rely purely on bump mapping.
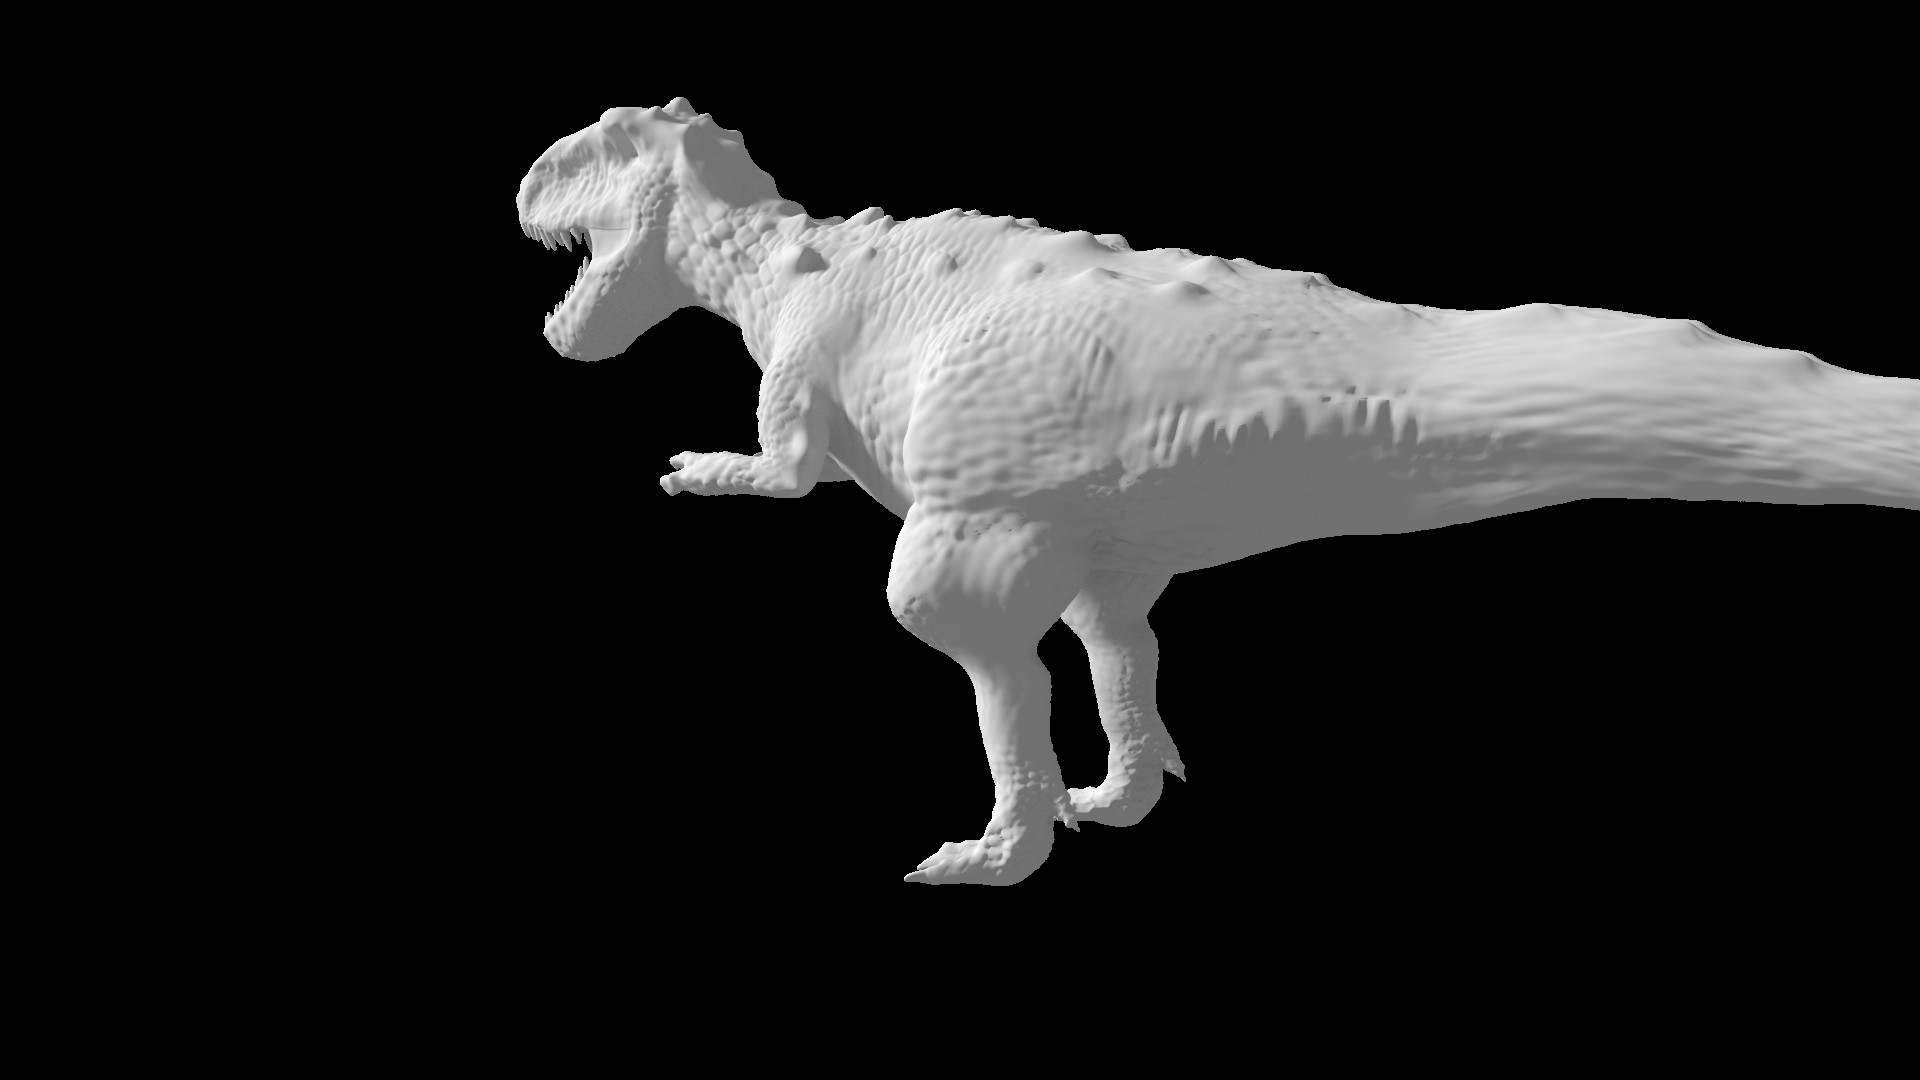
The model you see here with the finer details, are a result of a 230.000 polycount, shrinked down to about 40.000 using Normal bake.
I don’t want to go above 50.000 in my polycount, so I stick to bump mapping instead and sculpt only larger details for now.