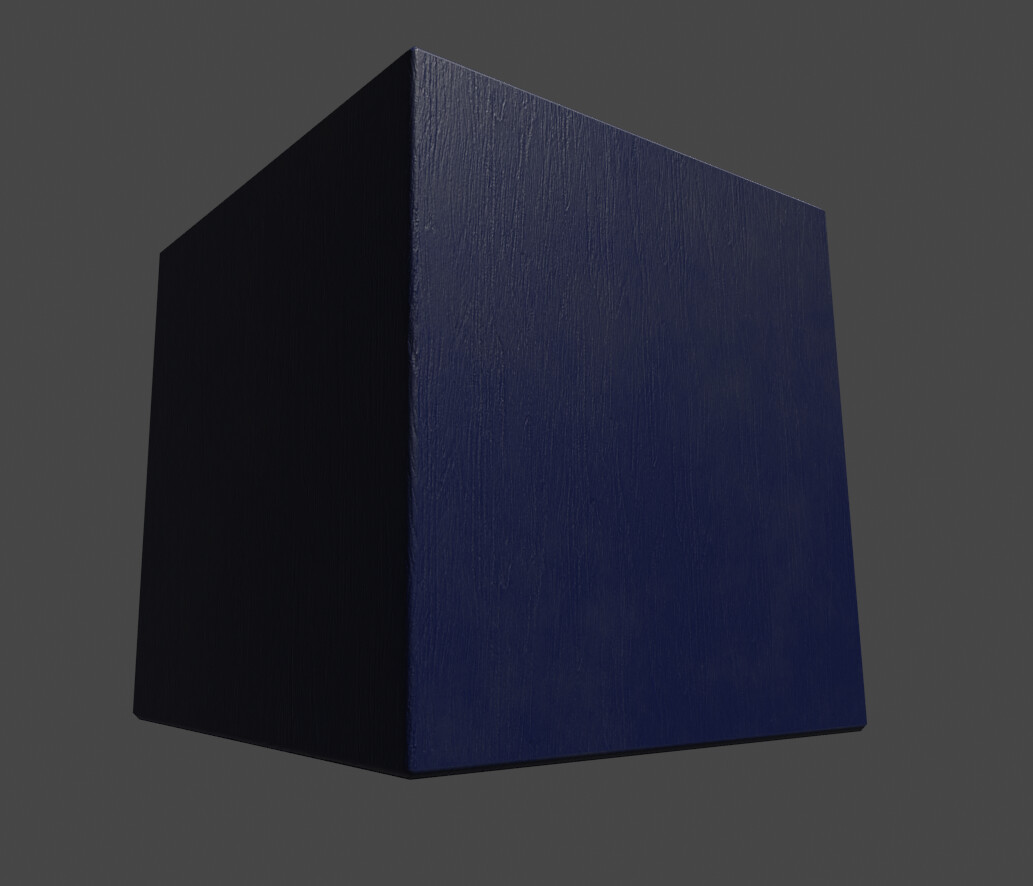
I’m pretty much okay with the model, but I’m not sure about the textures. I made my textures instead of using an image texture, but I’m not sure if I got it completly right, especially for photorealistic renders.
3 Likes
Hello and welcome to BA !
It’s a good start, here are a few things that comes in mind :
The model definitely needs beveled edges to look better,
The lighting and how it’s presented doesn’t help a lot to judge the textures and materials but that’s ok for now !
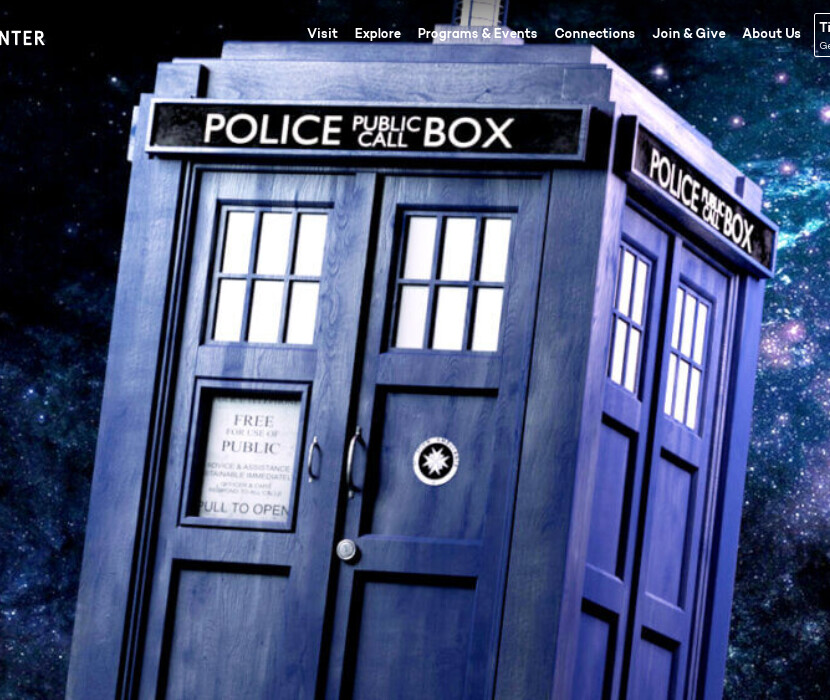
If you look for realism, you need to pay attention to every possible details that could give away some fakery. The stretched “public call” text is giving away to easily that’s not real to me …
I don’t have the original in mind, but you should also pay very close attention to proportions.
On the texturing, it’s worth looking more at reference and try to copy what you see.
What you have here is good but very uniform, where in general details tends to distribute more unevenly.
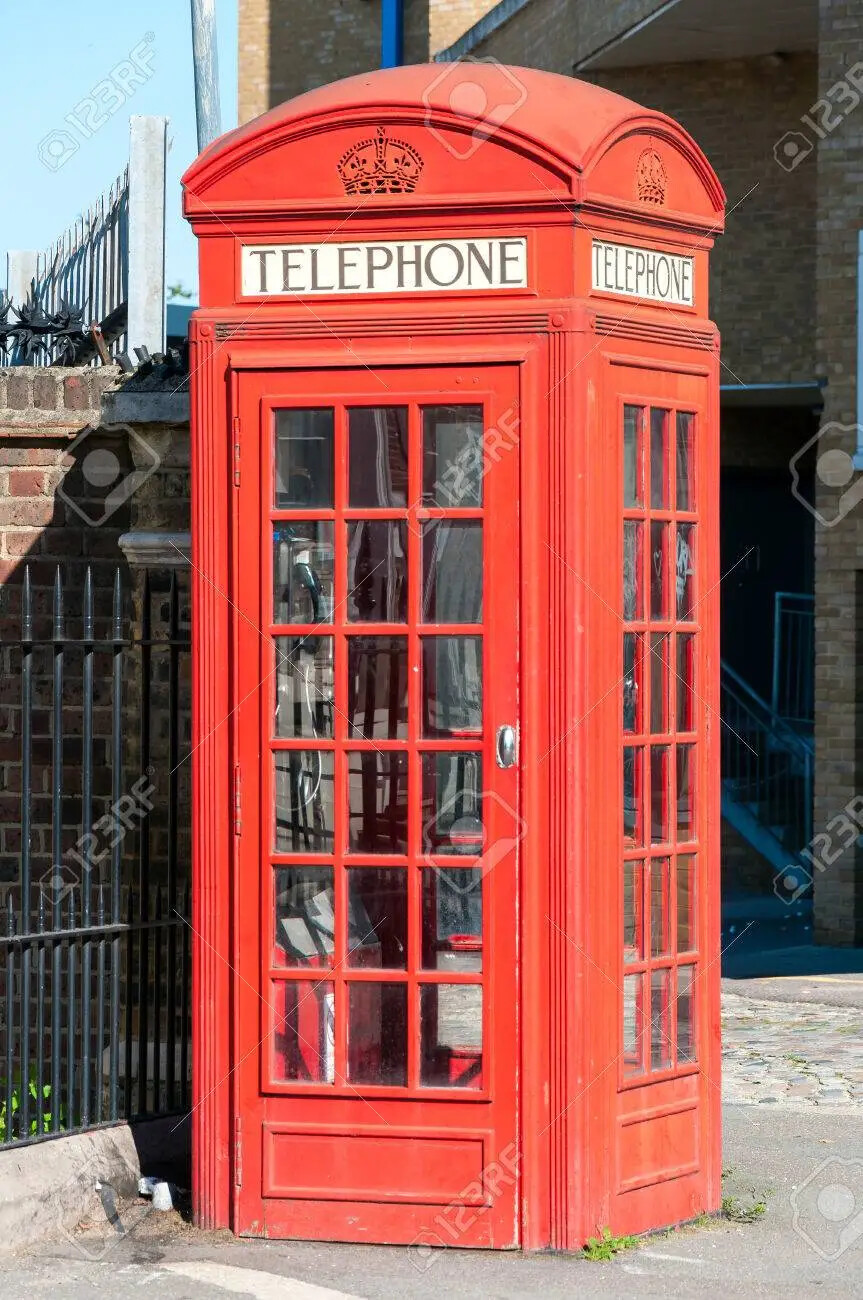
Paint is a bit desaturated because of the long exposition to the sun,
There are very slight color variation, very subtle, and on the edges the paint starts to wear.
There is more damage in the bottom.
The top seems a bit covered by dust.
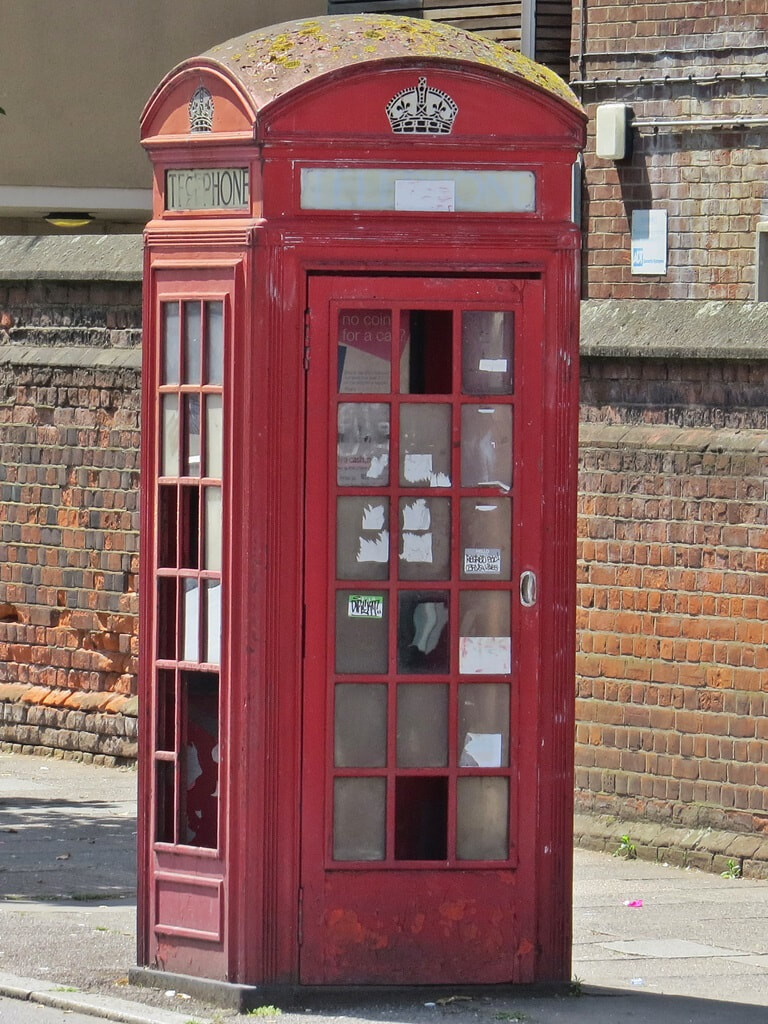
A more extreme example, you find similar patterns :
Good luck !
1 Like
Hello! I’ve taken what you mentioned into consideration, and modifed the model a bit. The enviroment I’m using is an old scene I made a while ago, I want to finish working on the TARDIS model before I move on to the scene it’s in. Let me know what I can improve!
(I was going to upload my reference image, but it won’t let me unfortunatly)

1 Like
Cool !
It’s interesting to see it in context !
I don’t know the Dr Who universe so my comments might be quite generic.
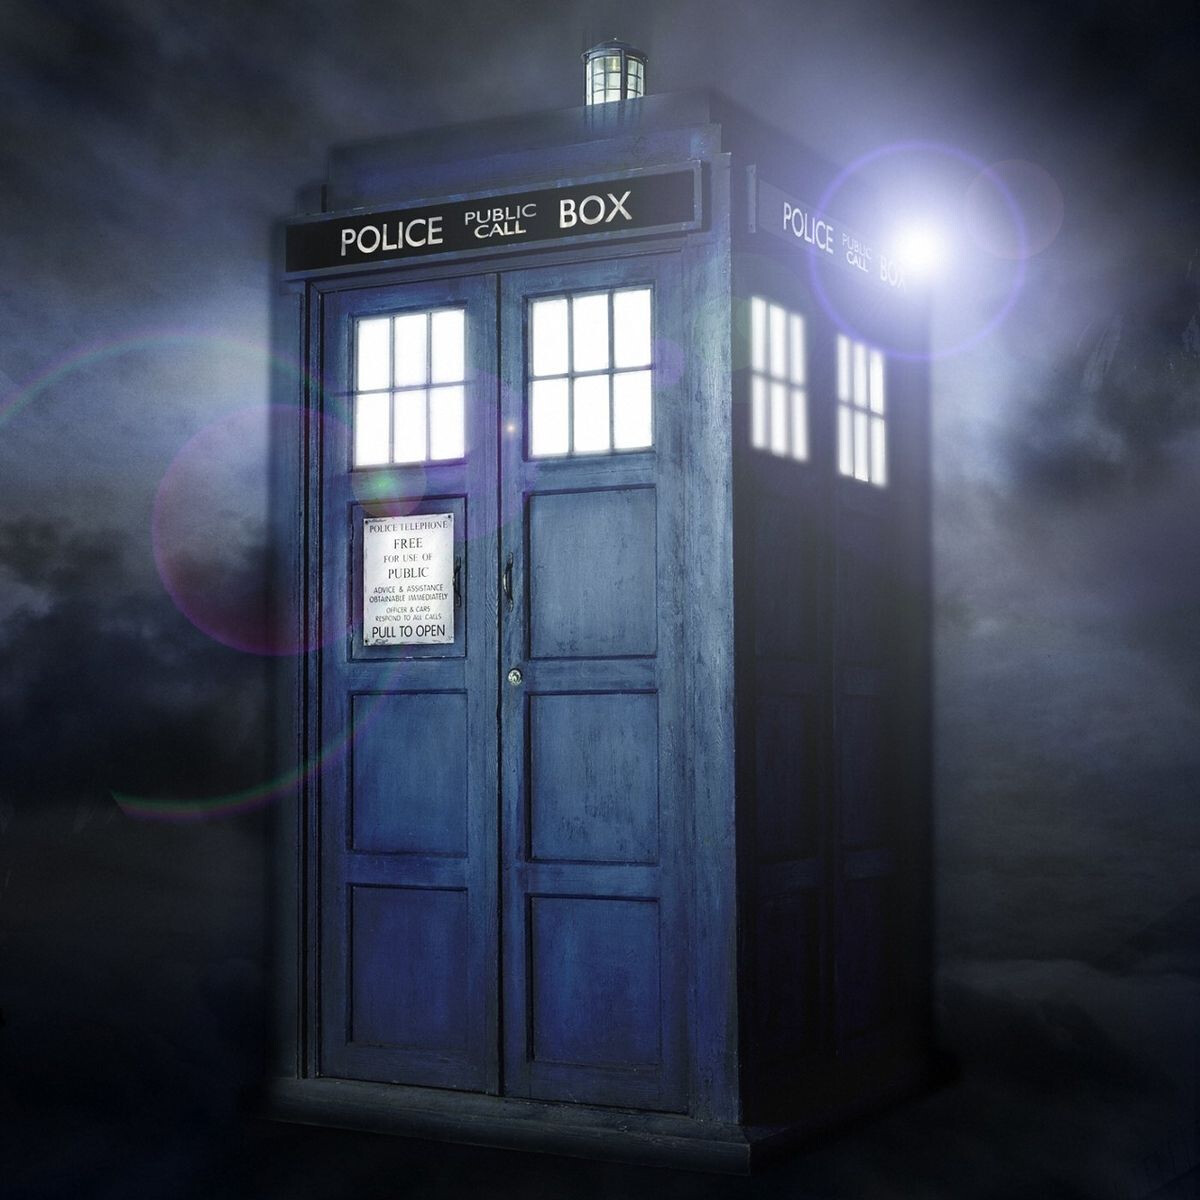
Here are some reference I find :

Maybe first thing to look into is to add a layer of wood ?
Are you comfortable with UV unwrap and using PBR textures ?
You can dowload some wood textures here :
or here :
Then the trick is to replace the color texture by that blue color, it’s also possible to add some variations to that blue color layer.
That should already give some starting point.
here is an illustration of that :
I tested that textures : https://ambientcg.com/view?id=Wood065
To make that material :
The nodes :
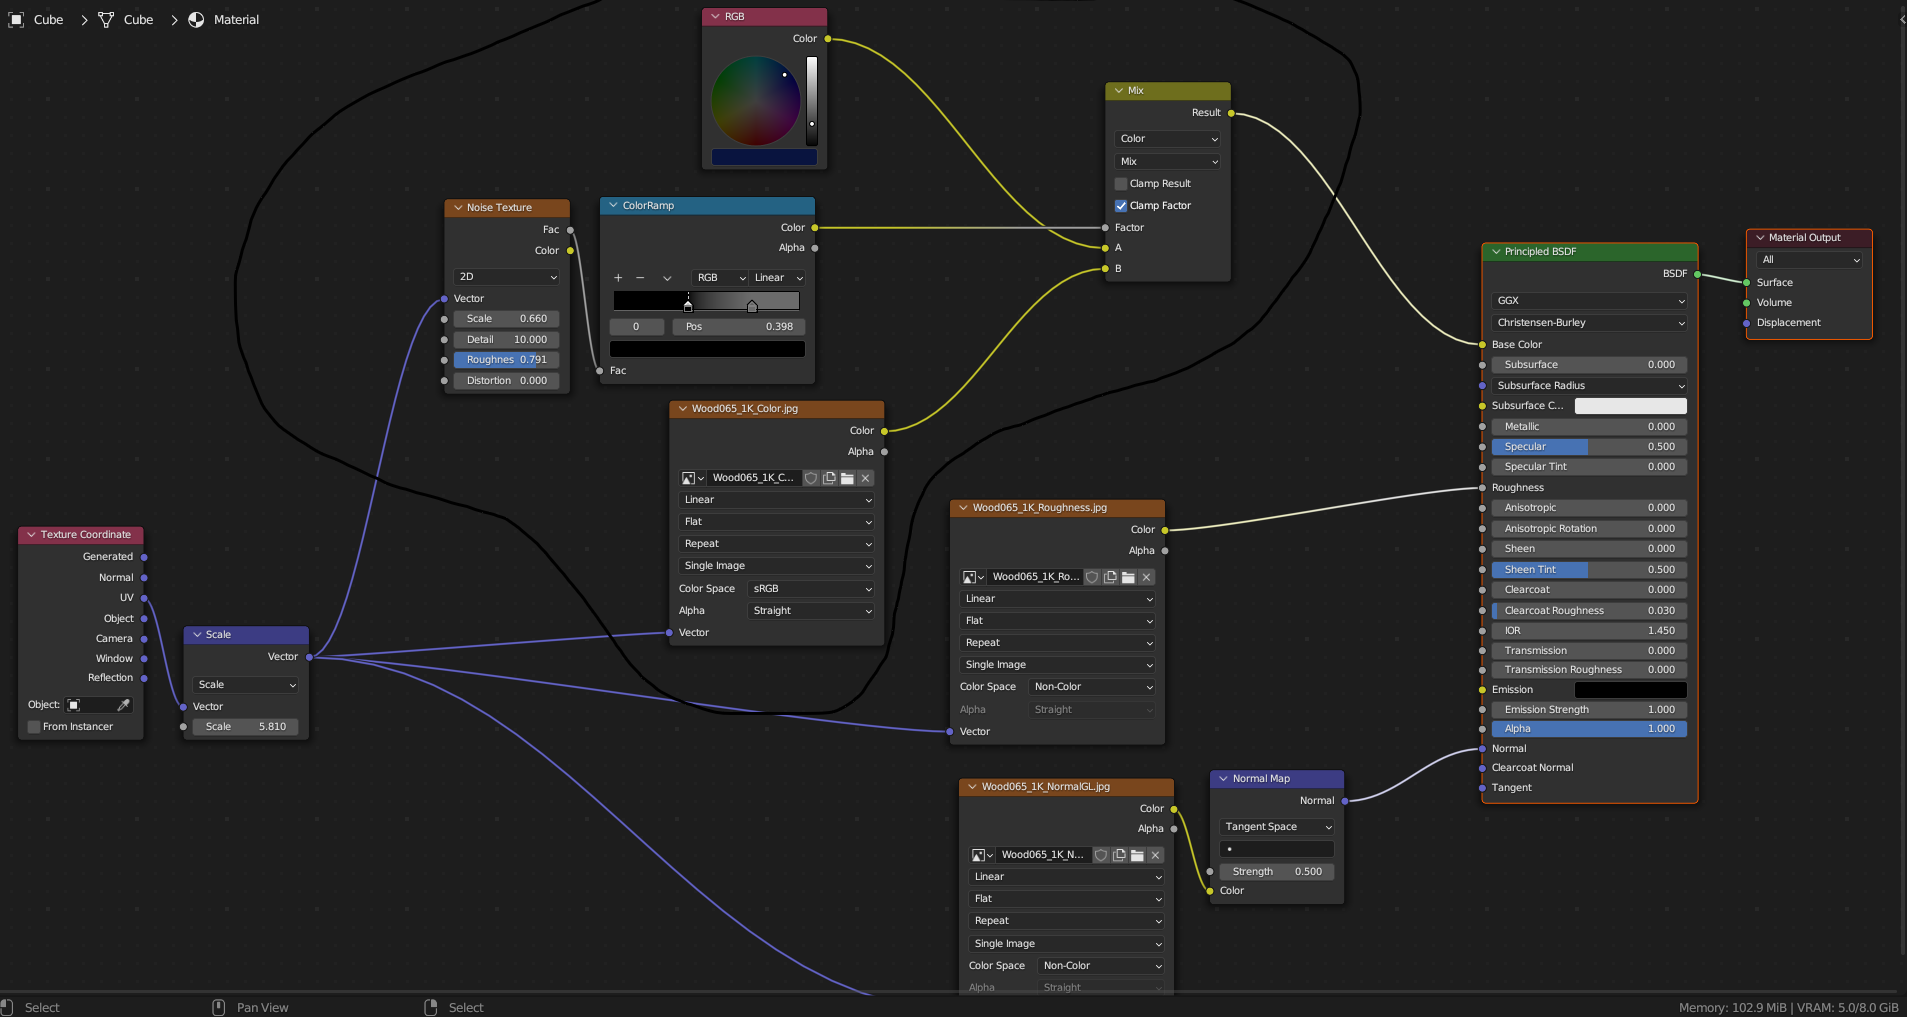
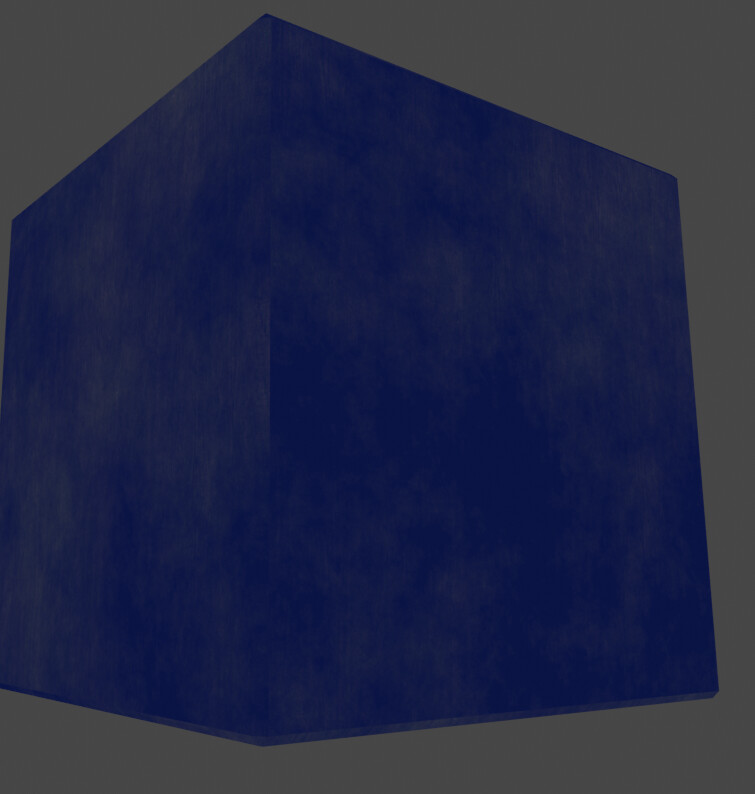
Part of what makes it look cool is the slight color variation, this is what the circled in black part is doing, here is the color only :
From there it’s possible to keep improving stuff but this should already make a bunch of the work !
Have fun !
1 Like
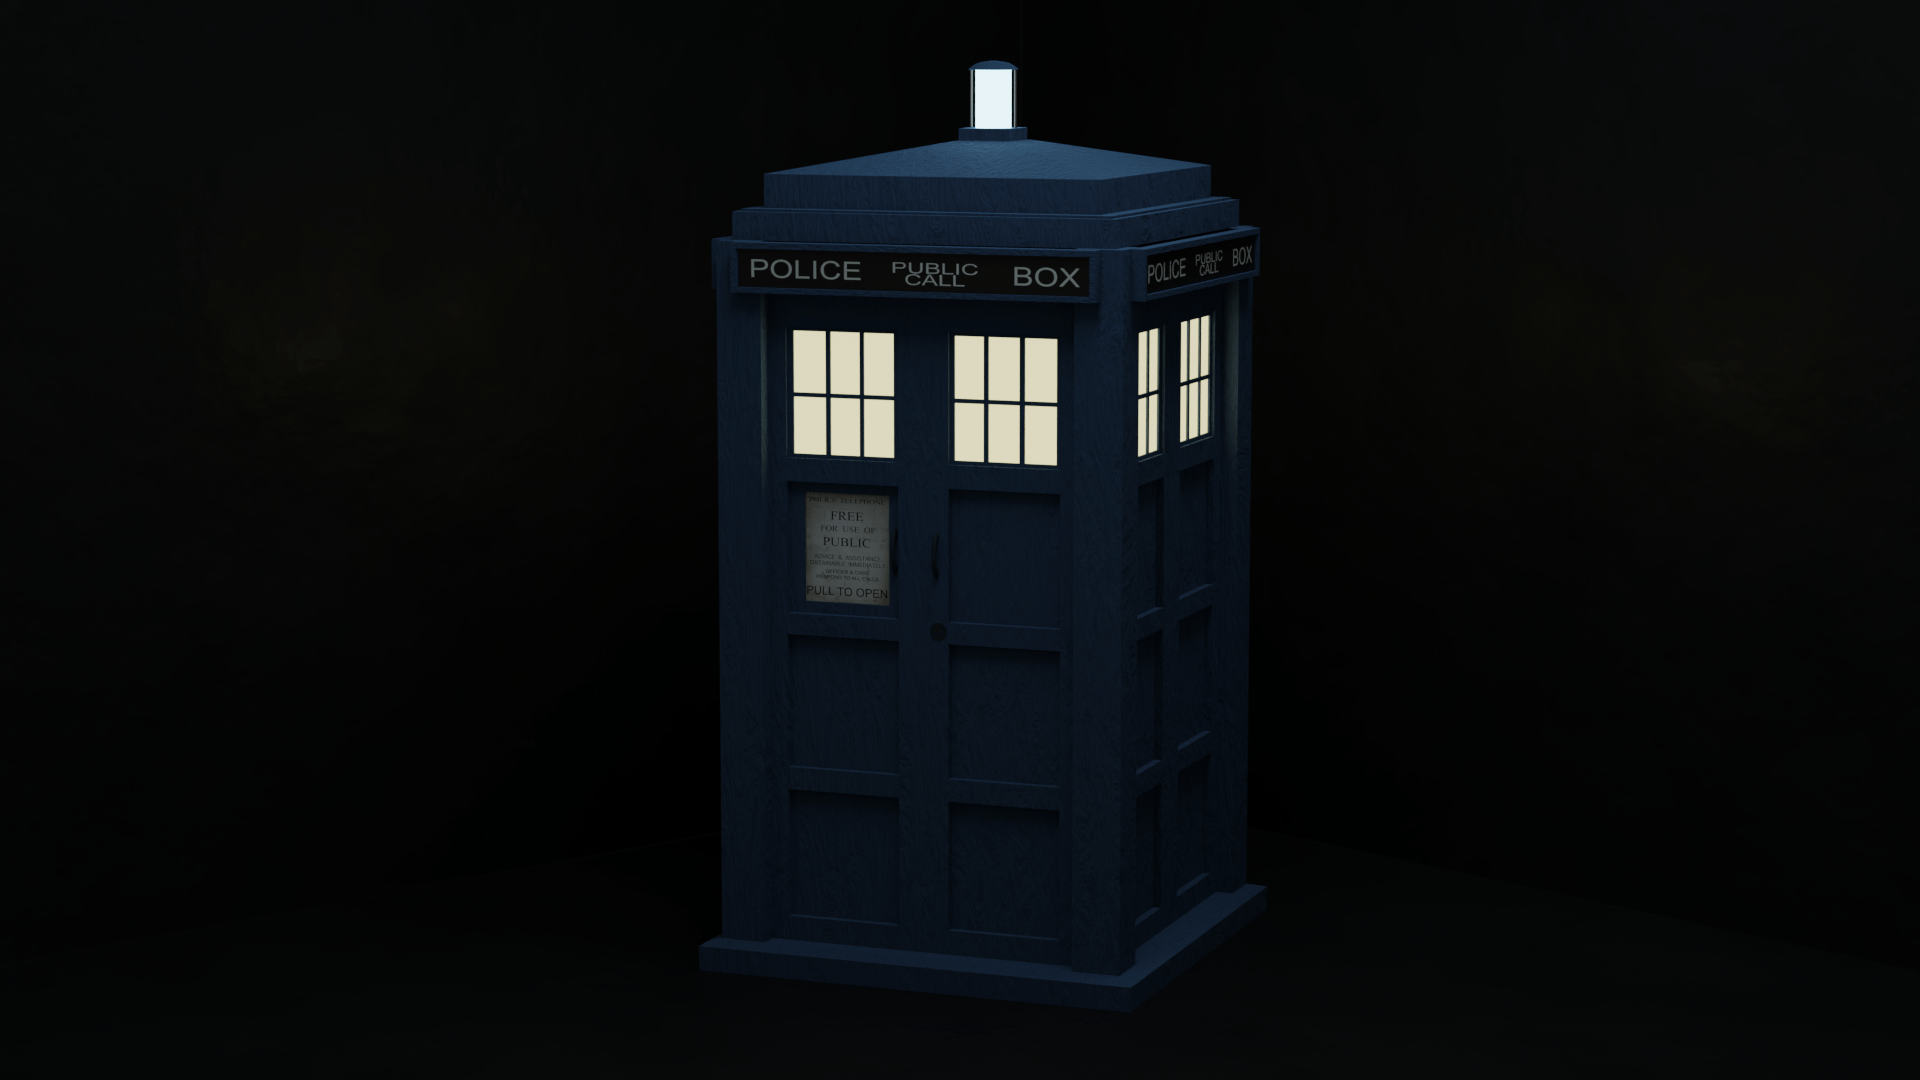
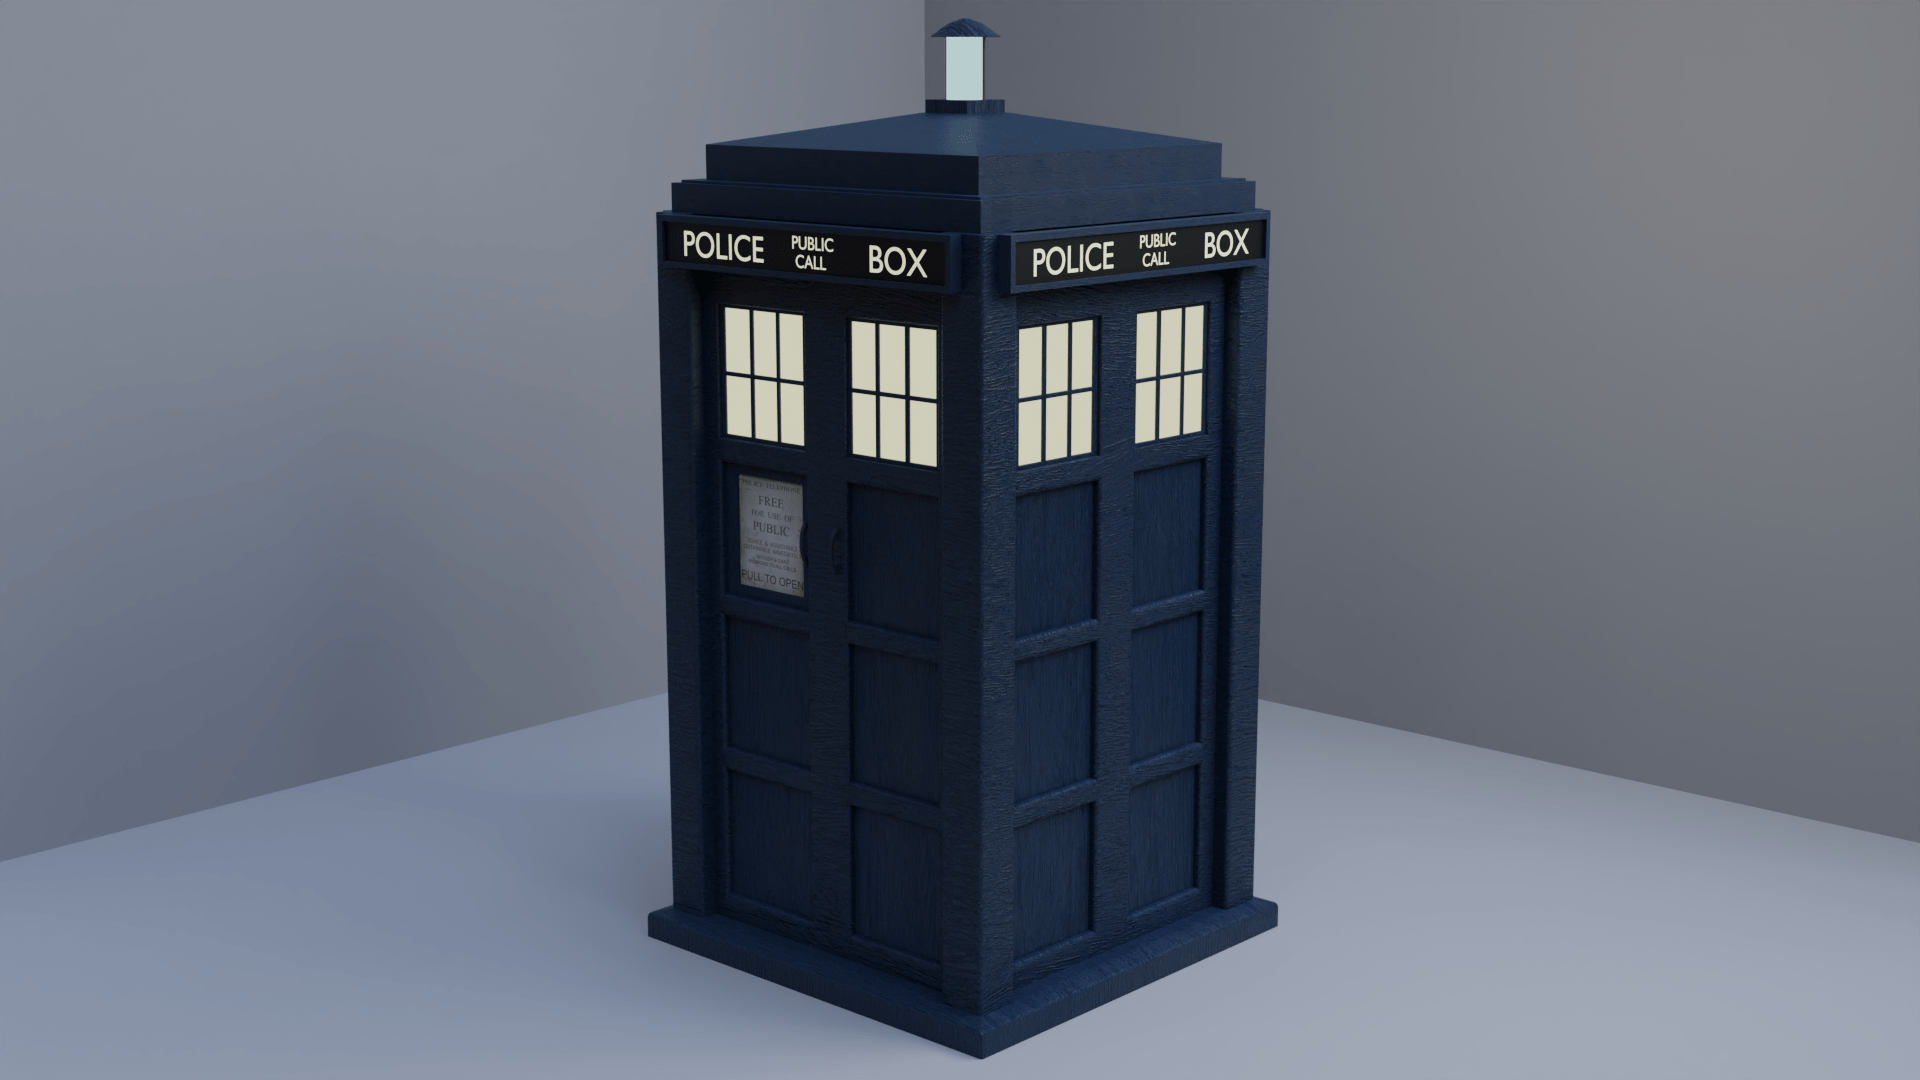
Hey! I’ve done the textures, and it’s looking really good I think, thank you for the node setup.
I was wondering how I would make the top lamp look more realistic, because it doesn’t quite look right, but I’m not sure how I could make it look better. I’m going to experiment a bit with roughness though, so I’ll get back to you on that.
Anyway, this is the TARDIS so far!
(I only just realised as I was typing this that it’s in a different scene lol)
(p.s. I’m sorry that there’s so much delay between my responses, I’ve also been focused on studying for some upcoming exams, so I can’t spend as much time as I would like on Blender. Thank you for being so patient with me though, especially as I’m a beginner)
1 Like
Cool ! If you feel like you’ve improved that’s all that matters !
Don’t worry about the delay, upcoming exams looks just a bit more important than doing CG ![]()
Yeah , right now it’s a bit unclear that it actually emit light, or it’s supposed to be off ?
To make the light look more believable you should increase the emission, that way it will also light the surroundings.
this will give you something like that :
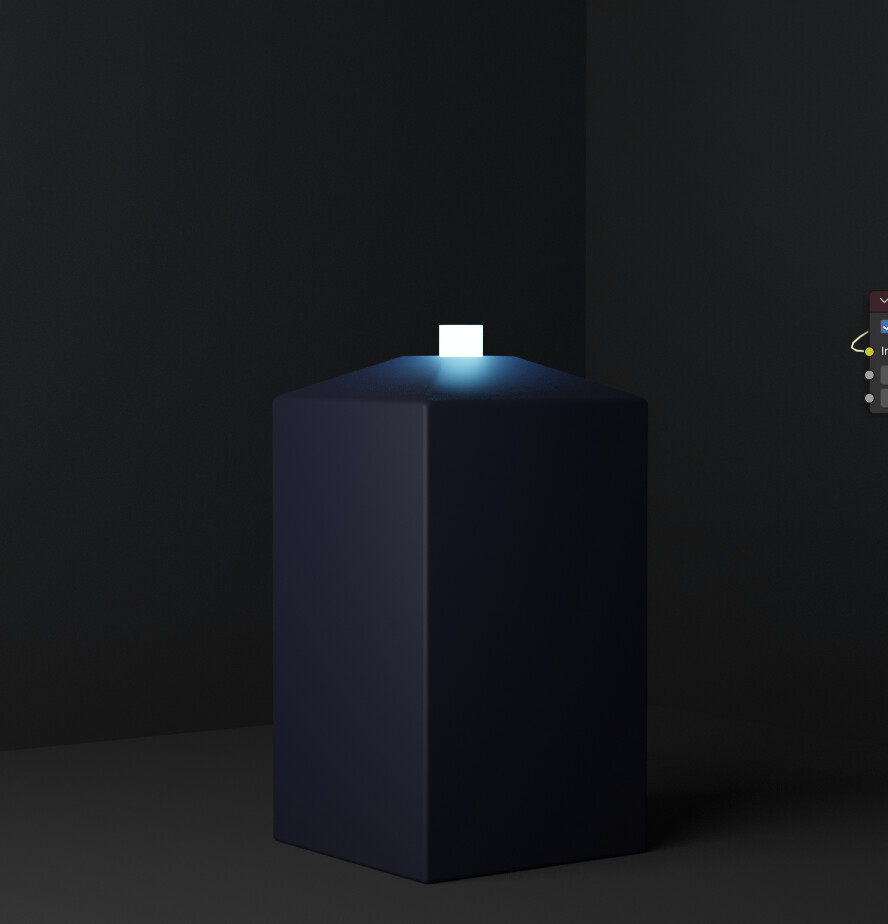
Still not perfect right ?
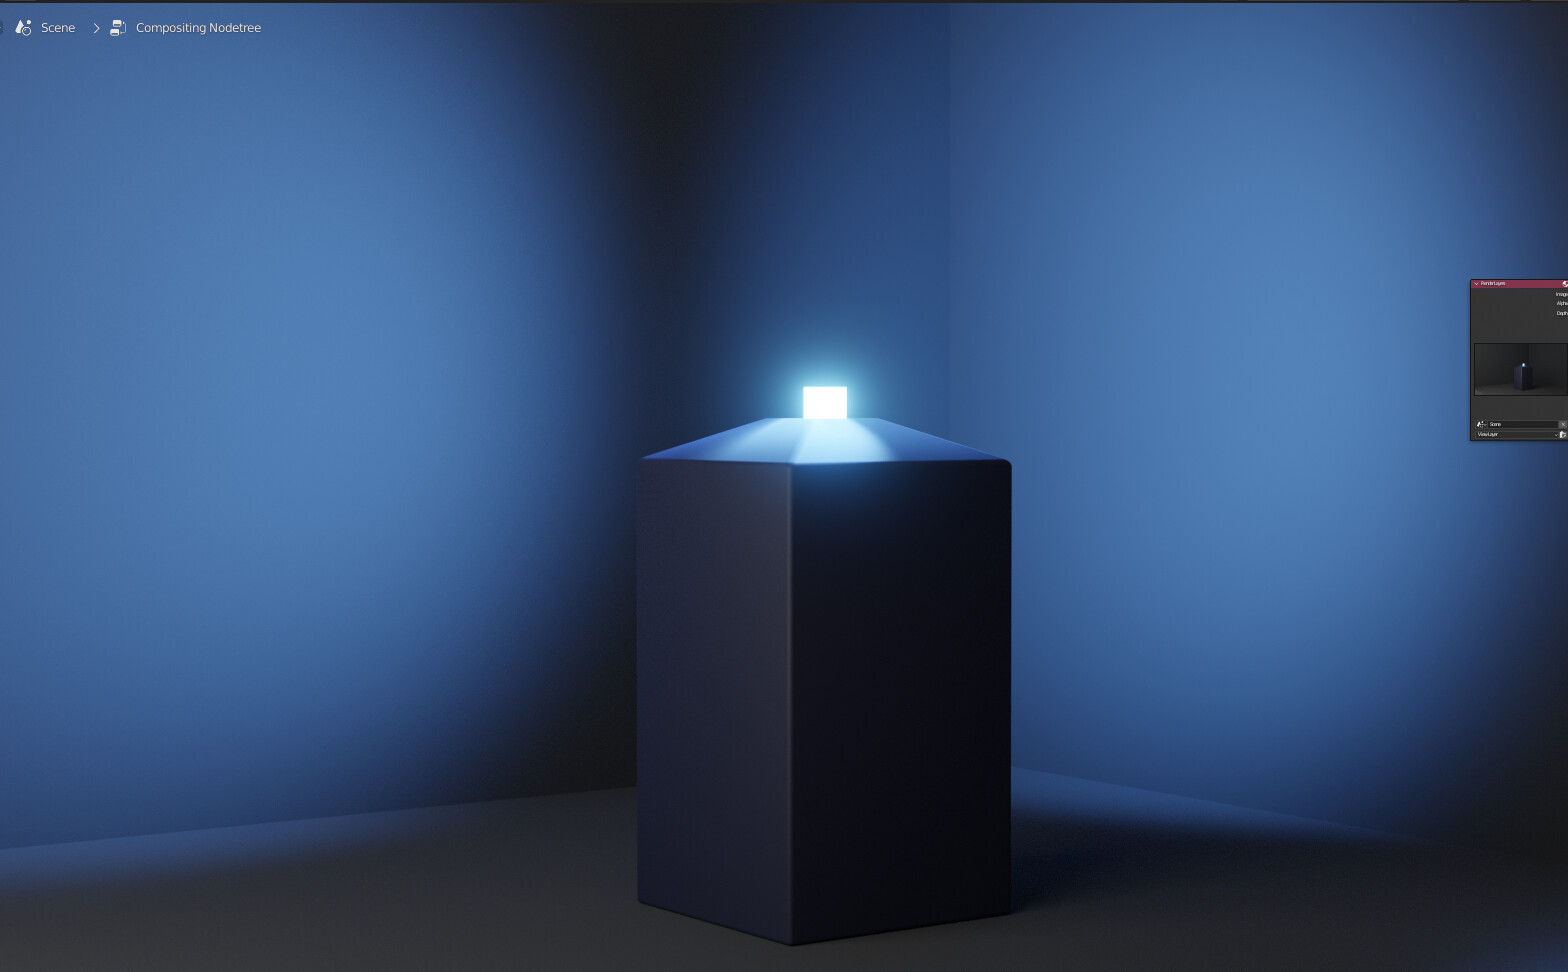
Then the trick is to add some glow, like so :

light_01.blend (161.1 KB)
It’s also possible to add more light on top of the emissive material :
It’s 4 spotlights looking like that :
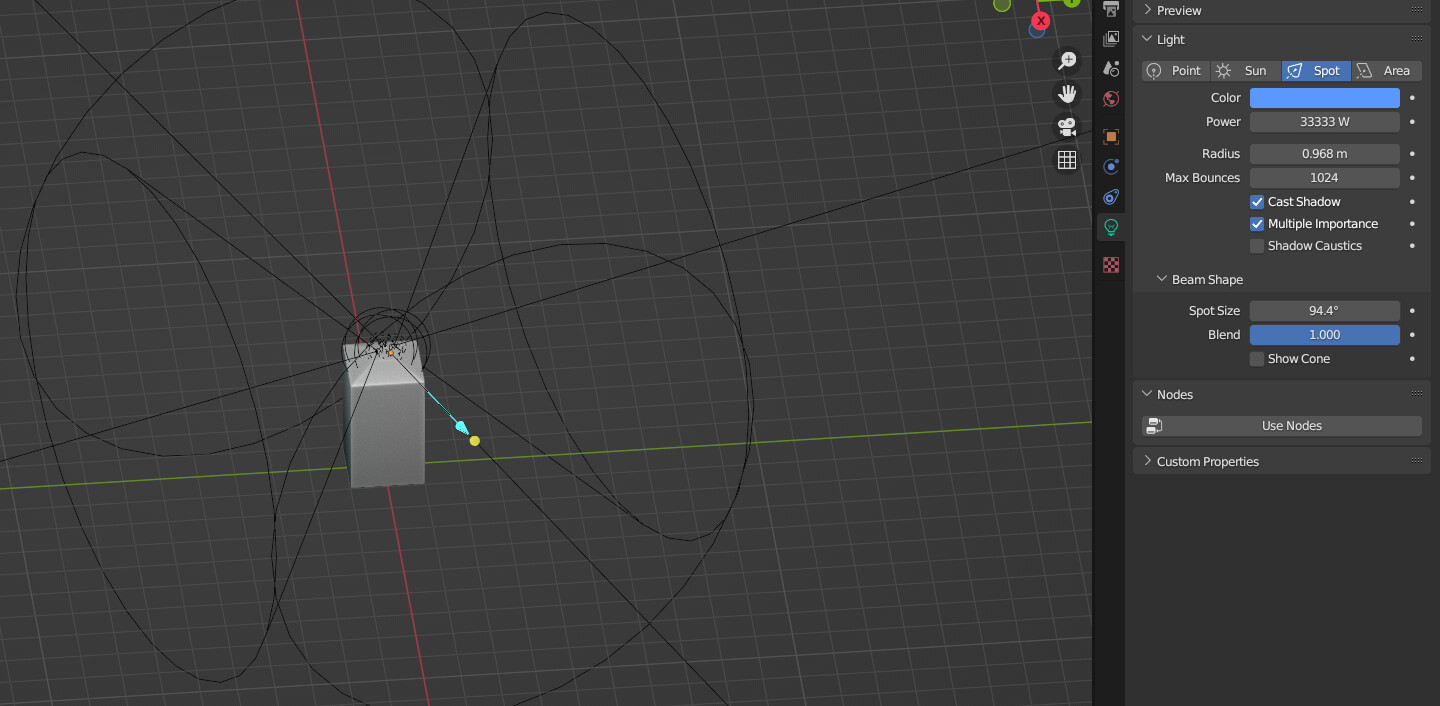
light_02.blend (157.0 KB)
Hopes that helps, good luck with the scene and your exams and see you next time !
1 Like
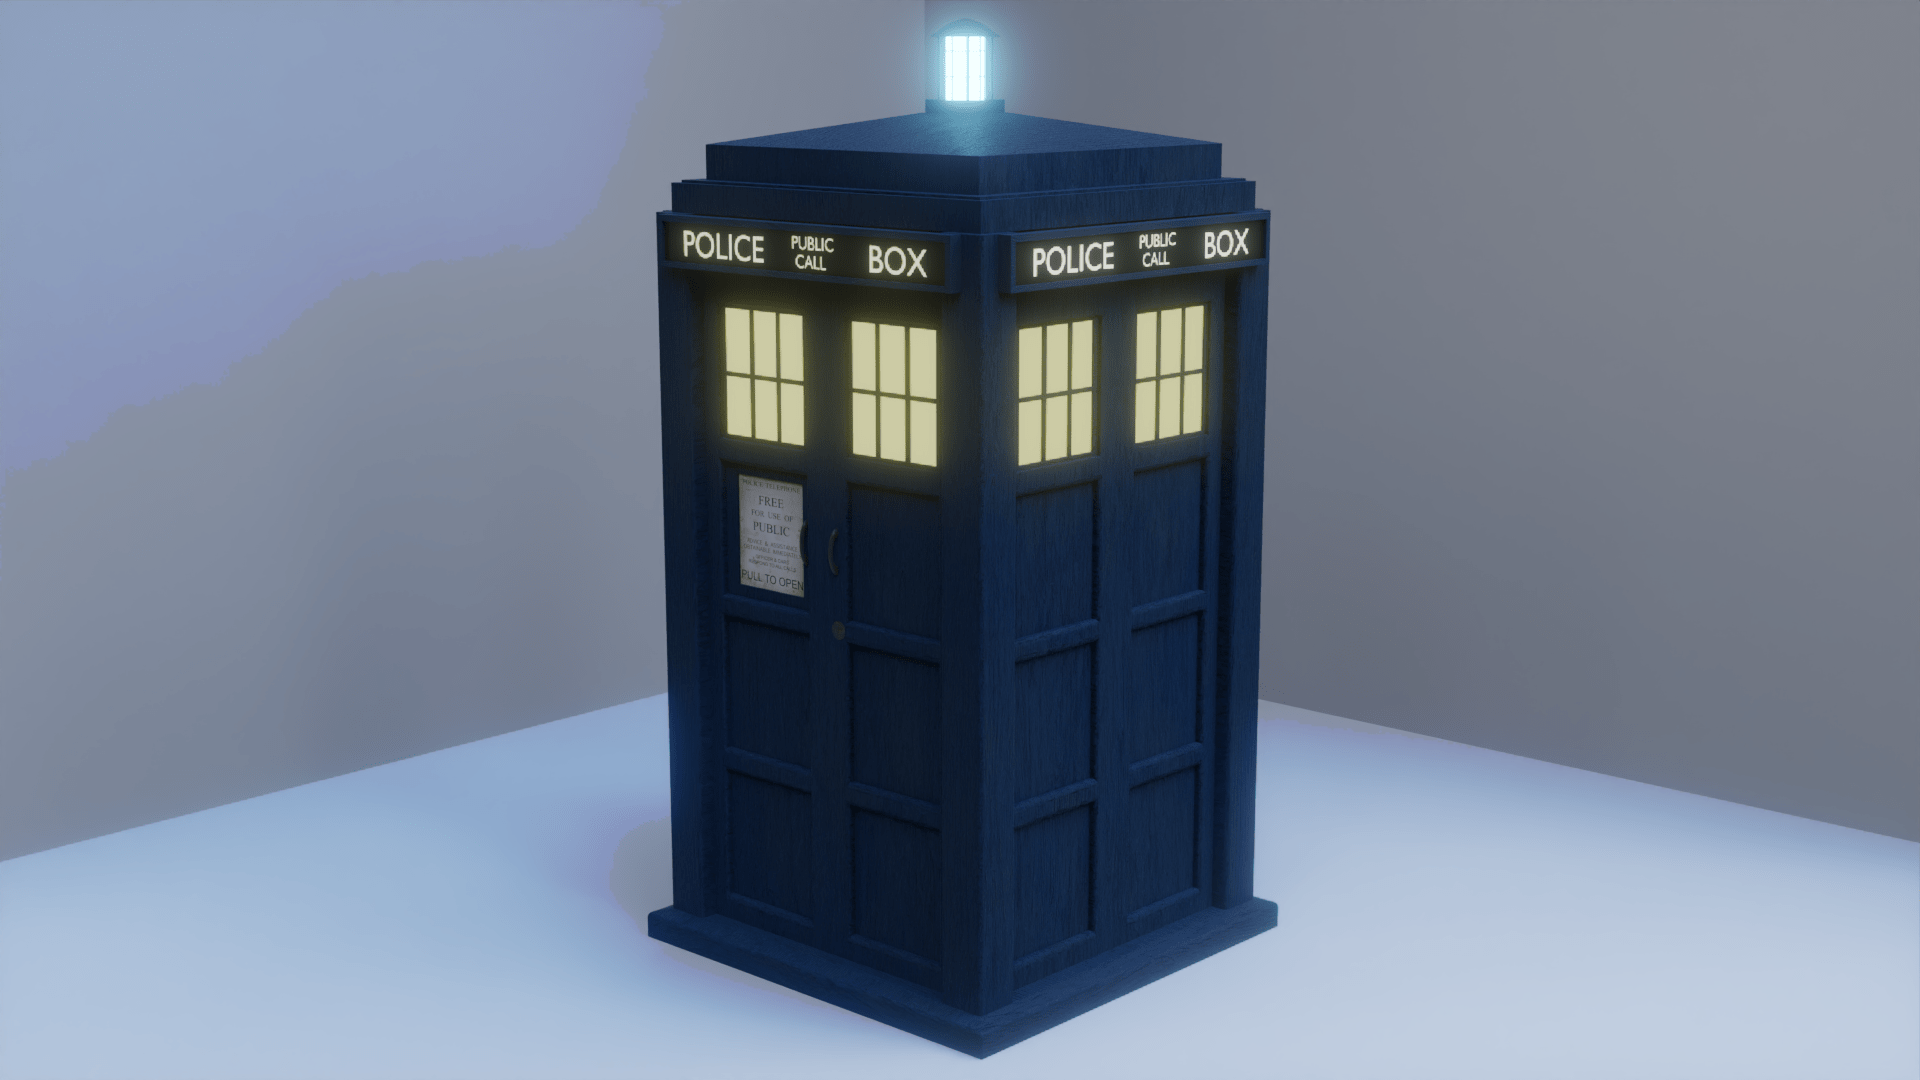
Thank you so much for all your help, It’s amazing to see how the model has evolved, and I’m really proud of it. Of course though, it wouldn’t look so good without your help, so thank you for that.
The wood texture does look slightly strange, but I think it’s mainly due to lighting, and not very noticable I don’t think, so not a massive deal.
This is the final model after all your tips, once I’ve put it in a proper scene I’ll send that image aswell, but for now this is the only render I have.
(I also added some metal bars over the lamp to match the actual TARDIS a little better)
Finally, this is pretty unrelated to the TARDIS, but seeing as I’m sending a reply anyway, I though I may as well ask. I saw a video by Ian Hubert where he applied an emissive shader or texture to an image texture, and I wasn’t sure why. I would assume it’s got something to do with the scene lighting, and the lights being a similar colour to the texture, but I’m not sure.
Anyway, thank you so much, it means a lot to have a community to ask for help and everything, so thank you for that.
:]
2 Likes
Cool yeah it’s getting much better ! Well done !
You’re right now it lacks an environment to fit in , and if at some point you need further review feel free to ask !
I glad all this is of good help ! For sure learning on our own is tricky and its great to be able to ask questions from time to time !
Interesting , feel free to post that video and I’ll try to explain what I understand from it !
In some cases one good way to make things looks photo real is to actually use photos ! Since the photos contains already all the needed lighting information, in some cases it might work even better to make the material emissive so you avoid to have 3D lights on top of texture’s lights.
That’s generally what people do when doing camera projection / camera mapping :

So you take a photo, use it as texture on a simple 3D mesh and add a camera movement and FX on top of that. and the photo is doing all the hard work.
Of course it’s not that simple and if you mix a lot of elements you need to make sure they all have the same lighting, and in the case of the example below, the reflection on the glass look a bit weird if you pay attention to it. So it’s not the perfect solution, but a great tool to save some time.
Probably doing the same shot full CG would have taken an insane amount of work, for a result probably not as good as that.
Ian Hubert is really a master at mixing photos and 3D elements to make amazing stuff.
have fun !
1 Like