Disclaimer: I am using Google Translate.
Hello lovely person!
My first publication here of one of the studies I have been doing on this beloved Blender. To make it clear, I recently studied 3D, and now I decided to share my short experimentation projects here. Why not?
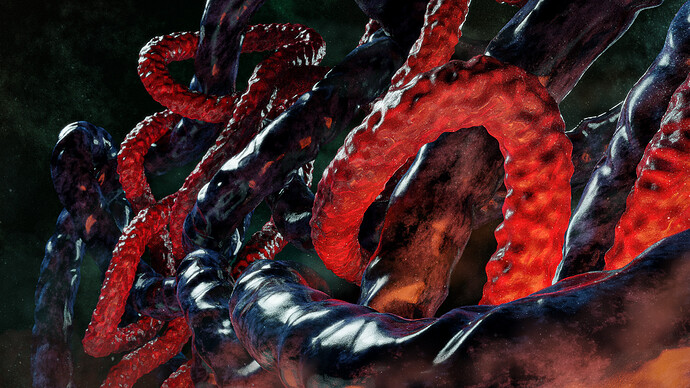
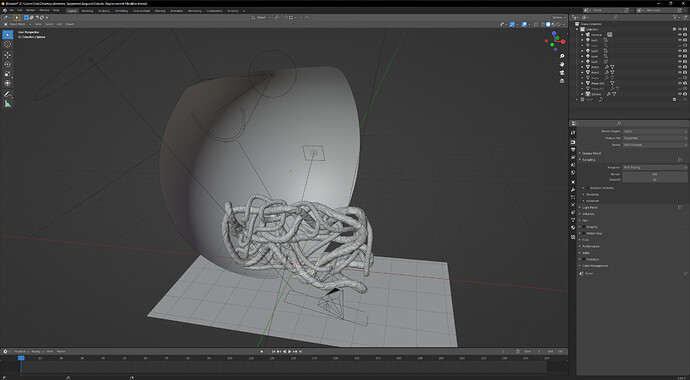
I was exploring the Displace Modifier, in an attempt to understand its possibilities, how “heavy” it would be to use it and its characteristics as a whole. For this I decided to set up a simple scene. Well then, man! This modifier is really wonderful, and I was quite surprised by the results directly on the mesh, so fast and easily editable. I’m thrilled! hahaha.
This is the final scene.
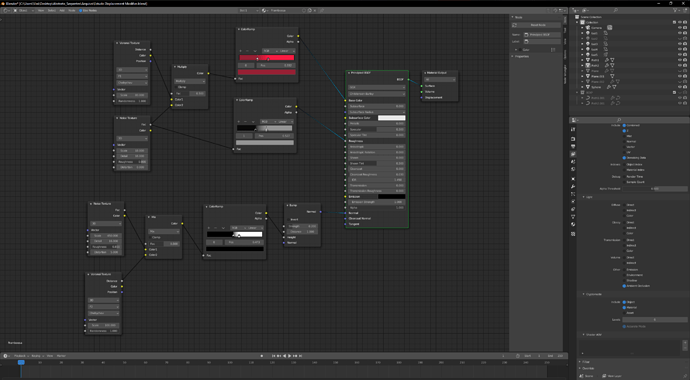
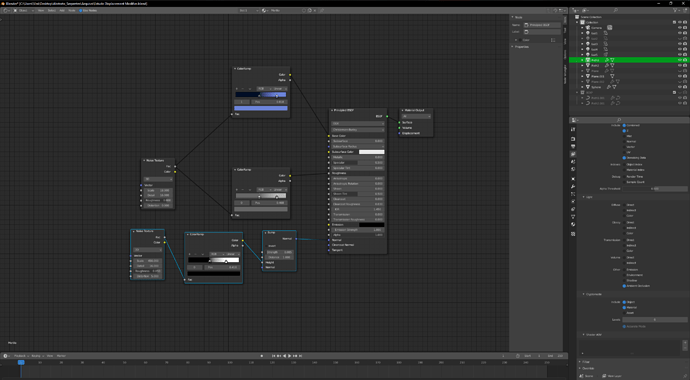
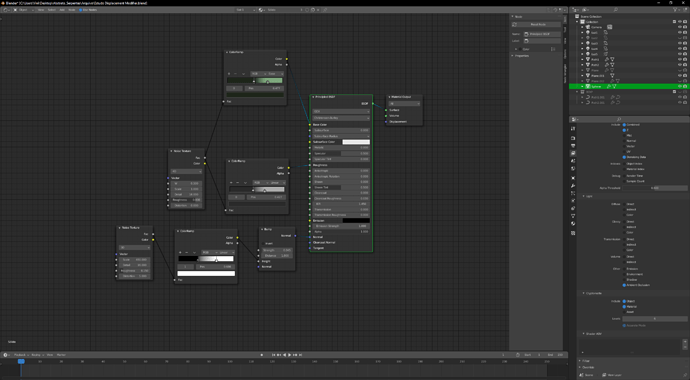
I created and rendered the scene in Blender version 2.91.0, with Cycles. I used some mixtures through the Nodes to generate a simple material to help the visual of the tentacles. Amazingly, the colors of the scene were inspired by Raspberry, blueberry and their respective leaves for the background green.
Here they are:
If you happen to be interested in lighting planning, here it is:
After that I generated masks for Cryptomatte, to help me with a quick manipulation in photoshop.
And only on PS I created these particles and fumes, I adjusted contrasts and sharpness, because it was not my focus to generate them in Blender, and also because my video card is an AMD RX 480 with problems. So I’m “taking it easy”. hahaha!
The process in Photoshop you can follow below:
Then that’s it! Please feel free to criticize my scene.
See you!
