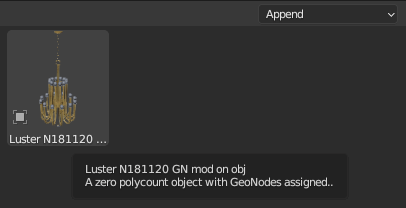
Setup #1
\3DAssets\archive3d.net\Luster N181120\Luster N181120.blend
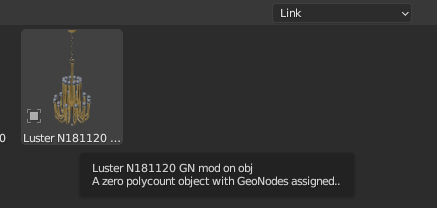
Linking this gives an object that cannot be moved or configured without first creating a Library Override on the Object level (Don’t forget to also clear the Asset mark after doing that.)

Only that one object appears in the Outliner.
The mesh data is LINKED.
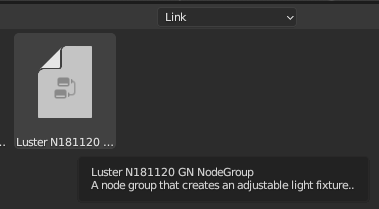
The Geometry Node group is LINKED but can be interacted iwth.

The various objects that are combined to make the asset are nowhere to be seen in the Blend File.

Even the Light Object “Point Light Customized” does not appear anywhere.

As before, the size of the point lights don’t scale up with the rest of the object.


So to use the asset in a very different scenario I need to be able to replace the original light in the asset with a custom one from the current scene file.
I can add a custom light to this scene, hide it out of the way somewhere, and use it with the Geometry Node settings.