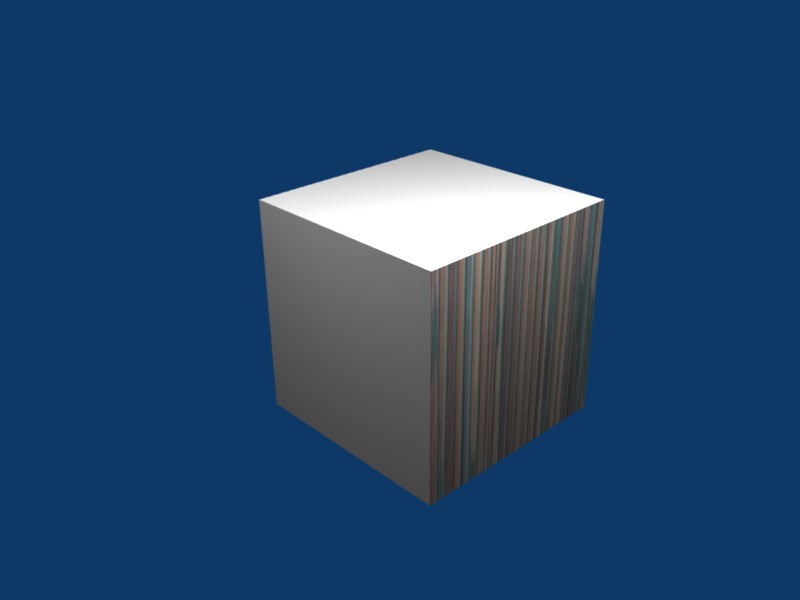
Hi, I have applied an image to one face of the cube. It is an image of a wall but comes up as lines in the wrong direction, have tried adjusting map to settings and selecting the rot 90 option but nothing seems to work. What am I doing wrong?
Ah, the problem you’re having is that you’re inputting your texture with Orco - it just projects your texture top-down onto your model.
What you need to do is make a UV map. Now that can be a fairly complicated process, so you might want to look up some tutorials on it some time, but for a mere plane such as this, it’s super easy.
Select your face in Edit Mode and press U. The UV mapping list will come up and you need to select Unwrap. This gives each vertex a coordinate on a 2D plane (which you can see in the UV editor).
Now that you’ve got that, you just need to tell Blender to use it. Go to Shading (F5) -> Material Buttons and find the Map Input panel - it’s in the same panel as Texture. Flip on UV, and Blender will turn off Orco. This should fix your problem.
If your image is still rotated in some way, which I don’t assume it is since it wasn’t when I downloaded your file, just go to the UV editor window and rotate the UV vertices around until they display properly.
Both of these suggestions are great. Playing with the x,y,z buttons jawra mentions is a quick way to sort out a surface but does not work on multiple faces without them being separated, the cube for example. Zwebbie’s solution works well on the 4 sides of the cube so would be a quick way to do a buildings. Thanks again to you both
Hi, in the file you’ve attached (2nd) the selected face is separated.
Select both, press CTL+J to join them. Then select OrCo and Cube in the “Map Input” and it should work just like Max. Although the Textured (GLSL) window will show it almost like your image.