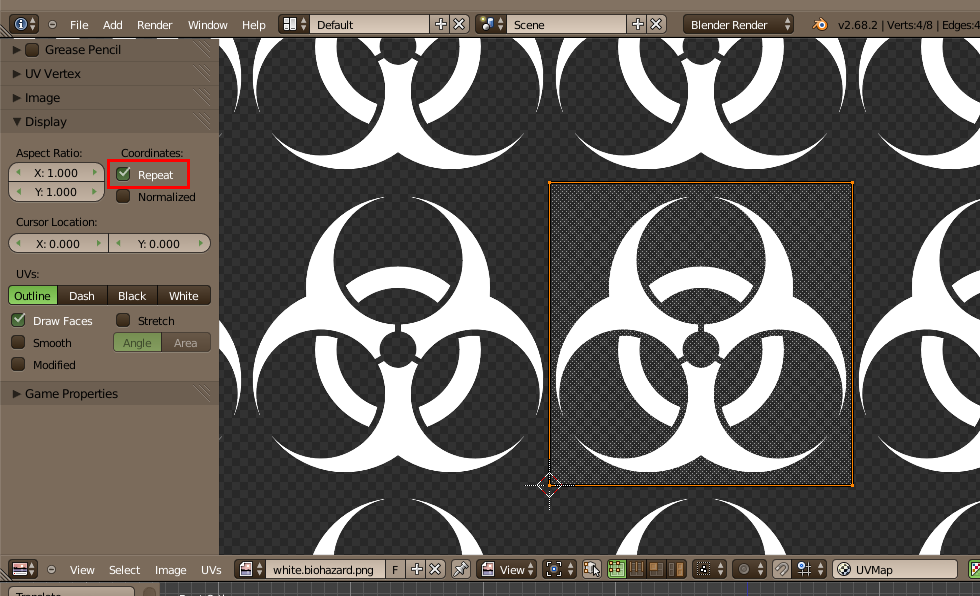
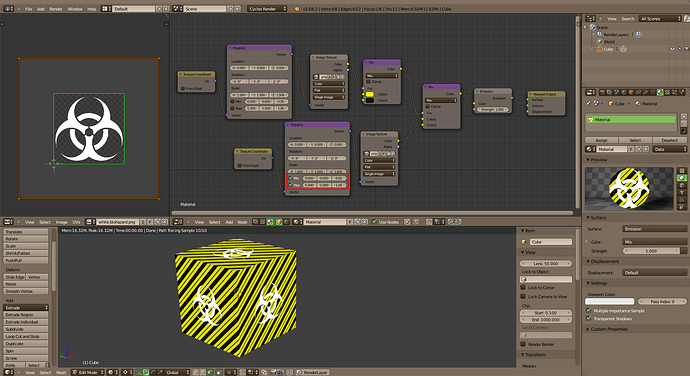
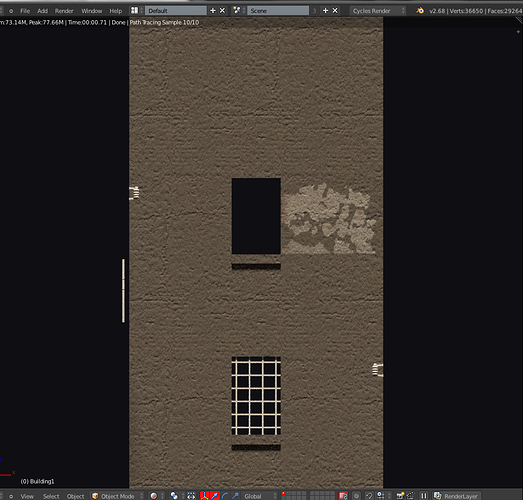
First, “Way outside” means nothing in UV mapping. Open the Properties shelf of the UV Editor (a.k.a. [N] panel) and enable “Repeat” in the Display panel. Now you see the UV map like Blender does… and what you actually did with your faces “way outside”.
What you’re supposed to do to prevent faces from using a decal is to shrink them in a fully transparent area.
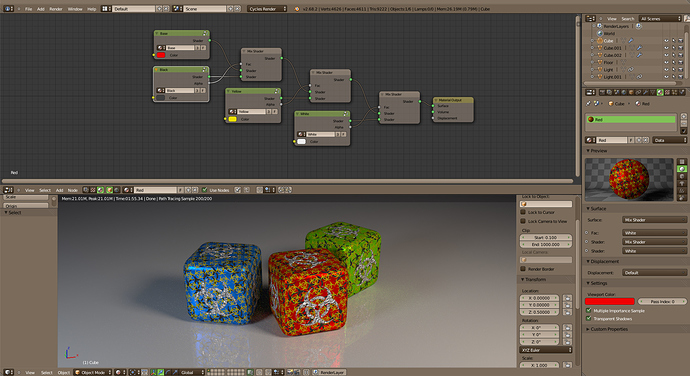
Next, I’m a bit of a maniac with my node trees so… Don’t take my comments as a personal attack. Your node tree wouldn’t pass my quality tests.
I would give an F to your work. It’s a mess. You have nodes all over the place without any kind of order. I would group nodes like you somewhat did at the bottom. However, you violated one of my unwritten rule: “Don’t cross the wires… unless you have no choice.” That little group should be at the top of the screen and definitively more squeezed together. Select the 4 nodes, [S], Y, 0, [ENTER], [S], X, push the mouse, [LMB].
The next step to clean things up is to really group the nodes with [CTRL G]. We can have nested groups, now! The first thing I’d do is to hide Godzilla (the giant Mapping node) with its little tail (the Attribute node) into a group. Even if you stretch the group node to the max, you still freed half of your screen… at least.  It hides a lot of parameters but it’s not a big deal to press [TAB] a little more often.
After that, I would give to each of the textures its own appropriate little UV node group so I can group it with the Image Texture node, eventually with the associated Shader node. For the normal map, I would also include the Normal Map node and pull a noodle to expose the Strength. For the bump map, you can include the Math node and expose the multiplier Value. That Color Mix node can as well be included in the group with its texture. You just need to expose the color and the factor.
And don’t forget to give good names to the node groups!
If you did only the half of what I suggest, you should see more clearly through your node tree. Now, if you need to add another layer, you just add another Mix Shader node and duplicate the right node group. (Don’t forget to make it unique before to do changes!)
Last thing I can think of: Kill the “RGB to BW” node. It’s useless. If you don’t actually need the greyscale version of an image, this node is useless. Blender will automatically convert anything that you plug into a Value socket.
Class dismissed! 
EDIT: Rich33584 beat me on the finish line. (I’m too talkative.) And he’s right. Use Color Mix nodes as much as possible instead of Mix Shader nodes. It will speed up Cycles work… And you can group them too!
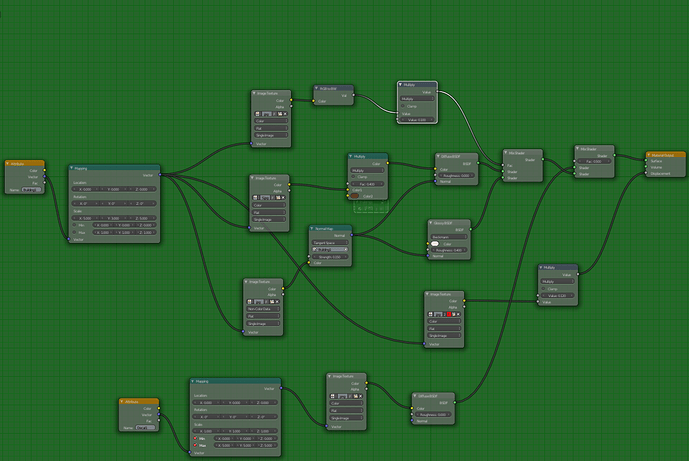
 It hides a lot of parameters but it’s not a big deal to press [TAB] a little more often.