Good suggestion! But changing the numbers manually (via the value field) and using a drawing tablet is very awkward and the shift + r operator should be tweaked. Needs to be less user un-friendly.
1 Like
I’d want the same value change to apply to the shift + r operator of course. Does shift + r have a menu item to allow changing it to another hotkey?
I don’t have that problem…
I can go from low numbers like 0.001 to hight values like 0.4 and chose any number in between.
As you may know when the grid appears you can move faster while pressing Ctrl.
You can move in small steps with Shift.
Or you can combine both keys (hit Ctrl to go to 0.01 and then, while pressing ctrl, press also Shift in order to move in small steps to go to 0.02 or 0.03).
If this doesn’t work try to zoom out. The movement of the grid goes up and down when you move the cursor closer or far from some invisible, arbitrary point in the scene (like when you scale a mesh).
But I’m not sure now in that point is the origin of the mesh or maybe the “focus” of the viewport (the point of rotation of the viewport that changes automatically as you pan, etc or can be chosen with Alt+Middle Mouse or pick the 3d cursor or an object…) so maybe zooming out helps.
(I use Blender 3.0 and the Sculpt Branch)
1 Like
Using ctrl works better but ramps up the sensitive like crazy so it’s still not that user friendly. Thanks for the hint.
edit:
Feel free to test this file. Without using ctrl it’s super weird to get a higher resolution and with ctrl it’s extreme sensitive (try to get to 0.0004 for example - impossible).
shiftrawkward.blend (3.0 MB)
edit:
I’m stupid because as you mentioned shift + ctrl is a thing and works. But should it be so key combination heavy to get a fluid user friendly voxel size operator/overlay thingy? 
1 Like
Yes it should be easier, not sure why it’s like that right now. Probably not a priority for the devs? I opened your file and you are right (changing the values just with the mouse is a pain, not sure why sometimes the grid seems “locked” like this…)
1 Like
@pablodp606
https://twitter.com/pablodp606/status/1309556563787550720
What is actually happening to the sculpt redesign to give that performance boost?
I really can’t wait for that.
Personally, I feel this have been postponed because the developer doesn’t feel urgent reason to boost performance, as with actual Blender’s performance we’re able to do detailed anime-like characters. So that way… “why even I’d bother with developing better performance on very high poly?”
As I see, I can’t even see any change in sculpt-dev branch.
3 Likes
What should be taken into account is that performance has finally become a pretty hot topic at the Blender Institute, with major speedups committed and still being worked on for Editmode, Kevin boosting OpenSubDiv and deformation, Brecht and Sergey doing major performance work on Cycles, and a much faster Dyntopo core in the works by Joseph. It only makes sense that Multires sculpting is brought up to speed as well (so as to really ‘put the fun back into 3D’ as the BF slogan puts it, even when talking about film-quality assets).
1 Like
Means, they have a lot further experimental builds or branches that aren’t even available on Blender website so we won’t see those prototypes for a bit longer time?
As I can see they’re working on some performance issues you mentioned, I still cannot notice any sign that something is going to be updated on rewriting the sculpt mode or BMesh.
There is one branch that is available though (in regards to core sculpt work).
/ · rB (blender.org)
This mainly concerns Dyntopo as of now and you will have to build it yourself, but work is in fact being done.
4 Likes
Do you know any tutorial on how to build this branch on windows?
Is there a way to currently bake face sets to texture?
This channel has a couple of videos on that, I haven’t seen them but maybe that’s what you need?
https://www.youtube.com/user/johnnygizmo76
I was looking for the same thing recently but didn’t find a quick way to do it, it has to be done manually, hiding everything except the current faceset in sculpt mode, jump to edit mode, select the vertices and either create a vertex group or assign a material to it. And then repeat for each faceset ![]()
1 Like
Thanks for sharing.
And this is one of the reasons why Sculpting in Blender is problematic for professional production work. Still no face set or vertex color support for Multires which is the foundation for sculpting and performance.
It makes things that should be easy to do convoluted and disorienting. ![]()
![]()
![]()
2 Likes
Yeah… pretty much all the new tools added to sculpt mode since 2.8 are still on a “demo” state, they all look very promising but the moment you are going to use them for heavy work all sorts of issues appear 
5 Likes
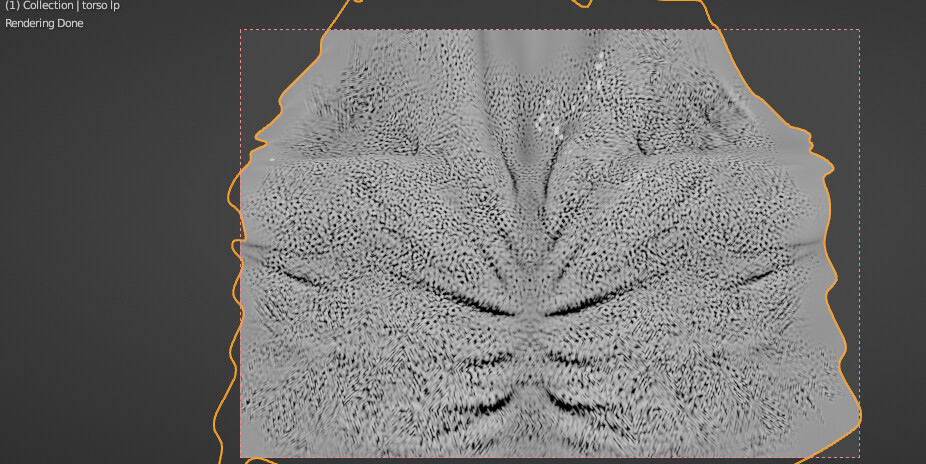
Using multires results in weird Pointiness (Geometry node) behaviour. Look at those grid rectangular patterns. Thats weird.
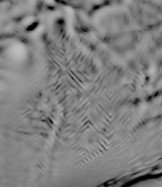
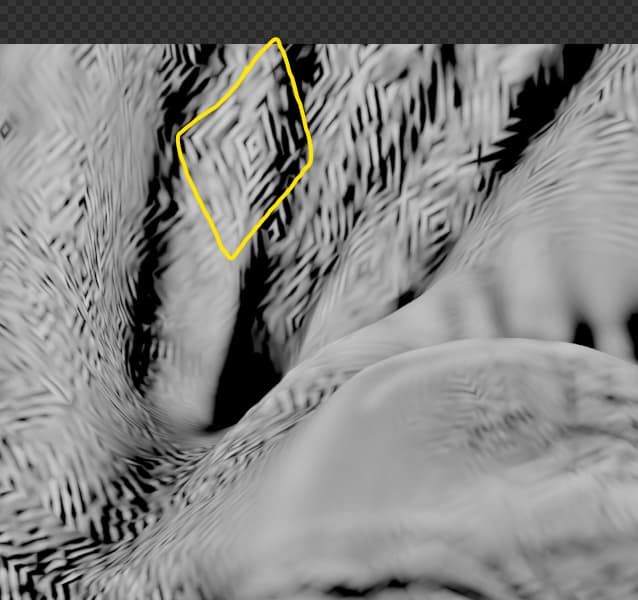
Is it only me?
It would help if you more in-depth explain what you did.
With plain Multires I cannot reproduce the problem.
multires pattern glitch.blend (4.5 MB)
Feel free to check the test file i prepared here. I just subdivided the mesh with multires and used some brush alphas to add skin textures. Basic stuff.
I guess i should open a bug report.
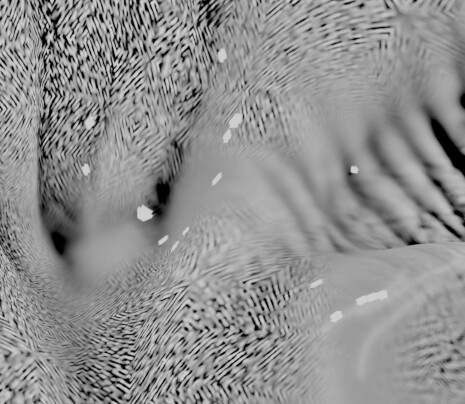
edit: With the highest Multires level i even get weird bright dots.
I tested in 2.93, 3.0 alpha and cycles x build.
1 Like
The glitch prevails after Multires is applied.
This is a plane, randomized, correct normals, no Multires used.
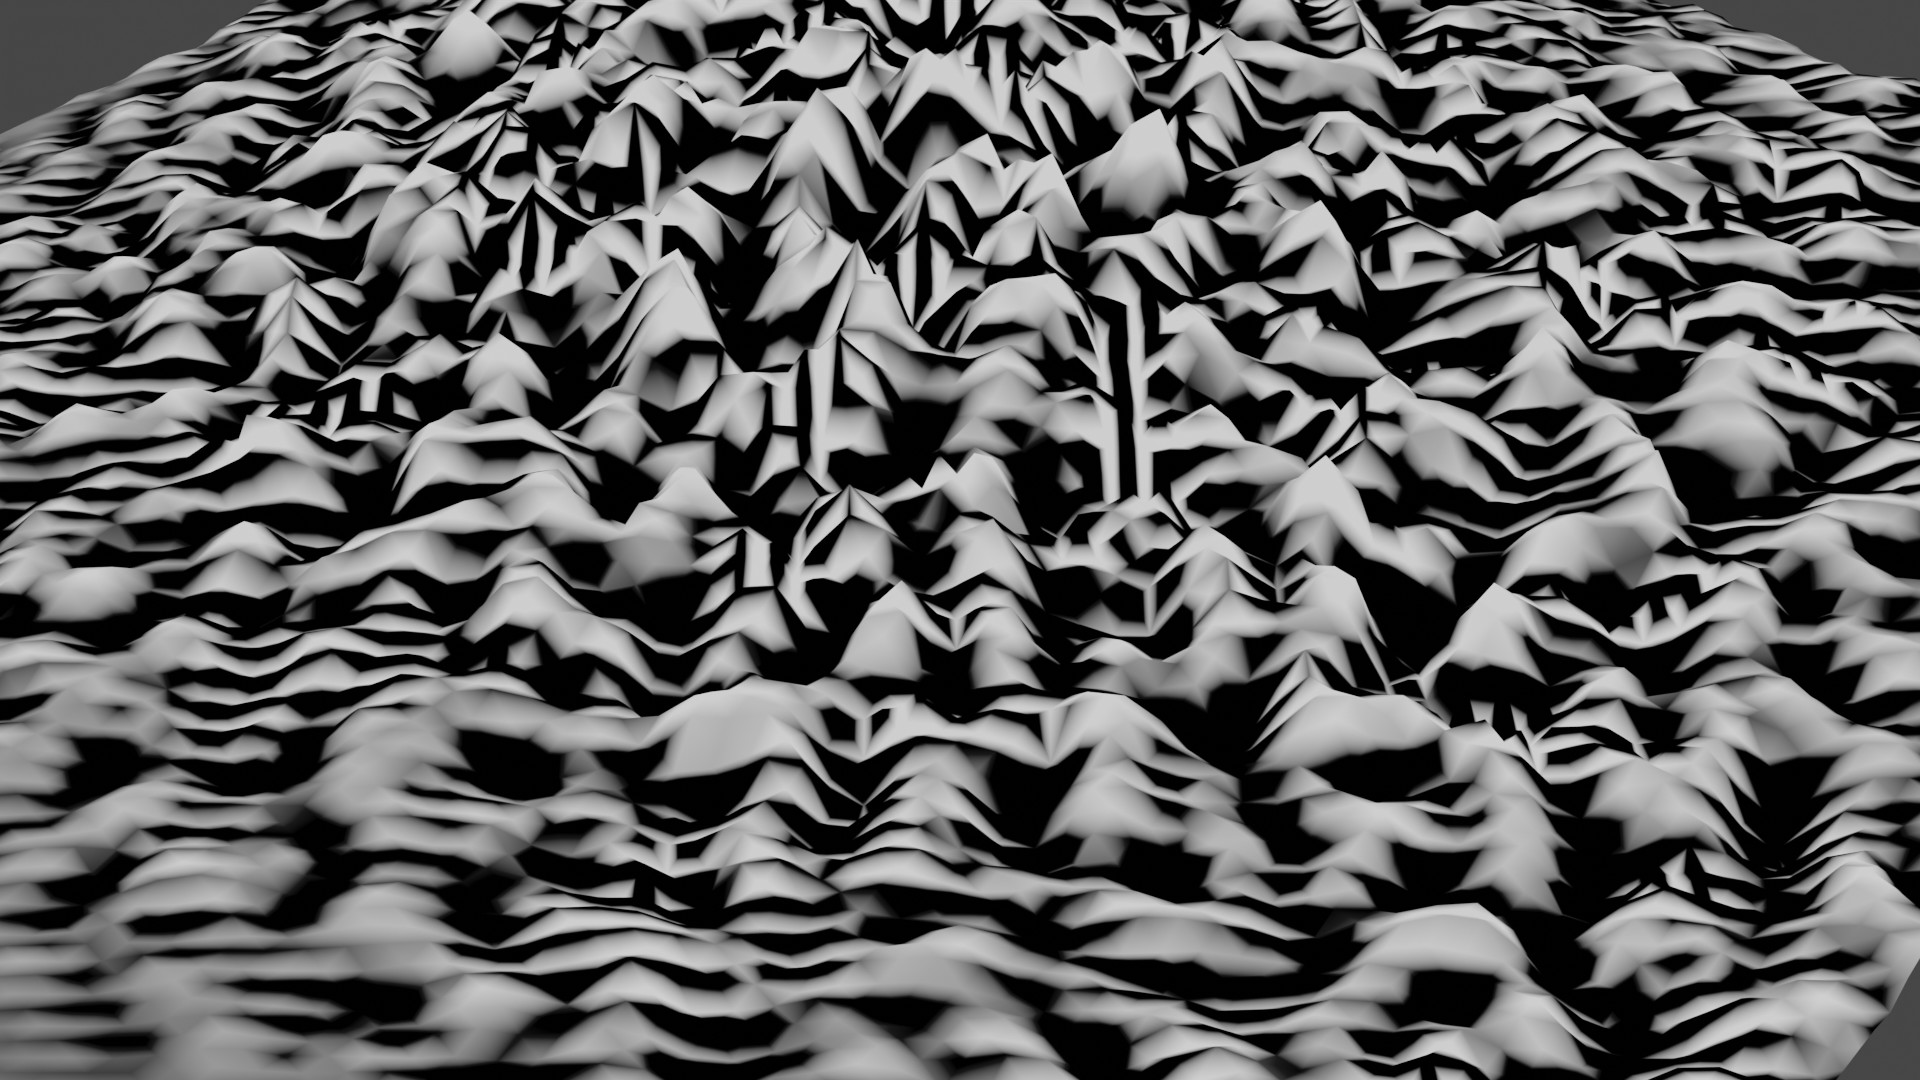
Looks like a shading glitch.
1 Like
Thanks for your testing. I opened a bug report here (38)  T90480 Multires results in a very funky “Pointiness” behaviour (blender.org)
Which got incorrectly merged with another thread right now.