Yes. I confirm. Vertex paint mode is broken.
One goal of branch is to make brush mixing sculpting and vertex painting.
Maybe Pablo removed some code to reach this goal later.
Dam brush is not really giving a useful result.
Pablo expressed in the commit log that he is not happy with it.
So, we probably should wait that he improves it and set correct defaults.
I tried it with gravity. It looks like gravity is inverted for this brush but correct for the others.
It looks like a crease with accumulate option ON but it has no pinch value.
It produces a change more important in depth at lower value.
It is less sensible to curve and radius modifications. That makes it a more reliable brush to produce that kind of wrinkle at same size that smooth brush will be used.
So basically, it is an easier brush to set-up than crease.
Except, that currently, it only gives satisfying result with a small spacing. Current spacing at 10% produces dots.
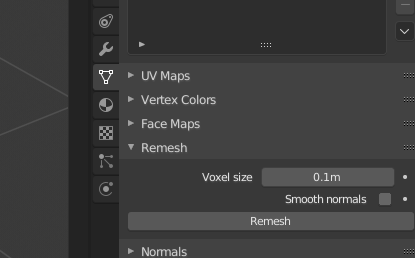
And result is awful on uneven geometry of a dyntopo mesh. Remeshing is required before using it.
My god! Crease and that brush are so satisfying with Normal Radius slider, now.
It does not have UI, yet. For the moment, lasso mask crashes with dyntopo or a multiresolution modifier on mesh.
Ok I just tried, thanks @zeauro also thanks @ramboblender for the compile.
I don’t feel much of a difference. It seems to cutoff more abruptly on the sides compared to crease, but beyond that… I’ll just have to use it a bit more I guess.
I haven’t had a chance to try out the branch. Is there are brush called Dam? In Zbrush there’s a brush called the Dam Standard. It’s a variant of the carve concept.
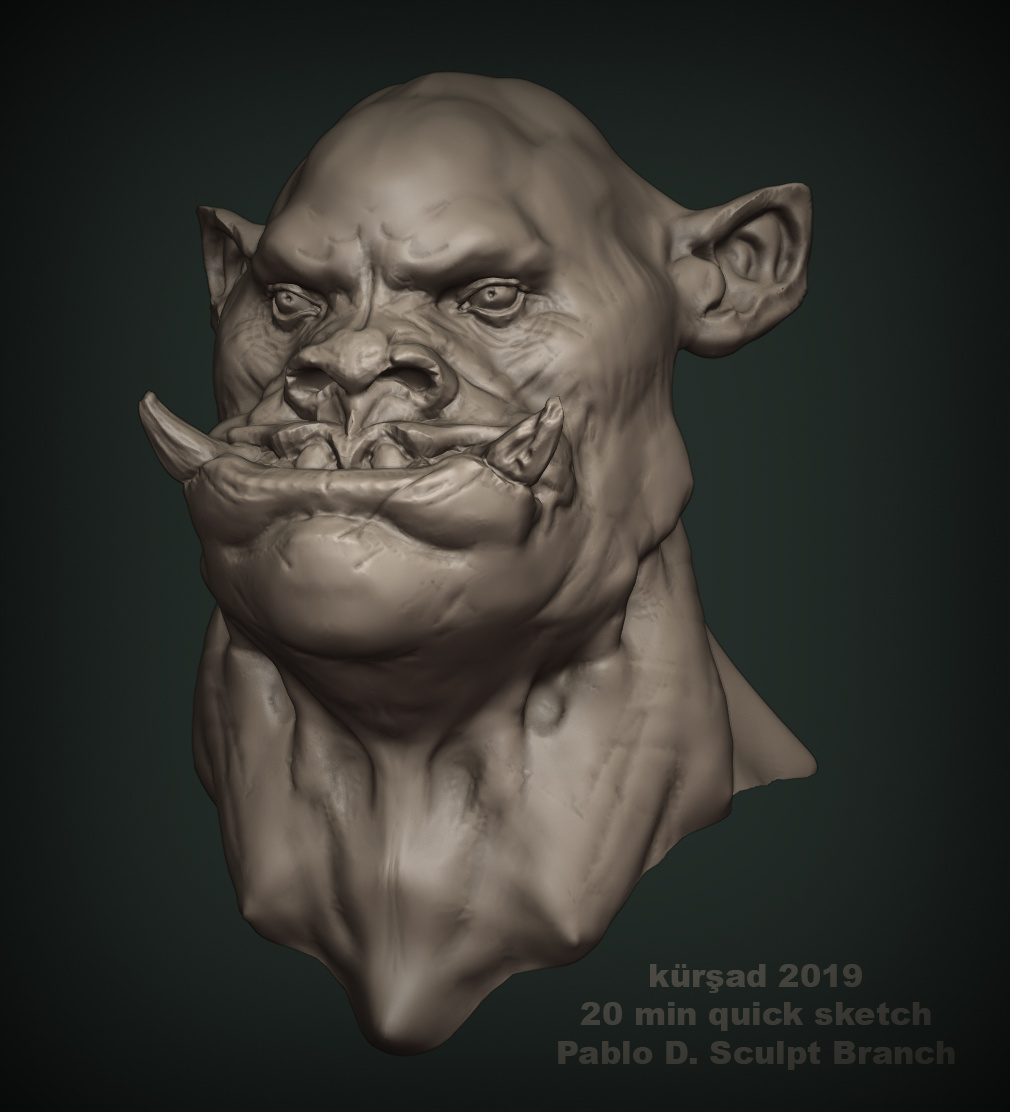
Here is a quick skletch I did with this branch, I think I did use the branch properly I hope I was not supposed to do anything special beside turning on the Dyntopo. It felt like it was superior to regular dyntopo, especially with overlaps and resolving better surface topology during brushing.
It crashes when saving. Although It actually saves the file.
Dyntopo was improved in 2.8 compared to 2.79.
Topology Rake slider and new Manual Detail are also present in master and were added before creation of this branch.
So, are you talking of those recent changes or about use of Normal Radius in Dyntopo mode ?
Recently, William did a change to Brush panel in master. That does not hurt that much in texture paint mode because options are not numerous.
But in sculpt mode, each lock icon has been separated to slider setting affected by it.
Oh my god what now… this separation looks completely arbitrary. Not to mention the sliders being shrunk (why??) and labels being set apart, now utilizing a stupendous fifty percent of the available room. Nothing was wrong, why change ? The lock next to area plane is related to it (it consistently uses the normal sampled behind the first dab along the entire stroke), and it does have a meaning related to “lock” so the lock icon next to the dropdown was very sensible.
If we weren’t on this forum, I’d think your picture shows “before” on the right side and “after” on the left.
Holy crap. How such abomination is even allowed?
What’s going on with BF, there’s no UI supervisor?
Why they keep touching things they don’t understand/use? First they completely destroyed the brushes workflow, and now this.
Why not ask first the actual sculpt users how things should be done, instead of making those absurd changes?
William did this patch with Paint Modes in mind.
And it looks like Pablo Vasquez and Campbell Barton had color palettes, gradient, etc… in mind, too when reviewing it. https://developer.blender.org/D4529
In paint modes, except maybe for strength adjustment for spacing in Texture Paint mode, that does not hurt to put few options under a subpanel.
But for Sculpt mode, it looks like Options subpanel was not thought and is completely artificial, ruining previous grouping.
Instead I would set Radius Units as buttons under Radius slider.
Adjust strength option under Strength radius.
I would keep Direction, Normal Radius, Sculpt Plane, Plane Offset, Original Normal, Topology Rake, Pinch in general settings.
And then, all the rest that are more specific like autosmooth, normal weight, etc… would be under options subpanel.
But I don’t like subpanels. If we could avoid adding one, it would be better.
If end goal is to merge sculpting and coloring with one brush, sculpt mode brush panel can continue to differ from paint modes one.
I hope that Pablo Dobarro’s branch will not follow master and try to propose a more consistent panel.