I use Blender for actual movie work so I have to work with insane polygon counts like anything over 20+ 100 million. Multires is my only option to get some of the work done in Blender. Any other method of dealing with huge polygon counts is not much feasible in Blender as far as the sculpt based asset work or detailed asset work goes. I rely on geonodes heavily. While it is awesome for procedural stuff or layouts, it is not easy to marry it with the traditional edit or sculpt based methods, especially when Multires and the geonodes are not working well together atm.
5 Likes
How are you doing this? The subsurf for me is an all round performance nightmare.
3 Likes
Yes they work both stable here, personally I also like polysource more, but drawxrays overlay is the only option for othomode.
1 Like
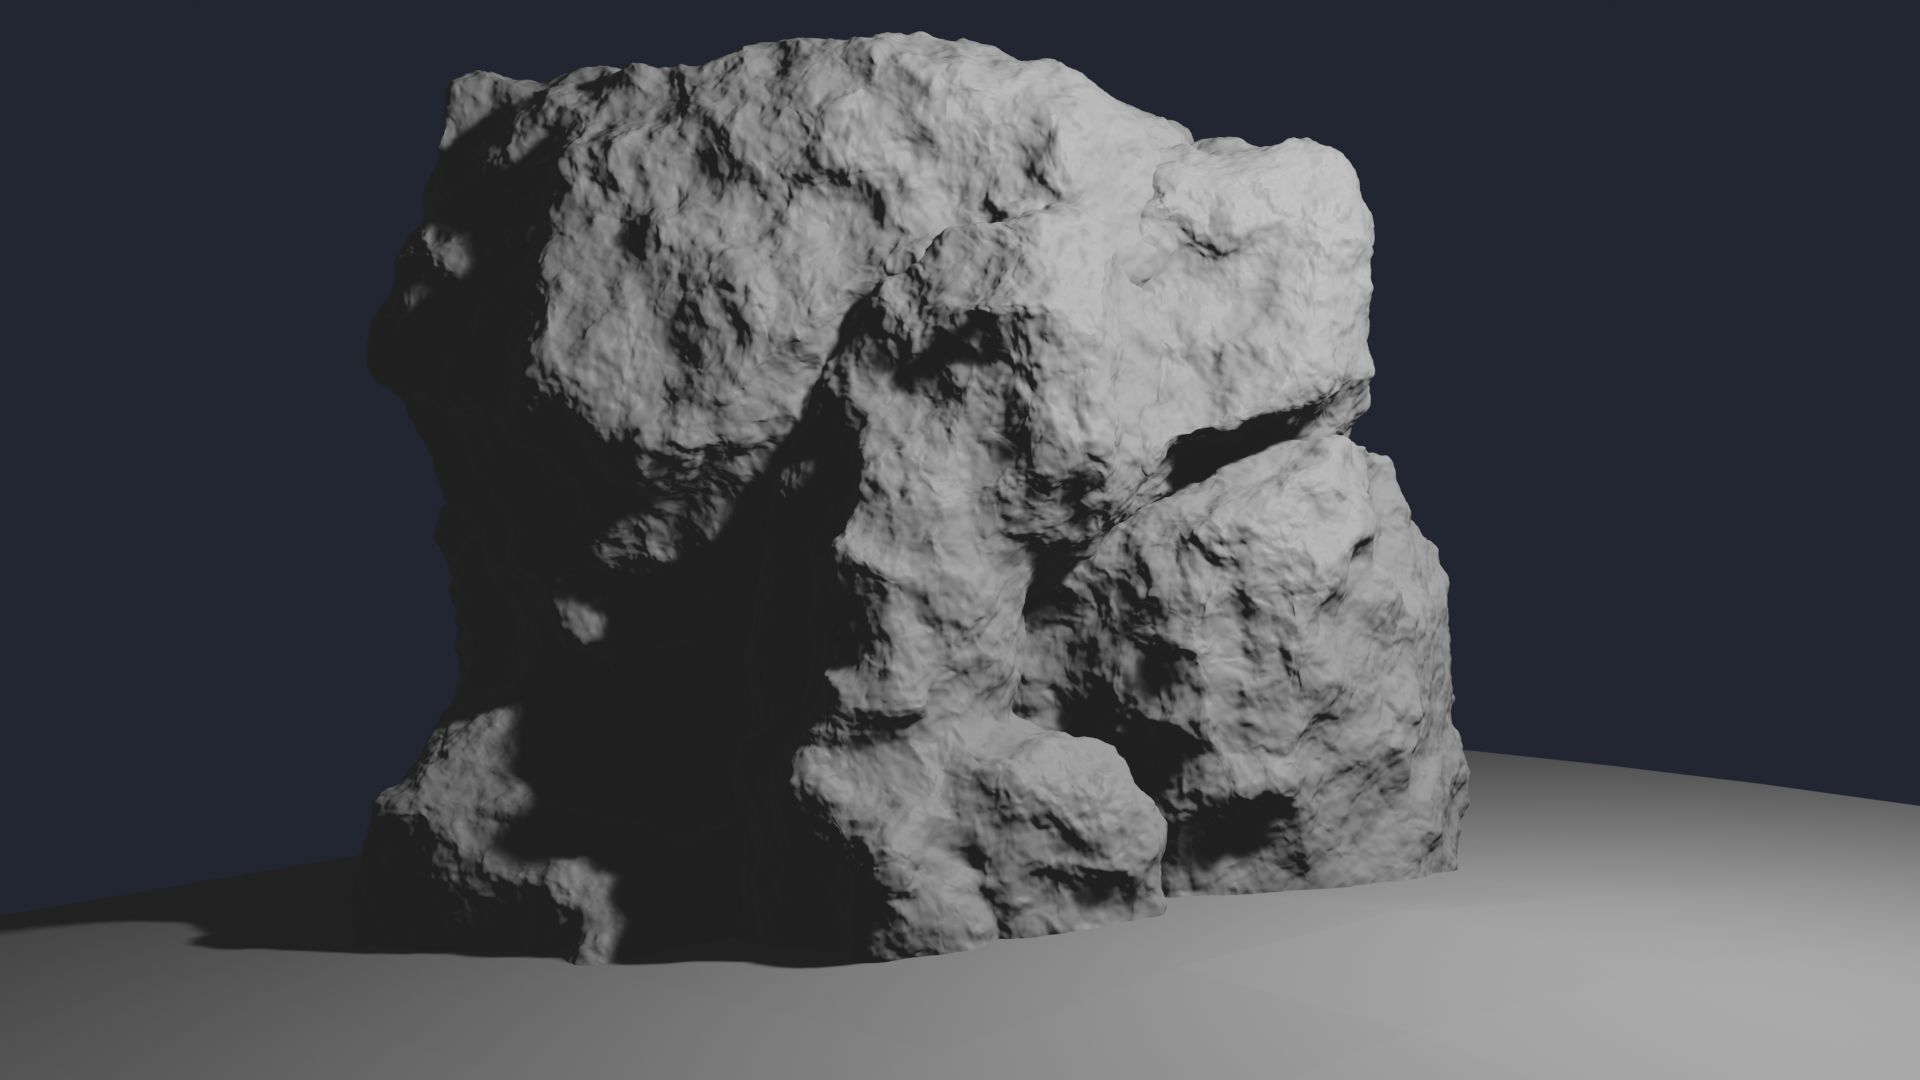
Hehe, yes I found this out the hard way with Polysource when we had that chat. ![]()
1 Like
![]() , yes true, perhaps its a good idea to ask the addon dev if he can fix this.
, yes true, perhaps its a good idea to ask the addon dev if he can fix this.
1 Like
Well. In theory, you can duplicate mesh, apply all modifiers to copy, and then use Reshape button to apply deformation to last level of subdivision.
That should be done with display of effect of modifiers disabled in Viewport.
If base meshes are not light, you can not use that.
But in practice, that is insane to duplicate meshes of millions of vertices.
You are right. That would be a lot more helpful to have an Apply as Multires Level option for Geometry Nodes modifier.
Geometry Nodes can be used as Generate modifiers, as much as Deform modifiers.
So, user should have both options.
Or there should be a check to know if polycount is the same as for input.
If it is not the same, it should be applied as a Generate modifier on base mesh.
If it is the same, it should be applied on Multires level like Displace modifier.
1 Like
How are you doing this? The subsurf for me is an all round performance nightmare.
It depends on the mesh density. Here, a low density mesh works with subdivision and GN displacement.
On a more density mesh I have to disable the Subdiv modifier while sculpting. But it seems that detail level is good enough to see how displacement affects the shape.
You can try it, if you like.
1 Like
What is your purpose? Sculpting high detail, like skin details on a figure?
Any other method of dealing with huge polygon counts is not much feasible in Blender as far as the sculpt based asset work or detailed asset work goes.
Instead of push detail level in Sculpt mode, I try to use Sculpting together with GN to keep sculpting detail low and let GN care higher detail.
I know, there are many cases where this approach won’t work, and we need to do detail by hand. But still it might be useful.
I miss Sculpting+Multires+GN too.
I tried to use multires for figure details on a short ani clip, and I got problems with 60+ million poly’s. It seemed to me that Blender is not there yet for sculpting small wrinkles details. (Workarounds, like painting small wrinkles as an image map.)
But vector map sculpting could change it! Looking forward for it.
There is a publicly available branch for download to test the new VDM sculpting feature (D17080):
builder.blender.org/download/patch/
More important information about the patch and available test .blend files can be found here:
developer.blender.org/D17080
Any testing and feedback is welcome!
There are still some issues left and more features/improvements would come in the future.
But the main functionality for the Draw brush is working.
22 Likes
Well. In theory, you can duplicate mesh, apply all modifiers to copy, and then use Reshape button to apply deformation to last level of subdivision.
That could work in some cases, but like you said it is not fun when I need to do that with huge polygon counts. For situations like this I generally apply the other operators after applying the multires, then I recreate the subdivision levels with a new Multires modifier, but that destroys the vertex groups or similar vertex data, which means that I now have to maintain two copies of the mesh so that I could attempt to transfer the previous data to the new one. I filed a bug for that back then.
Geometry Nodes can be used as Generate modifiers, as much as Deform modifiers.
So, user should have both options.
I also thought that geonodes could be just a deformer like you said. It sounds like it only acts like a generative modifier, at least that is what Moder said under the ticket. For some reason he closed the bug task, so I do not know what they are thinking about this issue. It is going to be a serious problem if they get rid of regular deformers and handle such stuff with geometry nodes, given it does not work well with sculpting.
I really hope that @Julien_Kaspar takes a look at my bug report about it before some random dev who does not use sculpting in Blender closes the issue forever, because that is a serious design issue between the geonodes task and the sculpt mode.
Thanks, that looks great.
2 Likes
He closed it as Archived, not as invalid.
So, that means that he took the issue seriously but the problem will not be solved in upcoming months.
Probably, Joe or a Geometry Nodes guy said to Moder on chat that he will look at it ; when he will be less busy.
That could be treated, at next multires modifier rewrite.
I remember that developers had the idea of creating a workflow where high levels of sculpting would be stored as displacement textures and low levels would continue to be stored as vertices data.
There was also the idea of sculpting layers.
No one knows when multires will change. But there will be a change.
1 Like
I am not sure if any developer will ever get back to those archived ones, I bet there are hundreds if not thousands of such bugs.
The thing is that the geonodes setup I provided in my report deforms the result on top the existing Multires level data. So it is actually processing the Multires data it is just that it is not able to apply it back on top of the Multires like the displace modifier can do.
In any case I just hope that this is not an overlooked issue along the way.
1 Like
Thanks.
Works well if I use brush in add direction. But if I use subtract direction, I do get wrong displacement.
Test setup …
- sphere with inverted normals (point inside).
( - multires modifier ) - try brush with negative direction.

Wow nice ![]() Will test it this weekend, since I’m working right now
Will test it this weekend, since I’m working right now ![]()
Not directly related to this build/patch, but I found an interesting post on Twitter from Henning Sanden (Flipped Normal guy) where he is using VDMs brush as a base sculpt :
https://twitter.com/henningsanden/status/1620513815640305664?s=20&t=4NwHPy8EQ8IxmlVEx933Qg
He then refine it with normal sculpt worflow & tools ![]()
https://twitter.com/henningsanden/status/1620518524082089987?s=20&t=wRRHt8OhpeIWxVvo4G1GJg
“It’s a series of pre made face shapes likes eyes, noses etc and a lot of base meshes. Makes it super fast to make characters”
One of their VDM product :
In any case,
My 6 years old kid could even have fun with a base mesh and use different nose, ears, eye, horn or whatever on it. That could lead to somebinteresting result ![]()
6 Likes
Yeah but my 16 year and his friend couldn’t figure out how to save their work in zbrush’s crazy UI.
3 Likes
Well, obviously it’s saving a ztl for meshes, a zdoc for renders or a zpr for project files, or a zbp for a brush preset. Could not be clearer. Makes so much sense.
1 Like
Funnily enough, Zbrush is probably the only program that has the save button exposed and visible right on the UI. ![]()
3 Likes
If there’s one thing I really wish Zbrush did like Blender is having the brush modifications save with the project.
I really don’t need to create a freaking preset for every modification I do in a brush ffs.
3 Likes
That’d be neat for sure. But I wouldn’t mind a lot of other things, like a working outliner, not having a ‘record mode’ for layers, or sliders that are not making me want to kill myself after 5 minutes.
5 Likes
Mudbox was supposed to be that Zbrush killer by offering similar performance and power in sculpting while offering an industry-standard UI and UX, but then Autodesk bought it and could not figure out how to also become the industry leader in sculpting (as they already locked up the leading DCC apps. by that time).
Blender is now one of our best bets to dent Zbrush, the good news is that the first of the big projects is slated to land in master sometime soon (which is the long-awaited Dyntopo rework).
4 Likes