PS: I am NOT the creator of this add-on, I just have to make a video about it because coming from 3DS Max, I found the pivot manipulation tool of Blender to be…wait is there any ?
Anyway, this feature is now possible and…yeah life is good now.
PS: I am NOT the creator of this add-on, I just have to make a video about it because coming from 3DS Max, I found the pivot manipulation tool of Blender to be…wait is there any ?
Anyway, this feature is now possible and…yeah life is good now.
A useful conversation from reddit:
A reply from someone:
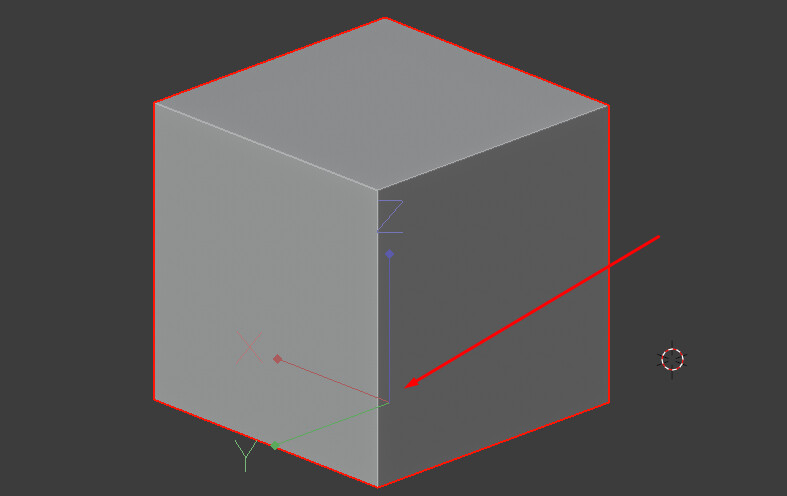
There actually is a way, select the face > Shift + S > Press 2 or “Cursor to selected” > Click on the object menu> Set origin > Origin to 3D cursor. You can easily change the pivot in Blender without any addons.
=====================================================
My reply:
Yes I know, I do it all the time.
1: Select Face.
2: Shift + S->Cursor to Selected.
3: Go back to Object Mode.
4: Object->Set Origin->Origin to 3D cursor.
Using this add-on = 1 Click.
And also, this is not what my video is addressing [why address that which can be done, no doubt longer steps], I addressing the ability to align to ANY two selected vertices [I am assuming you watched it].
Did you also saw the part where I click bottom center and the pivot moves right there ?
Try doing that without it.
1: Create an extra object.
2: Align an EXTERNAL object to the bottom center of the original object. [which in itself is a few steps into the align dialog but let’s ignore that for now]
3: Shift + S->Cursor to Selected.
4: Select original object, then Object->Set Origin->Origin to 3D cursor.
5: Delete the extra object created just to do all these.
Using this add-on…one step.
It should be noted that I am NOT PAID or even asked by the creator of the add-on to make this video, I made it because I use Blender often and I am truly benefiting from using this add-on productivity time wise and I feel my viewers should know about it.