I’m fairly new to Blender and have been learning it for a few weeks. I’m bored of doing tutorials so I want to start my own original project. I decided to go all out and make a very short animation/movie. I hope to keep less than 30 seconds as this is just a project to see how much I still have yet to learn about Blender. So here is my model/main character named simply Box Man. He probably needs elbow and knee joints for animation but I think I might keep him like this and give him a really stiff movement, like a penguin. I’ll probably give him a face but not a nose as he won’t need to smell anything. I just need the eyes, eyebrows, and mouth for facial expressions. I’ll probably use a circle objects for that so I can keep his flat/2d. I’ve already done the animation tutorial that teaches the walk cycle, wave, skinning, and rigging so I have a basic understanding of it. Basically, this will be kind of a sad short because all the kids now have their video games and no one uses their imaginations anymores to play with boxes. I’m sure you older people remember having nothing to do before youtube and world of warcraft and you would pick just about anything even sticks and start playing with it. Obviously, things have changed now. So most of the short will contain Box Man walking with a sad face and a sad musical score in the background. I might give it a happy ending or I might not. I think I’ll keep it a suprise for those who follow the thread. Anyways, sorry for the essay, onto the project!
ISSUE #1
I’m having trouble deciding on how I will get the cardboard texture. I’ve tried using the cloud textures within blender to try achieve this but maybe I’m just not experienced enough because I don’t get the results I want. Any input on this would be great while I experiment with it and do some more research.
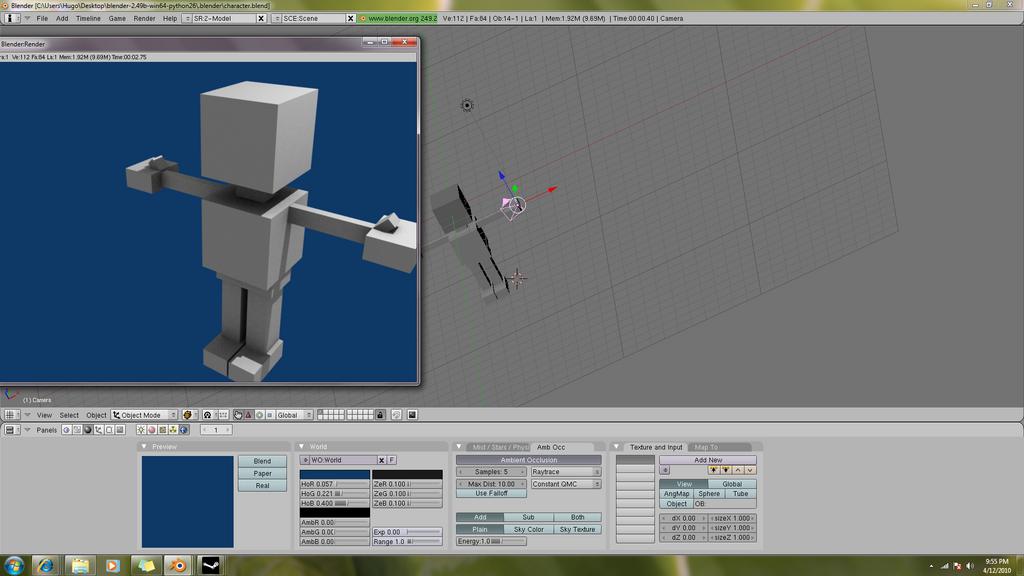
Heres my main character, very simple I know. I have a very good understanding on how to model with Blender is all the other stuff I’m not so sure about. I want to keep everything as simple as possible.
Looking good so far. BTW, if there’s a bunch of noise or cloudy stuff on your render because of the Ambient Occlusion (there is on all of mine) try raising the samples to about 12 (maybe more or maybe not quite that much. 10 also works well), select Use Falloff, and raise the falloff to max. The downside is it takes a lot longer to render.
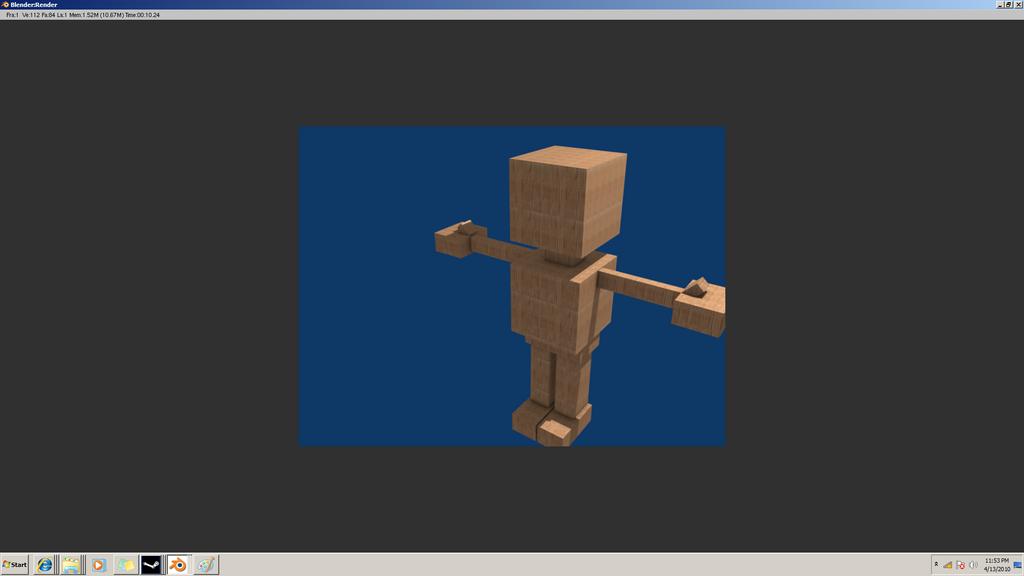
Here it is with the carboad texture. I don’t like it at all really. I’m going to keep it like that until someone suggests something better. I used the settings you suggested impossible. thanks. Next I’m going to skin and rig.
So, I tried to rig and skin my character and it went horribly wrong. I was trying to use as less bones as possible but I guess even with a character like this you can’t make short cuts.
hmmm my only objection is it looks more like wood then cardboard, that said it looks fine =]
however another piece of advice i might give you as a fellow newbie blenderer such as myself =] lol is have you tried node editing, it’s something i gave a try, basically what you can do is set a base material colour which would be the browny type colour of the cardboard, and then maybe an orange, yellow and a black coloured material, and then with your brown material selected go into the node editor, Almost forgot >< before you go into node editing you have to click node from the material buttons, that allows you to change the nodes press space add>input>material click new and chose your materials do this for the yellow orange black and brown.
Now click space add>colour>mix you will get another box, click where it says mix and change it to screen, and connect your yellow material to the colour 1, and your orange to colour 2.
Now click space again add>colour>mix, this time change mix to add and a FAC value of 1
now attatch the first screen to the colour 1 of your add box, and the black material to colour 2
Now click space again add>colour>mix and like the first time change mix to screen
now attatch the colour from the add box to colour 1 of your new screen box
and attatch your brown cardboard colour to colour 2
Finally attatch the new screen colour to the output and check out your new material =] it should make an amazing cardboard texture
And if you dont want to follow my guidelines its ok lol i only posted this as an idea because i learned about this rescently and its an excellent way of mixing colours to make a texture that you want, also it is something new for you to learn so you can get on the road to becoming an expert on blender =]
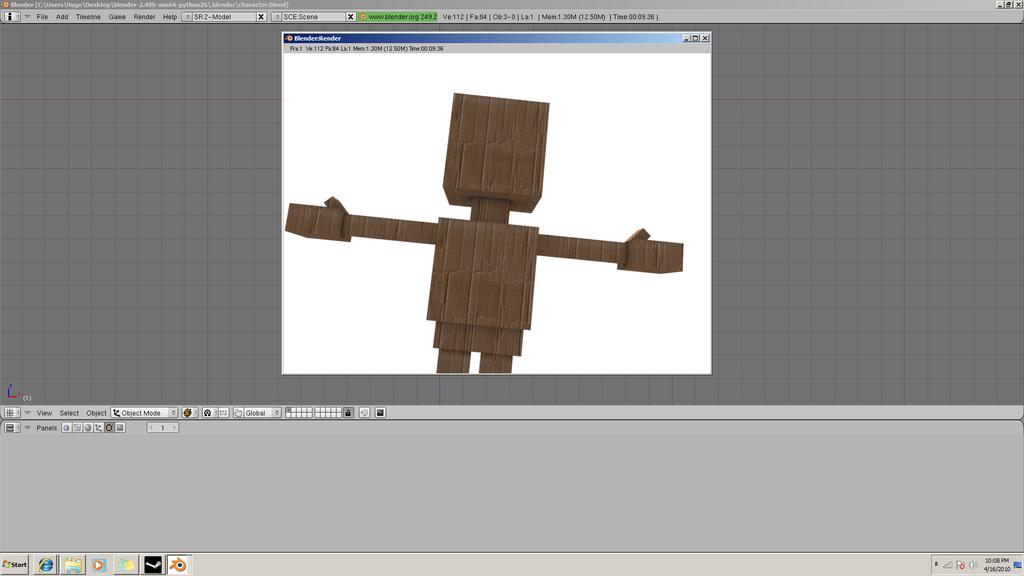
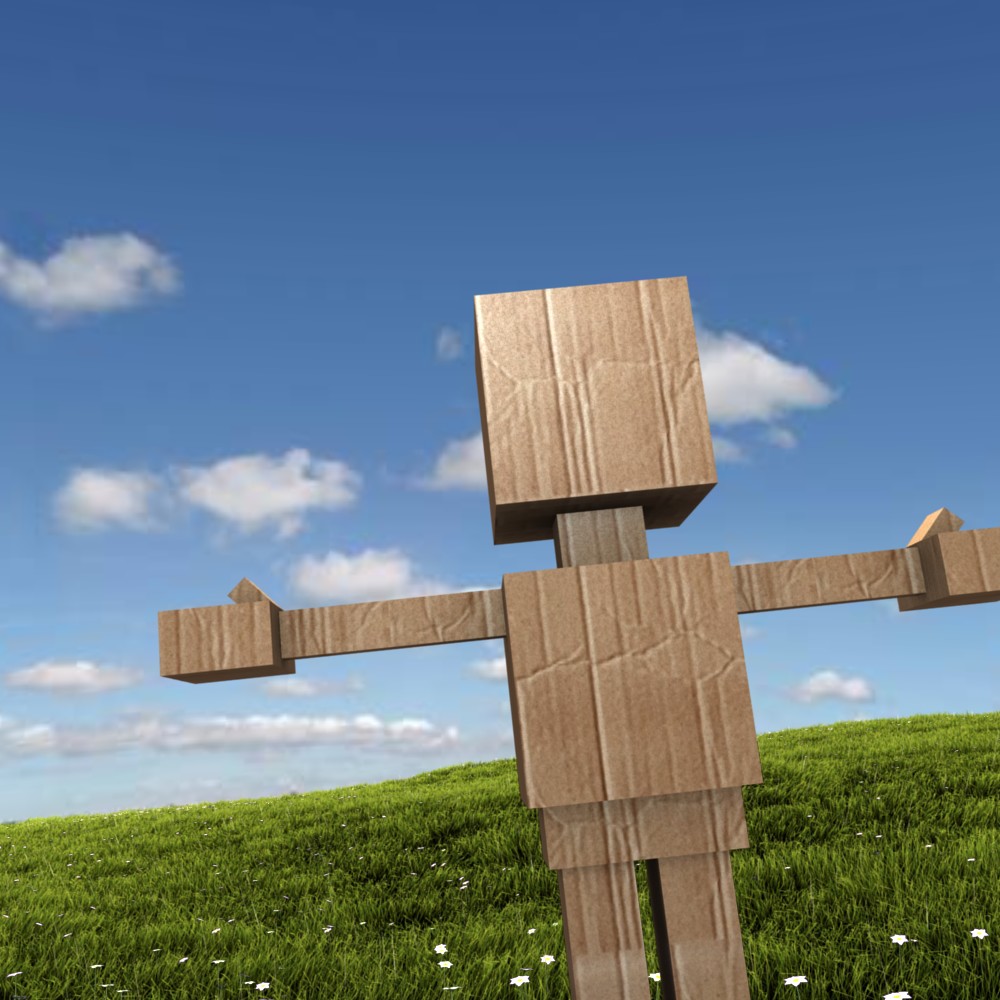
Thanks for the tip sillymuncie! I used that technique but it ended up coming out to cartoony for the scene I have here so I stayed with cardboard texture I got from the net. It still doesn’t look great but I’ll ‘fine tune’ things later. Here is Box Man in the scene of the animation I am going to attempt. Blocking will probably come next. I know there are still lighting issues, any tips would be appreciated. I am not using the 3 point lighting system that is supposed to be the standard so I’ll probably end up using it.
awww sorry it didnt work out for you, i didnt expect it to come out cartoony xP check out my person, i know hes not made of cardboard but i could probably tweak it to be more like cardboard if i messed with the colours =] anyways it still looks good enough for a first timer =]
as for the lighting i wouldnt so much worry about getting the lighting perfect right now, it all depends on what kind of lighting you are looking for, btw i will show you how nooby i am now lol, what is blocking ;o
Blocking is like a very rough animation where you focus more on the camer angles of the shot. basically you have your model slide around the scene without any animations to see how your scene will turn out. But I had never messed with the node editor until now, only read about it so I learned a lot from your tip. I’ll try to find your guy and take a look.
glad it helped =] that was after all the reason i recommended it anyway =] because even if you dont use it at least you now how its done and then can start adapting the more you find out about it, and since me and you prety much started modelling at the same time its a great way to learn.
It also helps me, because whilst im explaining how to do it for you, I am emphasizing it into my mind which will help me remember how to do it in the future =]
I wanted to set up my camera movement/animation. But I am not sure what would be the best approach. Should I use bezier curves/lines to set up the camera track or should I just set up the location/rotation keys manually by inserting them? I am going to have the camera circle around Box Man for about 20 seconds showing different shots of him then it will follow him to in a straight line just about to where he stops at the end of the animation.
So I have the animation rendering and its taking so much more longer than I thought it would. I had no idea. I’ll post the results when its finished. Its still far from completion though.
Here is a test of the camera movement. I rendered the animation in the wrong file format! That was a major fail because I wanted to edit it but I took a desktop recording of the animation. The world scene needs work, any suggestions or should I just keep the texture and tweak it some more to make it look right?
Looking great so far! Also, you wight want to consider smoothing out the edges a little bit, just since cardboard normally has edges that are a little less sharp, but it looks good the way it is now; and if you’re looking for simple you may want to ignore this advice. If you do want to smooth out the edges a little bit, try adding a Bevel modifier. In the editing buttons, select the ‘Add Modifier’ button, and select bevel from the menu (although you may already know how to do that).
 I’ll try to find your guy and take a look.