Hi al,
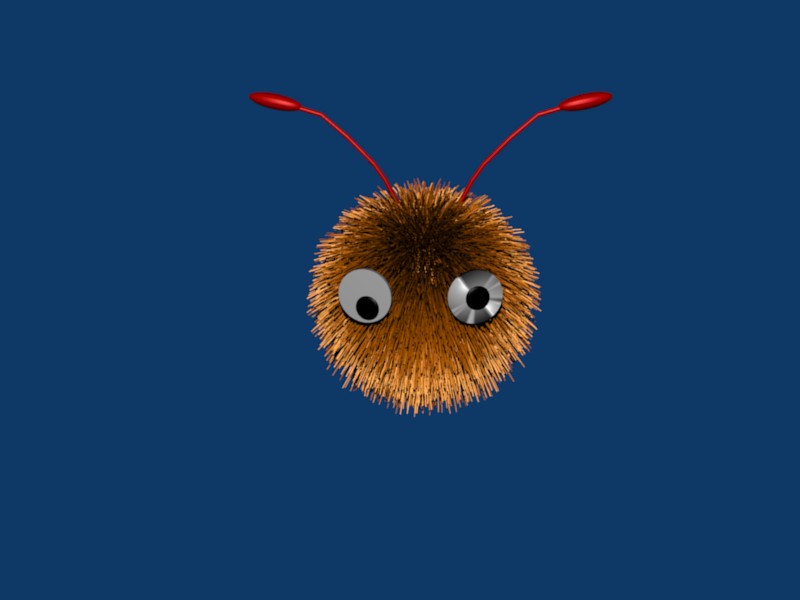
Surely, all Dutchies here will know this thingy, the wuppy 
I need some help though:
-In reality, the wuppy is much more “wooly”. So the static particles are too “straight”. Anyone knows how to make them more soft?
- The particles now bend all down, but is it possible to make them bend “inside”? (That’ll also make the fur “softer”
-The eyes are now just a white circle with a black in front of it. However, in reality, it’s a white base, with a transparent cover, and a black pupil IN this cover. I modeled this, and made the cover transparant (Ray transparancy), but it got totally black. It seems, (new to me at least) that ray transparancy does let through object “info”, but no light beams. So I had to put a lamp INSIDE this cover, this however lit up the rest of the wuppie too. How could I make the cover transparant without doing it so difficult? (Difficult is a great word, I didn’t manage to do it)
Hope you will reply, but take time, tonight we’re going on holiday, will be away for 2 weeks. After this, I expect many helping replies 
Thanks
Svenniemannie
EDIT: The left eye (camera view) is perfectly white, the right one not. The right one is set smooth. Although it is quite round here, I still prefer the left one, as it doesn’t get strange. (Or are there ways to set smooth without this “light behaviour”?