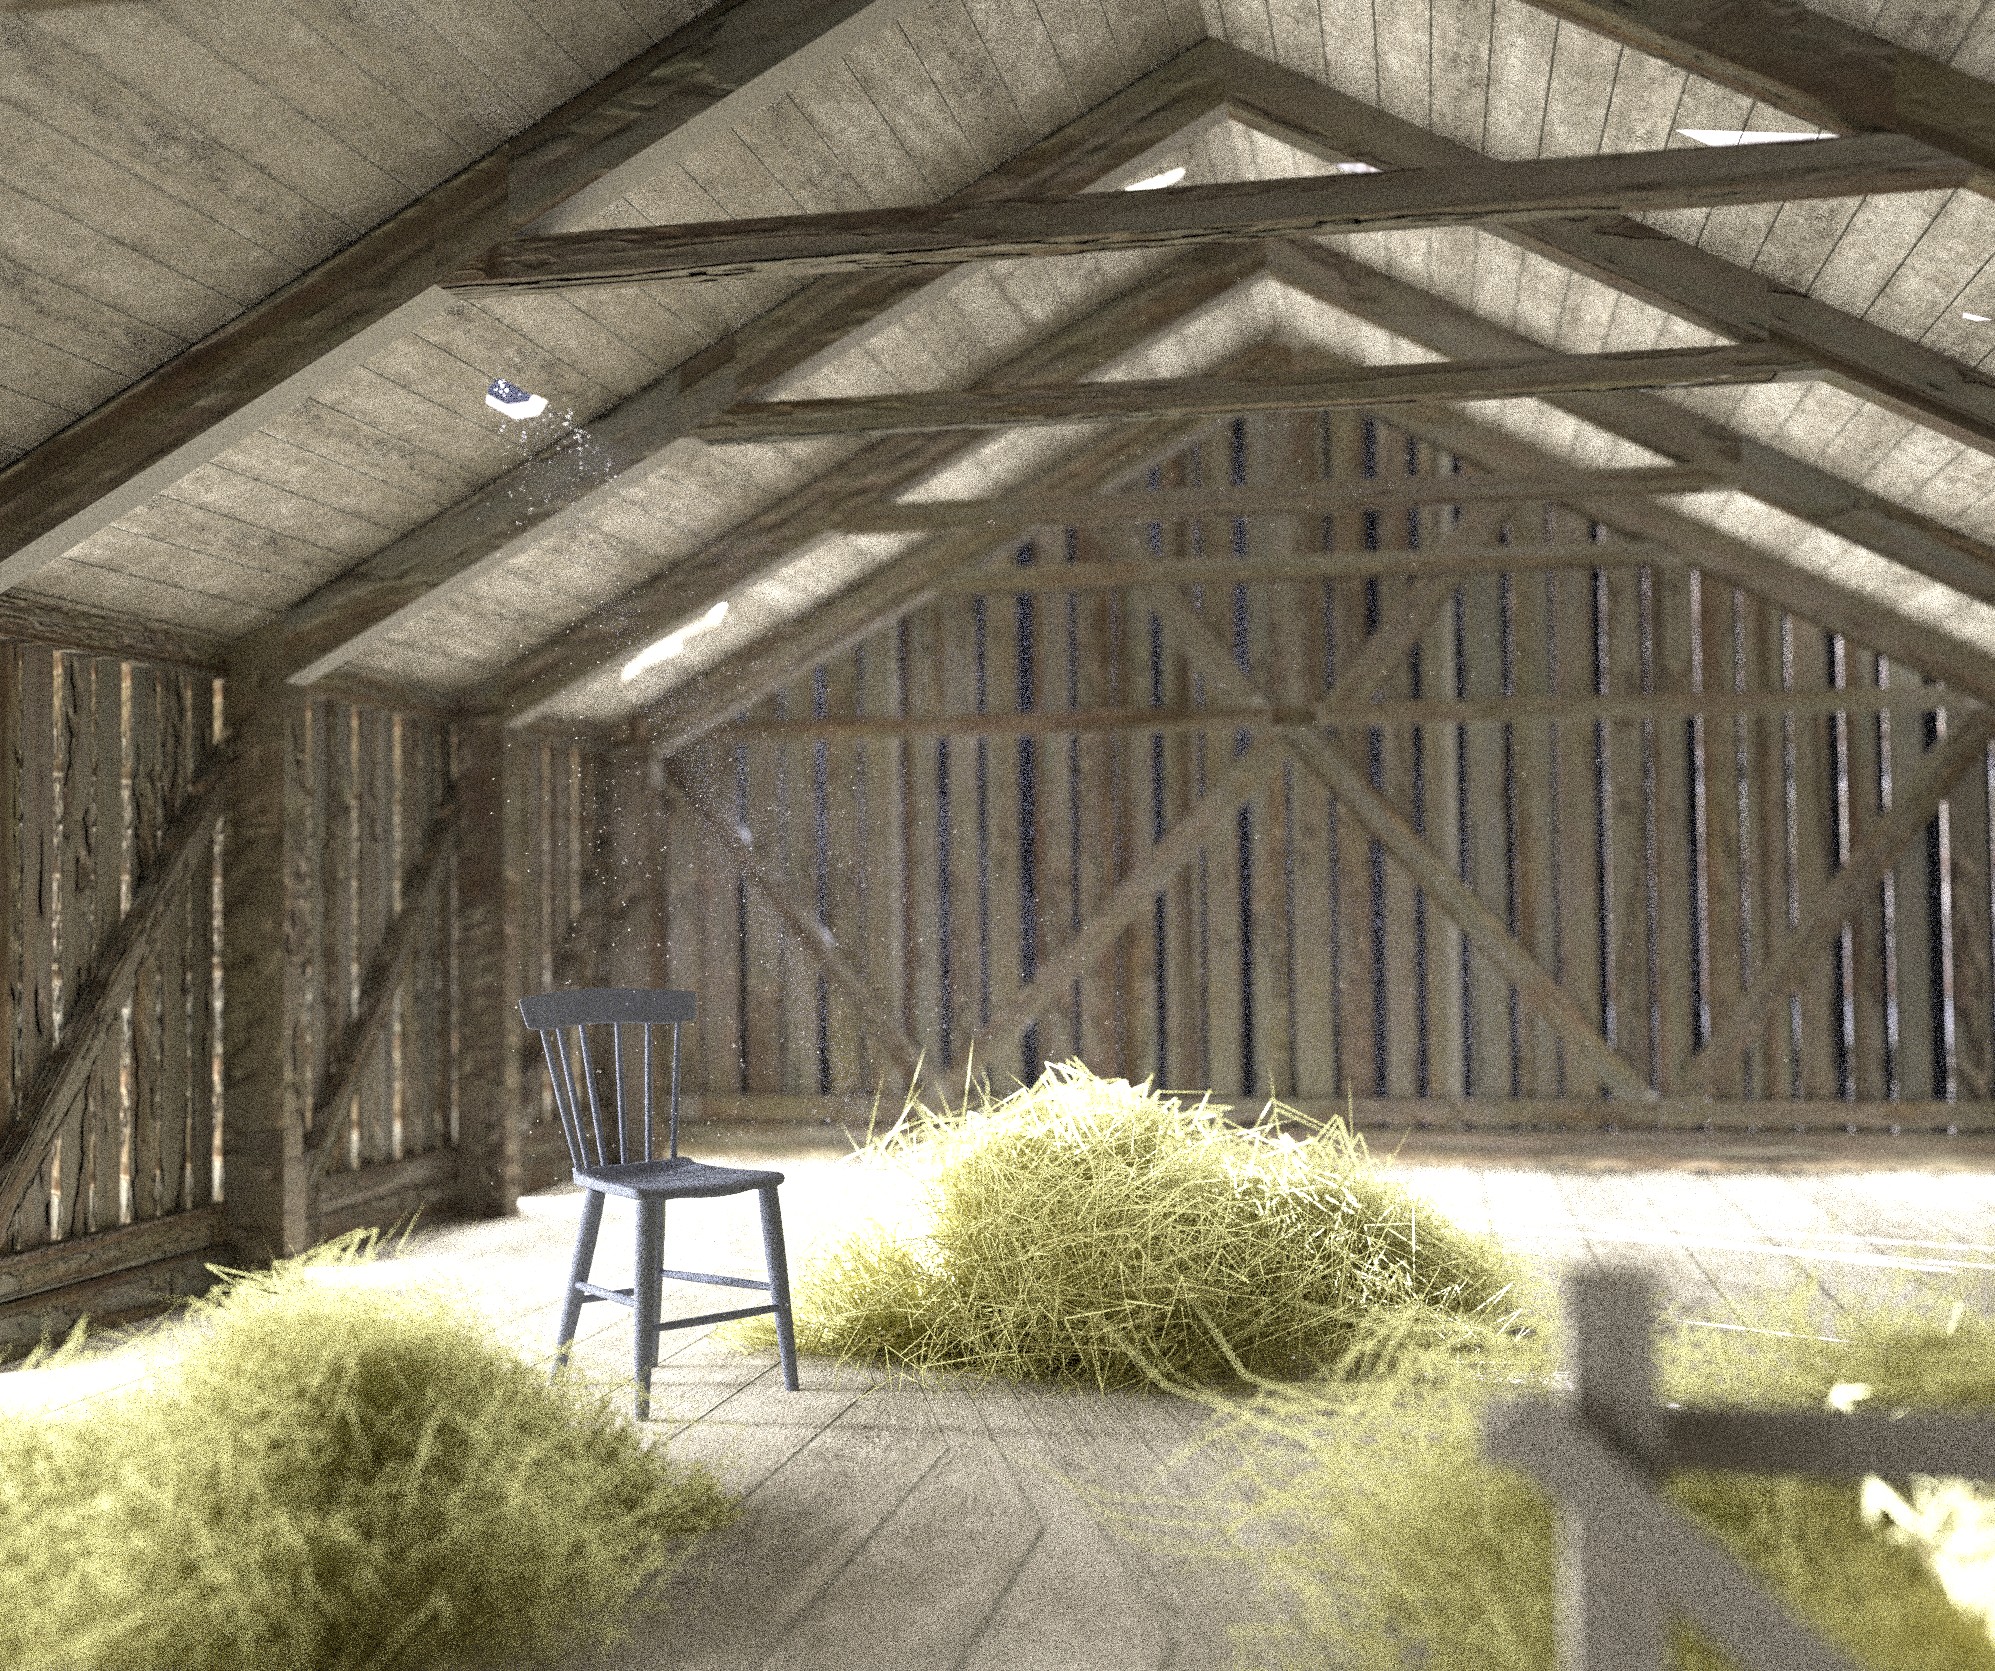
This is inspired by one of Gleb Alexandrov’s tutorial on lighting. He made a dusty attic with atmospheric light. My version is a dusty hay loft, and I think I could’ve done the atmospheric light a little better, and the particles is a little bit to big I Think. But still, I’m pretty happy with the result, and please let me know what you think.
And Thanks to Gleb for inspiration.
Cycles and GPU render, 2000 samples (and I’m happy that my graphics card did’nt took timeout on this)
A good job for attempting from a tutorial. Particles are too big and color is a little flat. Compositionally there are too many things competing for your eye - blue chair, bright light areas and the large particles. The light that hits underneath the loft is too much. Perhaps, rework your composition to not show that and/or work it so it isn’t lit as much. Maybe some depth of field too, to help draw the eye to where you want as an artist. Just a critique, this is a good start and just giving you one person’s POV. Keep up the work.
Thanks for comments.
I wanted the chair to be in fokus, Think it’s a place for contemplation.
Did a camera zoom and did some smaller changes on values and some compositing. This time I Think te particles got to small.
I find it difficult to get a good result when it is volumetric involved, it takes a lot of time to see the result
in preview render and it needs a lot of samles to get rid of the fireflies in the final render. Probally I could tweek this a lot more but I’m givin up on this image for now.
This image is rendered with 1000 samples, had not the patience to wait that much longer.
I know it takes a lot of time but make it dirty and give it some more variation(floor and roof). If you are going for a hayloft it should not look like a IKEA render with some hay in it ;). I like the particles and the new framing in the second image. Good work!!