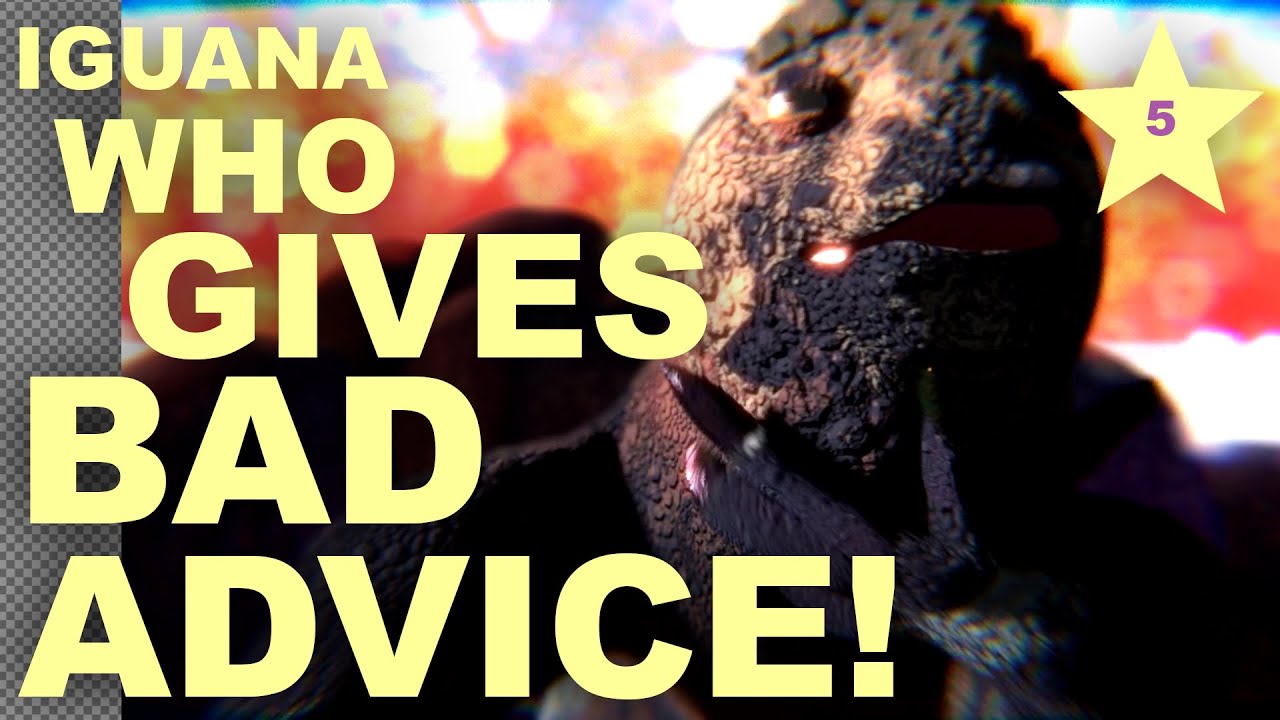
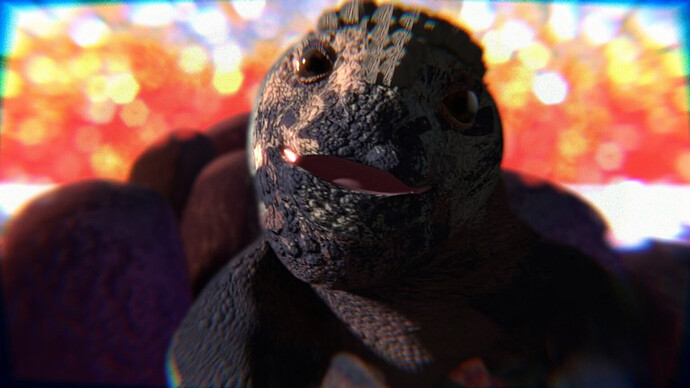
An animation I created for an “advice gig” I just made on a freelancing site, this one was a personal challenge to make something more detailed than I usually do.
=================================================
Major Things Learned/Developed During This Project:
- A Custom Bump Map Node Group that I built for the background rocks, which I ultimately didn’t use XD
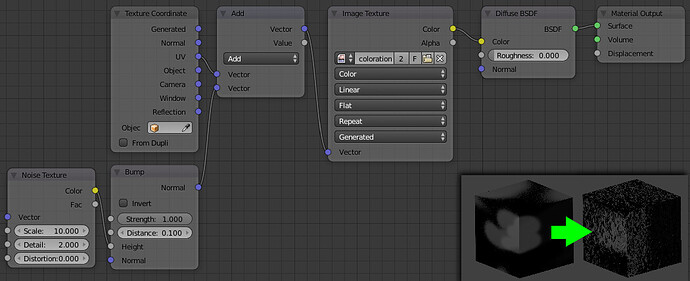
- A noise-and-bump-based blur effect for the iguana and rocks’ coloration:
- Having select materials respond to Camera Rays as black Emission shaders, so I can isolate parts of the image that require more samples, render as OpenEXR Multilayer, and recomposite later using the Material ID pass. (for render time optimization)
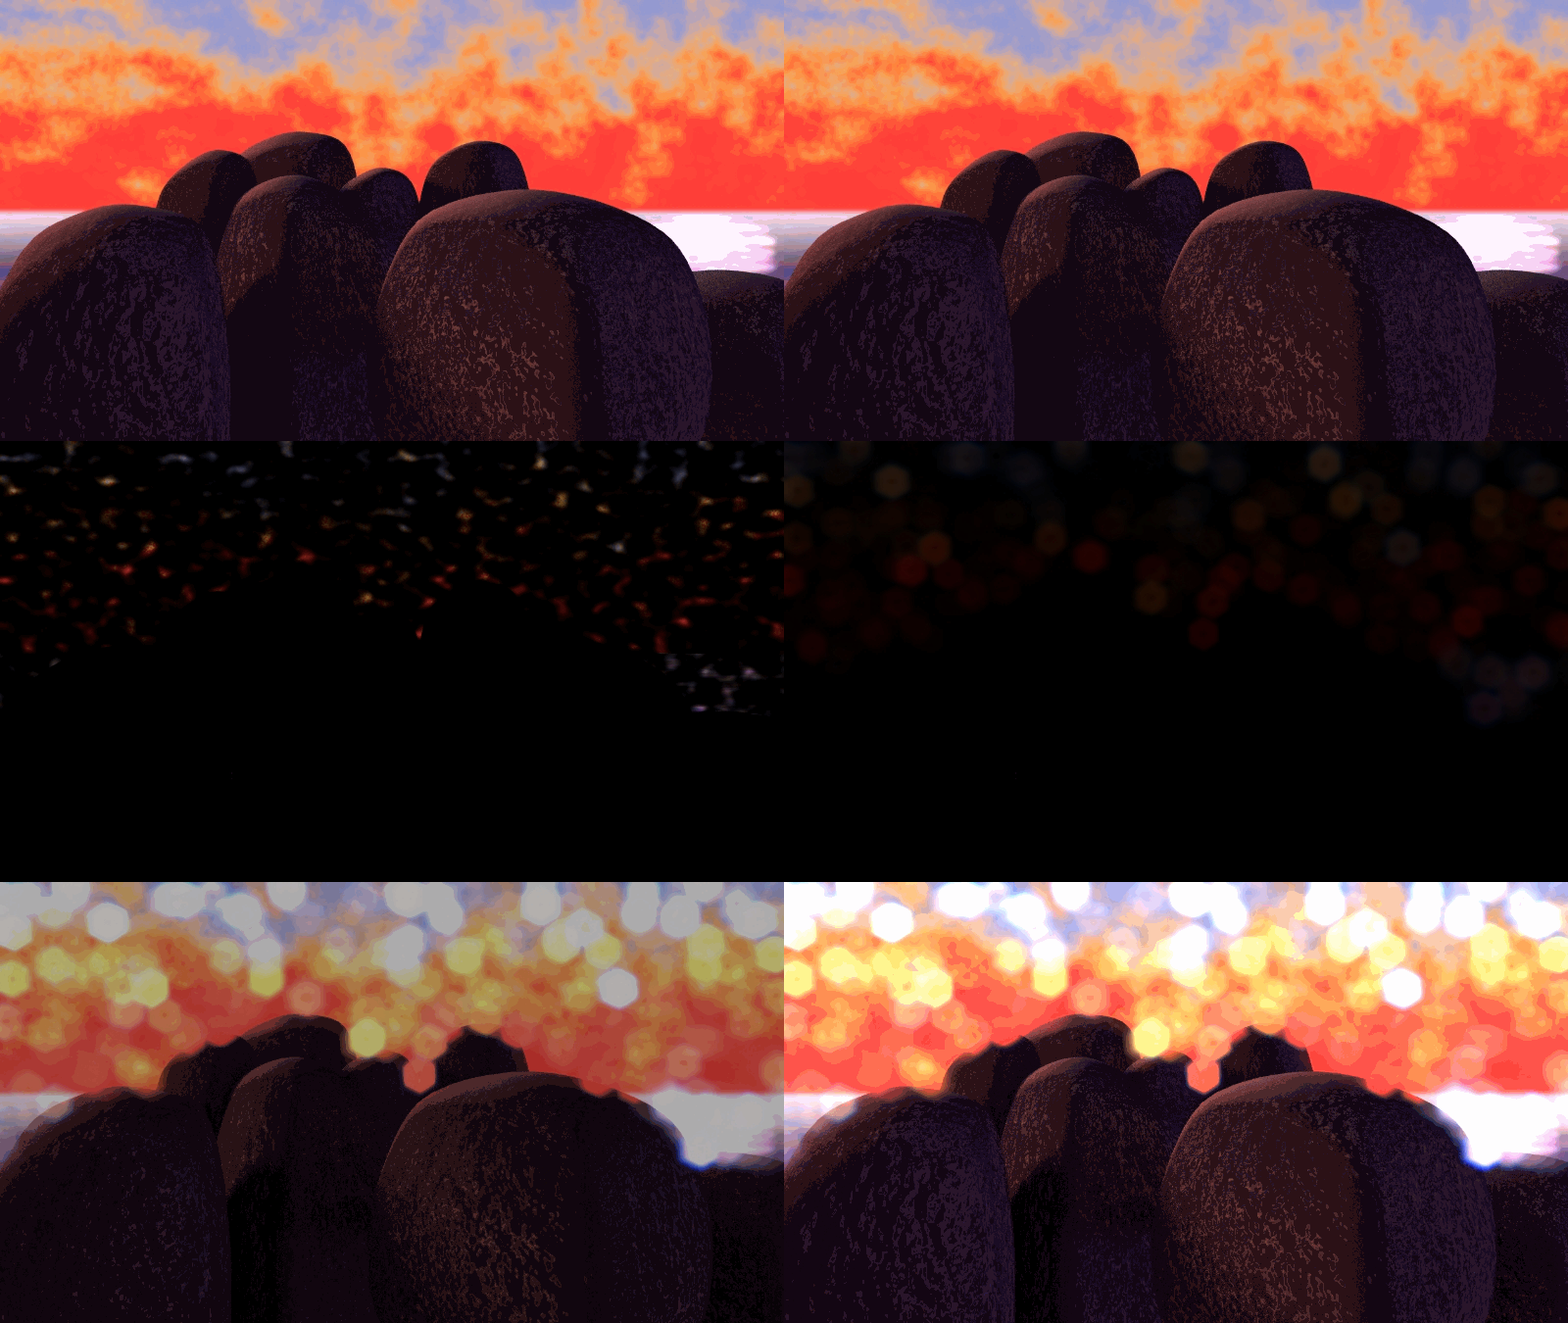
- Improved bokeh effects by converting an image into a scattered field of lights using Compositing Nodes, applying the bokeh filter to said field of lights, and then re-adding it to the original image using the Color » Mix node.
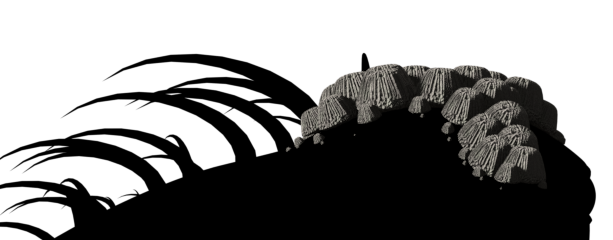
- I also learned about hair object “rotation stabilization” like so: How can unwanted rotation of hair particles be avoided? (In this case, used for the iguana’s spines.)
=================================================
Like much of my personal work, I’m releasing this under a CC0 license. If anyone is interested, the .BLEND files are below:
- Part 1 (Marine Iguana Blend File) [External Link Due to 19.0 MB Size]
- Part 2 (Background Blend File) (4.0 MB)
- Part 3 (Compositing Blend File) (1.7 MB)
- Lizard scales (which I made using z-depth and compositing nodes):
Comments and suggestions appreciated! ![]() Peace and God bless!
Peace and God bless!
