
Final Animation:

Well this took a while ![]() While playing Pikmin, I was thinking back to the film The Secret World of Arrietty, a Ghibli film based on the novel The Borrowers. In all these sources, tiny people make their living by taking small items from the world of “normal” sized people. I love the calm montage sequences of daily life in Ghibli films, the calm and meditative moments in a subject’s life. I focused on capturing that for my character. As well, I wanted to pull from miniatures and real life miniature photography. I’ve been inspired by David Bird work with his Becorns, and wanted to put my character into a “real” environment. Mashing all these things up turned into an interesting struggle, so I thought it would be fun to record it here!
While playing Pikmin, I was thinking back to the film The Secret World of Arrietty, a Ghibli film based on the novel The Borrowers. In all these sources, tiny people make their living by taking small items from the world of “normal” sized people. I love the calm montage sequences of daily life in Ghibli films, the calm and meditative moments in a subject’s life. I focused on capturing that for my character. As well, I wanted to pull from miniatures and real life miniature photography. I’ve been inspired by David Bird work with his Becorns, and wanted to put my character into a “real” environment. Mashing all these things up turned into an interesting struggle, so I thought it would be fun to record it here!
Compositing Cycles and Eevee Renders
Generally, I rendered using Eevee not just for the character’s non-photo realistic look, but for speed. I was able to manage most environments to still have a photo real look with good shading and lighting, but I couldn’t manage it for every scene, in which case I had to use Cycles. With the parity between engines, I generally just used hold outs and composited without issue, but encountered some funny situations, like the leaf rotating scene at the end. Eevee reflections will not work on surfaces with distortion, so I ultimately had to include my character in the Cycles render with fully emissive shaders and color correct it to look good. I’m fine with the result as seen in the thumbnail image, and I imagine that’s the result traditional animators would do anyway.
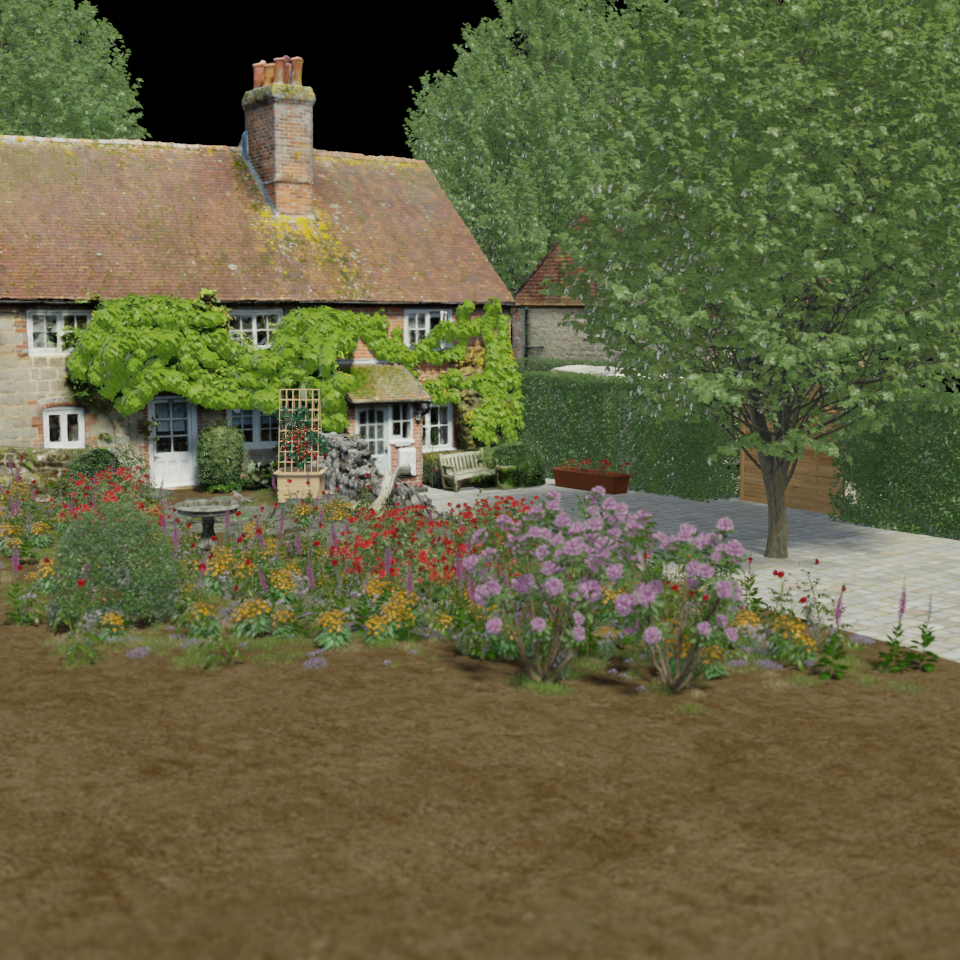
An example here of when I would use Cycles. Note the washed out result due to Eevee’s real time lighting calculations:

Eevee Lighting Limitations
Inferred from above, but sometimes Eevee’s lighting just doesn’t want to work! Specifically, I was having many issues with light bleeding. This can be corrected relatively easily for walls with enabling contact shadows, but I was still getting bad results with my character’s hat/head in the final scene. I learned a while ago that negative values for power in point lights are possible, and can thus “suck” light. I put one of these under his hat for improved shadows.


Fluid Simulation
Oh boy. This is actually part of why I started this project, for this waterfall scene that ended up being only 10 seconds! I used the FLIP fluids add on (for the first time!), and learned a lot trying to make it work. Lowering the sim speed to 1/3 to make the scale look correct, materials for bubbles/foam, water rippling… I spent a LOT of time outdoors filming tiny streams as reference. Over 10 iterations and a 6 hour bake, I got a result I like, but here is a funny early test to see how far off I was to start.
Just so you can see some more of my process, here was my starting animatic made in ProCreate and my A-Posed character that I made. Thanks for reading!
Starting Animatic:

Character:
